0 Comments
share this
Many baked goods recipes contain a can of packed pumpkin, flavored with cinnamon and spices. However, this fresh pumpkin and pepitas sourdough bread is not a recipe that harkens the aromas and taste of fall. It's a bread that was created to use up the pumpkins from the Fall season and its packed with nutrition. At this point in time, I am somewhat tired of the cinnamon, nutmeg and sweet fall spices. I don't want to see or eat one more canned pumpkin item!
Pumpkin has a lot of nutrition and fiber. Just like carrots (orange colored vegetable), it contains high amounts of beta carotene which is excellent for one's vision. It is also a great way of adding additional fiber to the bread, making it extra healthy. Due to the high moisture content of water, certain adjustments need to be made to the bread making process and recipe.
Tips for making fresh pumpkin and pepitas sourdough bread
Pumpkin
Most varieties of pumpkin are edible, including those used for Jack-o-lanterns! Some pumpkins have a very tough, wart-like skin to cut through. These pumpkins are best left as ornamental pumpkins. For other pumpkins, using a cleaver or a serrated knife seems to cut the pumpkins fairly easily.
Cut the pumpkin to remove the seeds. The seeds can be made into delicious savory umami pumpkin seeds. Place the large chunks of peeled pumpkin into a food processor and shred. Shredded pumpkin can also be done using a hand grater. Add salt to the pumpkin and mix.

Shred the pumpkin and add salt
Sourdough.
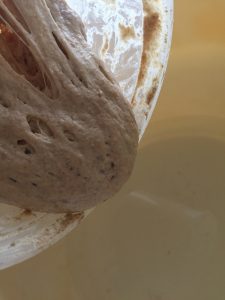
The amount of water in this fresh pumpkin and pepitas sourdough bread recipe is less than usual as a result of the water from the pumpkin. The pumpkin itself also has a stickiness which will be apparent when doing the stretch and fold during bulk fermentation. The dough does not seem to bind as well as other breads and appears somewhat stringy.

Fresh pumpkin & pepitas sourdough during bulk fermentation.
Proofing.
Since this dough has a high moisture content, the banneton or proofing bowl needs to be well floured with a 50-50 combination of rice and bread flour. See Shaping video
Due to the high moisture content of the fresh pumpkin and pepitas sourdough bread, it is highly recommended to allow this dough to initially proof at room temperature and then to slow proof in the refrigerator. The refrigeration firms up the dough, making it easier to handle for baking.
Baking the fresh pumpkin and pepitas sourdough bread
This fresh pumpkin and pepitas sourdough bread is easier to handle when parchment paper is used to get the dough into the castiron dutch oven. See Scoring video

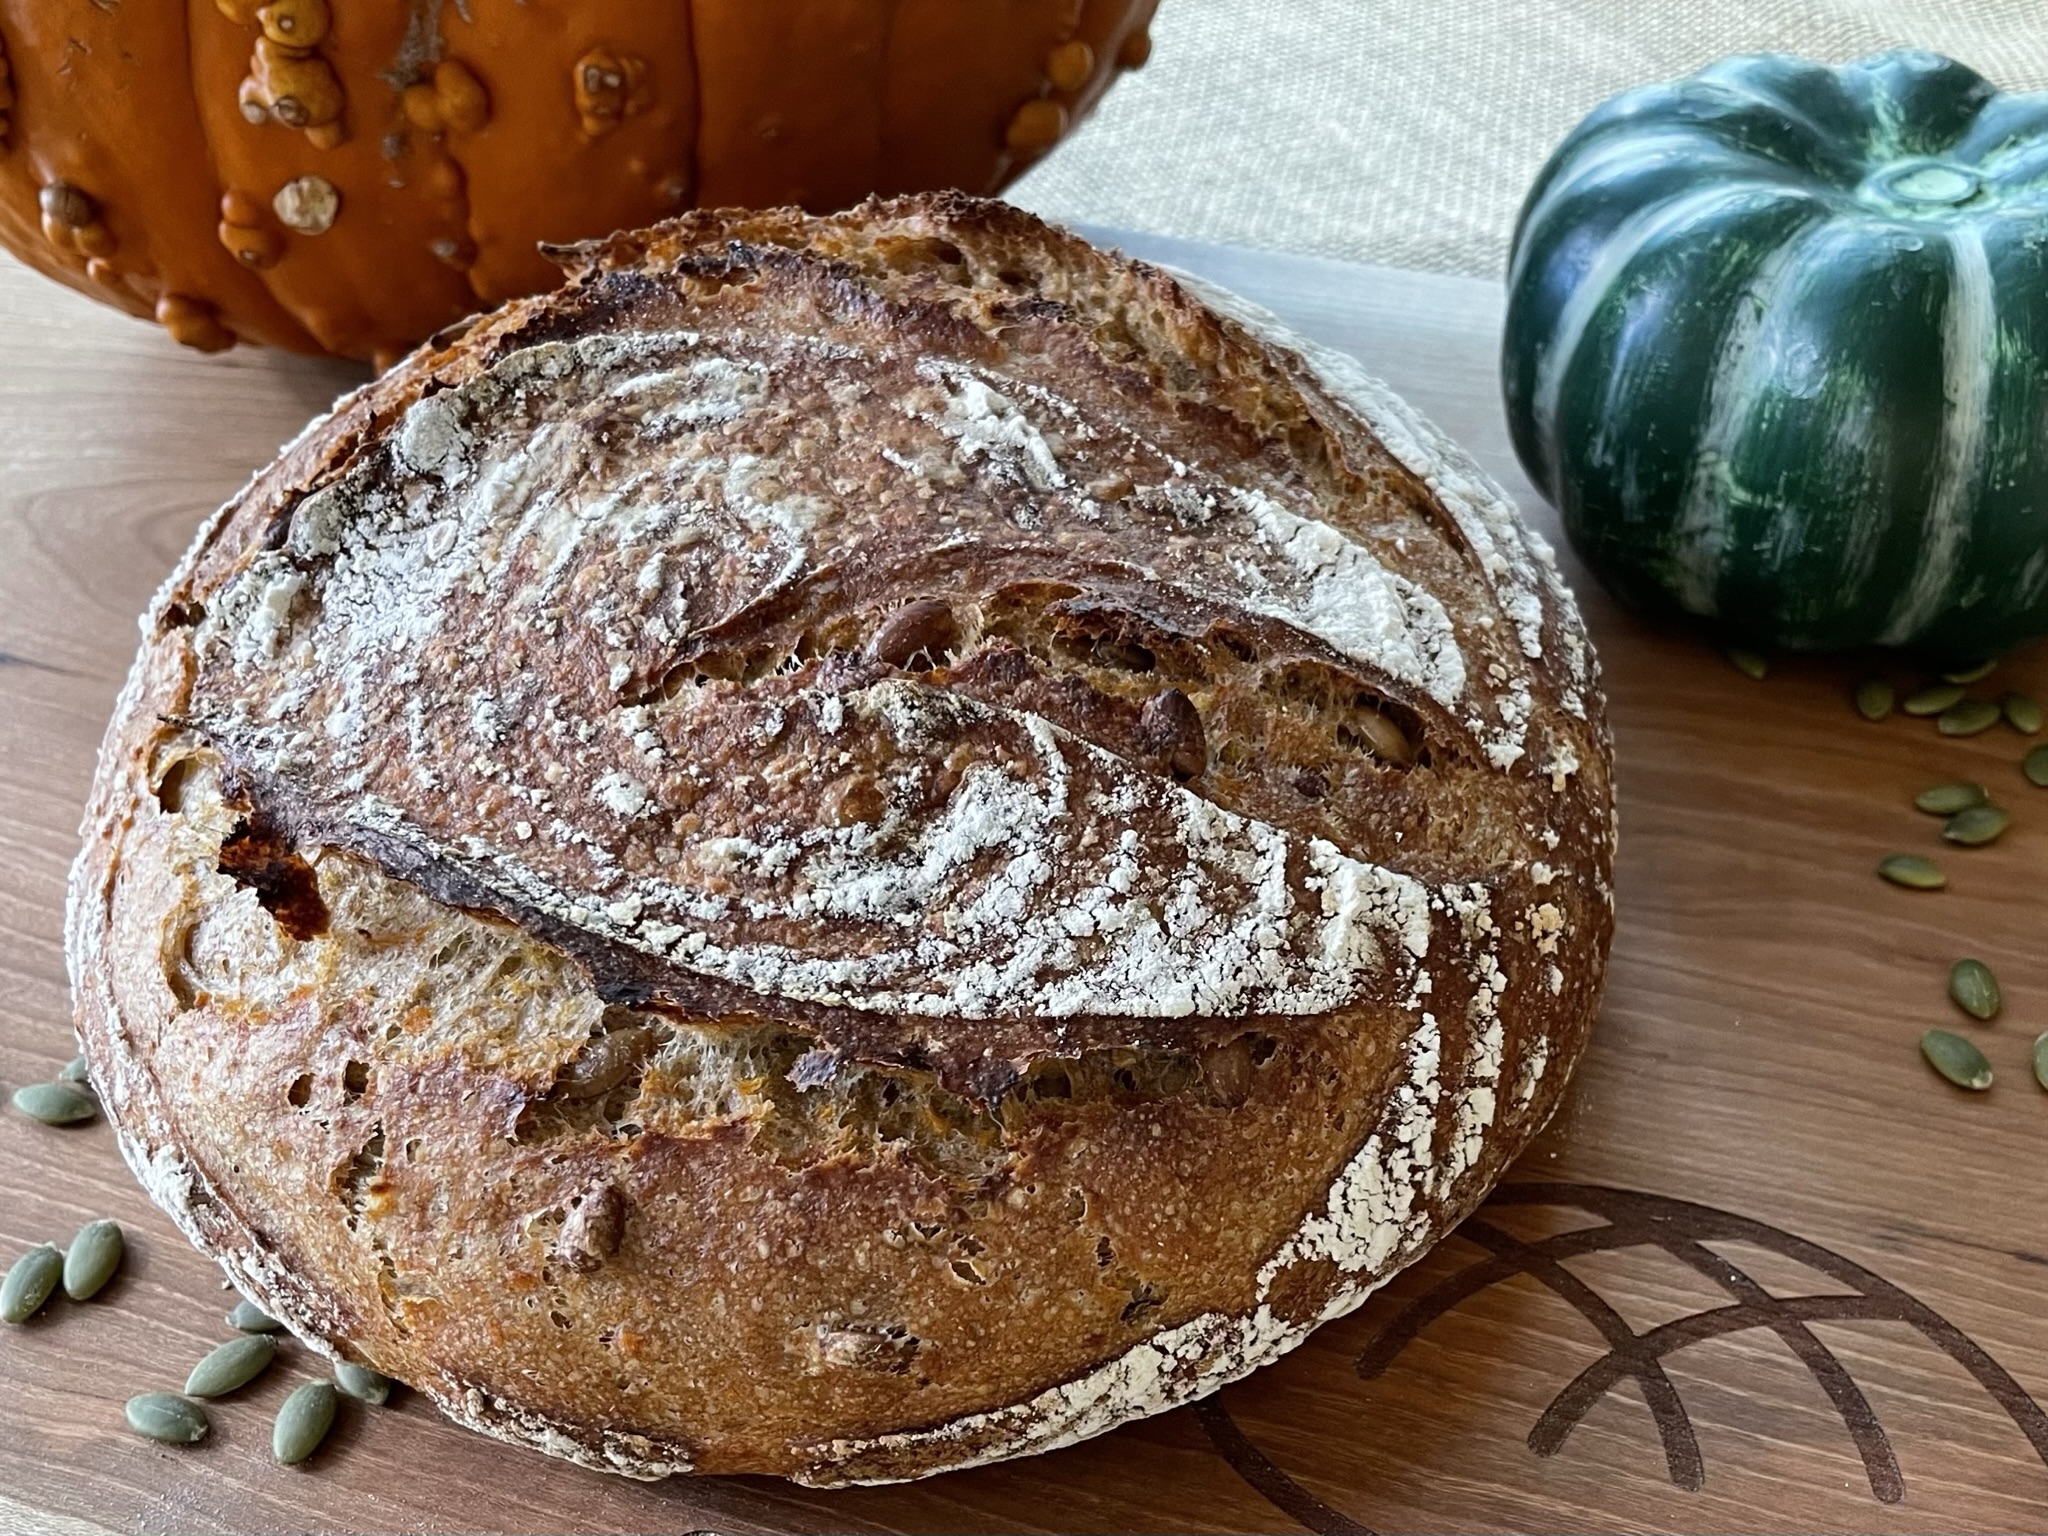
Pumpkin pepitas sourdough bread
Let me know what you think of this high fiber, nutritional and yummy bread made with Halloween discards!
FRESH PUMPKIN SOURDOUGH BREAD
This sourdough bread is made with fresh pumpkin and pepitas. What better way to use pumpkins after Halloween and Thanksgiving.
Equipment
- Cast Iron dutch oven
- 2 Large Bowls
- Bread lame, razor or pair of scissors
- Dish towel to cover dough
Ingredients
- 300 grams water (80 degrees-lukewarm)
- 380 grams bread flour
- 120 grams whole wheat flour
- 9 grams salt
- 100 grams levain See "What is levain and how to make it"
- 200 grams fresh peeled pumpkin, shredded
- 30 grams pumpkin seeds or pepitas
- rice / bread flour mixture Used for dusting your proofing bowl / banneton
Instructions
Preparing the pumpkin
- Shred the pumpkin using a grater or food processor.200 grams fresh peeled pumpkin, shredded
- Add the salt.9 grams salt
Making your bread dough
- Sift you bread and wheat flour into a bowl. I do this because some bread flours are very refined and clumpy. Sifting helps remove those clumps.380 grams bread flour, 120 grams whole wheat flour
- In another bowl, add your levain to your lukewarm water and stir to mix. It does not have to dissolve.300 grams water, 100 grams levain
- Mix in your flour mix and let sit for 45 minutes. This allows your dough to autolyze, allowing the flour to completely absorb all the liquid making it easier to work with.380 grams bread flour, 120 grams whole wheat flour

Kneading the bread dough.
- The dough is now ready for bulk fermentation where it will develop its flavor and body! Ambient temperatures between 70-80 degrees Fahrenheit will take 3 hours for bulk fermentation
- Add the salt and pumpkin mixture after the dough has autolyzed. It is also at this time when I will add the pepitas to the dough.30 grams pumpkin seeds or pepitas
- I knead the dough by hand...very therapeutic. Using wet hands, I pull and stretch the dough out at the top and fold it back on itself, I then rotate the dough a quarter turn and do the same thing 16 times. (4 complete revolutions!)
- Let dough rest for 30 minutes. You will notice that the dough will become more pliable with time. Cover and let sit for 30 minutes. Don’t forget to set your timer! Set timer for 30 minutes
- Knead dough
- Let it rest for 30 minutes.Set timer for 30 minutes
- Knead dough
- Let dough rest for 30 minutesSet timer for 30 minutes
- Knead dough
- Let dough rest for 30 minutesSet timer for 30 minutes
- Knead dough
- Let dough rest for 30 minutesSet timer for 30 minutes
- Knead dough
- Let dough rest for 30 minutesSet timer for 30 minutes
- Knead dough. The dough should be soft and pliable. If not, continue bulk fermentation for another 30 mins - 1 hour.
Shaping your bread dough.
- Pull dough out of the container. You can make smaller bolles by using about 250 grams of dough (a half of your recipe) in a 2 quart cast iron dutch oven. See Cutting and Shaping your Dough in my Tips & Tricks section.
- On a floured surface, lightly dust your dough with flour and work it into a round by pulling it towards you and rotating. It should become somewhat taut as you pull the dough, part of your goal is to remove most of the air bubbles that were created during the fermentation process. I have found that if you keep these air bubbles, your bread will be very porous with a lot of air bubbles (almost like a ciabatta). Some people like this, other people want a little more substance.
- Let it sit for 20 minutes. Set timer for 10 minutes
- Shape again. See Cutting and Shaping your Dough in my Tips & Tricks section.
- Prepare your banneton (Coiled rattan baskets for proofing) by generously dusting the bowl or banneton with your bread and rice flour mixture. Dust the tops of your loaves with flour and place it in a bowl or banneton with the dome side on the bottom of the banneton.rice / bread flour mixture
Proofing your dough - Quick Proof
- Cover your banneton with a damp cloth and let rise in a warm place for 2 hours. I usually put this in my oven with the oven light on.Proof dough for 120 minutes
- Take your dough out and preheat oven to 500° fahrenheit (260° Celcius) with your cast iron dutch oven in it. (Should take about an hour depending to get your cast iron pot to the desired temperature.) This will be a total of 3 hours of proofing. I have proofed bread for 4 hours. However, overproofing your dough with cause your dough to lose its ability to have enough strength for the "oven-spring" (the last rise in the oven as a result of intense heat).
Proofing your dough - Slow Proof
- Allow dough to proof at room temperature for one hour before cold proofing.
- Place your banneton in a plastic bag. Seal it with a clip. Place it in the refrigerator for 12-16 hours.
- Preheat oven to 500° fahrenheit (260° Celcius) with your cast iron dutch oven in it. (Should take about an hour depending to get your cast iron pot to the desired temperature.
Scoring your dough.
- The dough should be fairly firm but not impossible to handle after proofing. Take a piece of parchment paper that will generously cover the top of the bowl/banneton. Crumple it so that it folds easily in the pot. Place it over the bowl/banneton.
- Flip the banneton over. The dough is now ready for scoring
- Dust the top of the dough with a little more flour if necessary or brush off excess flour from proofing. Score the bread by cutting it with a razor blade, bread lame, or a pair of scissors. Scoring the bread allows for oven spring when the dough expands quickly during baking and gives your dough a pretty design. See Scoring your dough in my Tips & Tricks section.
- Gently lower your scored bread into the dutch oven. If you have a cast iron skillet / dutch oven set as shown on my "Helpful Tools" section. After scoring, place the dough in the skillet of the set and cover the dough with the dutch-oven section. Place it in the oven with the skillet on the bottom.
- Cover.
Baking your bread
- Reduce oven temperature to 450°F
- Bake for 25 minutes. Smaller 2 quart bolles should bake for 20 minutes.Set timer for 25 minutes for large bolle Set timer for 20 minutes for small bolle
- Remove the lid and continue baking for an additional 25 or 20 minutes respectively.Set timer for 25 minutes for large bolle Set timer for 20 minutes for small bolle
- Remove from oven and remove from dutch oven and let cool on wire rack.
- To bake the second loaf, after removing the first loaf, bring the oven temperature back to 500 degrees, wipe the dutch oven with a clean dry towel, place the dutch oven in it for 10 minutes and bake according to recipe.
- Bread should cool for at least an hour before attempting to slice into it!
Notes
Makes 1 large loaf / bolle that bakes in a 3.3 quart (24cm) cast iron dutchoven or 2 small bolles that bakes in a 2 quart cast iron dutch oven
Although this recipe has a built-in timer, the clock will stop if you exit the program or your device goes to sleep. Sorry!
Nutrition
Serving: 1sliceCalories: 162kcal
Tried this recipe?Let me know how it was or if you have any questions or suggestions!
I want to see!Follow @Sammywongskitchen on Instagram or Facebook, snap a photo and tag it #sammywongskitchen