3 Comments
share this
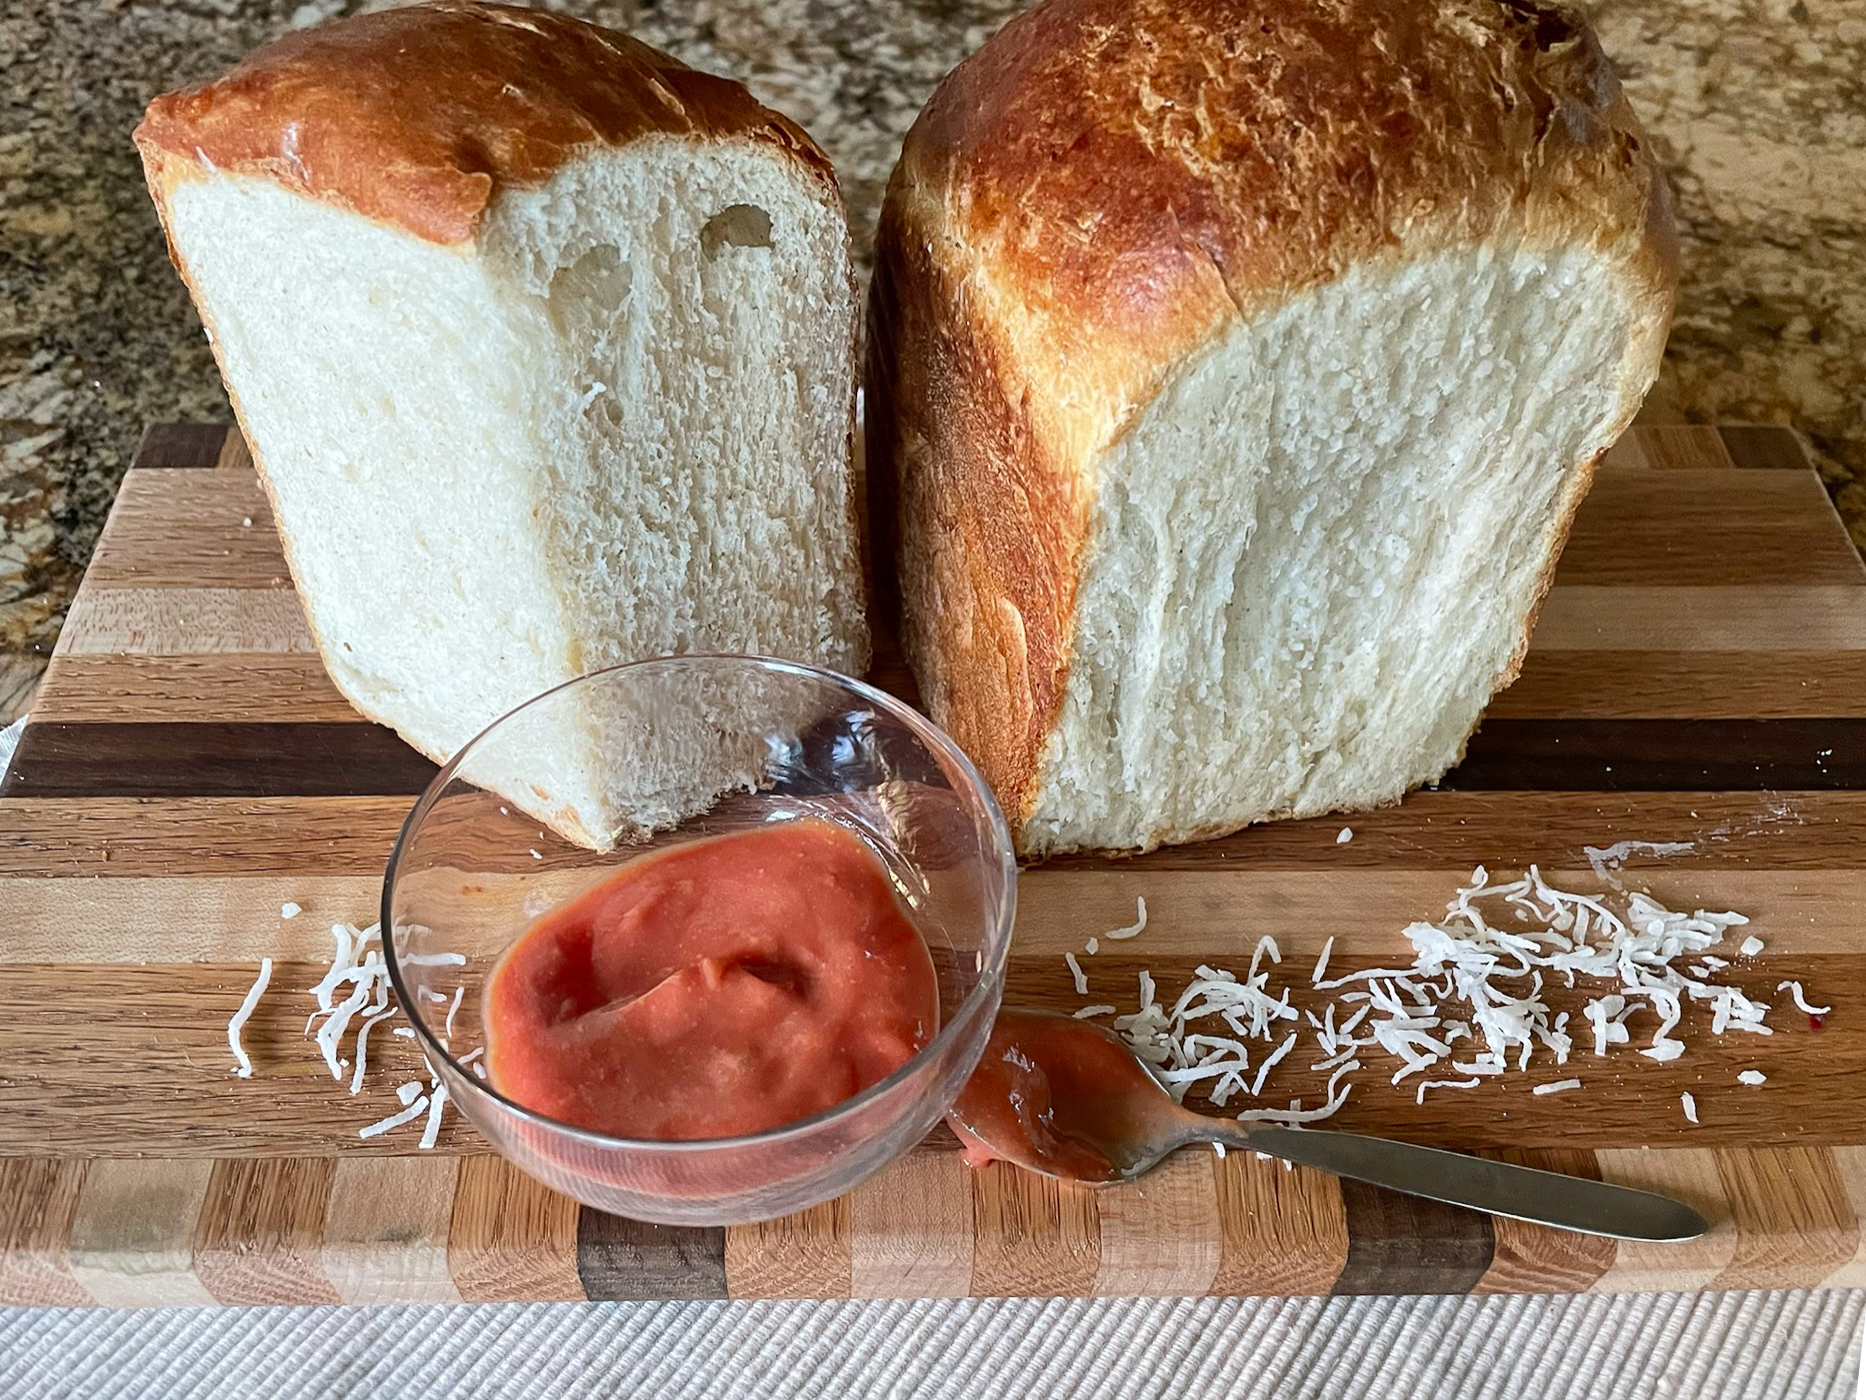
I LOVE coconut. Coconut ice cream, fresh coconut, coconut water and sourdough coconut milk bread! I've been making and experimenting with coconut swirl bread for years, trying to make a HEALTHY coconut bread with a moist and tender crumb. I learned about the benefits of making bread with the tangzhong method (Chinese technique), or Yudane method (Japanese technique) that boils a small quantity of flour and liquid before adding it to a yeast dough which results in a moister, softer and fluffier bread. The Chinese and Japanese techniques differ in the ratio of flour to water. For a while, I used this technique with commercial yeast until my pre-diabetic diagnosis and since then, I've been trying to come up with a sourdough option with that same wonderful texture. Why? Because incorporating sourdough starter elevates the nutritional value of any bread and lowers the glycemic index of the bread.
Challenges with this sourdough coconut milk bread
However, sourdough breads do have their unique characteristics such as an airy crumb and thick crust so it was a challenge figuring out the correct ingredient proportions and technique to produce a soft, silky, smooth and fluffier crumb. I worked on a coconut brioche which tasted great but had a lot of butter and you couldn't really taste it. So I decided to develop a recipe that had the richness and tenderness of a brioche but with less fat. I also wanted to create a bread that would be doable for beginner bakers. After months of testing and re-testing, I'm ecstatic about his sourdough coconut milk bread. For those of you who have been patiently waiting for this blog post, this is the reason for the tardiness.
Tangzhong or yudane method
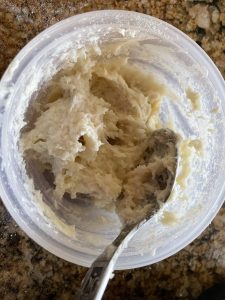
The principle of the tangzhong (Chinese) and yudane (Japanese) method of baking is to mix a small amount of flour with boiling water so that the starches in the flour gelatinizes which allows the flour to absorb more water, resulting in a more moist bread. The Tangzhong method uses a 1:5 flour to water ratio and the yudane method uses a 1:1 flour to water ratio. This sourdough coconut milk break uses a 1:1 ratio of flour to water. This yudane should be made when making the levain and allow it to rest overnight.
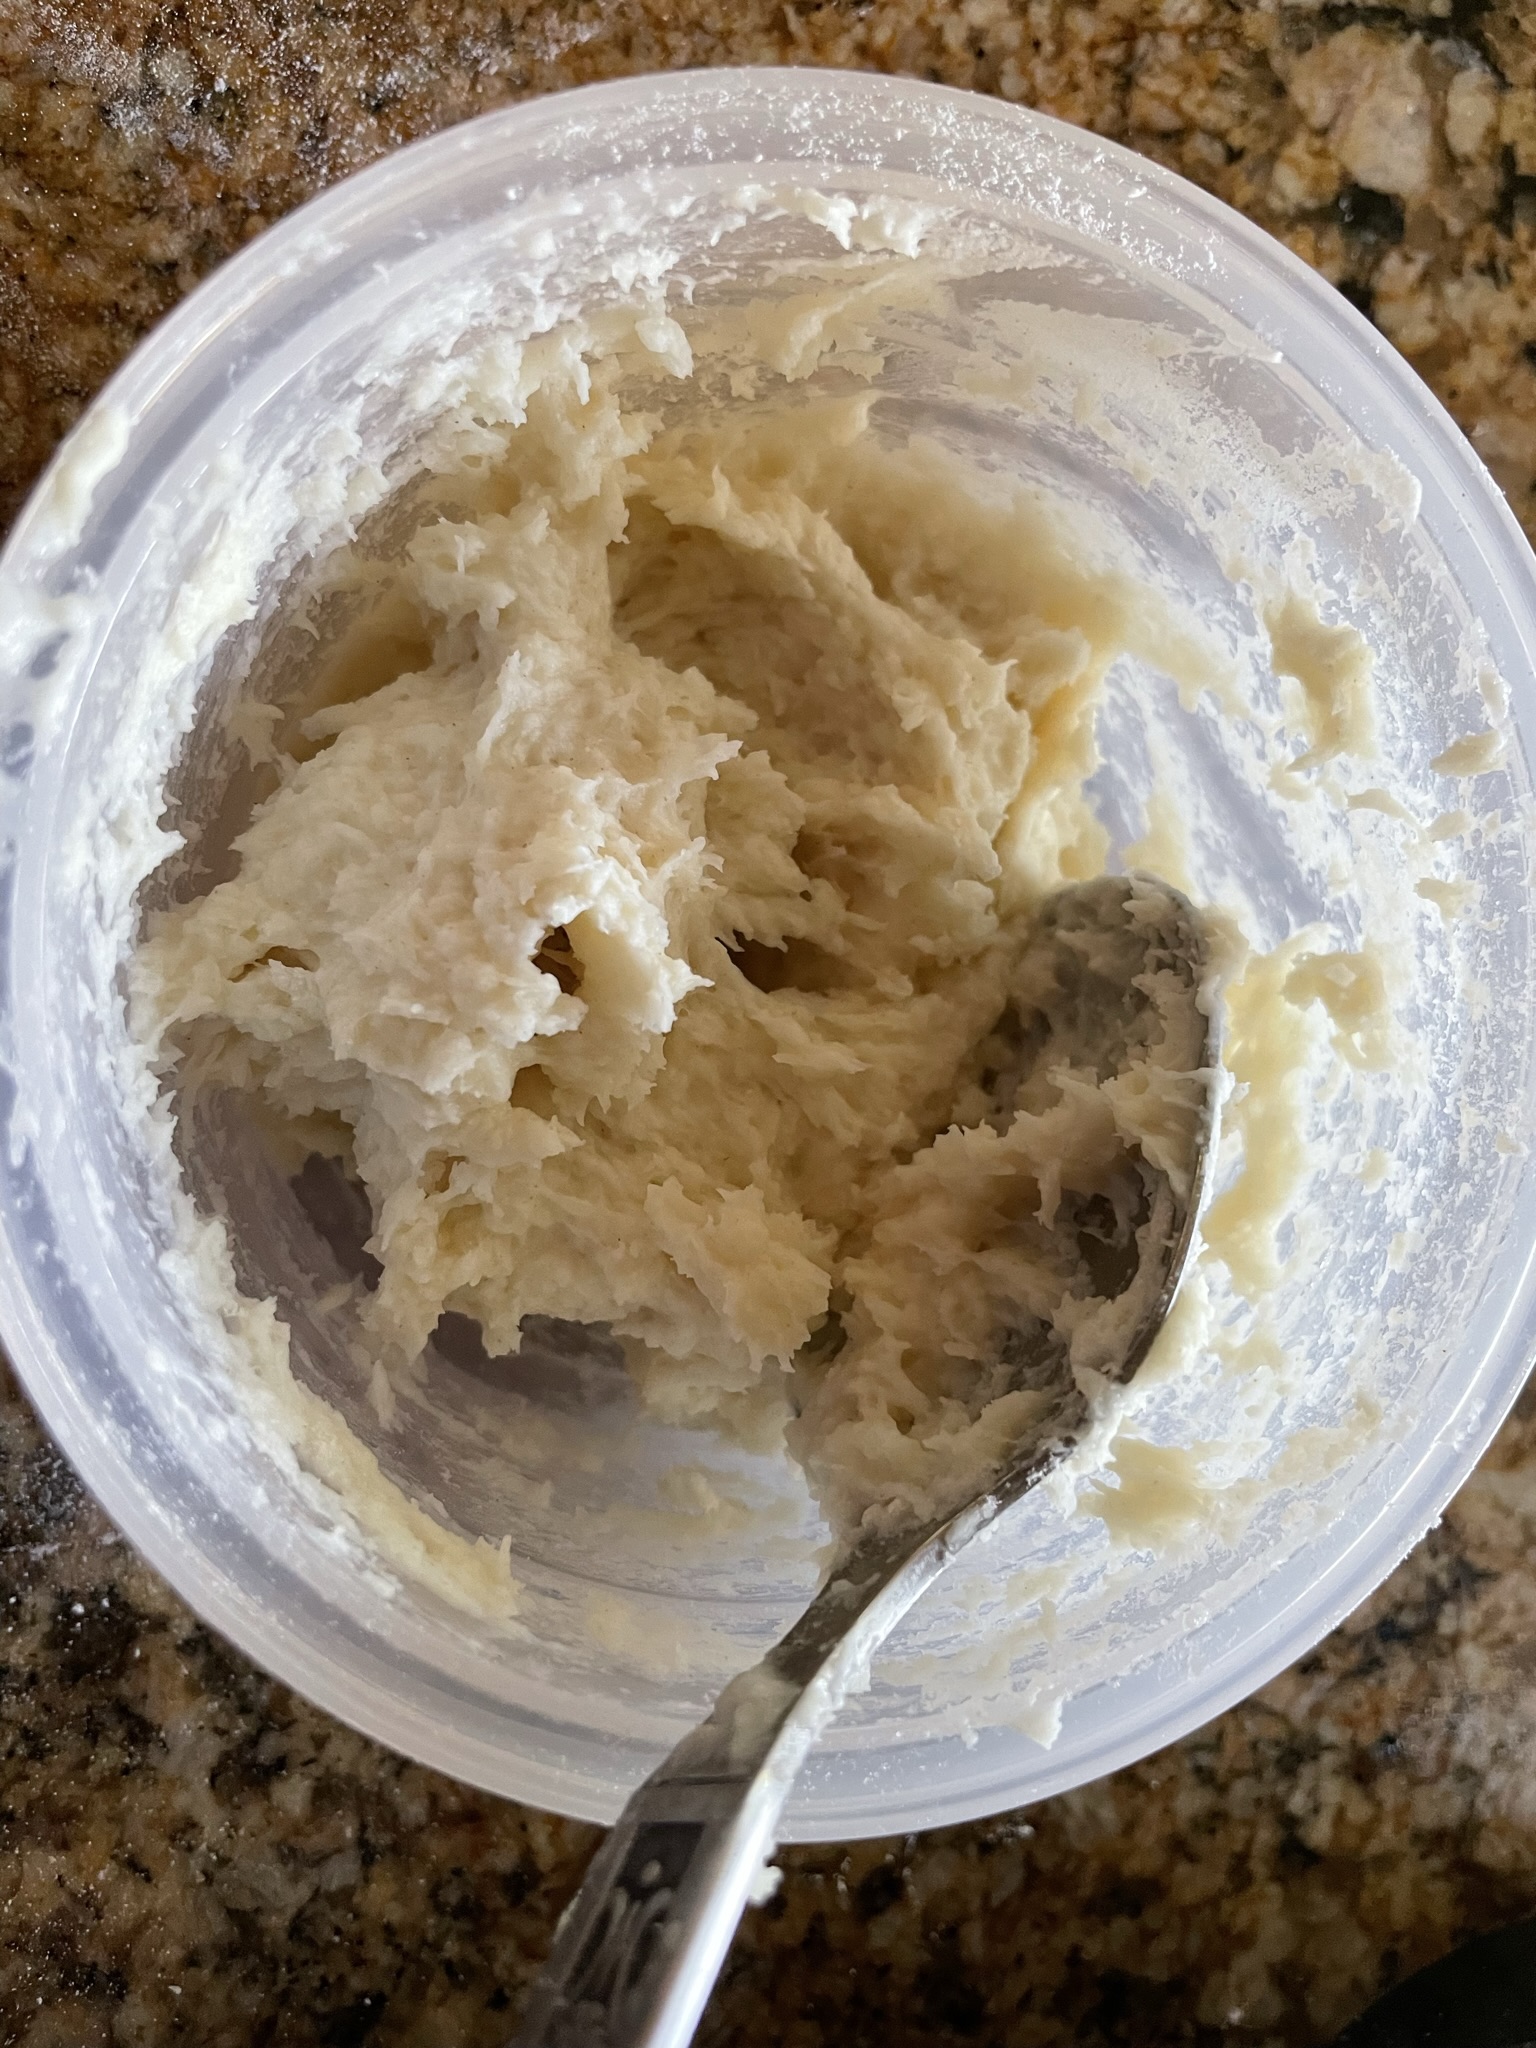
Yudane made by mixing boiling water with bread flour.
Tips for making sourdough coconut milk bread
This sourdough coconut milk bread requires 140 grams of active starter. Since I only keep about 60 grams of starter on hand, this bread requires a day to make adequate starter, a day to make the levain and a day for bread making and proofing. However, it is well worth the time, so plan accordingly if you want to taste a slice of heaven!
Levain
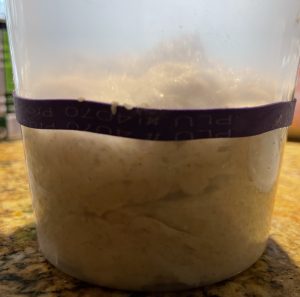
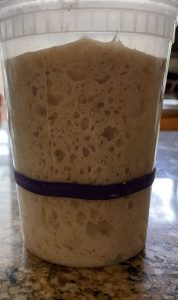
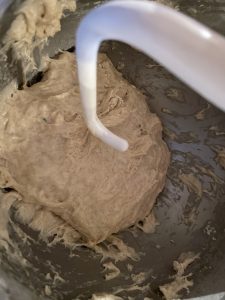
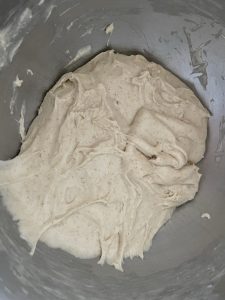
The levain is a preferment that is a combination of starter, flour and liquid which is allowed to become active and then added to the main dough ingredients. This recipe calls for a sweet, stiff levain. The levain should triple in volume and be full of air pockets when ready.
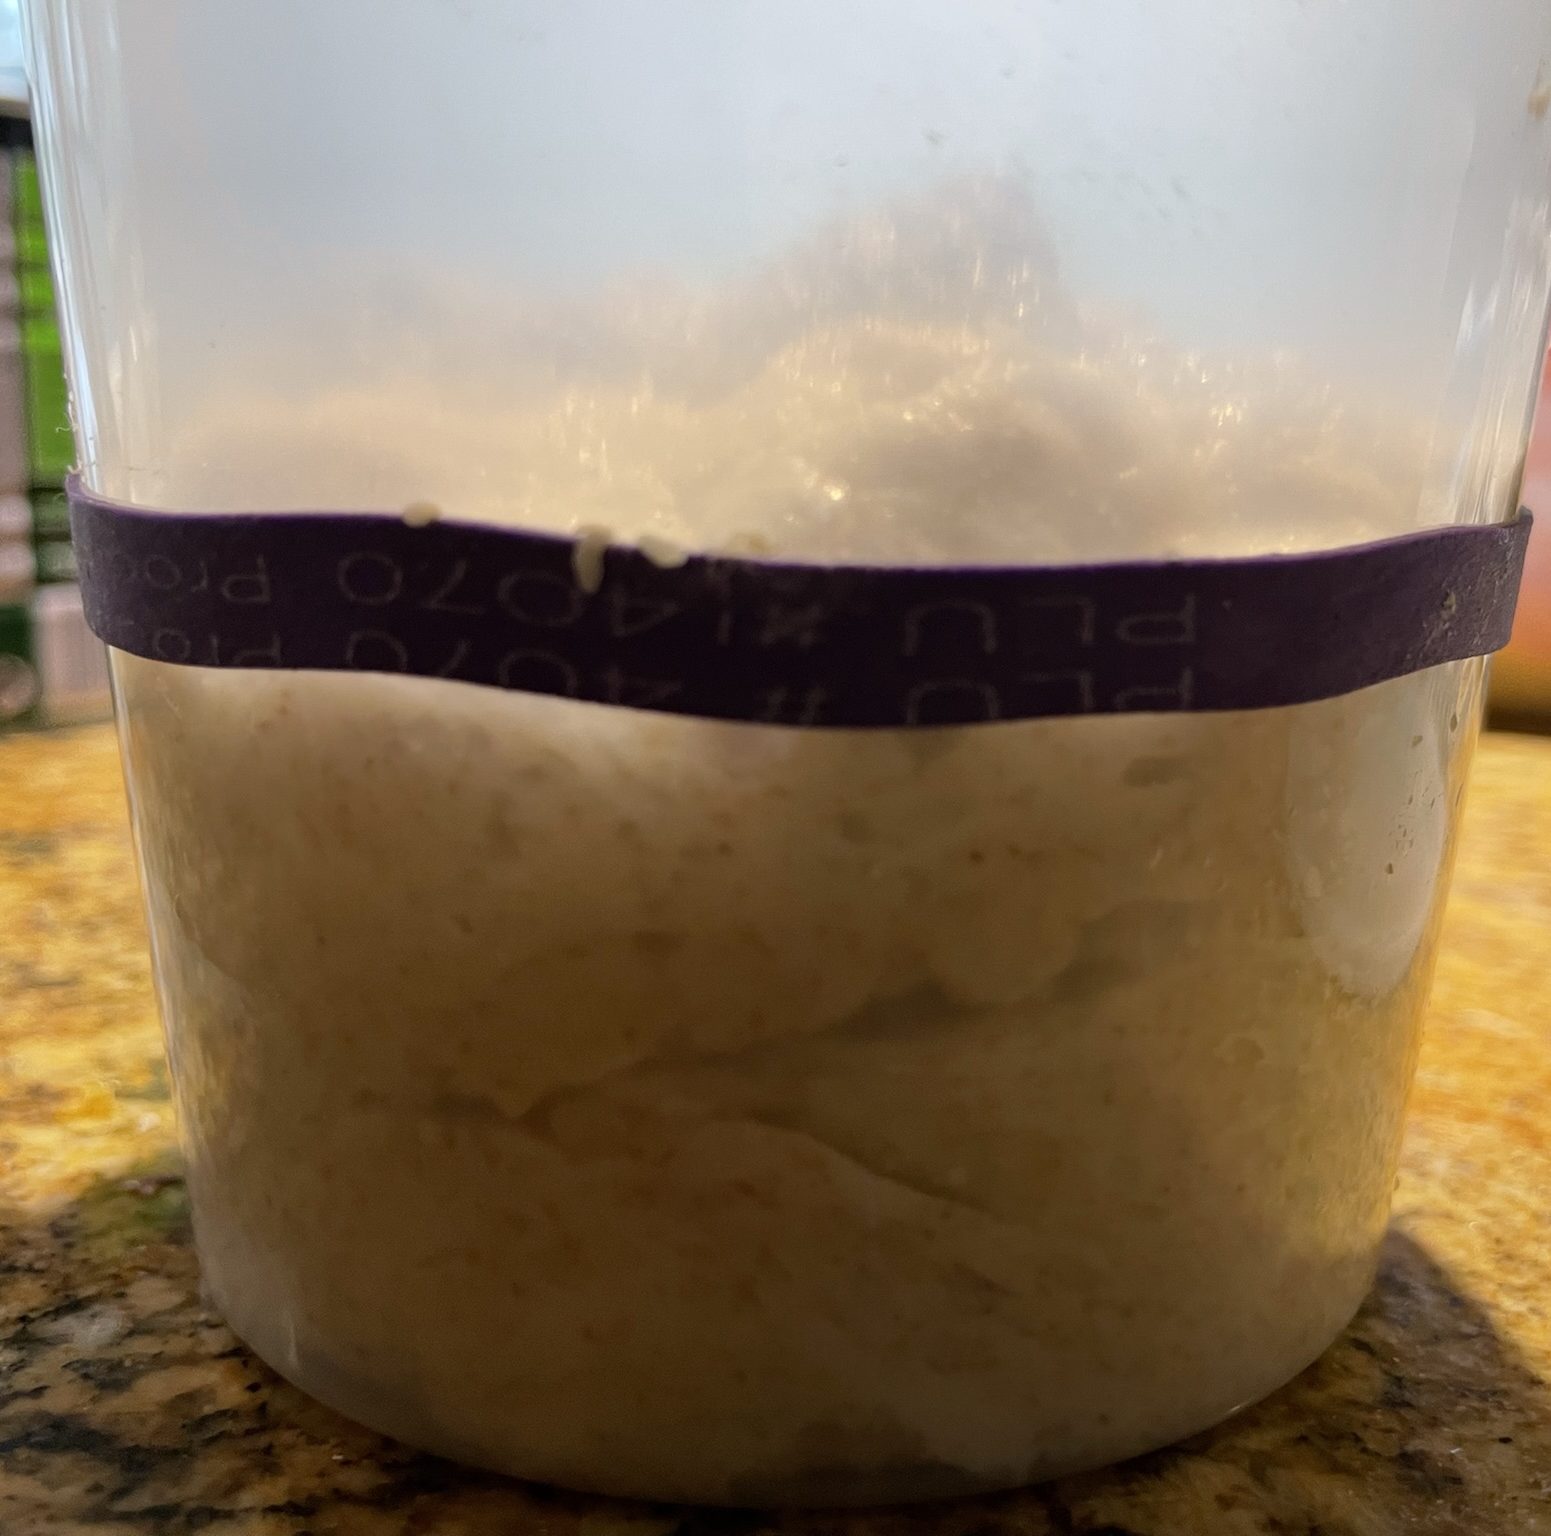
Sweet stiff levain
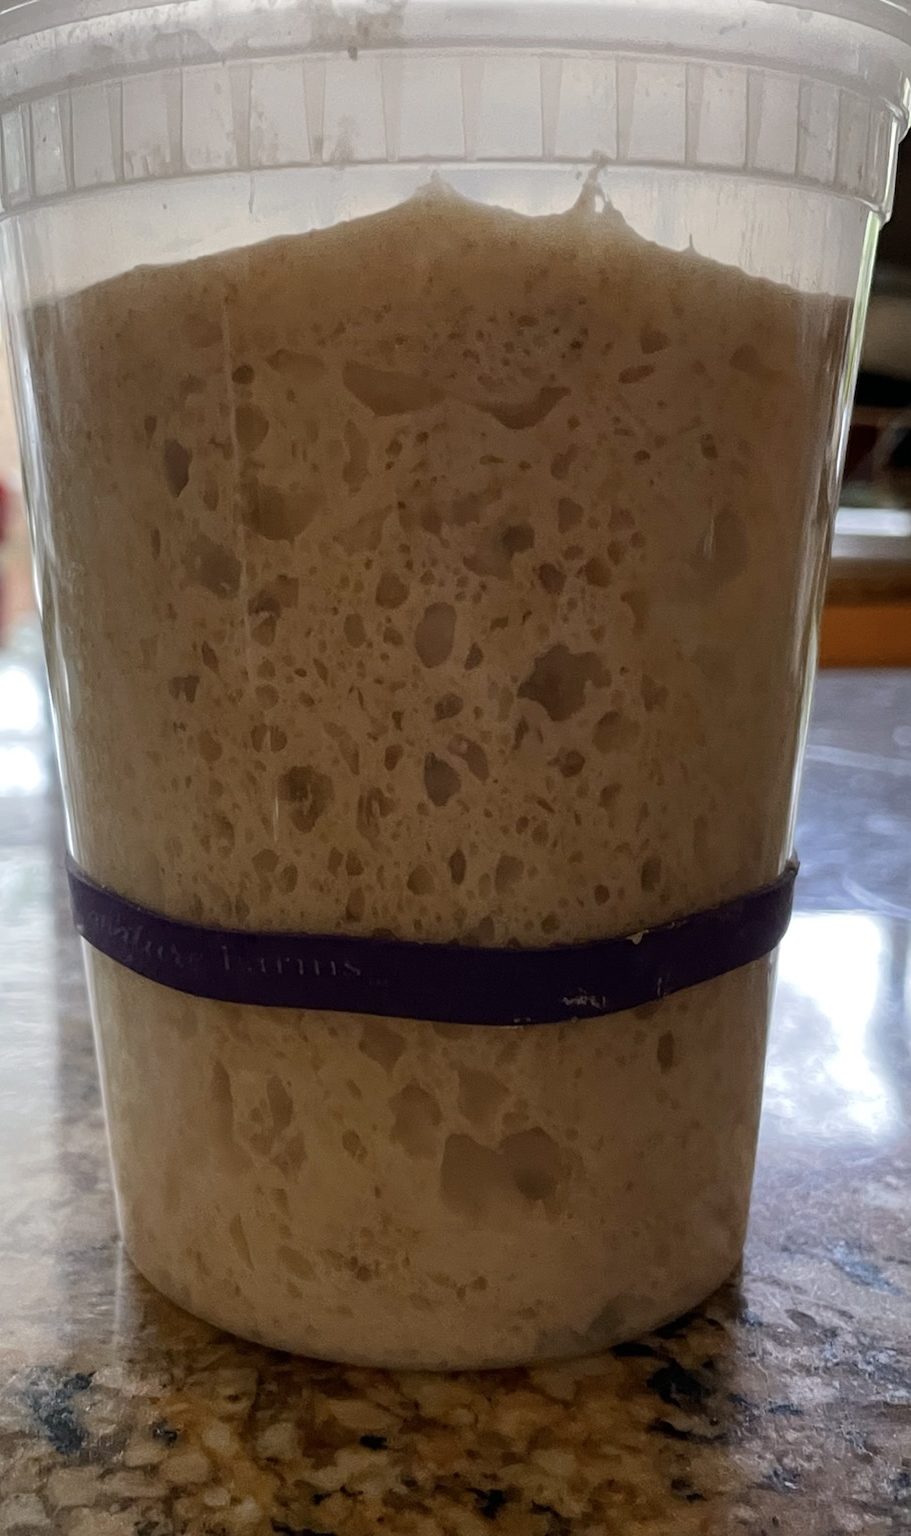
Sweet, stiff starter ready for use
Use a stand mixer
A stand mixer helps knead the bread until it passes the window pane test. Initially, when incorporating all the ingredients together, use the paddle attachment. After autolyse and adding the salt and coconut oil, switch to the dough hook to knead the dough. As the mixer kneads the dough, gluten is developed which strengthens the dough. This allows the dough to stretch to a very thin sheet. You can perform the window pane test to determine whether the dough is ready for bulk fermentation.
Incorporating the coconut swirl into the sourdough coconut milk bread
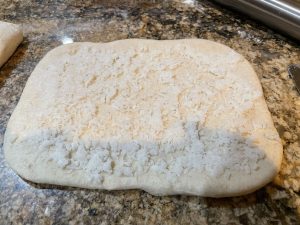
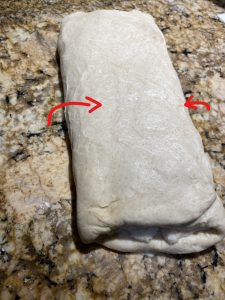
I have experimented with various ways of incorporating the coconut flake into the bread. The easist way is to divide the dough into the number of rolls that will fit into your bread loaf (2 or 3), roll the dough out into a rectangle with one side measuring a little less than 3 times the length of the width of your bread pann and about 3/8" (1 cm) in height. Directly apply the coconut flake mixture onto the dough when it's rolled out. Fold the dough into thirds to avoid the sweet coconut mixture from sticking to the sides of the bread pan when creating the roll.
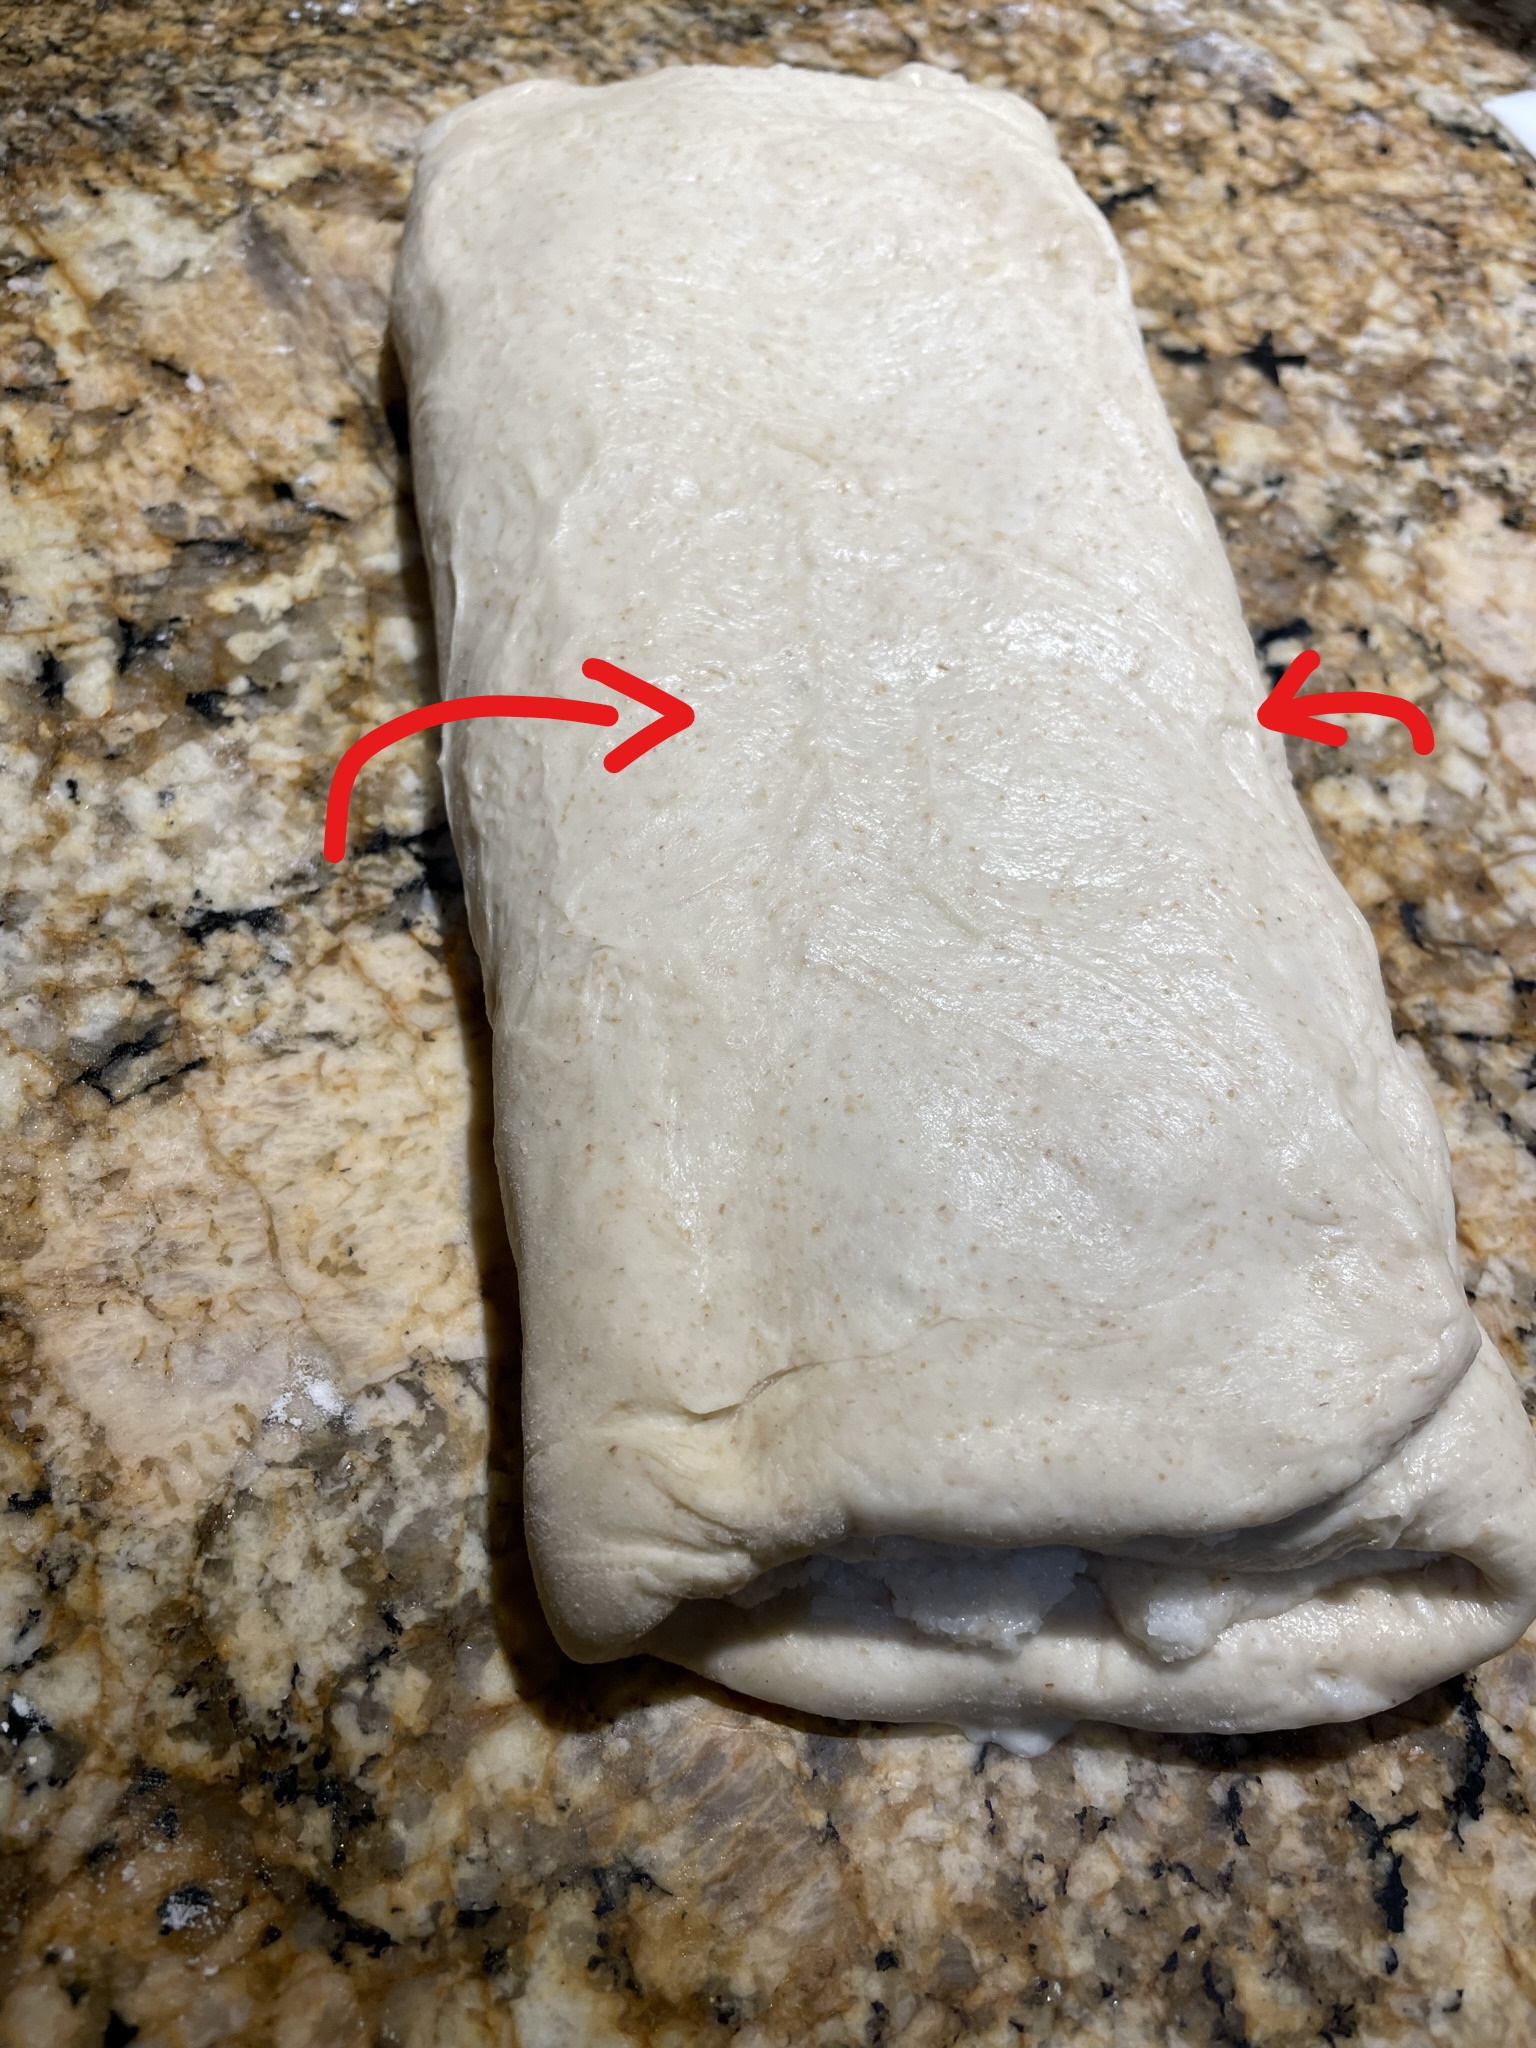
Fold dough into thirds
Proofing the sourdough coconut milk bread.
I've experimented with various proofing methods. For this sourdough coconut milk bread, there is no one perfect proofing method. Rather, the proofing method depends on when you want to have your warm, fresh bread available to eat.
The recipe gives 3 options so you decide which method works for your schedule. For the COOL proof method, this can only be done in environments where the night temperature is below 60 degrees Fahrenheit or 15 degrees Celcius for about 8 hours. Therefore, this cool proofing method only works in winter for me. It would be overproofed if I proofed this overnight during the summer! The advantage of the cool proof method is delicious, warm bread for breakfast. Yum!
In summary:
Bread available in the morning: COOL PROOF (Night temperature below 60F or 15C)
Bread available in the afternoon: COLD PROOF (Overnight refrigeration) THEN WARM PROOF (Above 70F or 21C)
Bread available in the evening: WARM PROOF (Above 70F or 21C)
COCONUT MILK SOURDOUGH BREAD
Equipment
Ingredients
Sweet stiff starter
- 140 g sourdough starter
- 80 g coconut milk
- 140 g bread flour
- 20 g sugar
Yudane
- 50 g boiling water
- 50 g bread flour
Main dough
- 120 g bread flour
- 20 g sugar
- 1 large egg
- 20 g coconut milk
- 5 g salt
- 20 g coconut oil
Coconut swirl filling
- 80 g sweetened flaked coconut
- 3 Tbsp coconut milk
- 40 g sugar
- ¼ tsp salt
Egg wash
- 1 egg
- 1 Tbsp water
Instructions
Make active starter. (Make this prior to going to bed)
- Make enough active starter for the recipe.
Make sweet starter. (Make this the next morning)
- In a container (with lid), combine sourdough starter, coconut milk, bread flour and sugar to create a levain.140 g sourdough starter, 80 g coconut milk, 140 g bread flour, 20 g sugar
- Cover and set in a warm place until active and bubbly and triple in size. Do not overproof. (Usually takes about 6-8 hours)
Make yudane. (Make this at the same time as the sweet starter)
- In a small sealable container, add boiling water.50 g boiling water, 50 g bread flour
- Add bread flour and stir until a ball is formed. Set aside and allow to rest while sweet starter ferments.
Make coconut swirl. (Make this at the same time as the sweet starter)
- Blend all the coconut swirl ingredients until fairly fine. Set aside until needed. (Make this at the same time as the sweet starter)
Make main dough. (Make this in the afternoon)
- Sift dry ingredients of bread flour, sugar and salt into a bowl.120 g bread flour, 20 g sugar, 5 g salt
- Cut coconut oil into pieces into another small bowl.20 g coconut oil
- In a stand mixer, using the whisk attachment, combine egg and coconut milk.
- Add sweet starter and yudane until well combined.1 large egg
- Switch to hook attachment, add dry ingredients while machine is on.
- Allow to mix for 5 minutes.
- Add coconut chunks while machine is on.
- Mix for 15-20 minutes until dough passes the window pane test.
- Divide dough into 2-3 equal portions. Cool in the refrigerator for an hour. This makes the dough easier to handle.
Shape dough.
- Remove bread from refrigerator. It will be easier to handle when cold.
- Using a rolling pin, roll dough into a rectangle with the width being almost 3 times the width of your bread pan and1/4" (.64cm) thick.
- Divide the coconut mixture into equal parts according to the number of dough portions and spread it onto the rectangle.
- Fold the dough into thirds so the exposed coconut mixture faces you. This is also the narrow section of the rectangle.
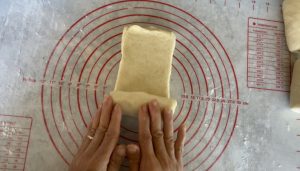
- With the narrow section facing you, roll the dough to 3/8" (1cm) thickness. The coconut mixture should be nicely enclosed in the dough.
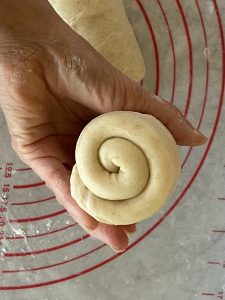
- With your hands, roll the rectangle to form a roll.
- The dough should look like a "swiss roll"
- Optional: Place parchment paper on the bottom of a loaf pan.
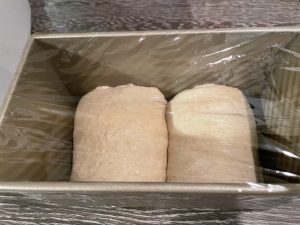
- Place the rolls into loaf pan with seams facing down.
- Place loaf pan in a plastic bag.
Option 1. Cold proof, then warm proof. (Allow to proof overnight)
- Refrigerate overnight.
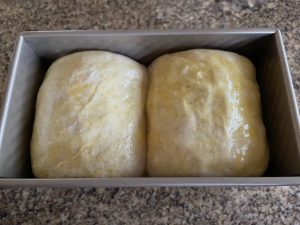
- Remove from refrigerator and allow to double in size. Ocassionally, brush the top of the bread dough with water to prevent a dry skin from forming. This helps the dough to rise.
- This may take up to 8 hours depending on the temperature of your home. The bread dough should be close to the top of the bread pan.
Option 2. Warm proof. (Needs about 4- 6 hours in warm environment before baking)
- Depending on the temperature of your house, allow the dough to double in size. DO NOT OVERPROOF. Ocassionally, brush the top of the bread dough with water to prevent a dry skin from forming. This helps the dough to rise.
Option 3. Cool proof overnight. (Needs about 8 hours in cool environment before baking)
- Allow dough to double in size, unrefrigerated, overnight in a cool environment with temperatures below 60° F or 15° C. Bake first thing in the morning. DO NOT OVERPROOF.
Video
Notes
Nutrition
Need meal ideas?
EASY, HEALTHY, DELICIOUS!
DON'T MISS A RECIPE

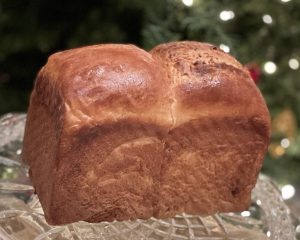
I made this bread (baked it this morning) it is quite good with lovely texture.
It is surprisingly heavy, which means a little goes a long way….you definitely do not have to eat much.
Also tasty enough that you do not need to add anything to it. Could be a little sweeter, but does not need to be – if that makes sense.
Great for breakfast.
The recipe is written out clearly, and if you follow the instructions you should be able to make it.
The preheat and lower temperature degrees are the same?
Overall I enjoyed it.
Thank you Sammy.
I'm wanting to try this recipe, but I'm a but confused with the measurement for the sweet stiff starter.
140 g sourdough starter
80 g coconut milk
140 g bread flour
20 g sugar
works out to be 380g of sweet stiff starter, is this correct?
Yes, that is correct. The actual amount of bread flour in the main dough recipe is small, because most of it is going into the starter. It should more than double, almost triple in size! Hope that helps and let me know how it turns out.