0 Comments
share this
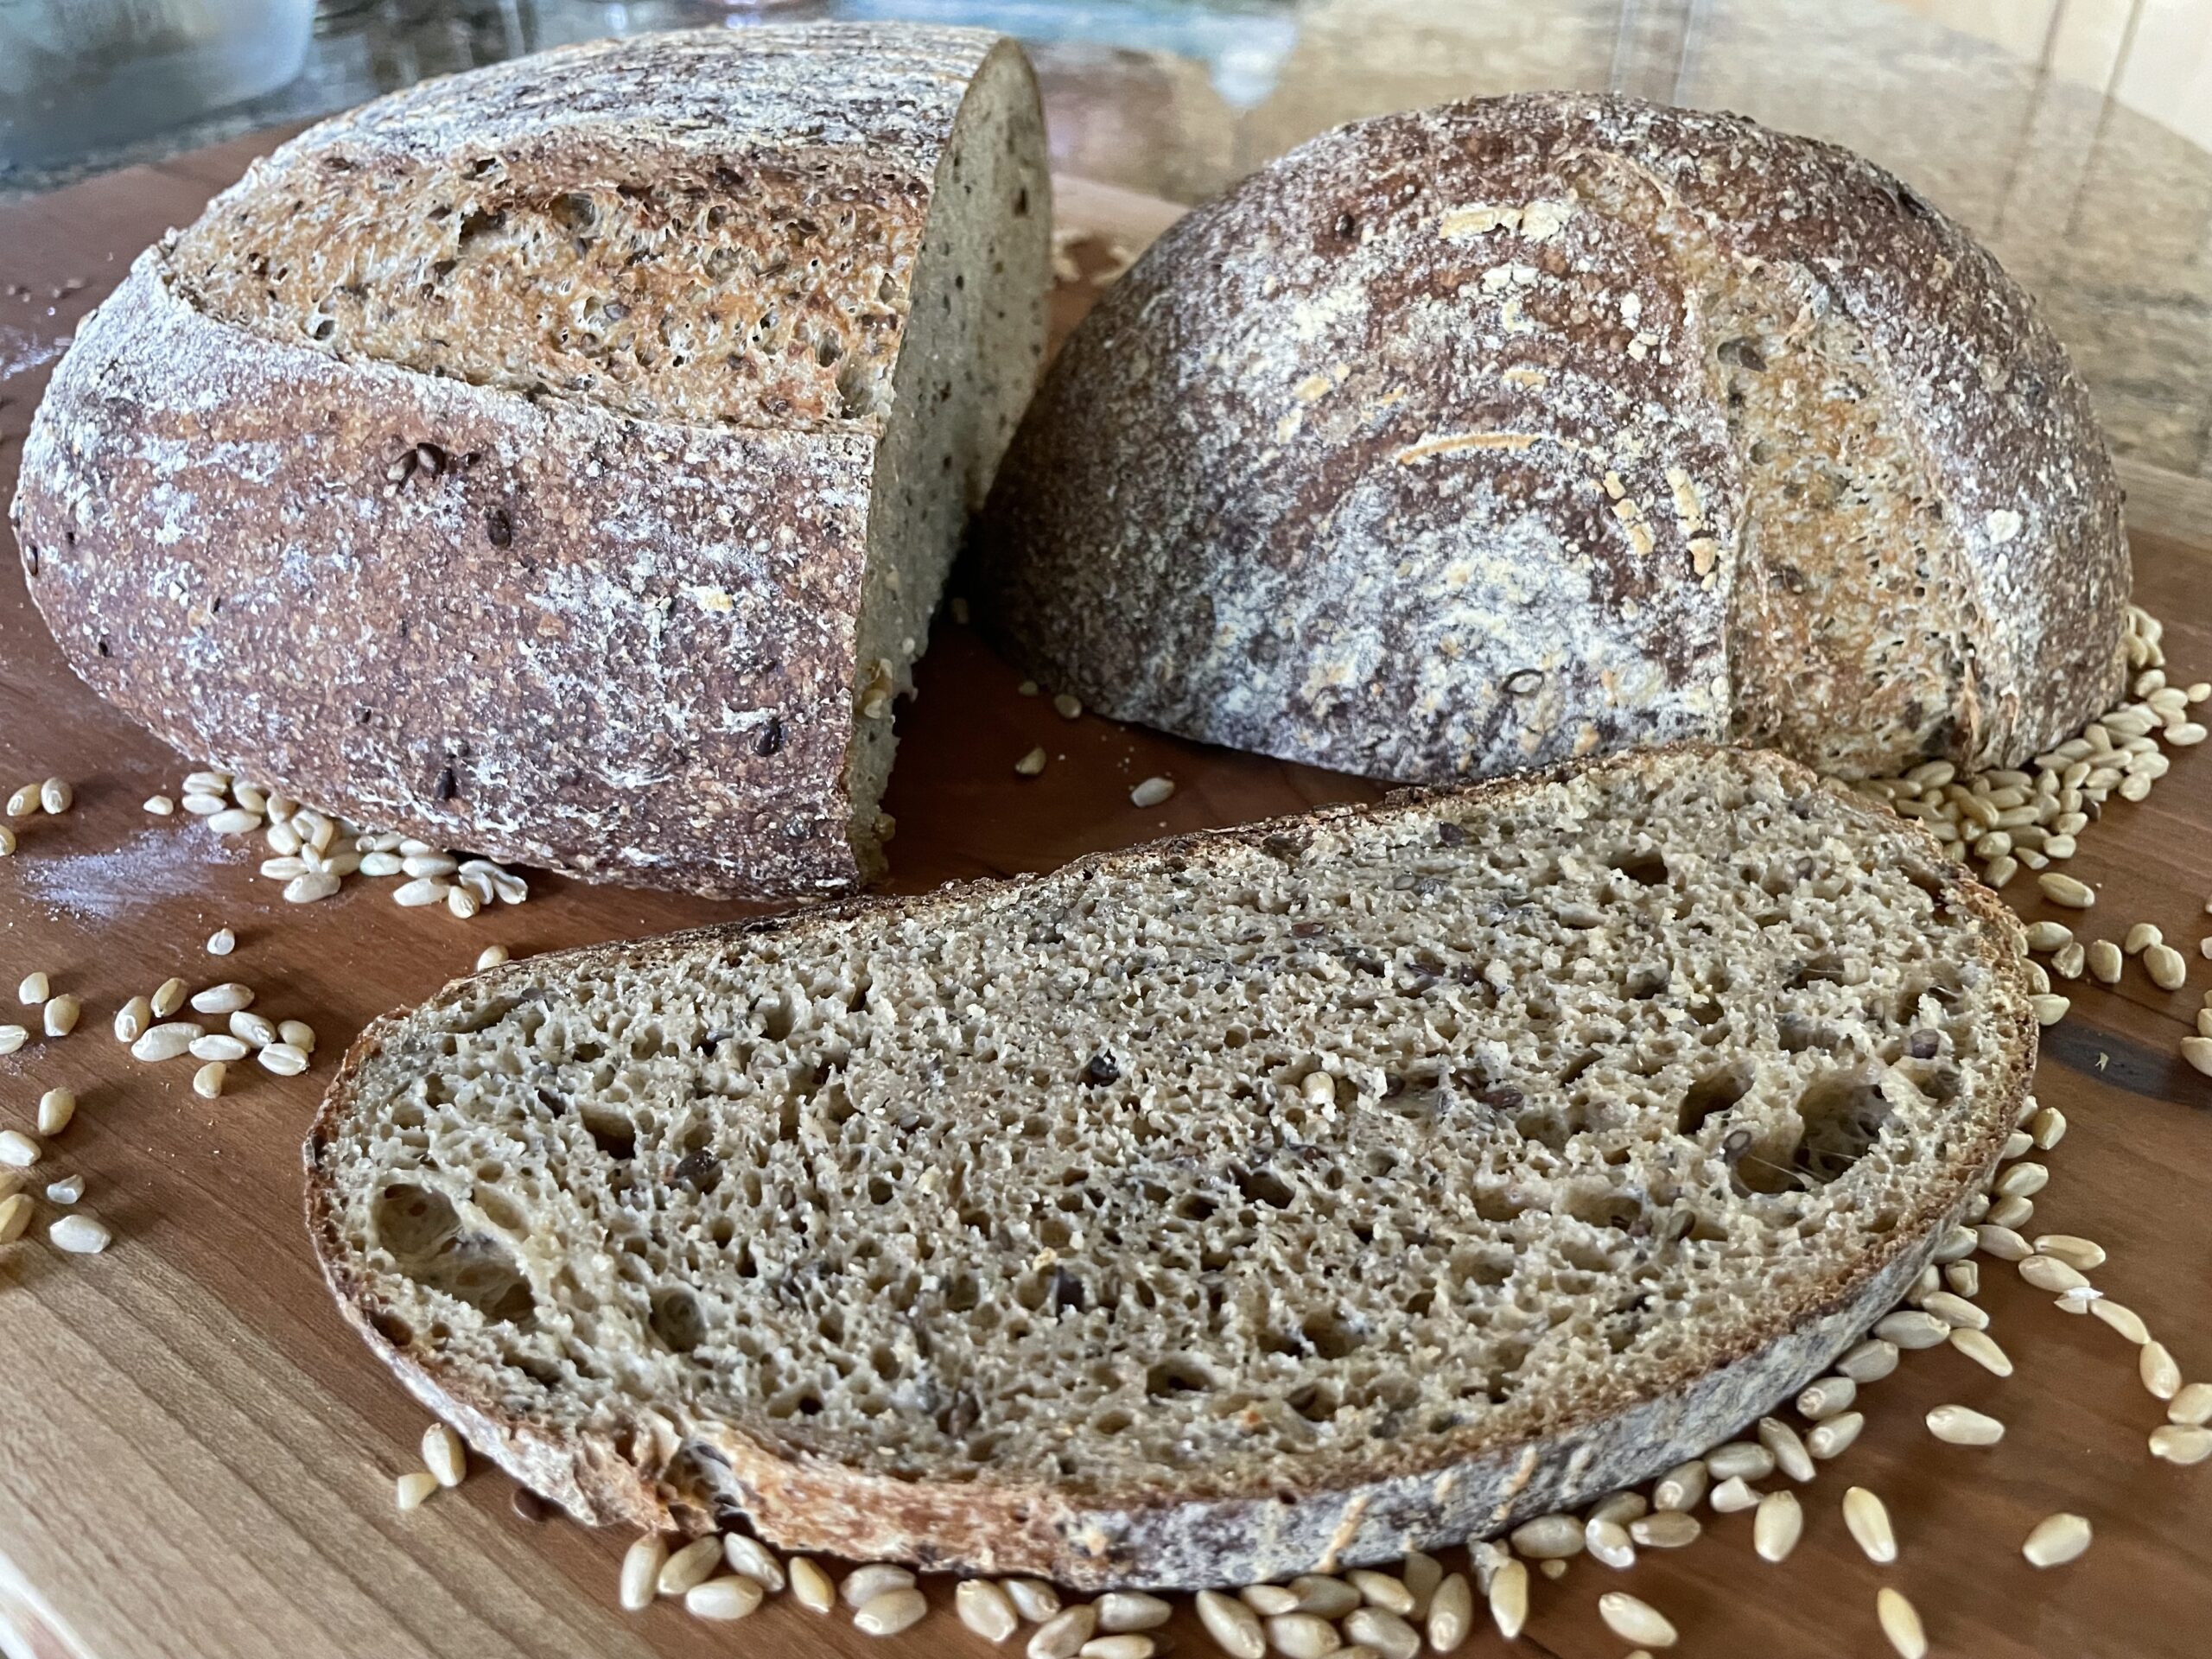
Organic stoneground sourdough flax and chia bread has become one of my go-to breads, now that I've figured out how to work with stoneground flour. Stoneground flours are flours that are milled by a stone mill instead of metal rollers. Stone ground flour is generally considered more nutritious than other flours because it contains the bran and germ, which are high in fiber, vitamins, minerals, and healthy fats. Organic flours are wheat berries that have been grown without synthetic pesticides or fertilizers. So if you want the best of the best, this is it! Because of the husk of the wheat berries in stoneground flour, it's a much coarser flour so a different process is needed to ensure that the shards of bran and germ are not affecting the gluten development in the dough which will result in a denser, flatter bread. Stone ground breads are usually darker, coarser, smells more earthy and considered a lot more nutritious than conventional metal ground flour that are milled between metal rollers. It is definitely not your refined, Wonder bread!
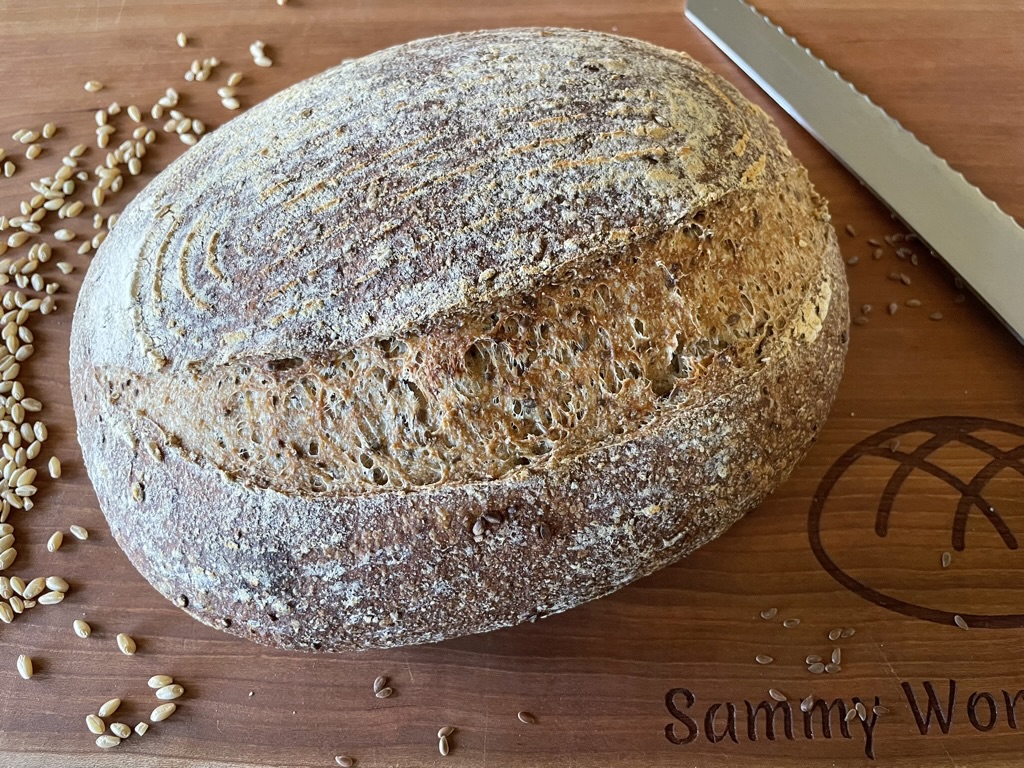
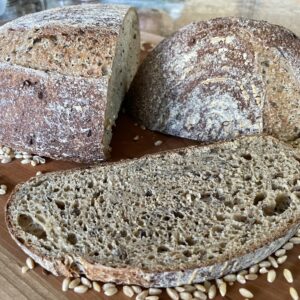
Baked chia and flax sourdough with stoneground hard white wheat berries.
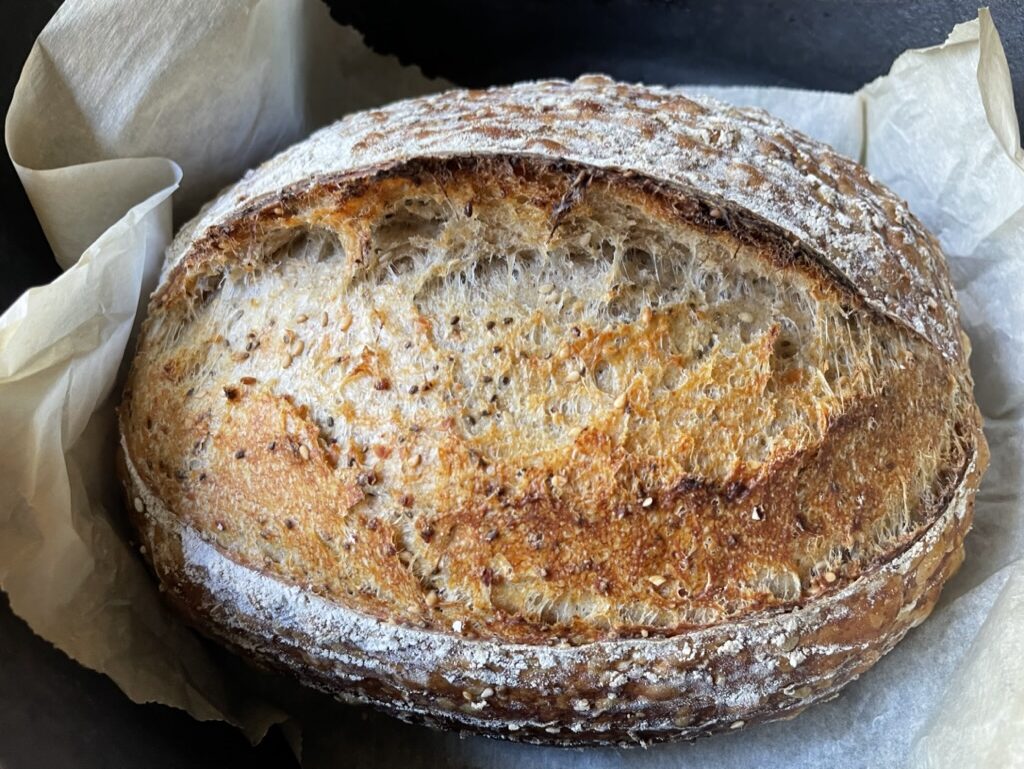
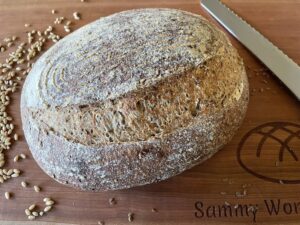
Baked chia and flax sourdough with conventional white bread.
Now that you understand the difference between the stoneground flour and regular bread flour, adapting the baking process ensures a moist and leavened bread.
Hard white wheat berries can be ground into bread flour. Hard red wheat berries can be ground into whole wheat flour. Soft white wheat berries can be ground into the equivalent of all purpose or cake flour.
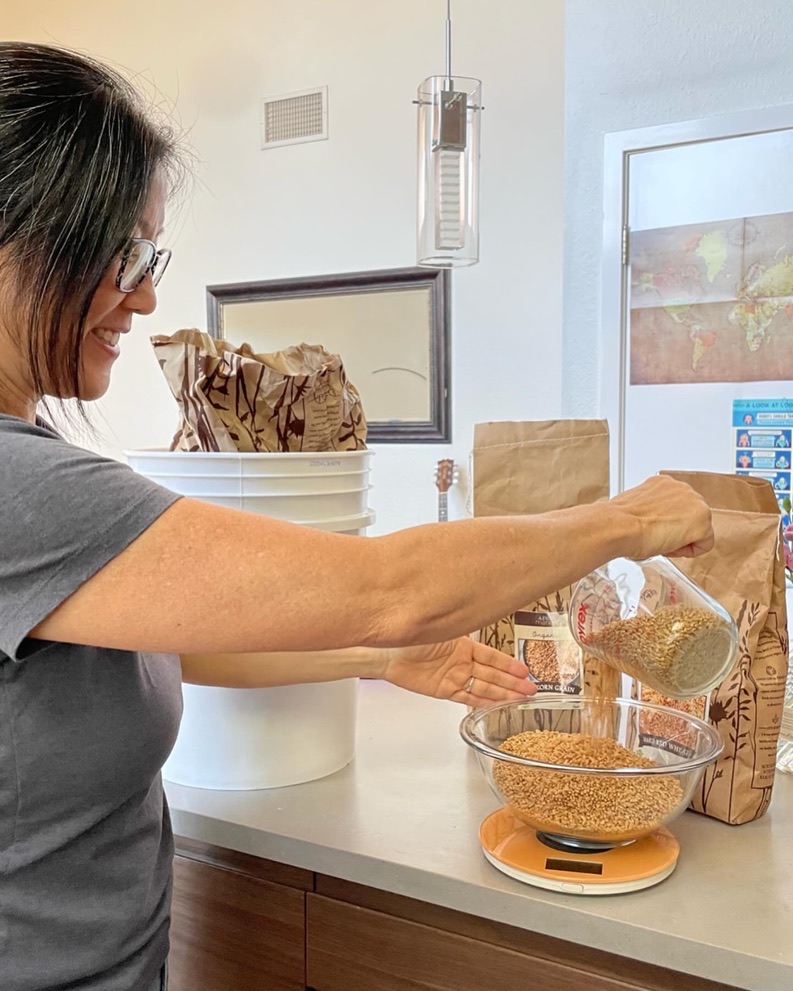
Stone grinding wheat berries
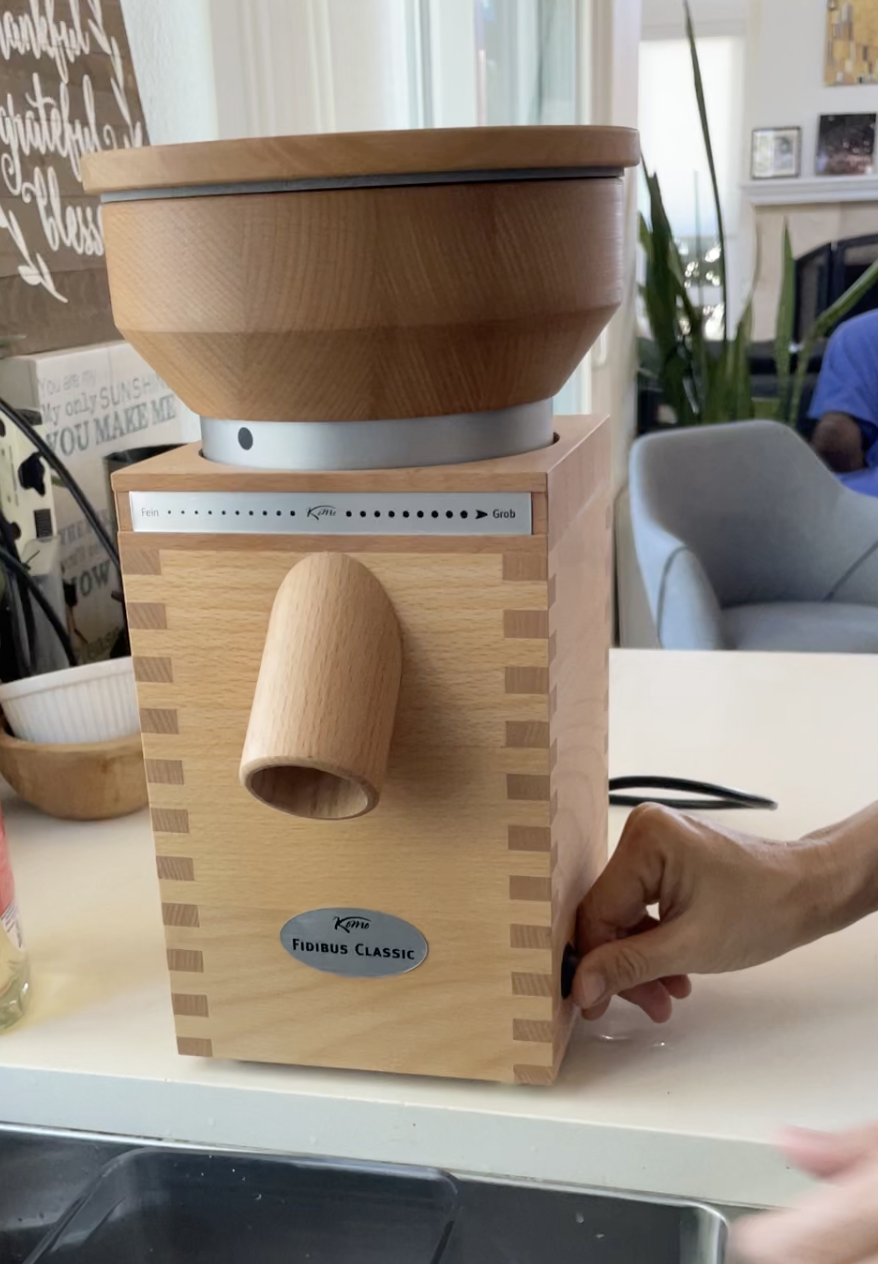
Household stone grinder
Tips for making organic stoneground sourdough flax and chia bread
Flour Hydration
Stoneground wheat flours require hydration. When these flours are hydrated, the germ and bran are softened and become less sharp. As a result, these "shards" don't destroy the gluten development in the bread which allows the bread to leaven. When I feed my starter to produce a levain, I will hydrate my flours. This hydration would be a minimum of 7 hours or overnight.
Besides hydrating the flours for an extended period which I would consider a very long autolyse process, more liquid is required for stoneground flours. It requires at least a 76% hydration rather than a 70% hydration.
Seed hydration
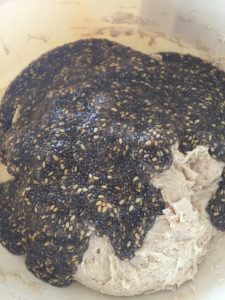
The chia and flax seeds also require hydration. This can be done at the same time as the flour hydration. The flax and chia mixture should be so stiff that a teaspoon can stand in the mixture without falling over. The seed hydration also helps contribute towards the overall hydration of the bread dough.
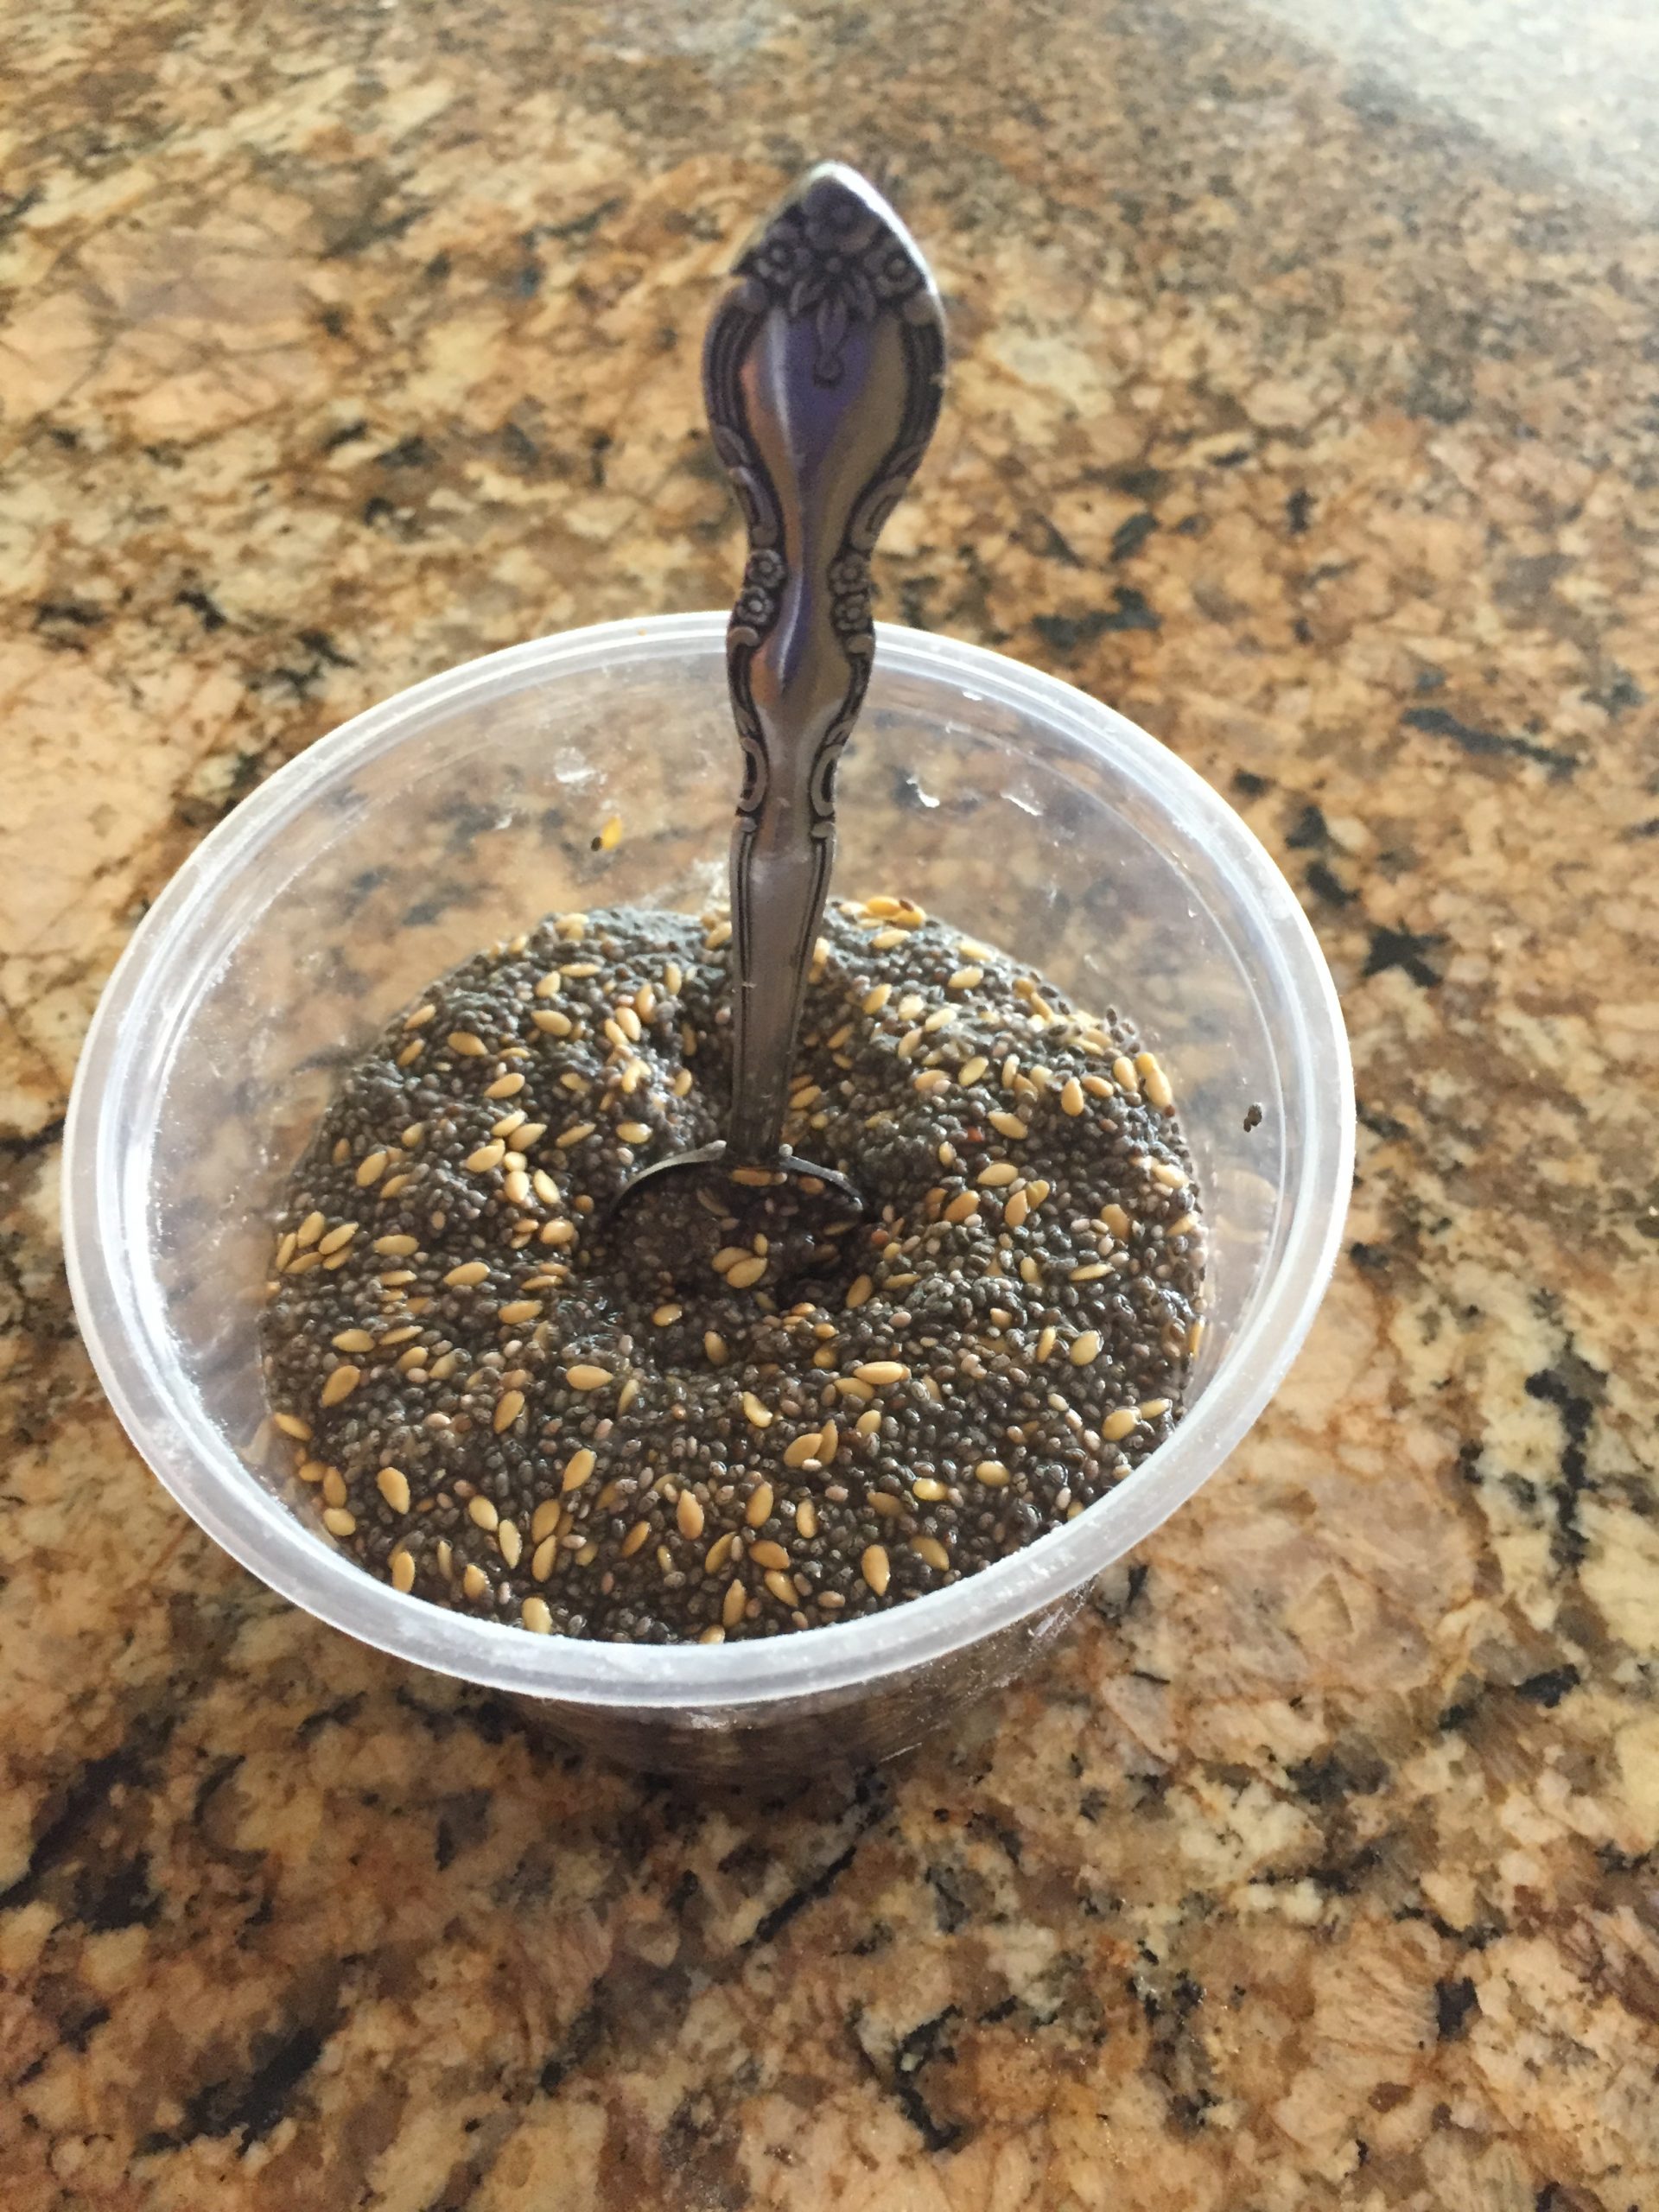
Chia seed mixture is so stiff, a teaspoon can stand can stand in it without support!
Incorporating the levain
In most of my recipes, I mix the water with the levain to disperse the starter. Because stoneground breads require a very high hydration, and all the liquid is used in the autolyse process, the levain is incorporated into the autolysed dough by itself. Don't worry, after all the stretch and folds, it will be well incorporated!
Baking the organic stoneground flax and chia sourdough
Stoneground flours tend to brown quicker than regular flour doughs. It looks more like a wholesome whole wheat bread. If you don't want your bread looking so dark, keep an eye on the color after you remove the lid. You may be able to take the bread out after 20 minutes instead of 25 minutes after the lid is removed. Allow the bread to completely cool before slicing. I know this will be difficult, but this is a high moisture bread from the chia and cutting into the bread while it is still cooling will result in a gummy textured bread.
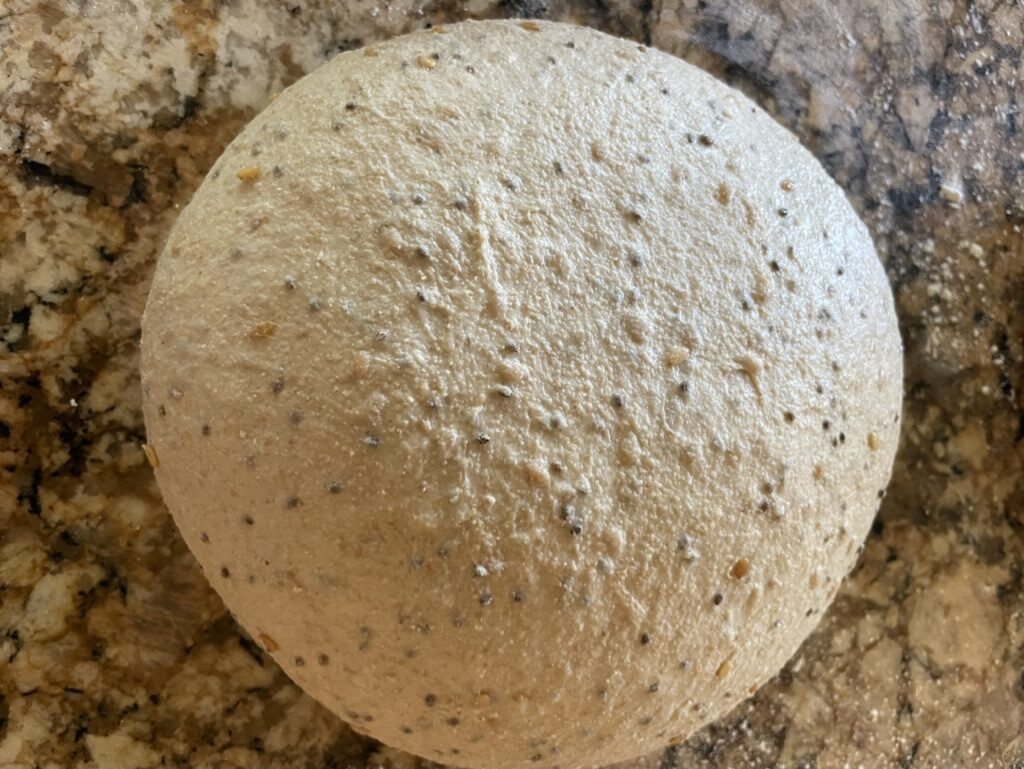
Chia and flax sourdough with stoneground hard white wheat berries.
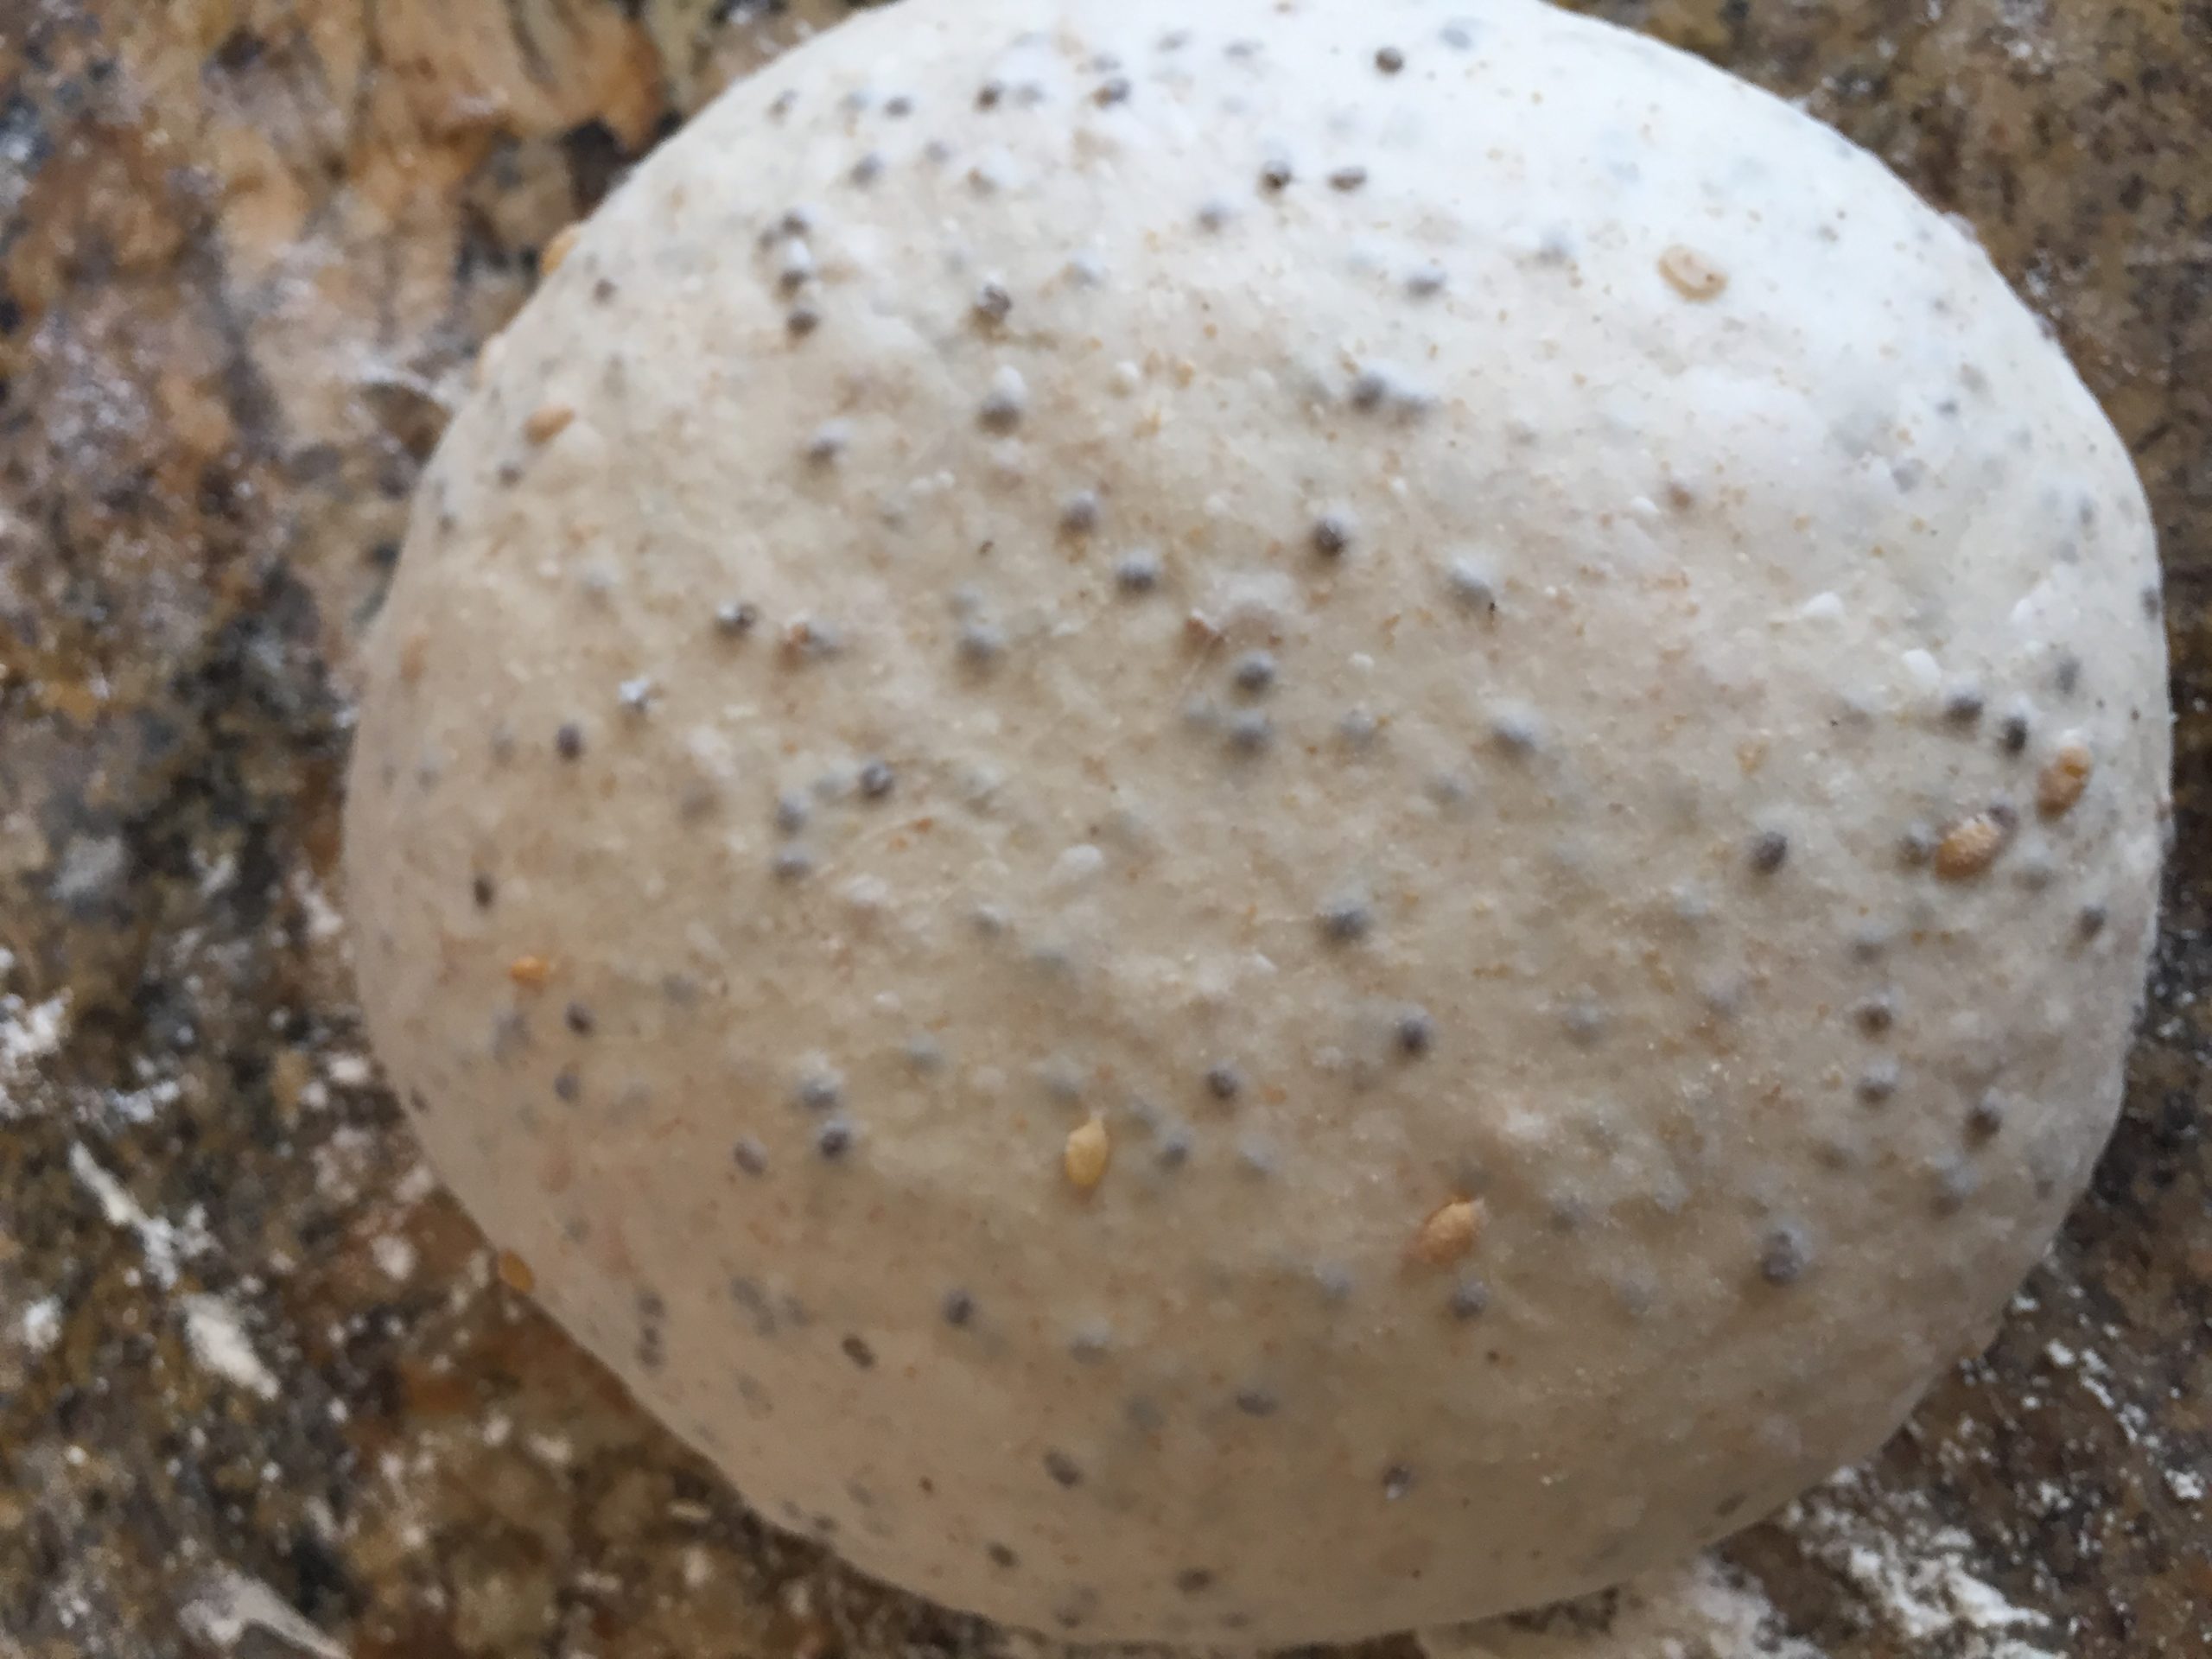
Chia and flax sourdough with conventional white bread flour
STONEGROUND CHIA AND FLAX SEED SOURDOUGH BREAD
Equipment
- Cast Iron dutch oven
- 2 Large Bowls
- Bread lame, razor or pair of scissors
- Dish towel to cover dough
Ingredients
- 380 grams water (80 degrees-lukewarm)
- 100 grams levain See "What is levain and how to make it?"
- 400 grams stoneground hard wheat white berries (flour)
- 100 grams stoneground hard red wheat berries (flour)
- 9 grams salt
- 20 grams chia seed
- 20 grams flax seed
- 80 grams water water for soaking chia seeds
- rice / bread flour mixture Used for dusting your proofing bowl / banneton
Instructions
Prepare Ingredients the night before
- Make your levain the night before baking. See https://sammywongskitchen.com/levain
- Soak your chia and flax seeds with boiling water. Stir . After soaking overnight, the chia seed mixture should be so stiff that a teaspoon can stand erect in the middle of the mixture.20 grams chia seed, 20 grams flax seed, 80 grams water
- Mix the bread flour, wheat flour with the water until scraggly and allow to hydrate overnight.380 grams water, 400 grams stoneground hard wheat white berries (flour), 100 grams stoneground hard red wheat berries (flour)
Making your bread dough
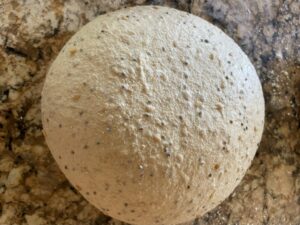
- Add the levain to the flour mix. Using wet hands, pull and stretch the dough out at the top and fold it back on itself, I then rotate the dough a quarter turn and do the same thing 16 times. (4 complete revolutions!) See https://sammywongskitchen.com/kneading/100 grams levain
- Allow to rest for 45 minutes.
Kneading your bread dough
- Add salt and chia seed mixture to the autolyzed dough.9 grams salt
- The dough is now ready for bulk fermentation where it will develop its flavor and body! Ambient temperatures between 70-80 degrees Fahrenheit will take 3 hours for bulk fermentation.
- Do a stretch and fold.
- Let dough rest for 30 minutes. You will notice that the dough will become more pliable with time. Cover and let sit for 30 minutes. Don’t forget to set your timer!
- Do a stretch and fold.
- Let it rest for 30 minutes.
- Do a stretch and fold.
- Let dough rest for 30 minutes
- Do a stretch and fold.
- Let dough rest for 30 minutes
- Do a stretch and fold.
- Let dough rest for 30 minutes
- Do a stretch and fold. The dough should be soft and pliable. If not, continue bulk fermentation for another 30 mins - 1 hour.
Shaping your bread dough
- Pull dough out of the container, weigh your dough and divide accordingly if making smaller bolles. This recipe is for 1 large loaf. However, you can make 2 smaller bolles by dividing you dough into 2 bolles and using a 2 quart cast iron dutch oven.
- On a floured surface, lightly dust your divided dough with flour and work it into a round by pulling it towards you and rotating. It should become somewhat taut as you pull the dough. Part of your goal is to remove most of the air bubbles that were created during the fermentation process. See Cutting and Shaping your Dough in my Tips & Tricks section.
- Let it sit for 10 minutes.
- Shape again. See Cutting and Shaping your Dough in my Tips & Tricks section.
- Prepare your banneton (Coiled rattan baskets for proofing) by generously dusting the bowl or banneton with your bread and rice flour mixture. Dust the tops of your loaves with flour and place it in a bowl or banneton to rise.rice / bread flour mixture
Proofing your dough
- Place your banneton in a clean bag and refrigerate for 48 hours.
Scoring your dough
- After 36-48 hours, preheat your oven to 500℉ (260℃) with a cast-iron dutch oven in it.
- The dough should be easier to handle after cold proofing. If you are new to bread baking, you can use the following ways to get your dough into the cast iron pot. Take a piece of parchment paper that will generously cover the top of the bowl/banneton. Place it over the bowl/banneton. Move your bowl / banneton over the cast iron dutch oven, flip the bowl / banneton and gently lower into the dutch oven. If you have a cast iron skillet / dutch oven set as shown on my "Helpful Tools" section. Place the shallow skillet over the proofing bowl / banneton and flip. After scoring, cover the dough with the dutch-oven section and place it in the oven with the skillet on the bottom.If you have a cast iron pot, transfer your dough into the cast iron pot.
- Score the bread by cutting it with a razor blade or bread lame. Scoring the bread allows the dough to expand during baking and gives your dough a pretty design. See Scoring your dough in my Tips & Tricks section. Cover with lid.
- Reduce oven temperature to 450°F
- Bake for 25 minutes. Smaller 2 quart bolles should bake for 20 minutes.
- Remove the lid and continue baking for an additional 25 or 20 minutes respectively. Make sure you check after 20 minutes for brownness.
- Remove from oven and remove from dutch oven and let cool on wire rack.
- If you are baking 2 loaves: To bake the second loaf, after removing the first loaf, bring the oven temperature back to 500 degrees, wipe the dutch oven with a clean dry towel or paper towel, place the dutch oven in it for 10 minutes and bake according to recipe
- Cool completely before slicing.
Notes
Nutrition
Need meal ideas?
EASY, HEALTHY, DELICIOUS!
DON'T MISS A RECIPE

