0 Comments
share this
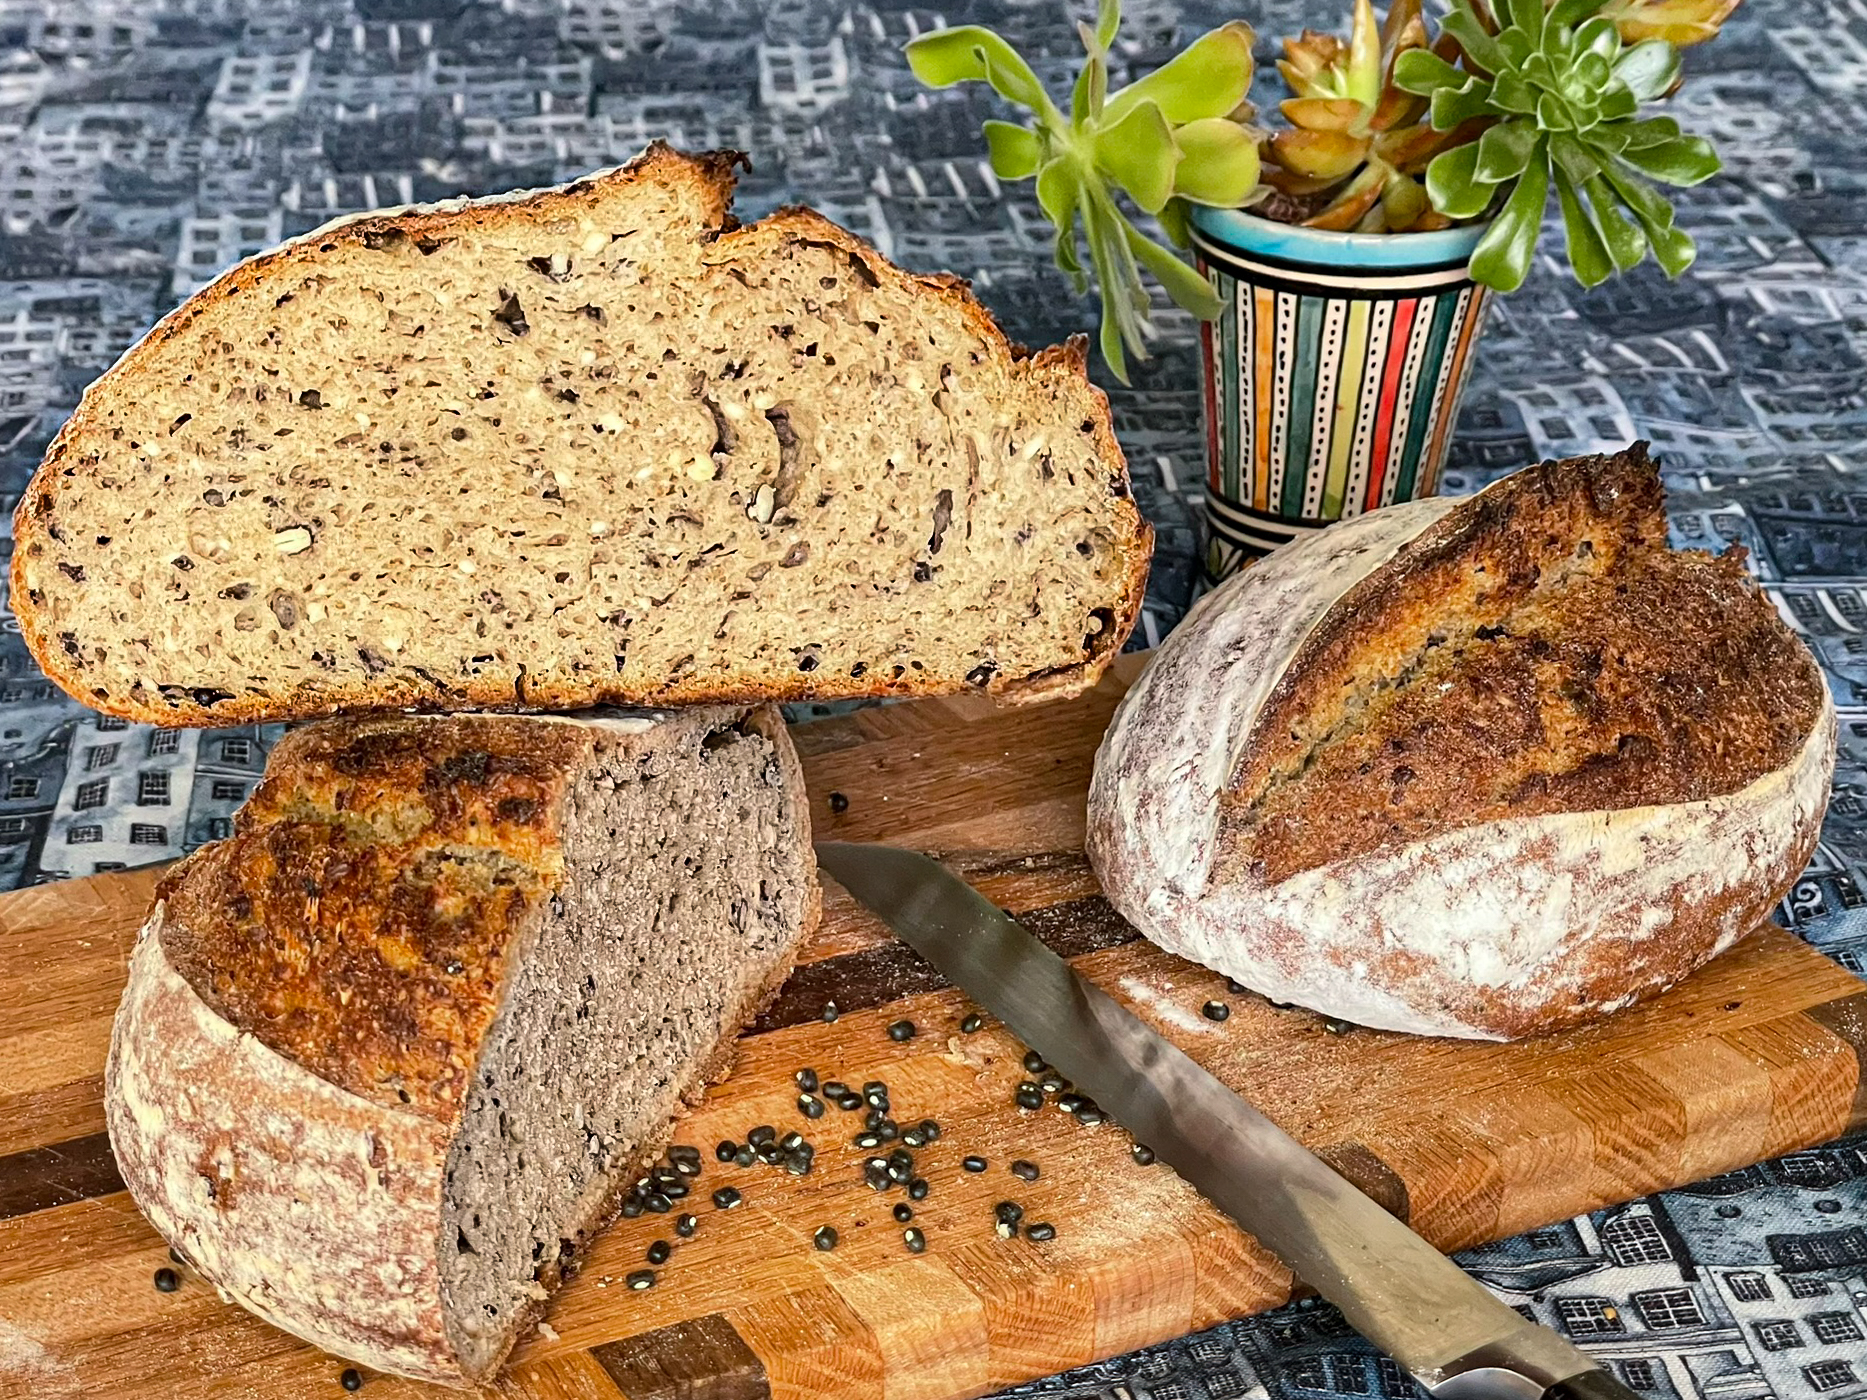
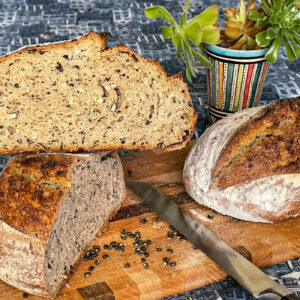
In my "previous life," before the internet, I sourced ingredients for food manufacturers and bakeries. One of my clients was Food for Life Baking Company that bought truckloads of organic lentils from me. As I got to know the founders of that company, I appreciated their philosophy and ethos. One of the things I learned was the importance of sprouted grain breads and its amazing health benefits. I've been doing much research and experimentation which has resulted in this hearty sprouted black lentil sourdough bread recipe.
In my travels to India, I was fascinated by how lentils were the backbone to this predominantly vegetarian country. Every dish had lentils and there are so many different kinds of lentils. I decided to do more extensive research on lentils for their health benefits.
Because lentils are very healthy and high in protein, fiber and calcium, I decided to look into which lentil was the healthiest and use that for my sprouted bread. Here is my discovery.
| LENTIL NUTRITION | per 100g | according to prospre.io | ||
| Red Lentils | Yellow Lentils | French Lentils | Black Beluga Lentils | |
| Calories | 356 | 116 | 354 | 360 |
| Protein | 24.4g | 8.9g | 25g | 26g |
| Carbs. | 62.2g | 19.95 | 60.4g | 60g |
| Fat | 2.2g | 0.4g | 1g | 2g |
| Fiber | 11.1g | 7.8g | 31.2 | 18g |
| Potassium | 667mg | 369mg | 958g | 960mg |
| Iron | 8mg | 3.3mg | 8mg | 8mg |
| Calcium | 44mg | 19mg | 42mg | 100mg |
I initially made a black lentil bread without sprouting and just added the soaked seeds into the bread. The lentils were hard and proved to be a dental hazard. I thus decided to take the time and sprout the lentils. I was curious about the health benefits of sprouting the lentils. According to some health websites, they claim that sprouting can increase the protein level, improve the digestibility of nutrients, improve the blood sugar levels and enhance the levels of vitamin C and antioxidants.
I was sold! Sprouting made sense. It would add a few extra days to the baking, but if you're baking for yourself and your family, you might as well bake the healthiest and most delicious bread.
Tips to making sprouted black lentil sourdough bread.
Ingredients requiring prep time.
Black lentils
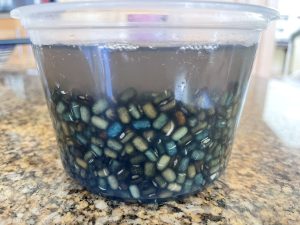
Sprouting will take at least 4 days, but it is well worth the effort. There is really no active work, but just waiting for nature to do its thing. Soak the lentils at least 24 hours in a container that has lid.
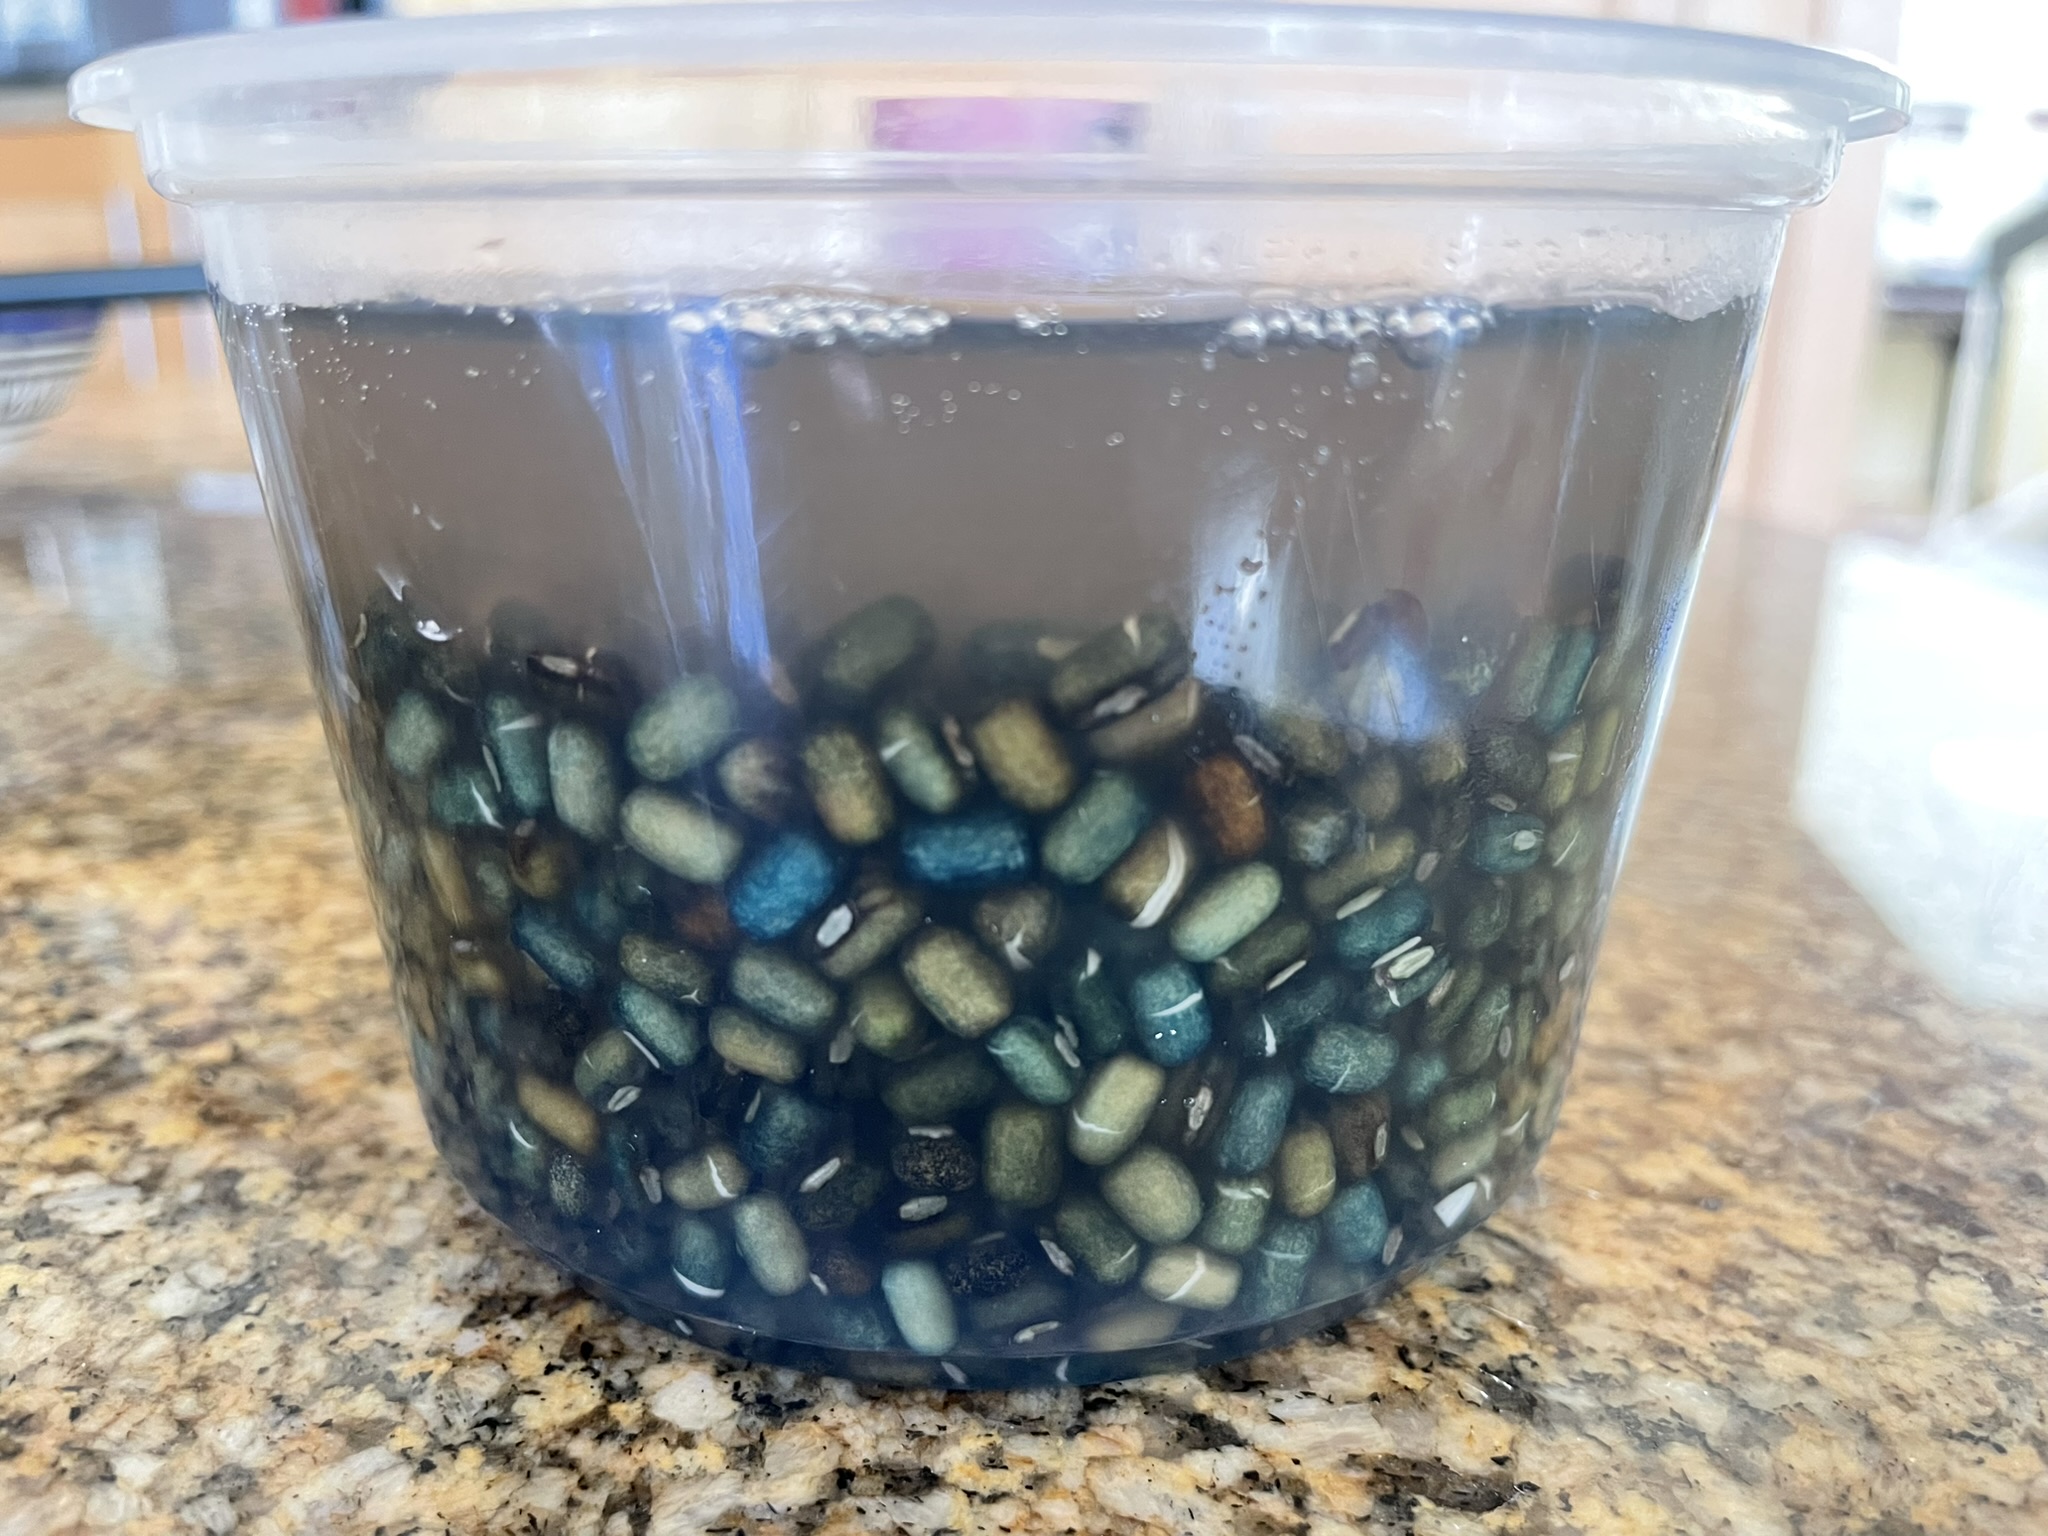
Soaking black lentils
After 24 hours, drain the water, gently rinse the lentils, drain the water and allow them to germinate. Do that until all the lentils have sprouted.
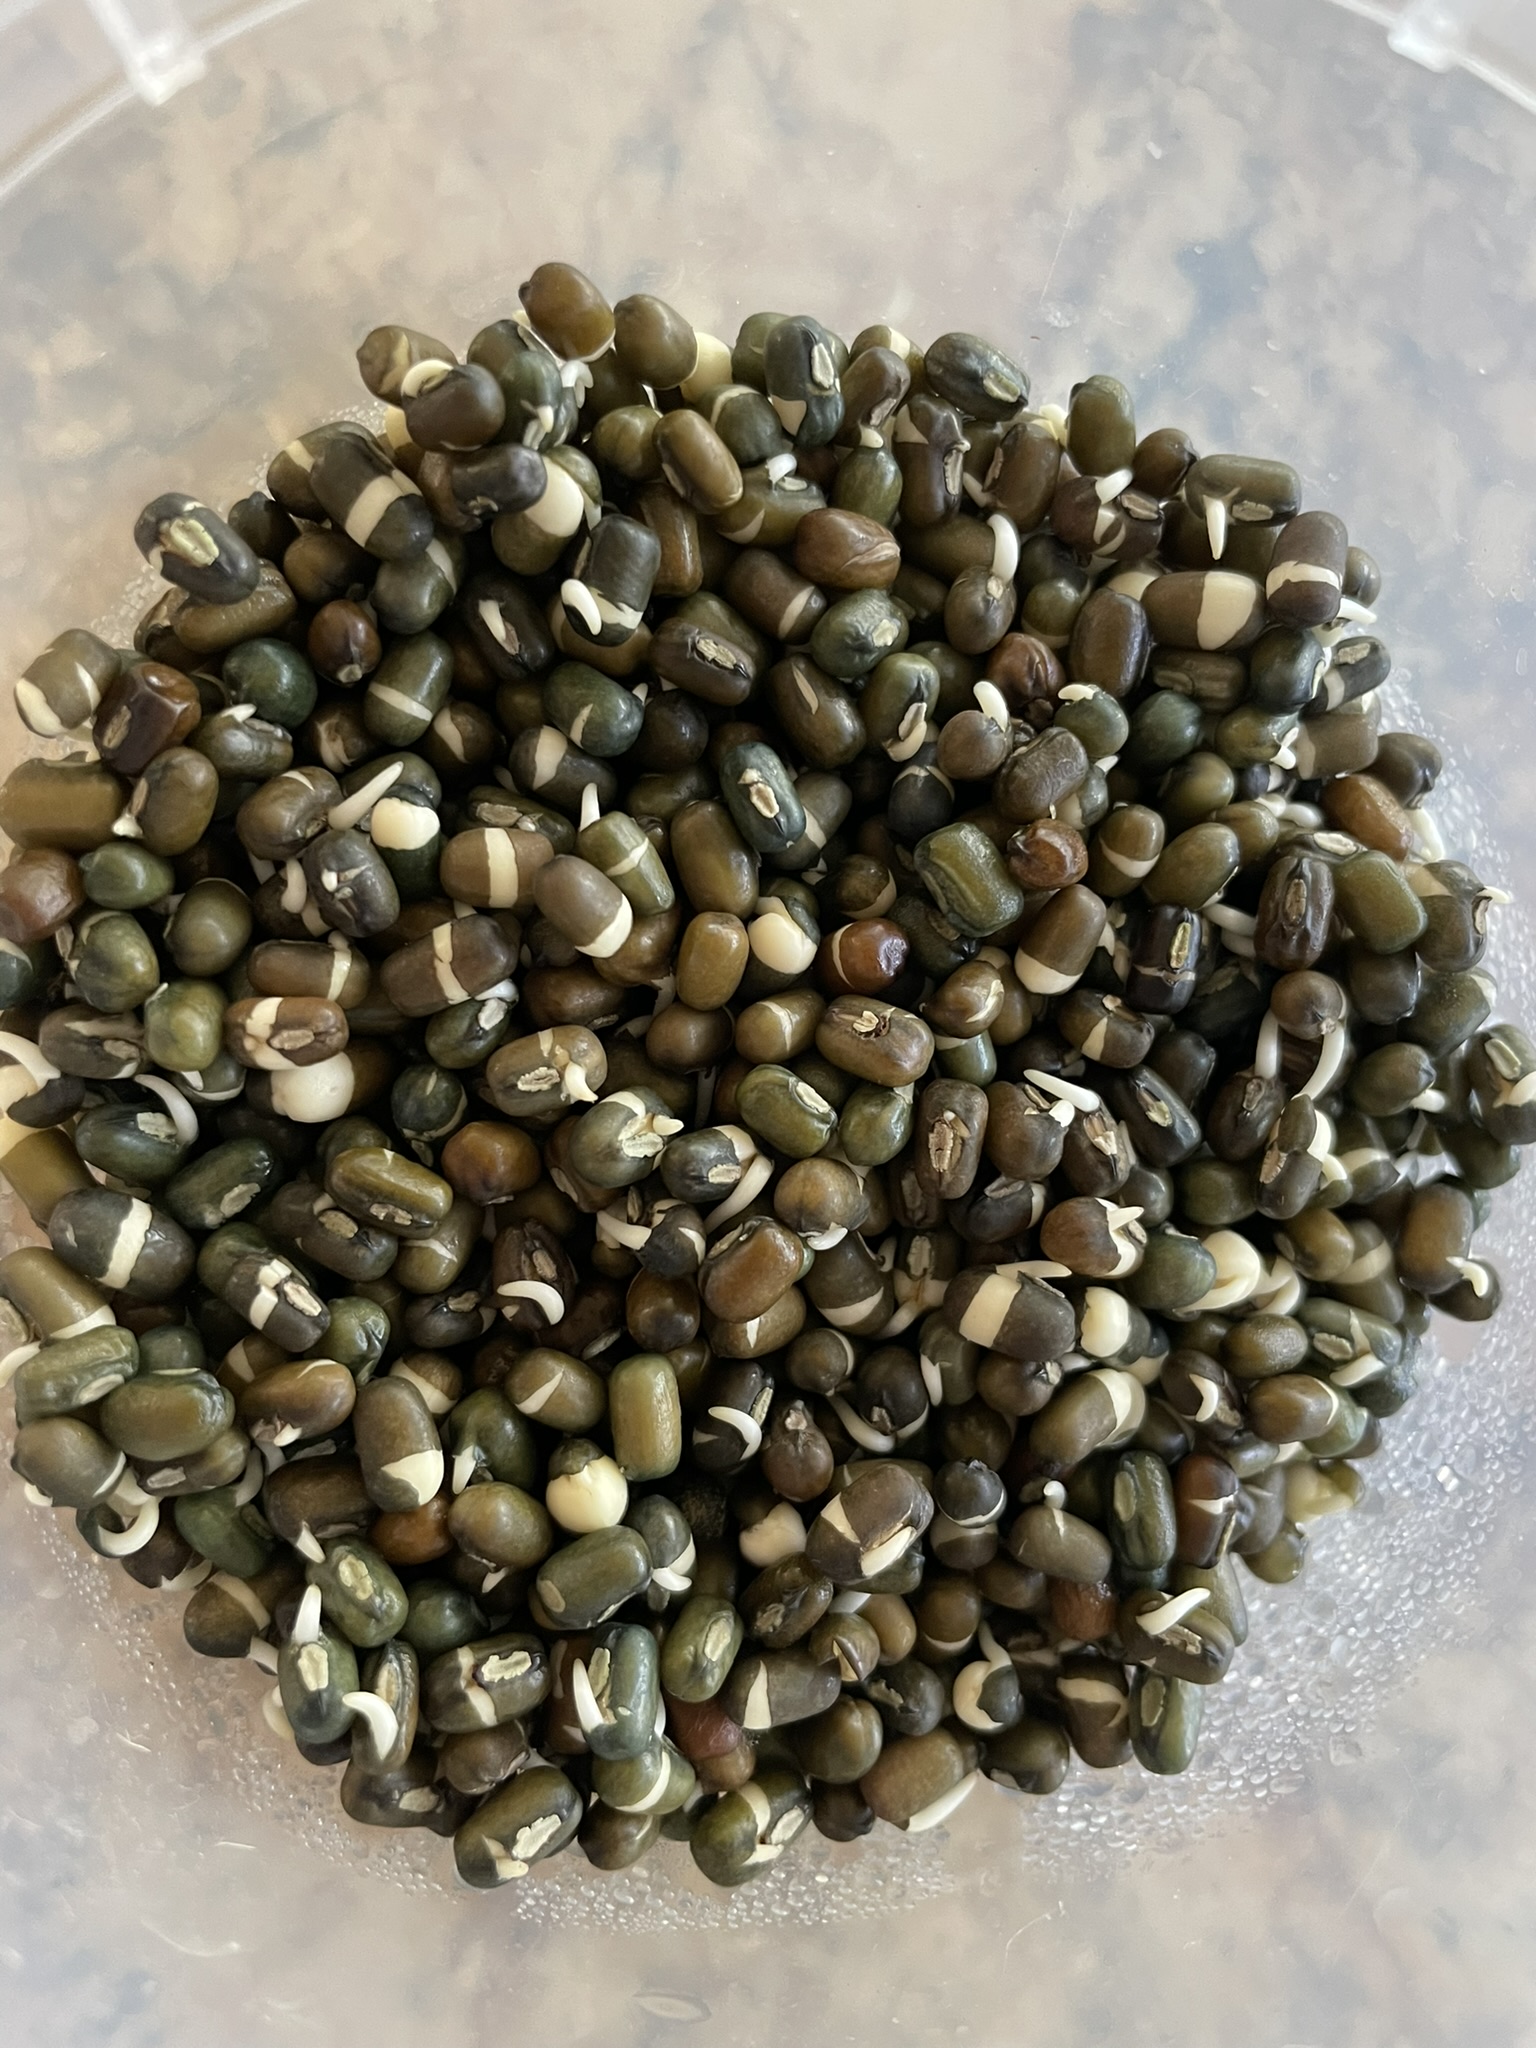
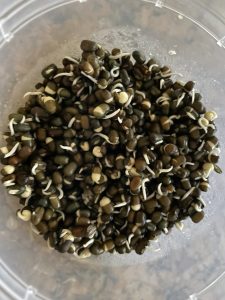
Day 2 of sprouting in container
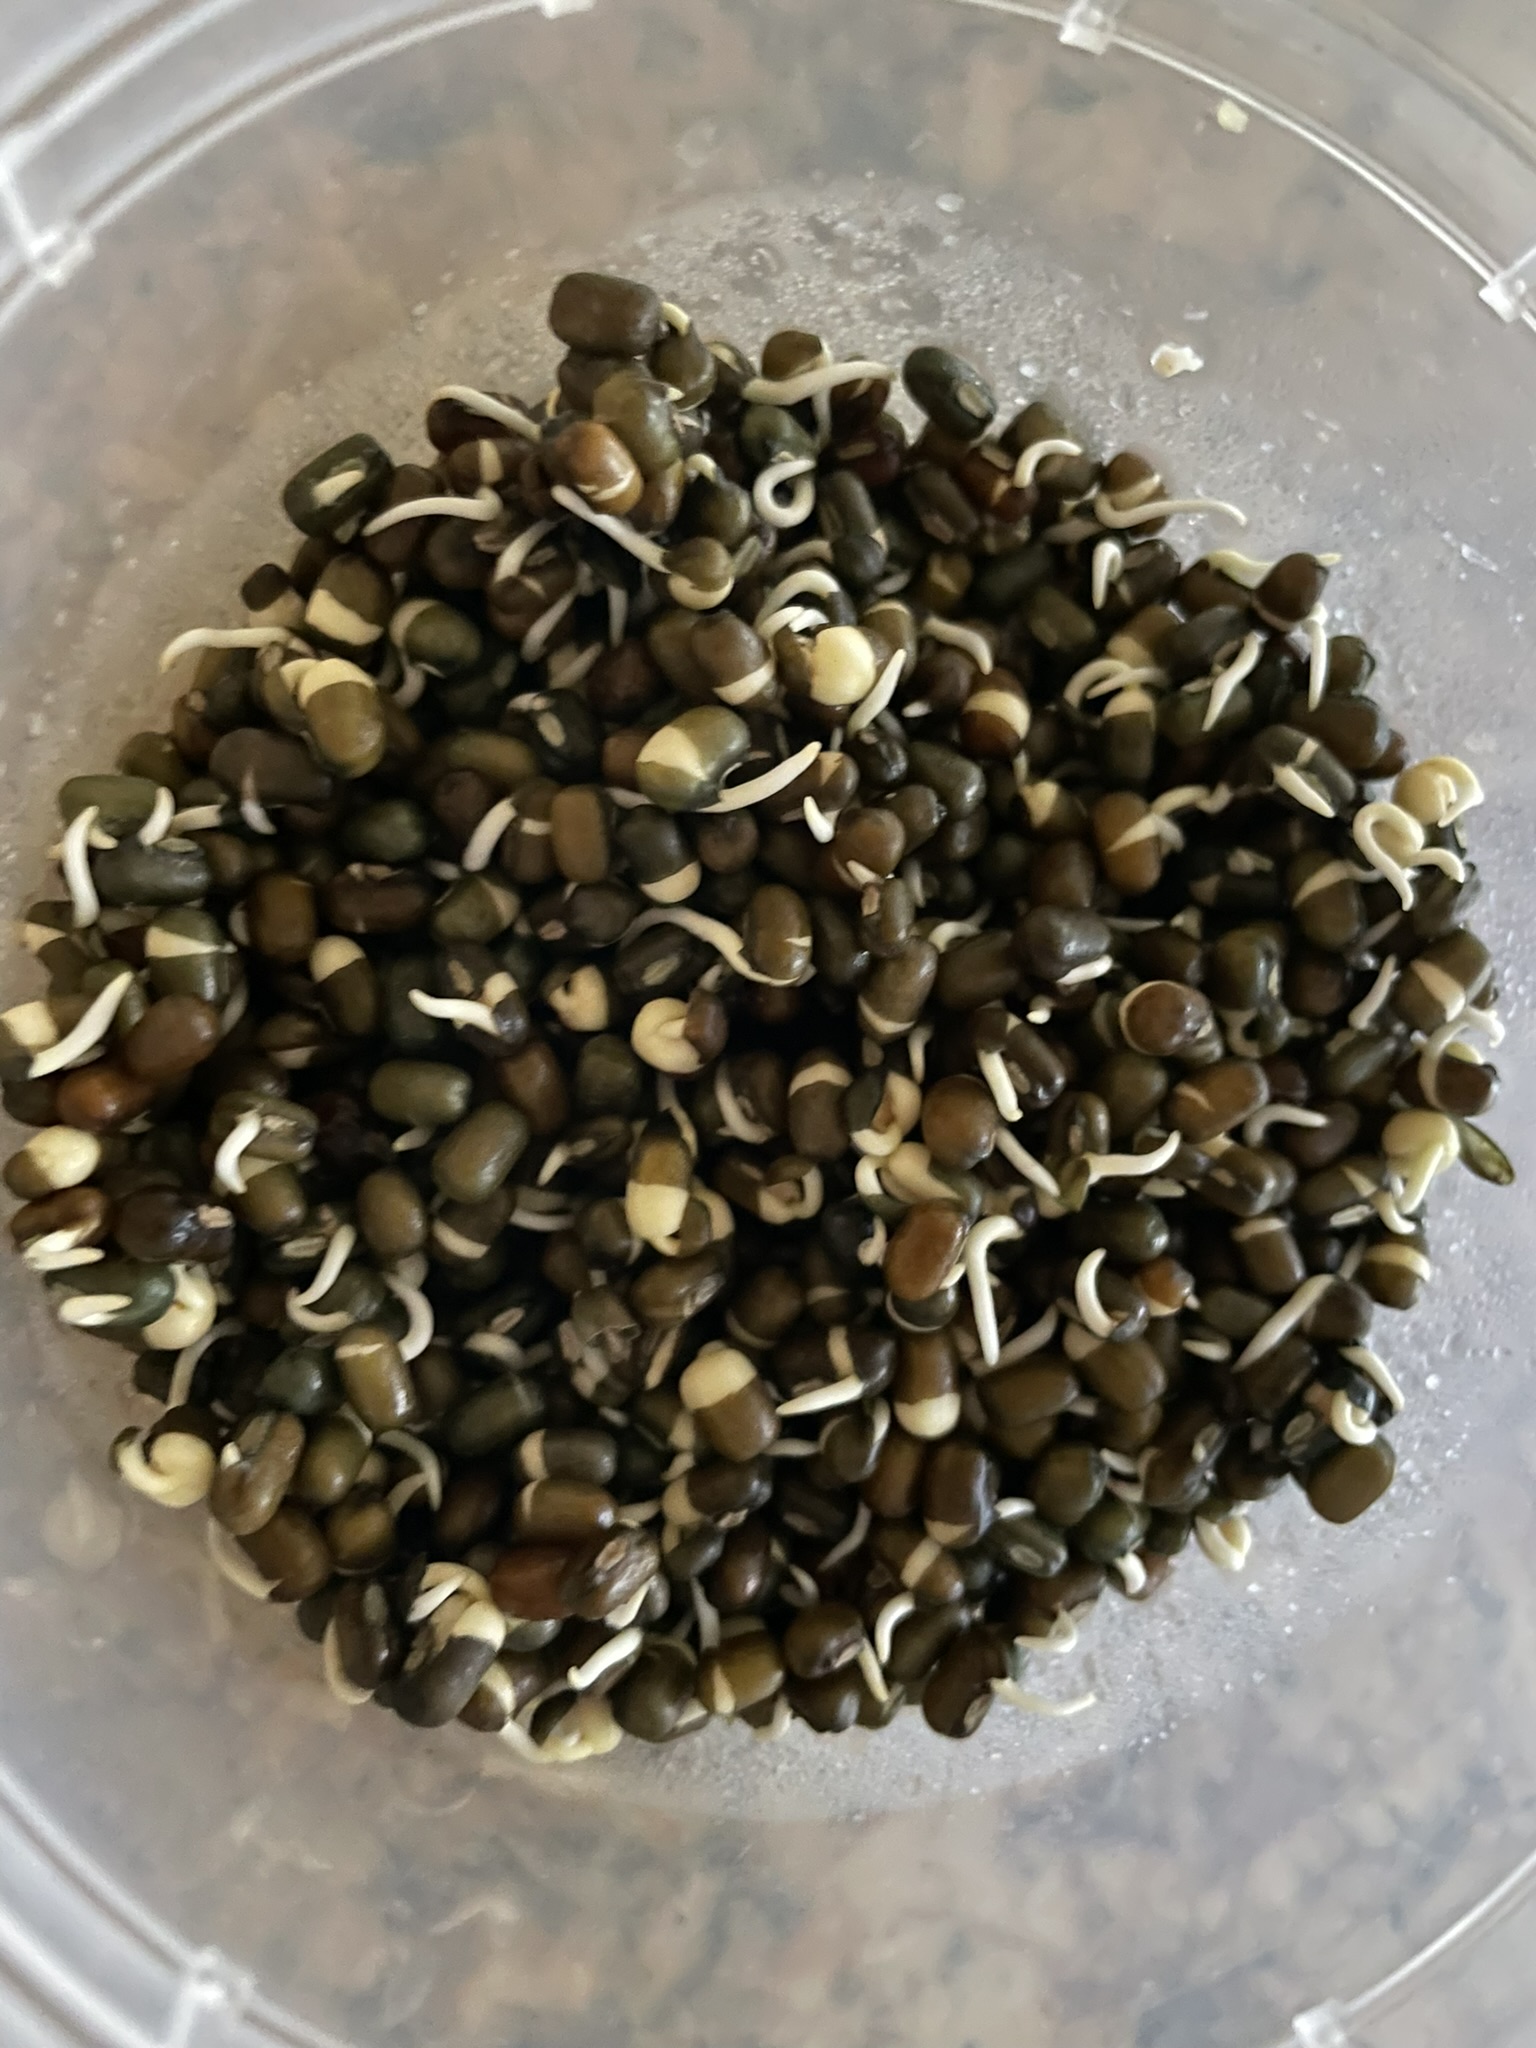
Day 3 of sprouting
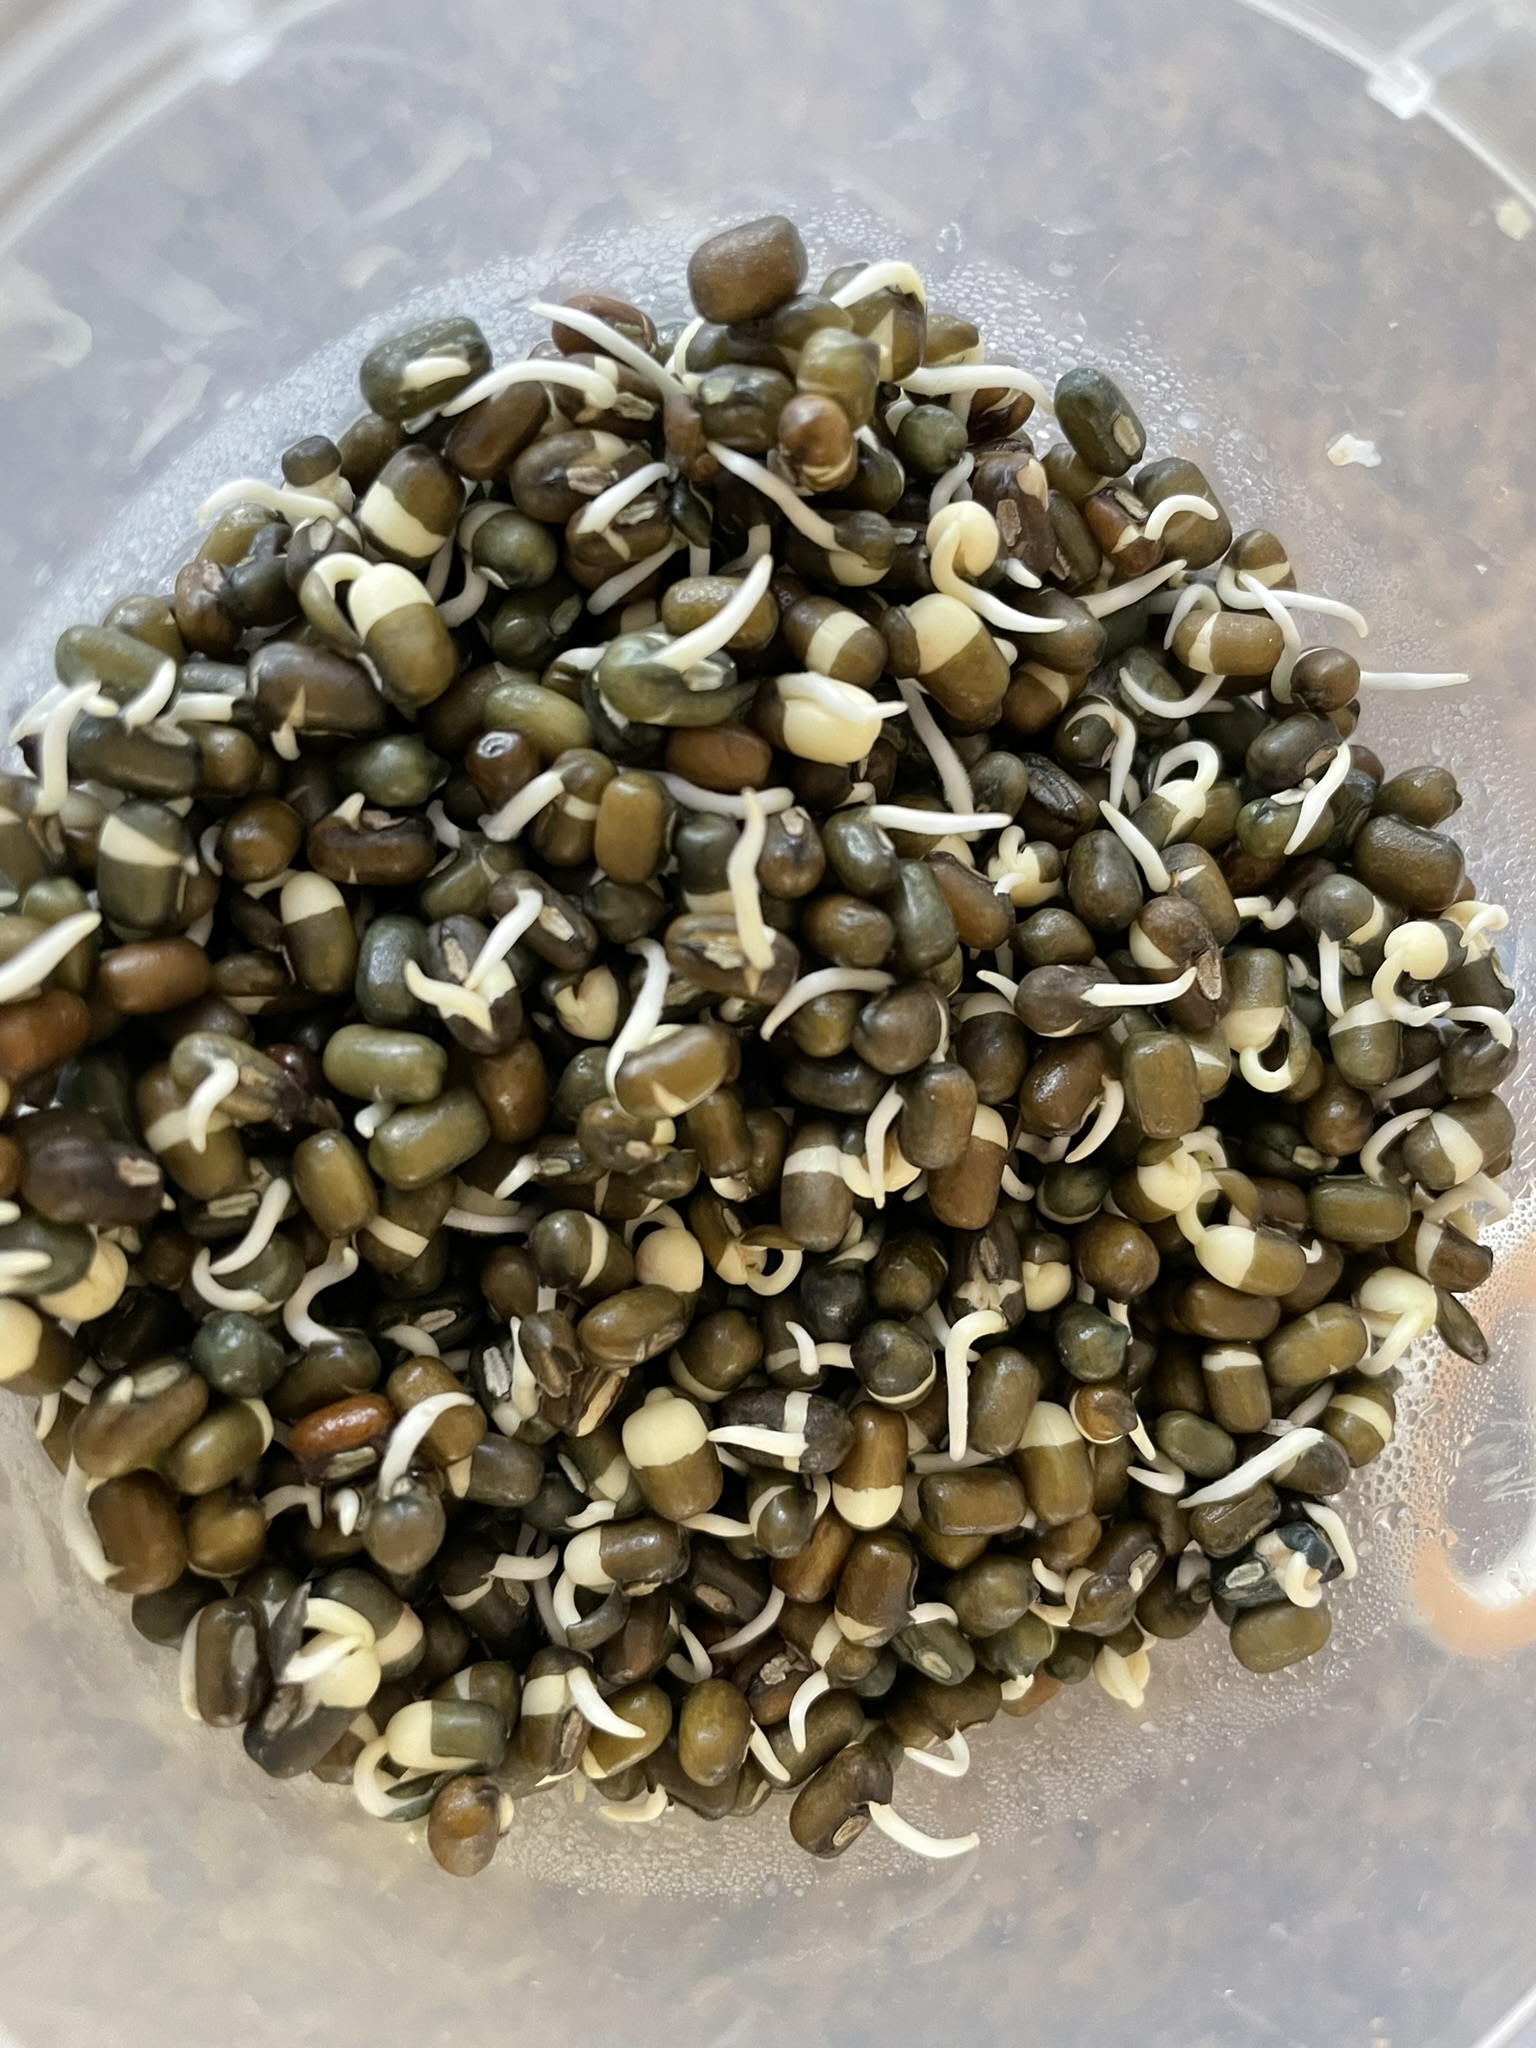
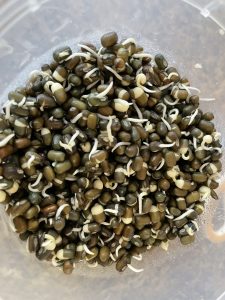
Day 4 of sprouting.
After the lentils have sprouted, drain all the water from the lentils and blend to chop most of the lentils. I like being able to distinguish some lentils but if you throw in the lentils whole, they become very hard and may prove to be a dental hazard.
When adding the chopped lentils to the bread dough, drain as much of the water out as possible. Otherwise, the high moisture dough becomes difficult to work with.
Levain.
The active starter or levain should be prepared at least 6 hours or the night before use. It should be light and airy and will actually float on the water when added.

![IMG_4949[1]](http://sammywongskitchen.com/wp-content/uploads/2020/05/IMG_49491-scaled.jpg)
Soak the whole wheat flour in the required amount of water to fully hydrate the germ. Since the germ is in the flour, it acts as sharp shards when the dough is forming and hinders the dough development. In my experience, soaking the whole wheat flour results in a softer and loftier crumb.
Autolyse.
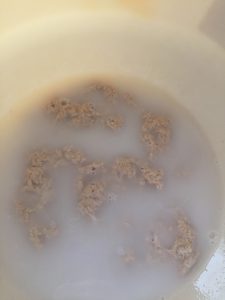
Mix the dough by hand until all the flour is incorporated into the water, levain mixture. Allow this dough to sit for 30-45 minutes. This resting allows the water to fully hydrate the bread flour, making it easier to work with.
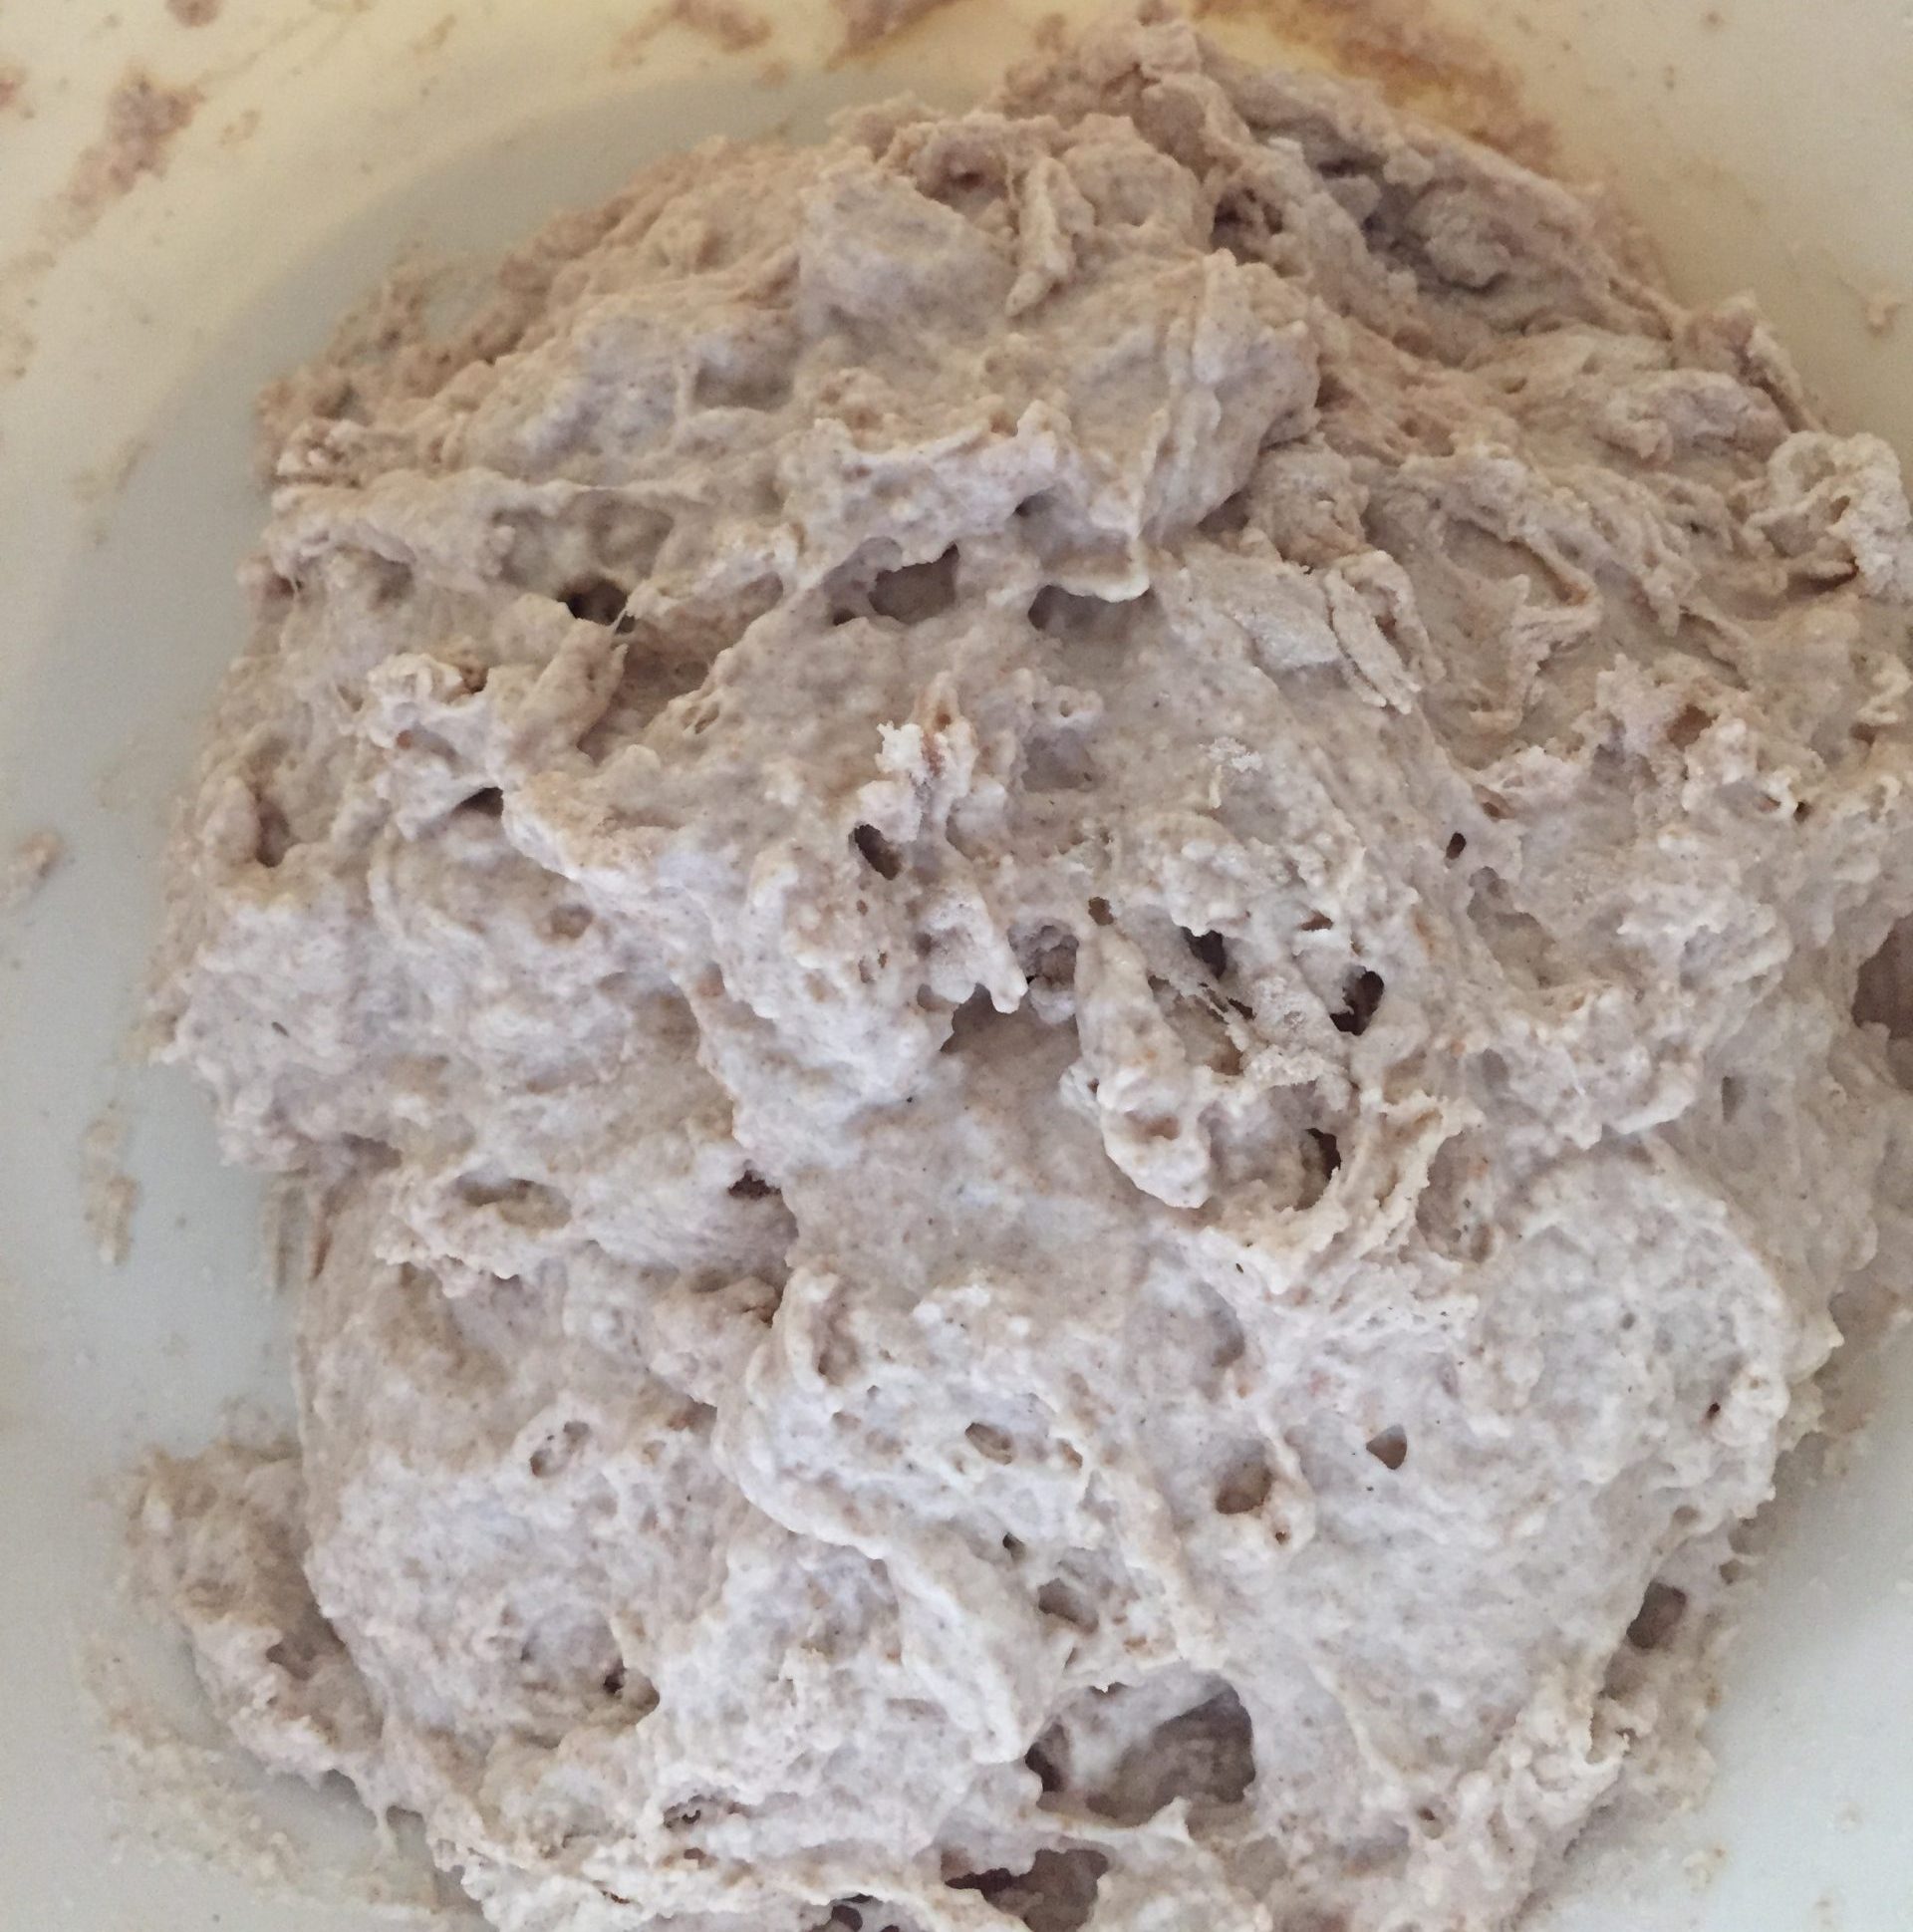
Pre-autolyzed dough
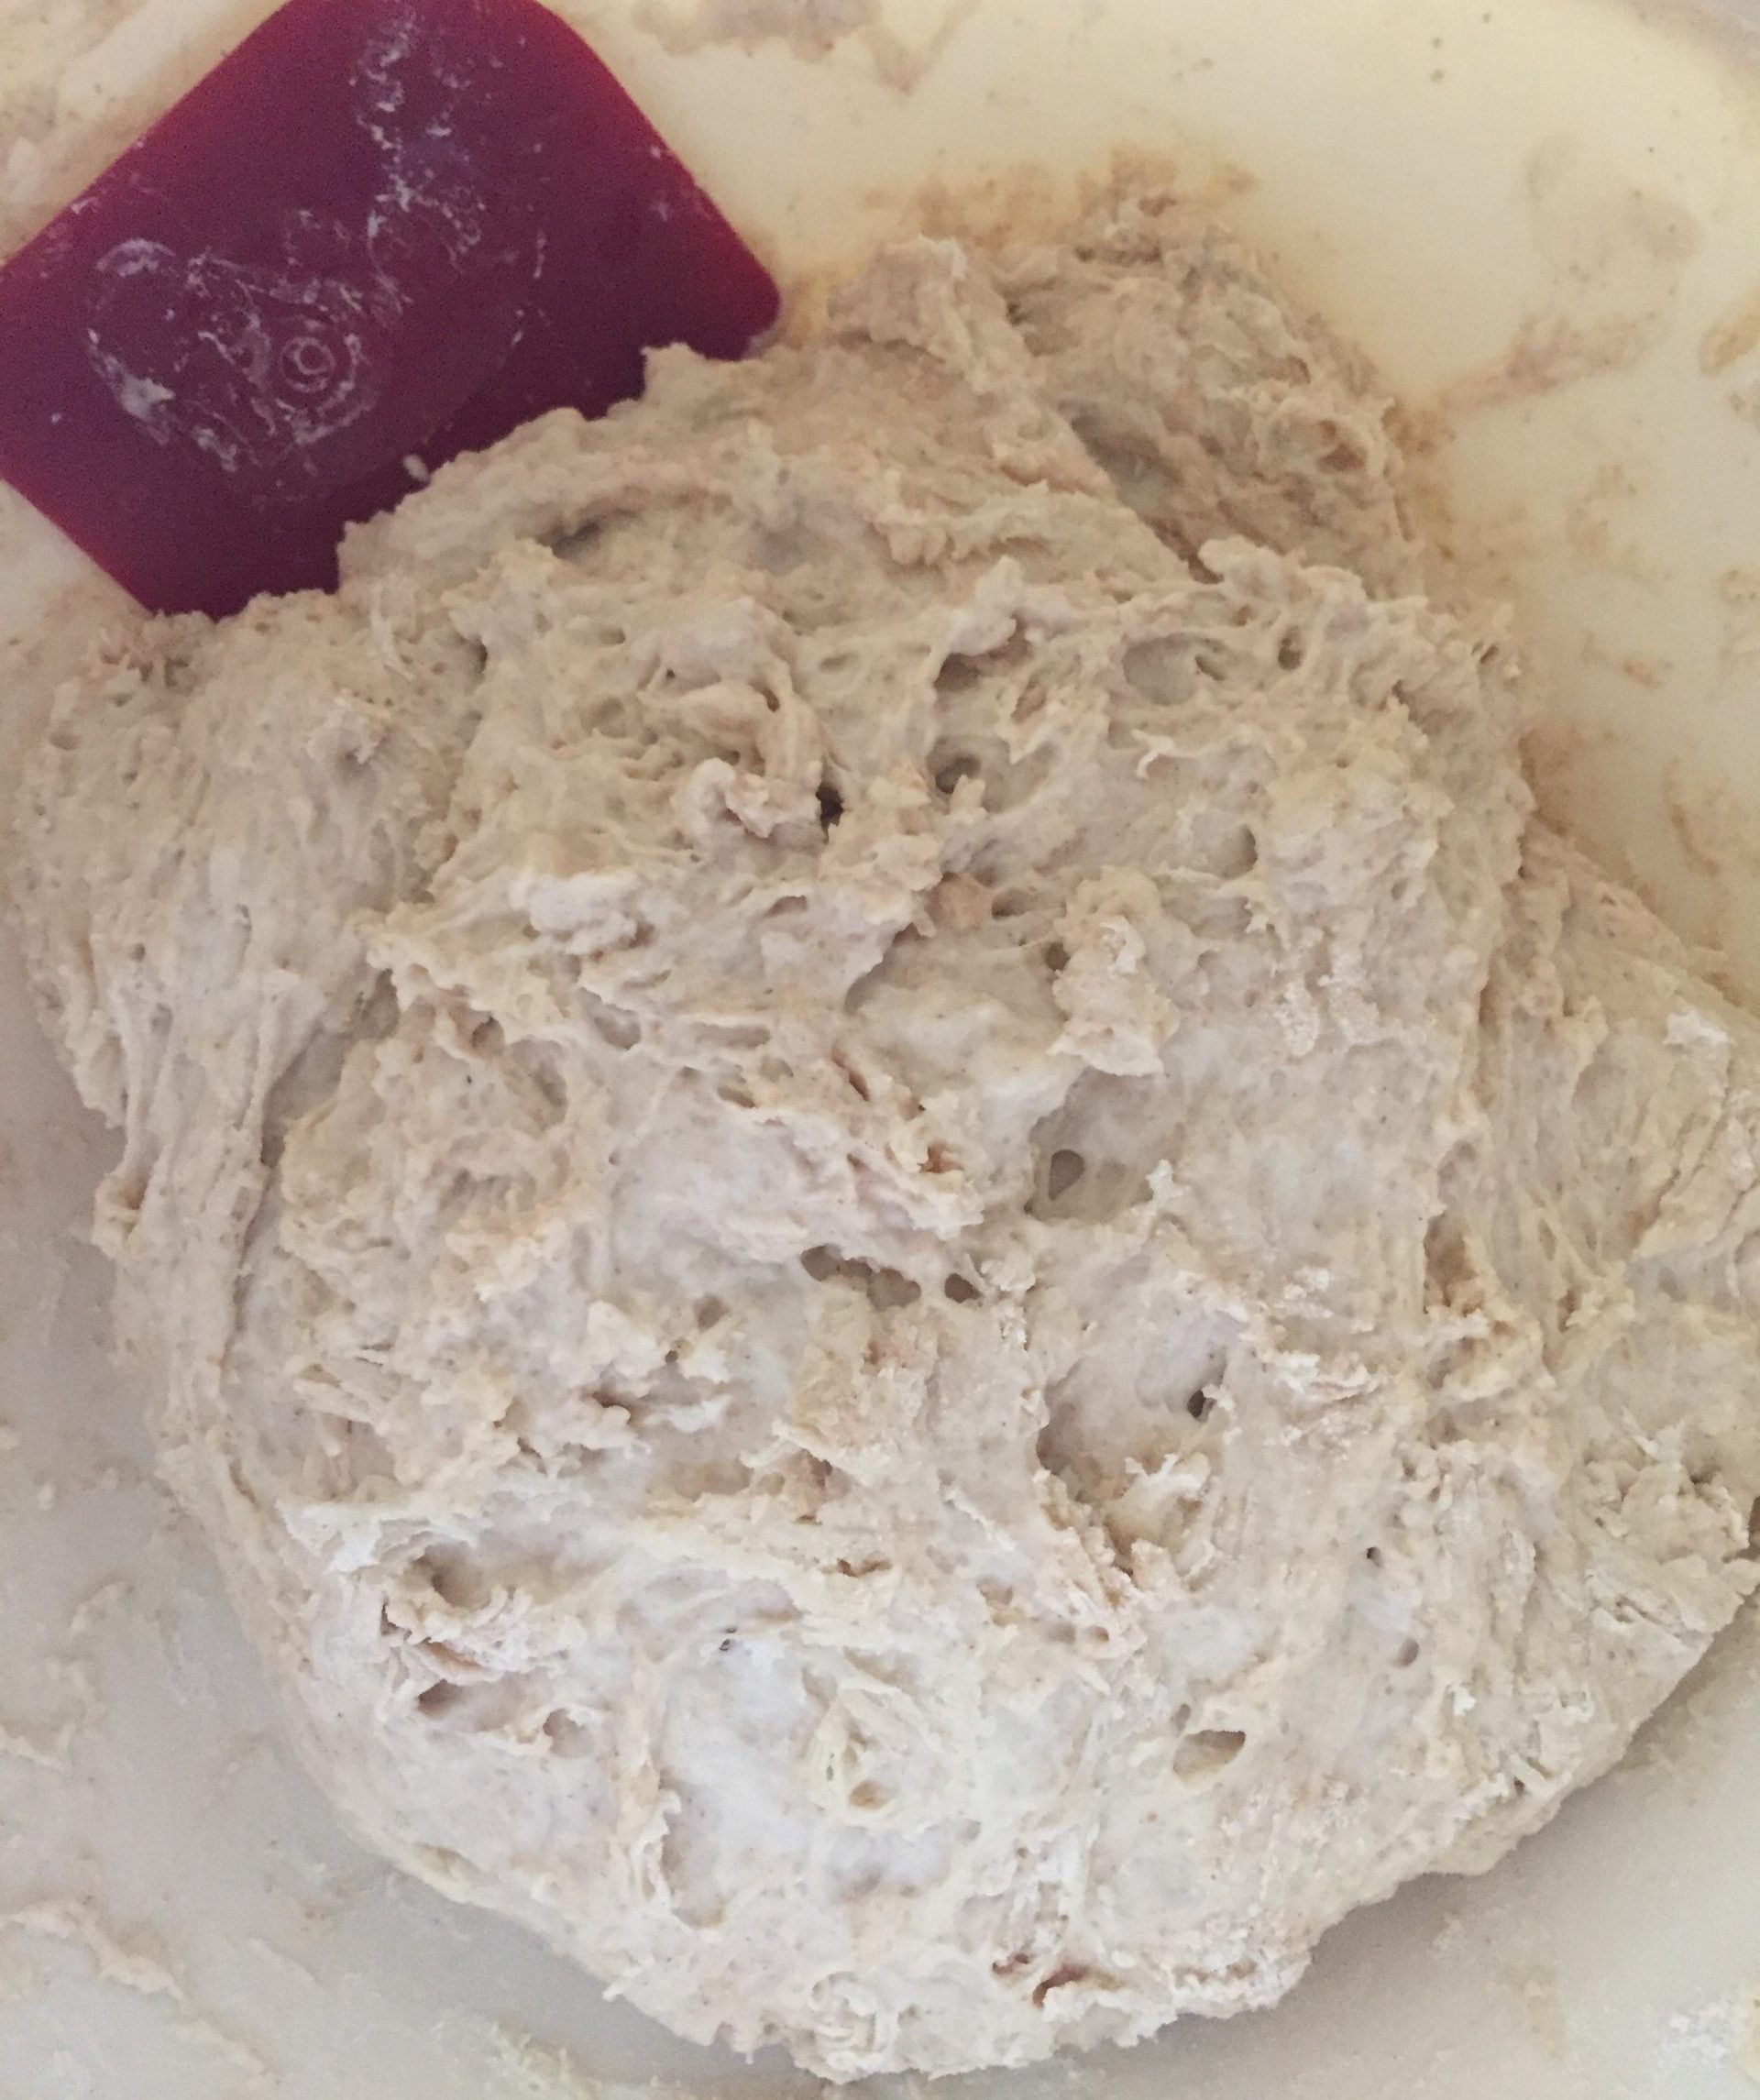
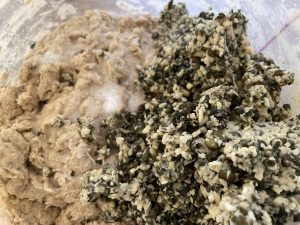
Post-autolysed dough
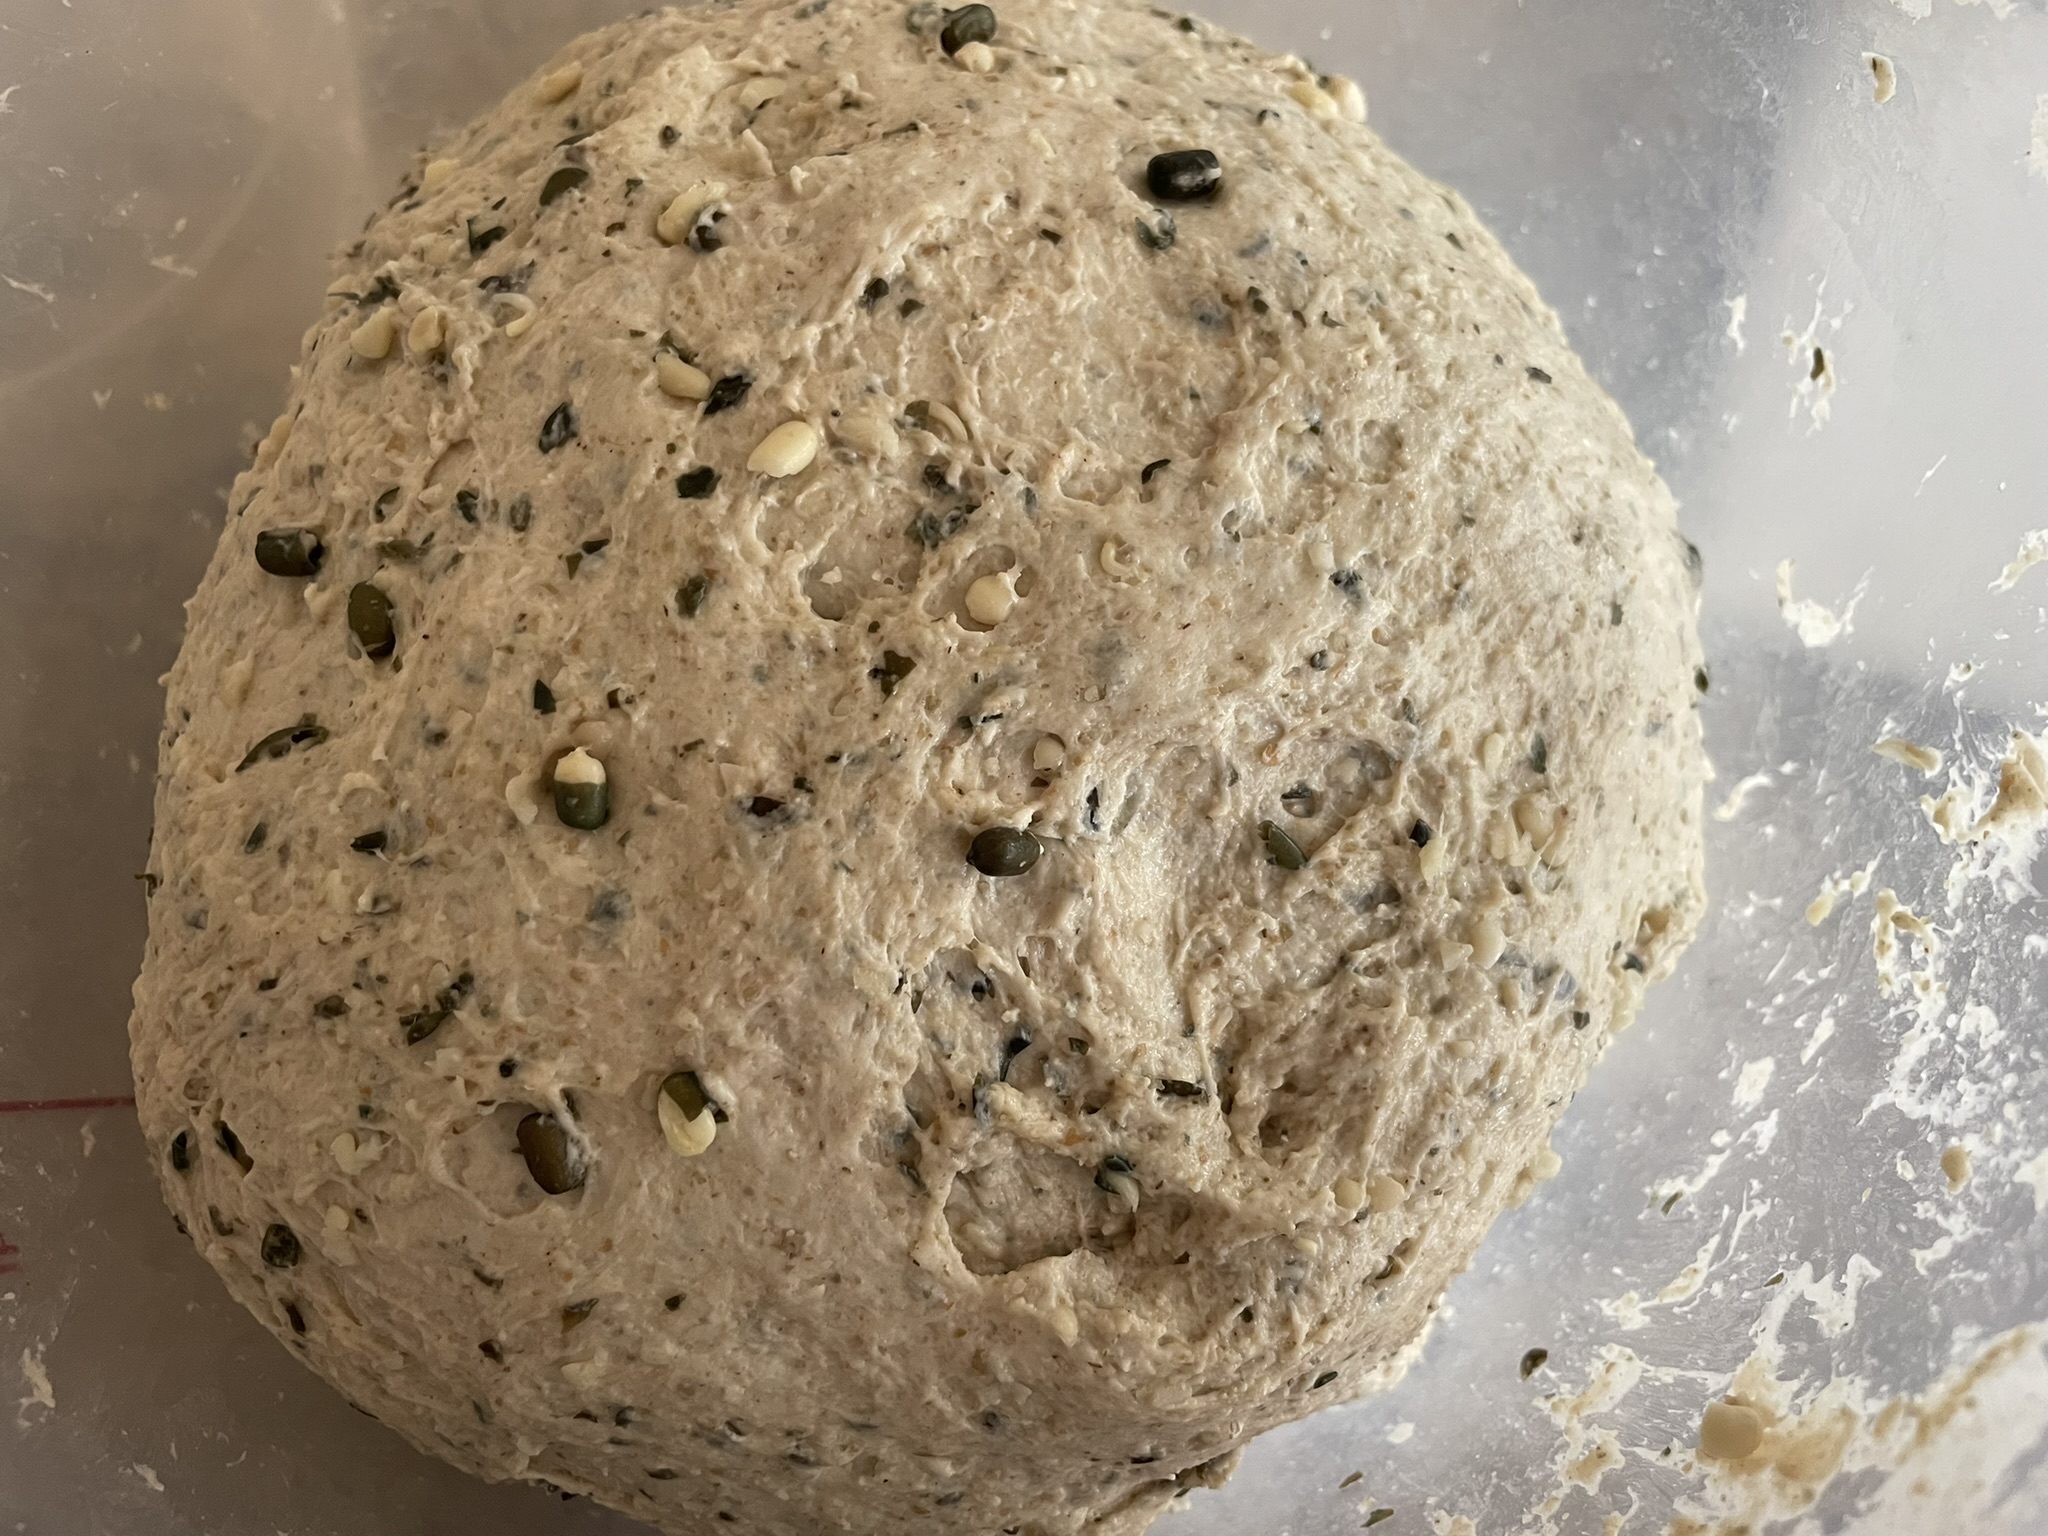
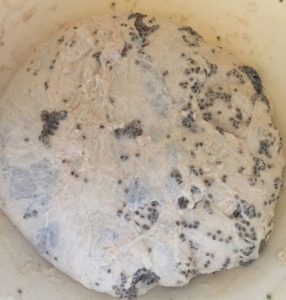
Sprouted lentil dough
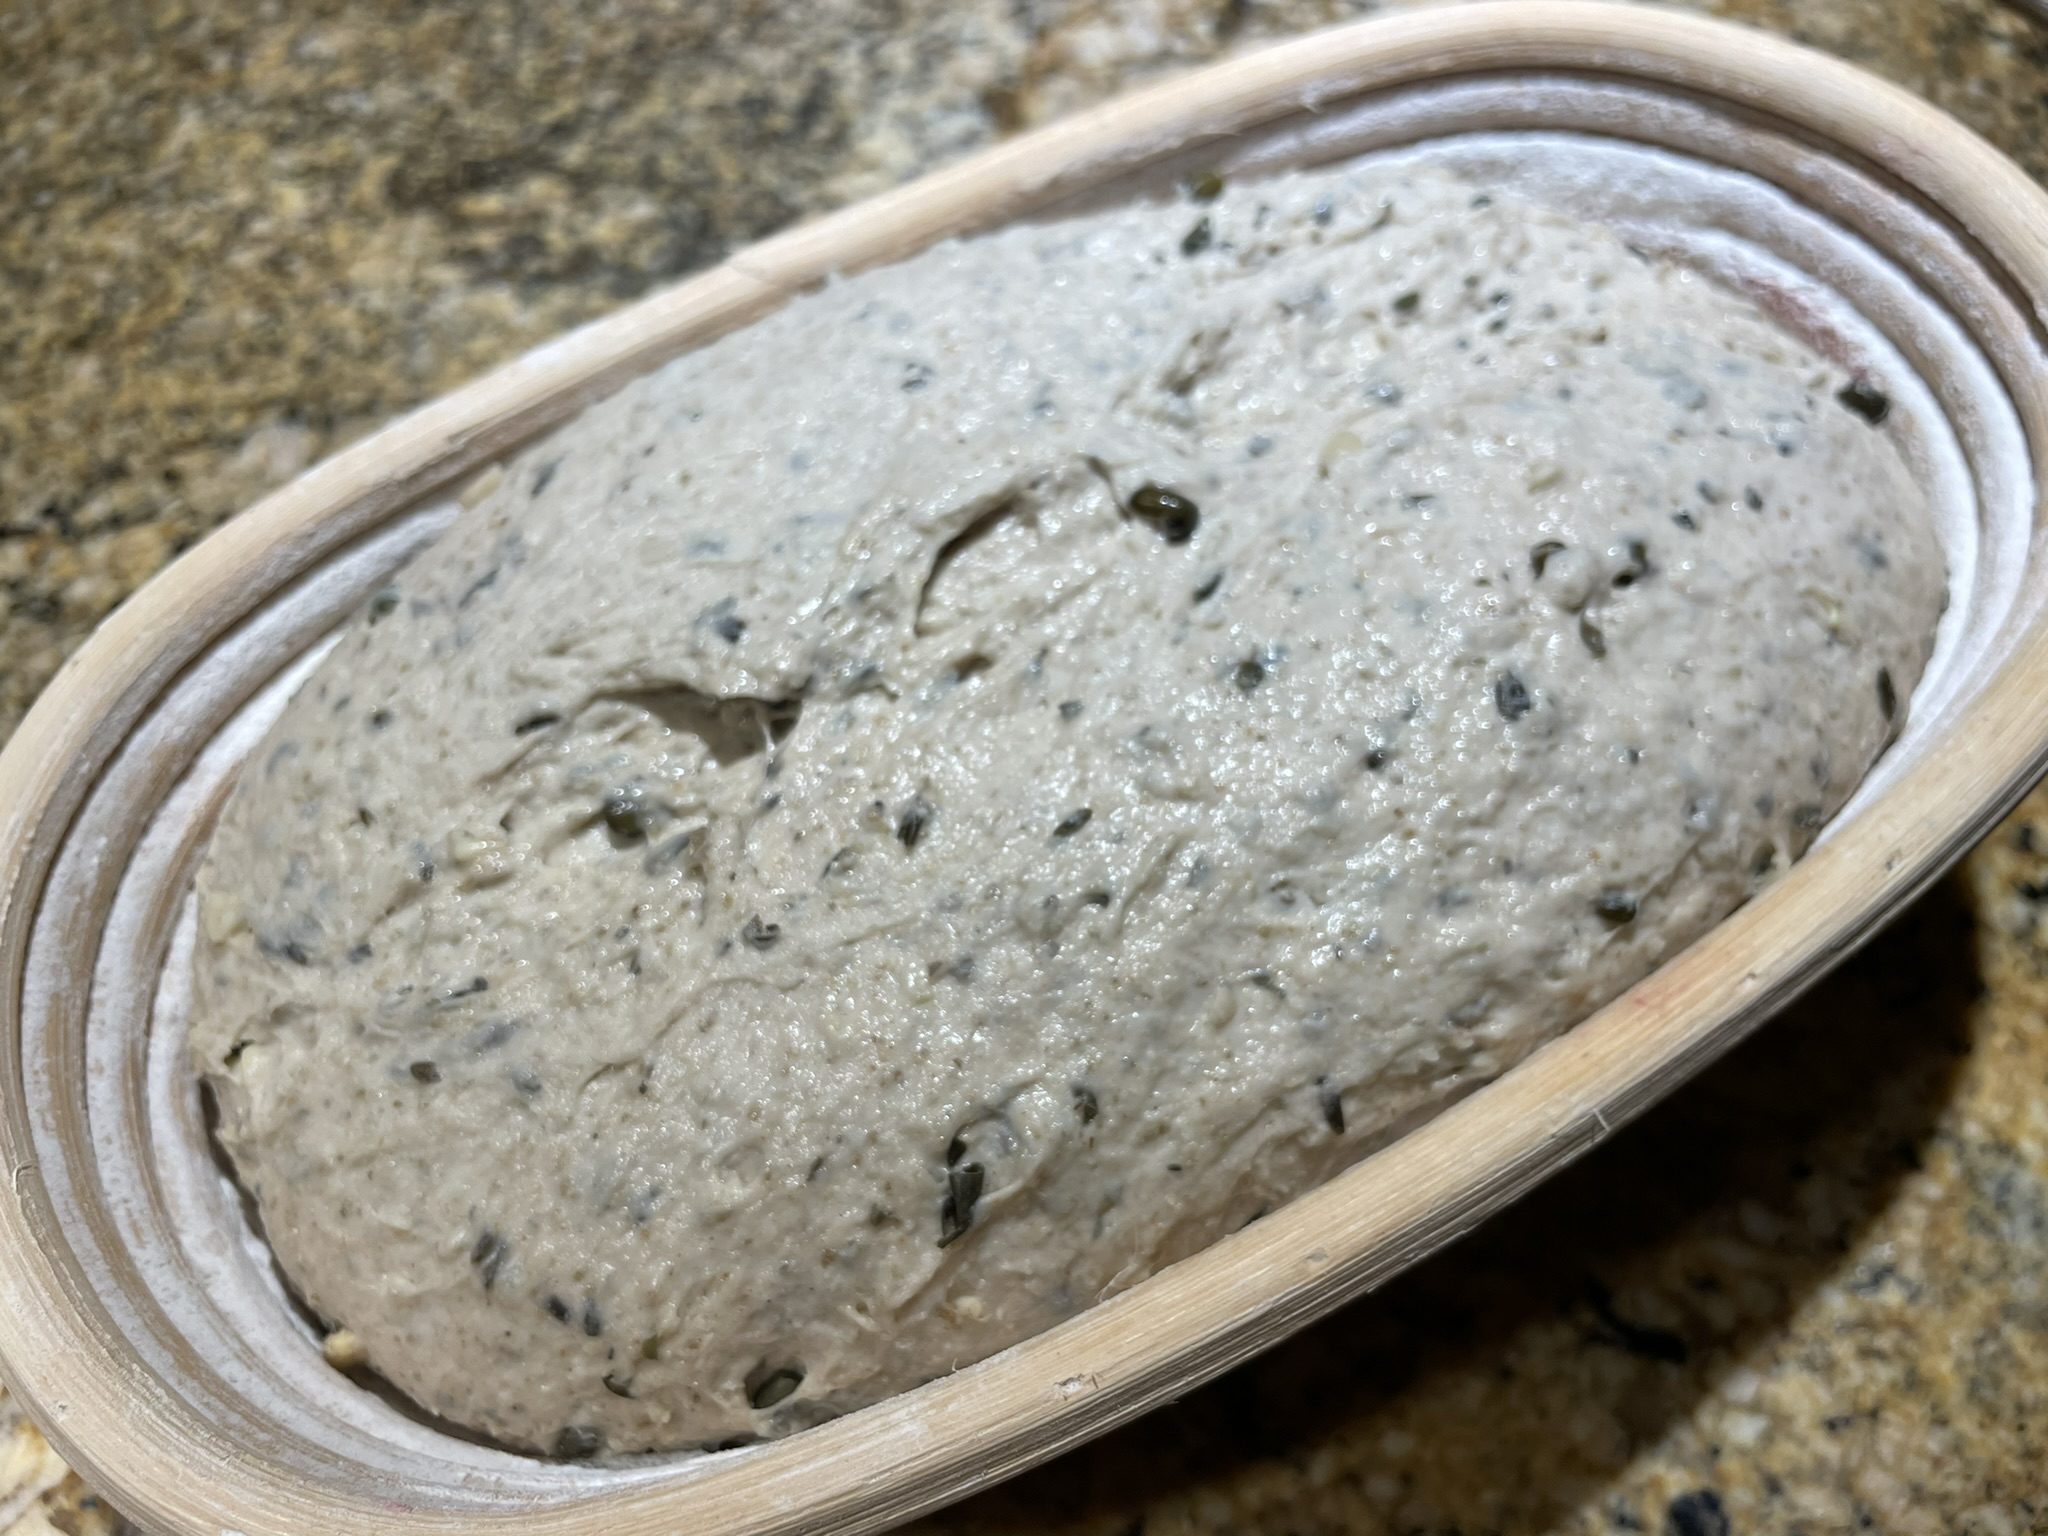
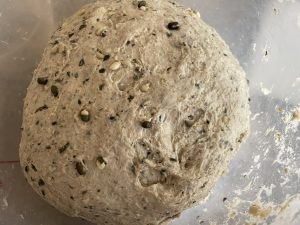
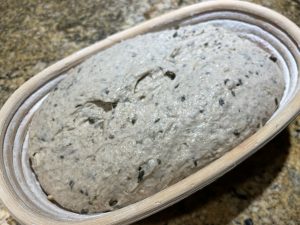
Sprouted lentil dough in banneton
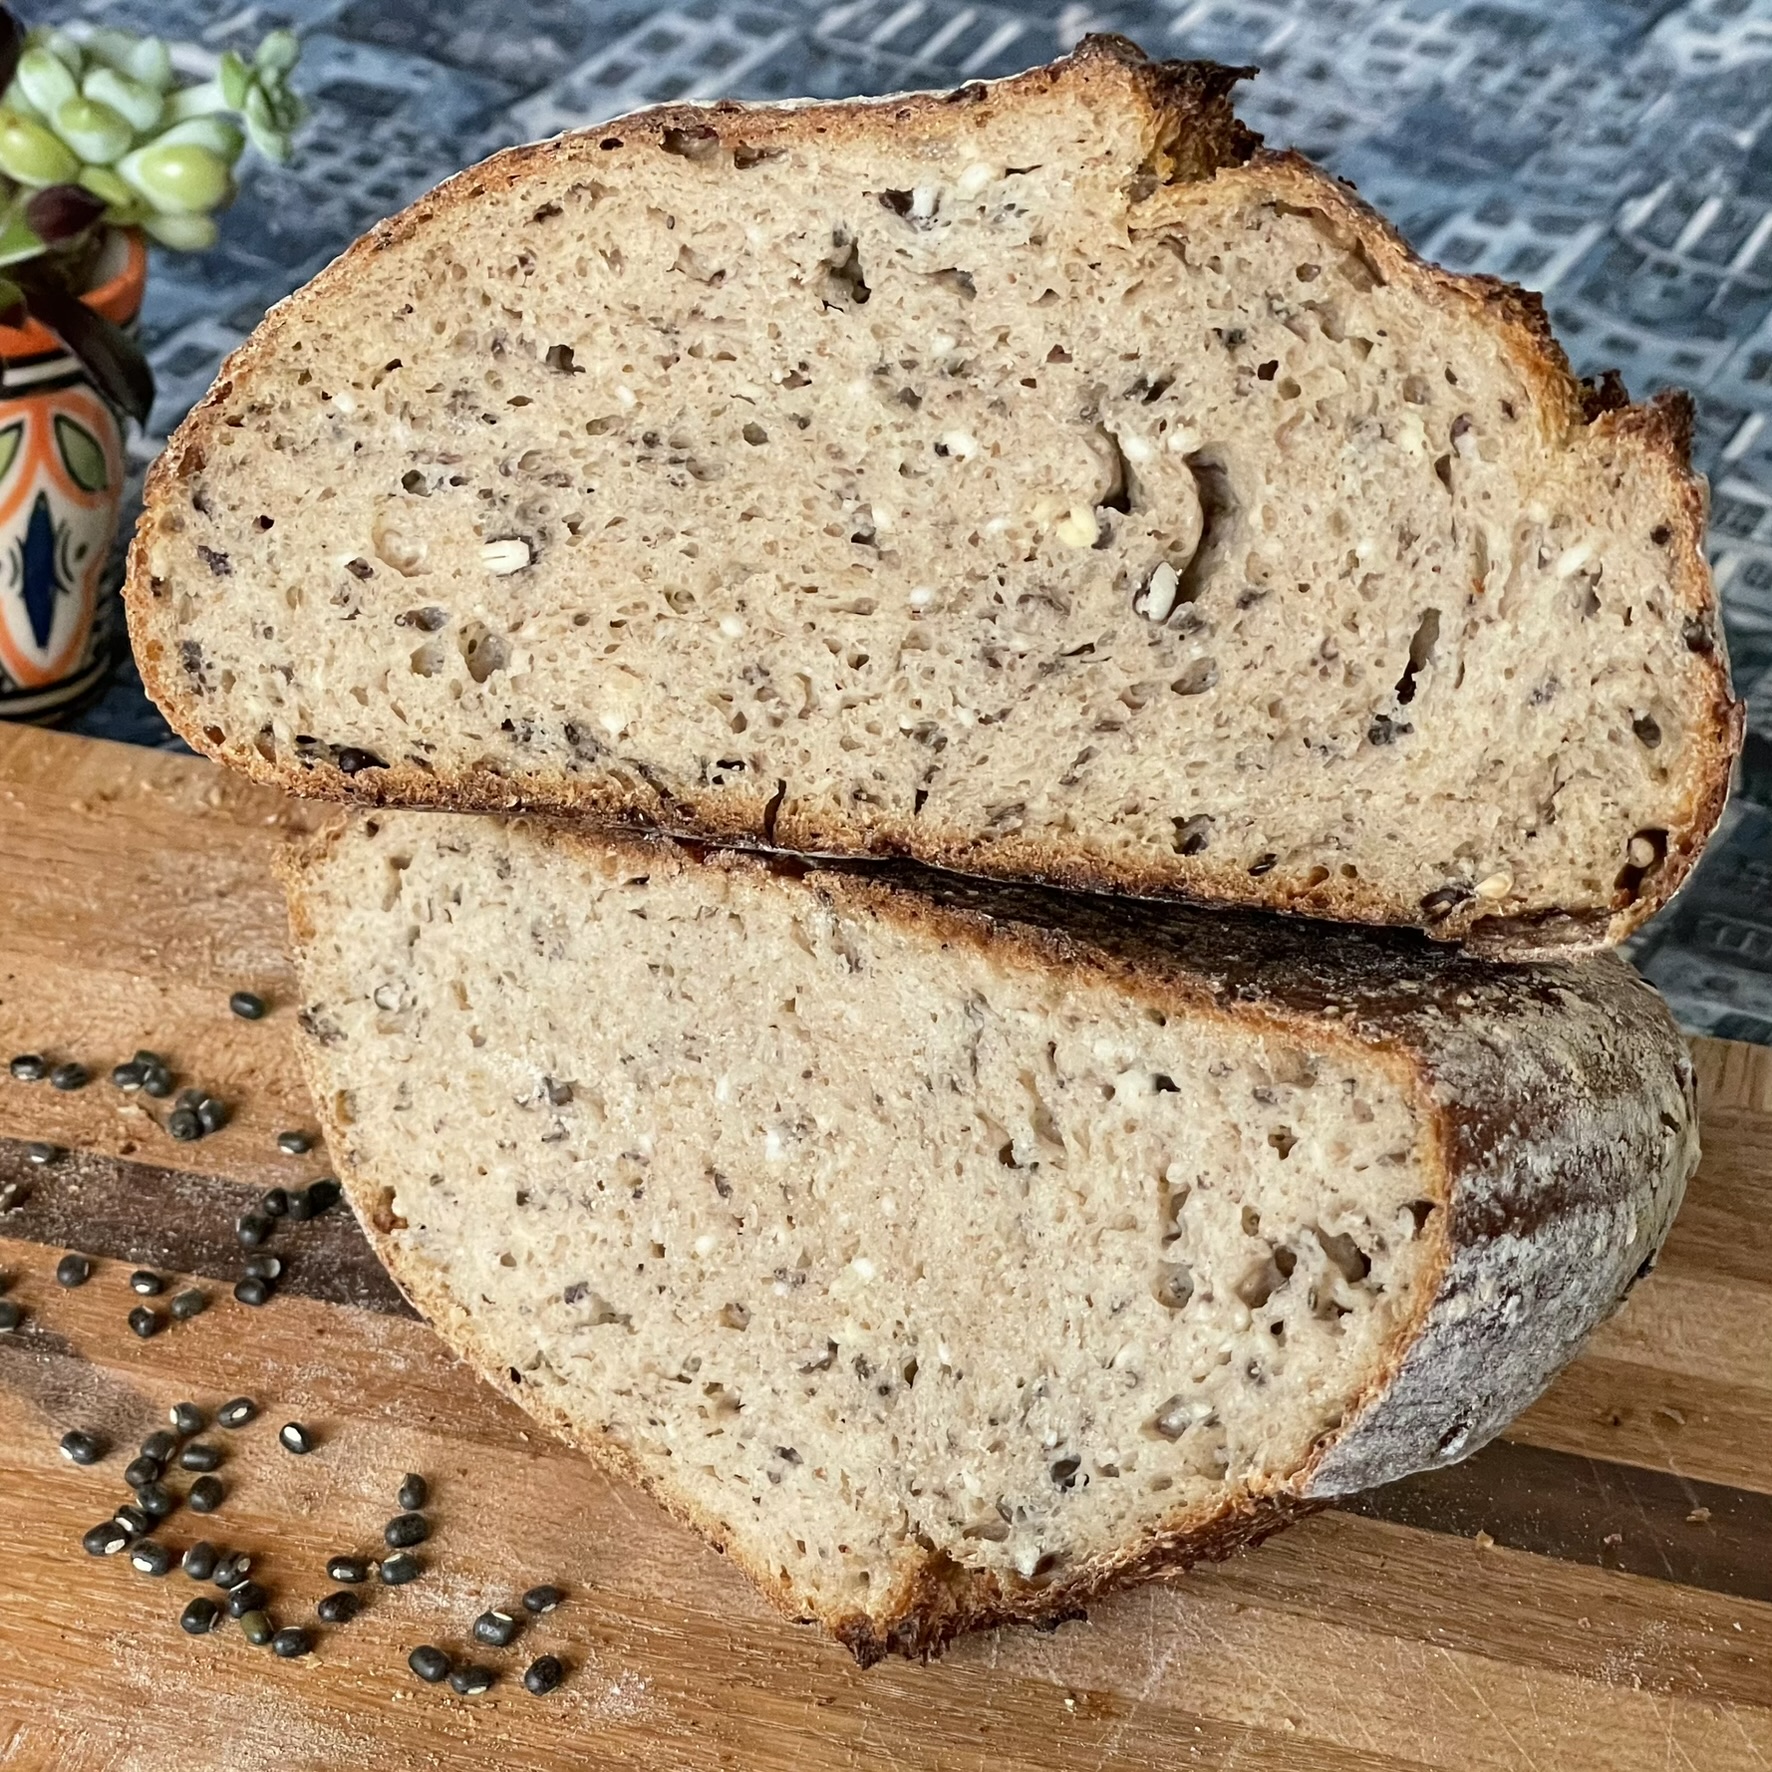
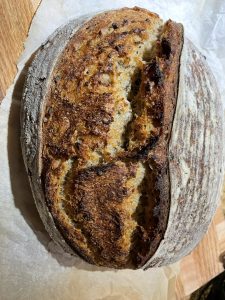
Sprouted black lentil sourdough
See the basic sourdough bread post for more tips for successful baking. Let me know how it turned out in the comment section.
SPROUTED BLACK LENTIL SOURDOUGH BREAD
Equipment
- Cast Iron dutch oven
- 2 Large Bowls
- Bread lame, razor or pair of scissors
- Dish towel to cover dough
- Container with lid
Ingredients
- 340 grams water lukewarm water
- 100 grams levain See "What is levain and how to make it"
- 400 grams bread flour
- 100 grams whole wheat flour
- 9 grams salt
- 30 grams black lentils
- 90 grams water water for soaking lentils
- rice / bread flour mixture Used for dusting your proofing bowl / banneton
Instructions
Prepare the lentils 4 days prior to dough prep
- Soak the lentils with water overnight. At least 24 hours.30 grams black lentils, 90 grams water
- Drain soaking water, rinse and drain clean water. Allow to germinate with no water.
- Rinse and drain water for 2 more days until most of the lentils have sprouted.
Prepare Ingredients the night before
- Make your levain the night before baking. See https://sammywongskitchen.com/levain
- Soak the whole wheat flour in the water.340 grams water, 100 grams whole wheat flour
Making your bread dough
- Blend lentils to chop into finer pieces.
- Sift you bread flour into a bowl. I do this because some bread flours are very refined and clumpy. Sifting helps remove those clumps.400 grams bread flour
- Add your levain to wholewheat flour water and stir to mix. It does not have to dissolve.
- Add your bread flour to the levain water. Allow your dough to autolyze, allowing the flour to completely absorb all the liquid making it easier to work with.
- Let it rest for 30 minutes.Set timer for 30 minutes
- Add salt and chopped lentils to the dough9 grams salt
Kneading your bread dough
- The dough is now ready for bulk fermentation where it will develop its flavor and body! Ambient temperatures between 70-80 degrees Fahrenheit will take 3 hours for bulk fermentation
- Add salt to autolysed dough.
- Using wet hands, pull and stretch the dough out at the top and fold it back on itself, I then rotate the dough a quarter turn and do the same thing 16 times. (4 complete revolutions!) See https://sammywongskitchen.com/kneading/
- Let dough rest for 30 minutes. You will notice that the dough will become more pliable with time. Cover and let sit for 30 minutes. Don’t forget to set your timer! Set timer for 30 minutes
- Knead dough
- Let it rest for 30 minutes.Set timer for 30 minutes
- Knead dough
- Let dough rest for 30 minutesSet timer for 30 minutes
- Knead dough
- Let dough rest for 30 minutesSet timer for 30 minutes
- Knead dough
- Let dough rest for 30 minutesSet timer for 30 minutes
- Knead dough
- Let dough rest for 30 minutesSet timer for 30 minutes
- Knead dough. The dough should be soft and pliable. If not, continue bulk fermentation for another 30 mins - 1 hour.
Shaping your bread dough
- Pull dough out of the container, weigh your dough and divide accordingly if making smaller bolles. This recipe is for 1 large loaf. However, you can make 2 smaller bolles by dividing you dough into 2 bolles and using a 2 quart cast iron dutch oven.
- On a floured surface, lightly dust your divided dough with flour and work it into a round by pulling it towards you and rotating. It should become somewhat taut as you pull the dough. Part of your goal is to remove most of the air bubbles that were created during the fermentation process. See Cutting and Shaping your Dough in my Tips & Tricks section.
- Let it sit for 10 minutes. Set timer for 10 minutes
- Shape again. See Cutting and Shaping your Dough in my Tips & Tricks section.
- Prepare your banneton (Coiled rattan baskets for proofing) by generously dusting the bowl or banneton with your bread and rice flour mixture. Dust the tops of your loaves with flour and place it in a bowl or banneton to rise.
Proofing your dough (Quick proof)
- Cover your bowls with a damp cloth and let rise in a warm place for 2 and a half hours. I usually put this in my oven with the oven light on. Proof dough for 150 minutes
- Take your dough out and preheat oven with your cast iron dutch ovens. (Should take about half an hour depending on your oven. This will be a total of 3 hours of proofing. I have proofed bread for 4 hours. However, overproofing your dough with cause your dough to lose its ability to have enough strength for the "oven-spring" (the last rise in the oven as a result of intense heat).
Proofing your dough (slow proof)
- Place dough in a plastic bag and let rise for 1 hour.
- Place dough in plastic bag in the refrigerator and proof for 48 hours.
Scoring your dough
- The dough should be loose but not impossible to handle after proofing. If you are new to bread baking, you can use the following ways to get your dough into the cast iron pot. Take a piece of parchment paper that will generously cover the top of the bowl/banneton. Place it over the bowl/banneton. or move your bowl / banneton over the cast iron dutch oven, flip the bowl / banneton and gently lower into the dutch oven. or if you have a cast iron skillet / dutch oven set as shown on my "Helpful Tools" section. Place the shallow skillet over the proofing bowl / banneton and flip. After scoring, cover the dough with the dutch-oven section and place it in the oven with the skillet on the bottom.
- Score the bread by cutting it with a razor blade, bread lame, or a pair of scissors.. Scoring the bread allows the dough to expand during baking and gives your dough a pretty design. See Scoring your dough in my Tips & Tricks section. Cover with lid.
- Reduce oven temperature to 450°F
- Bake for 25 minutes. Smaller 2 quart bolles should bake for 20 minutes.Set timer for 25 minutes for large bolle Set timer for 20 minutes for small bolle
- Remove the lid and continue baking for an additional 25 or 20 minutes respectively.Set timer for 25 minutes for large bolle Set timer for 20 minutes for small bolle
- Remove from oven and remove from dutch oven and let cool on wire rack.
- If you are baking 2 loaves: To bake the second loaf, after removing the first loaf, bring the oven temperature back to 500 degrees, wipe the dutch oven with a clean dry towel or paper towel, place the dutch oven in it for 10 minutes and bake according to recipe.

