2 Comments
share this
I love chia seed sourdough bread. It has now become my basic bread dough due to the health properties as well as the extra tasty crunch when a slice of bread is toasted. Chia seed is hydro-phillic (water loving) so it absorbs a lot of water. This can be good or bad in your bread recipe. Too little water, your bread will be very dry. Just the right amount of water, your bread will be moist, super healthy and lasts longer if you don't happen to eat the entire loaf the first day! It is packed with nutrients, antioxidants and high in fiber. According to healthline.com, here are the health benefits of chia seeds.
A one-ounce (28 grams) serving of chia seeds contains (1):
- Fiber: 11 grams.
- Protein: 4 grams.
- Fat: 9 grams (5 of which are omega-3s).
- Calcium: 18% of the RDI.
- Manganese: 30% of the RDI.
- Magnesium: 30% of the RDI.
- Phosphorus: 27% of the RDI.
- They also contain a decent amount of zinc, vitamin B3 (niacin), potassium, vitamin B1 (thiamine) and vitamin B2.
Tips to making chia seed sourdough bread.
There are a few ingredients that require overnight preparation.
- The levain
- Soak your chia seeds with boiling water. Stir and set overnight.

Levain double in volume
Flour.
Sift you bread and wheat flour into a bowl. I do this because some bread flours are very refined and clumpy. Sifting helps remove those clumps.
Levain.
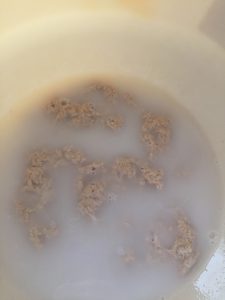
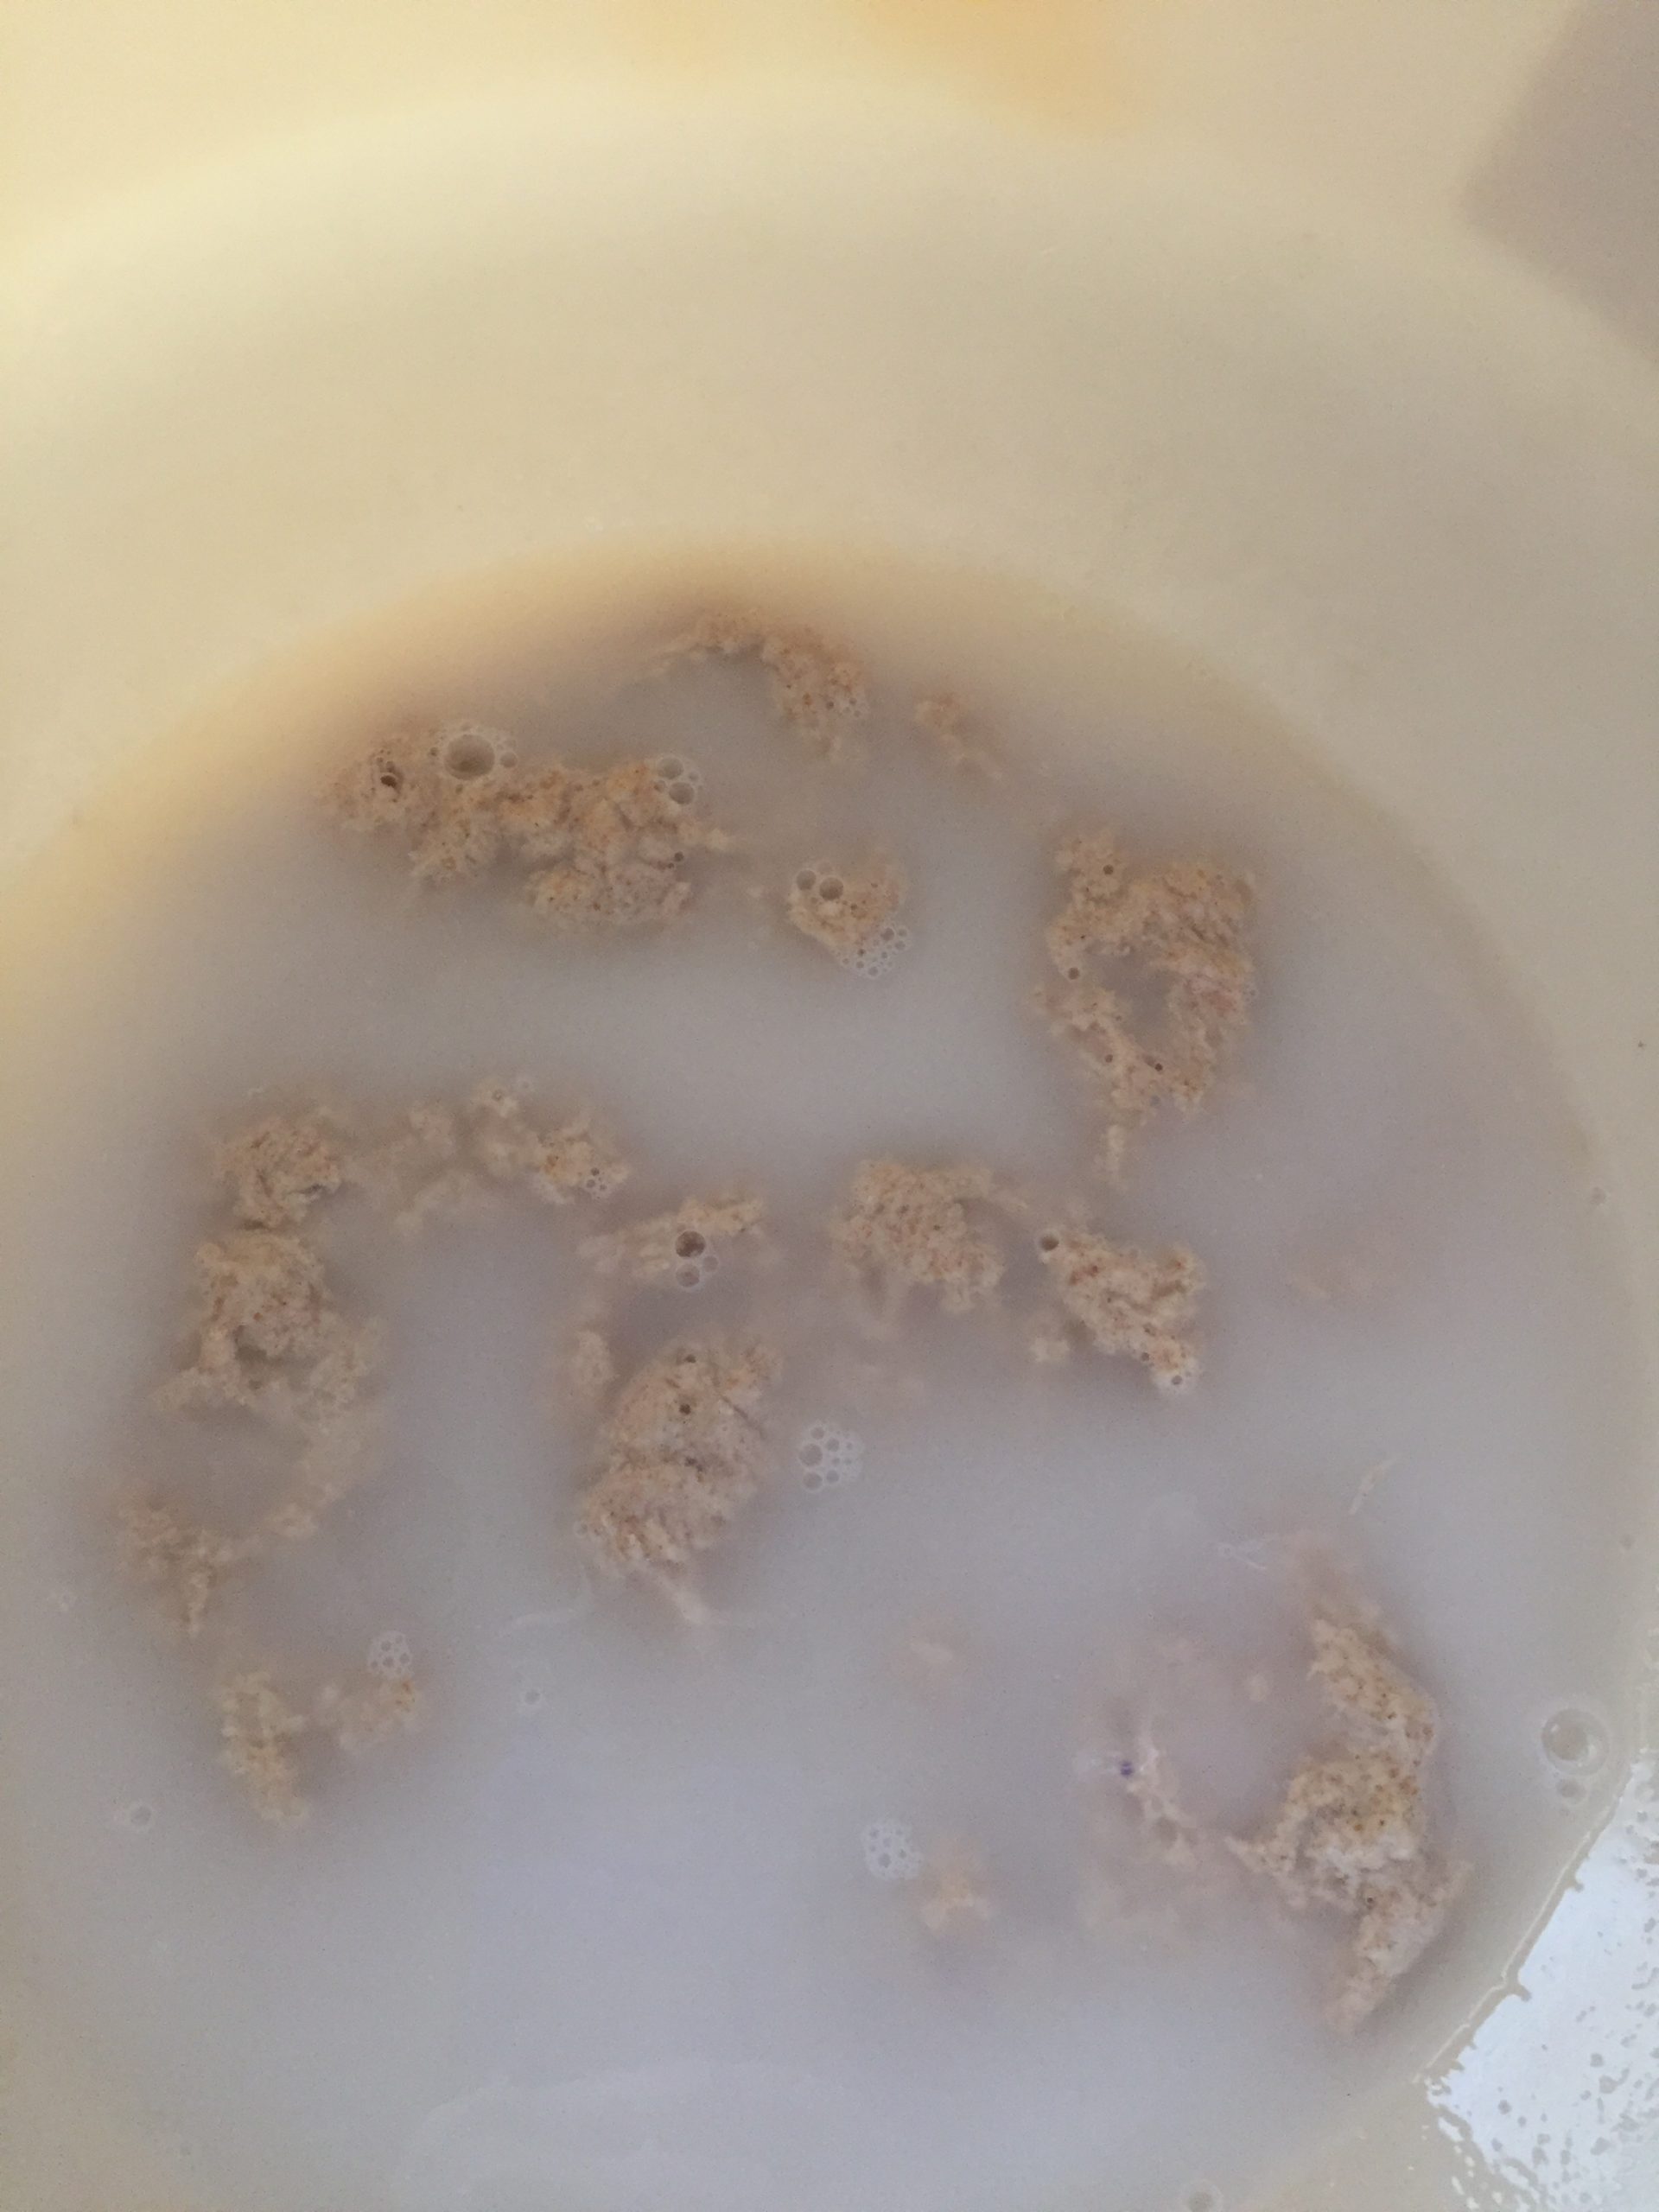
The active starter or levain should be light and airy and will actually float on the water when added.


Autolyse.
Mix the dough by hand until all the flour is incorporated into the water, levain mixture. Allow this dough to sit for 30-45 minutes. This resting allows the water to fully hydrate the flour, making it easier to work with.

Pre-autolyzed dough

Post-autolysed dough
Salt.
Add salt to the chia seed mixture just before incorporating. If the salt is added too soon, the water will be extracted out of the chia seeds, making the dough too soft. The chia seed mixture should be so stiff that a teaspoon can stand erect in the middle of the mixture.

Chia seed mixture is so stiff, a teaspoon can stand can stand in it without support!

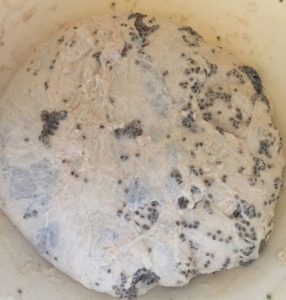
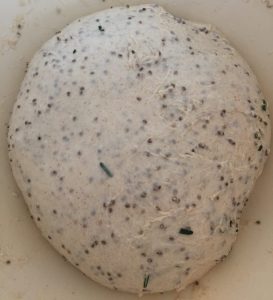
Chia seed dough immediately after adding chia seed

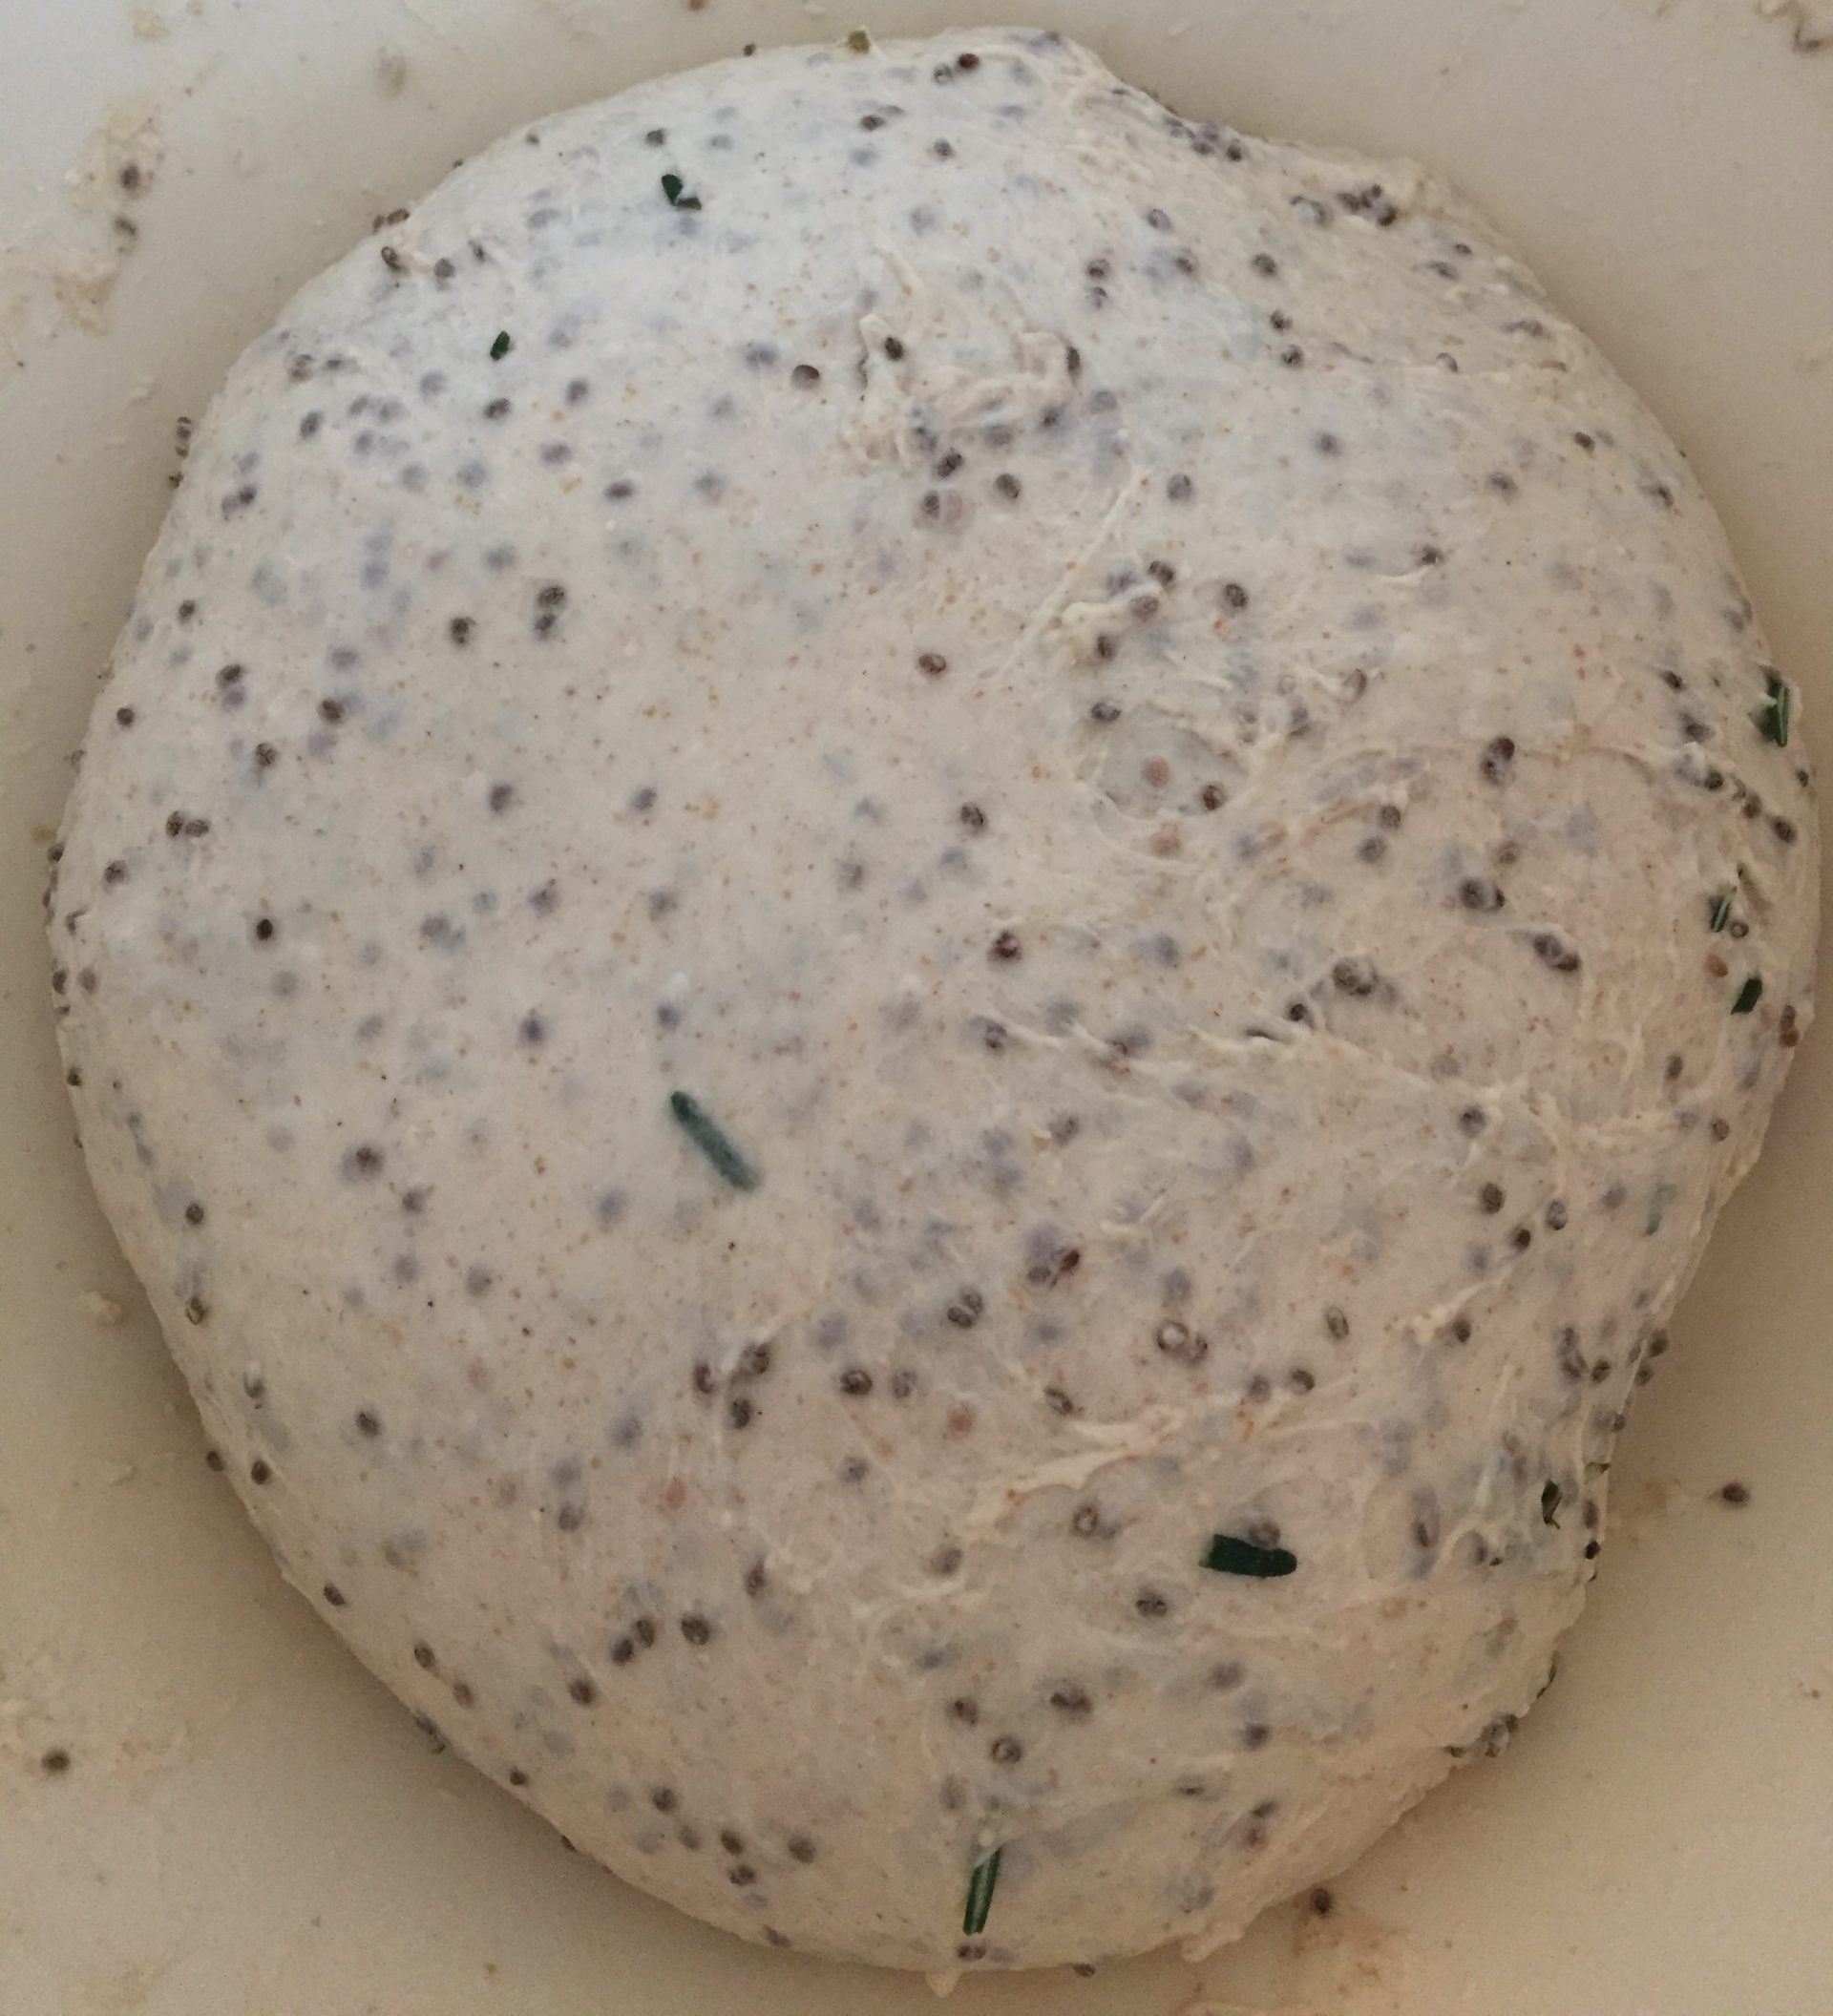
Chia Seed dough after kneading several times. The seeds will be dispersed evenly throughout the dough.

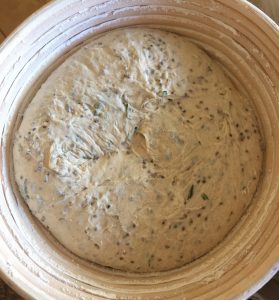
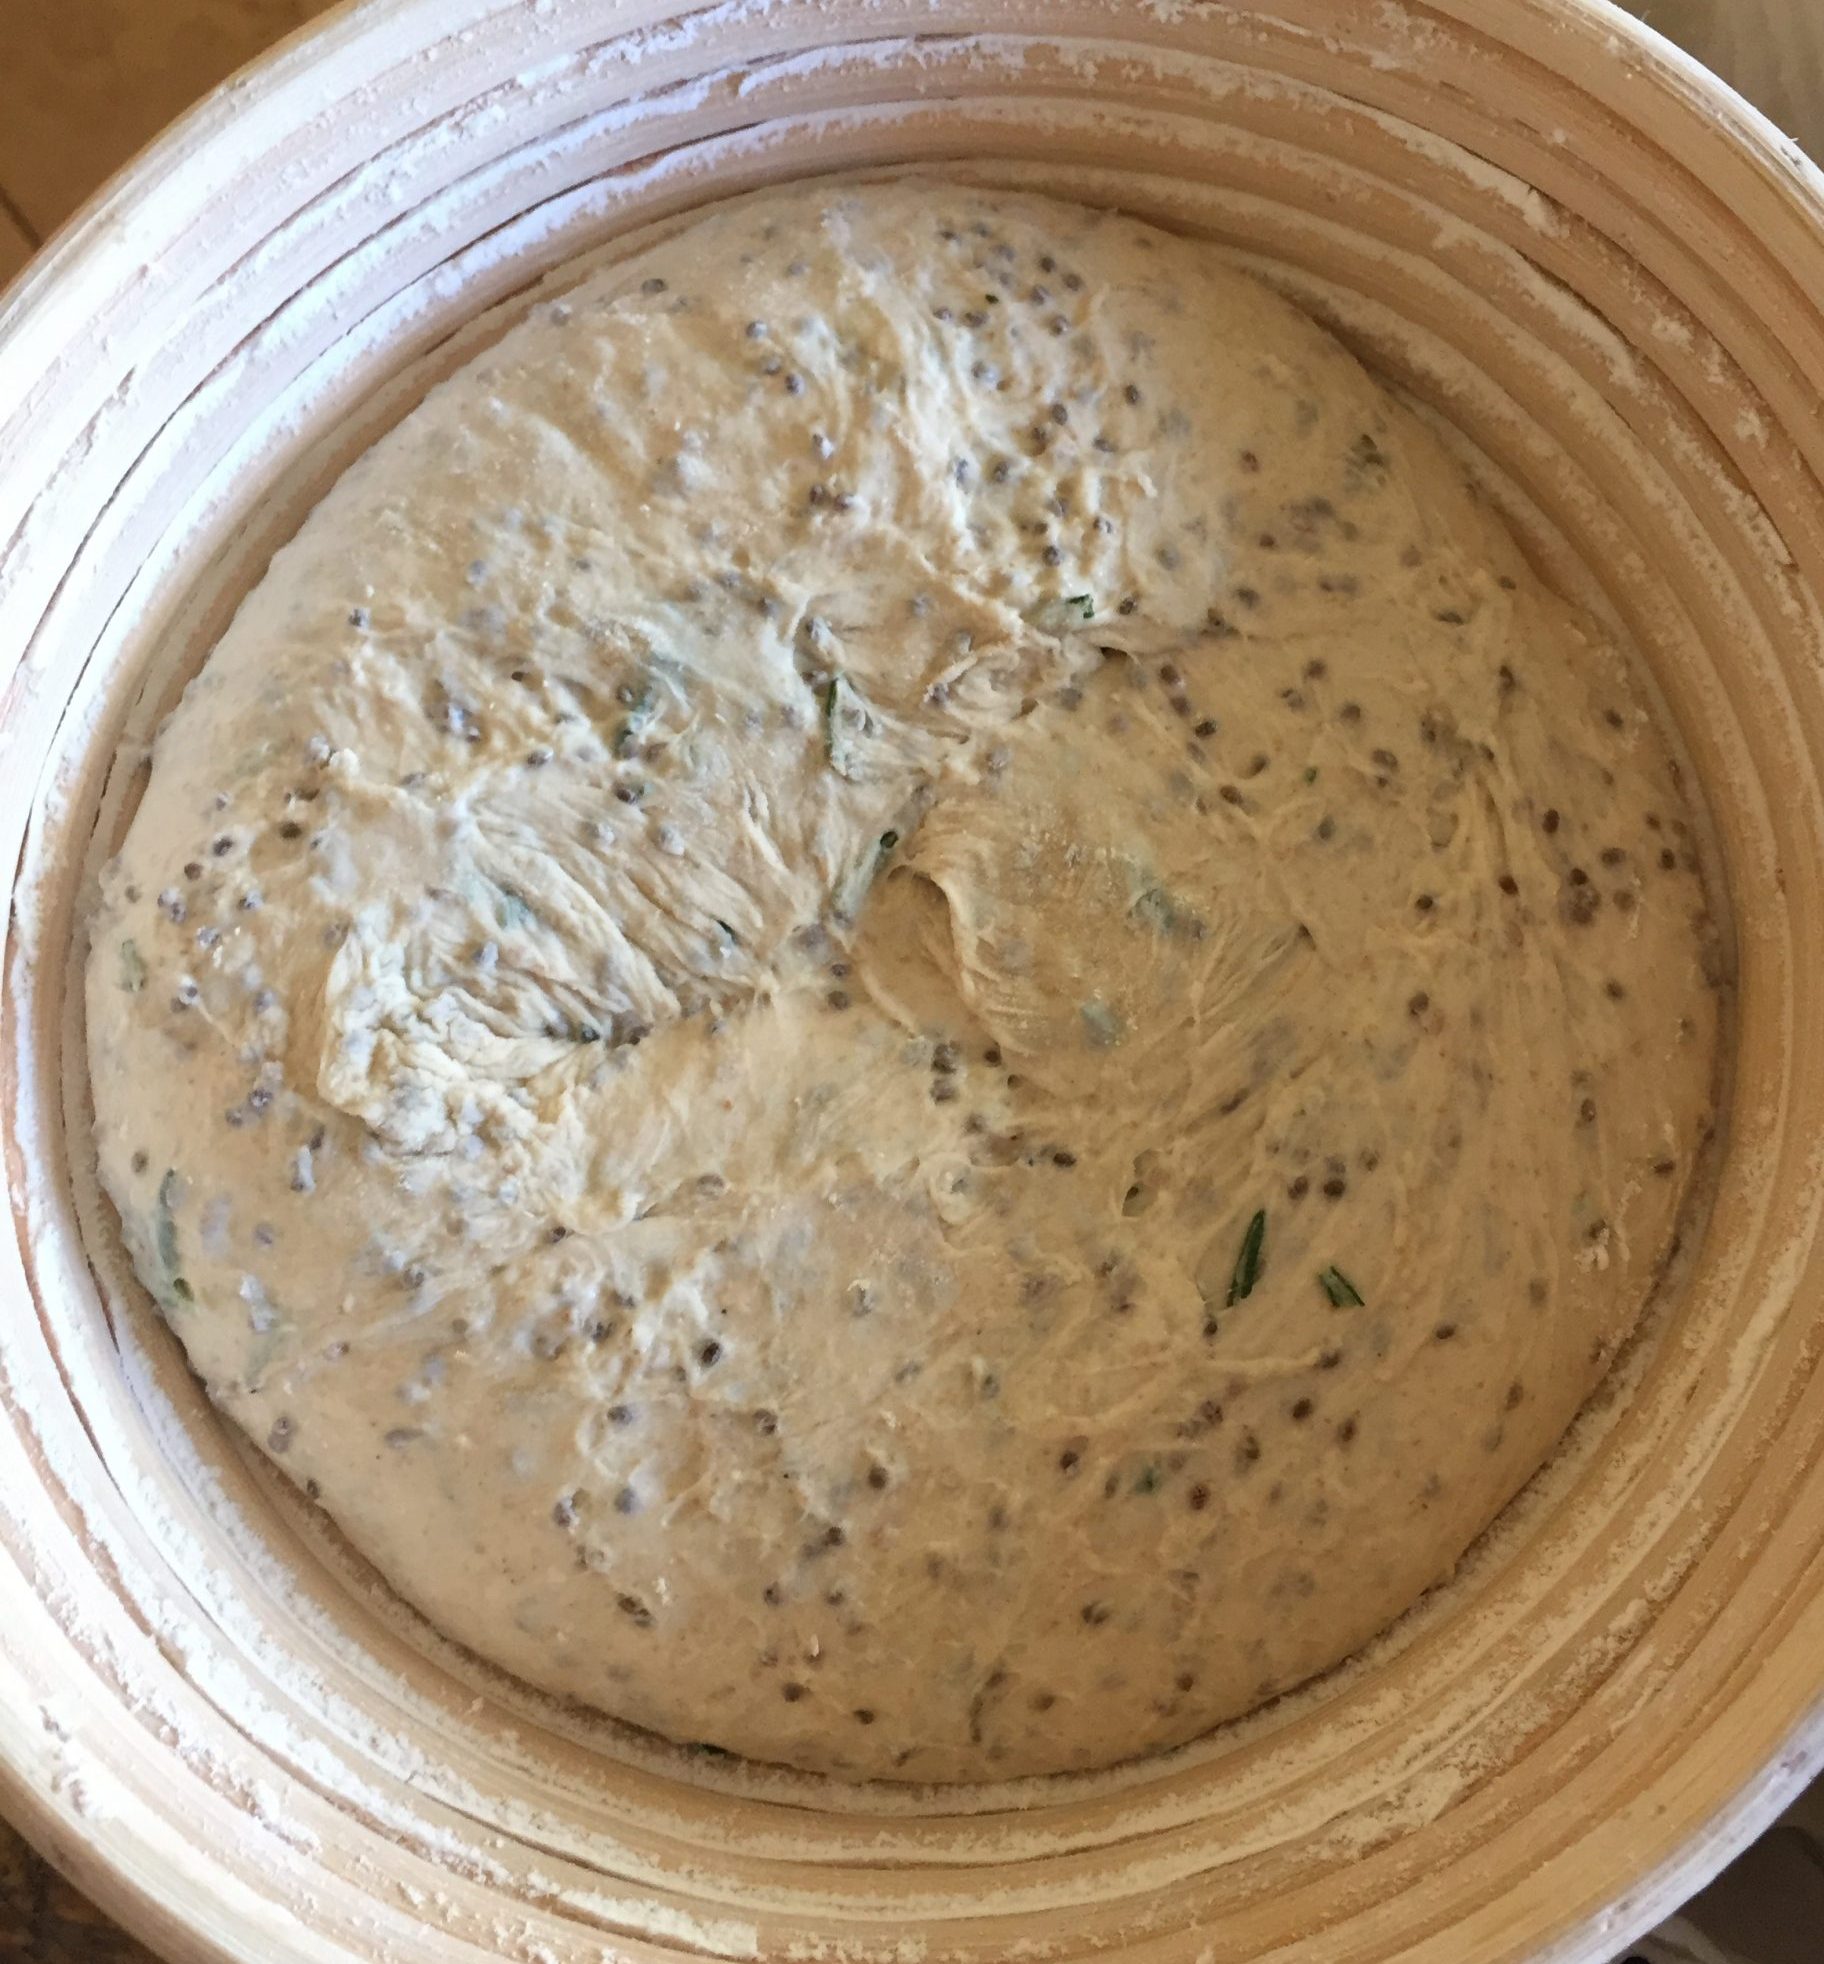
Dough proofing in banneton
See the basic sourdough bread post for more tips for successful baking. Let me know how it turned out in the comment section.
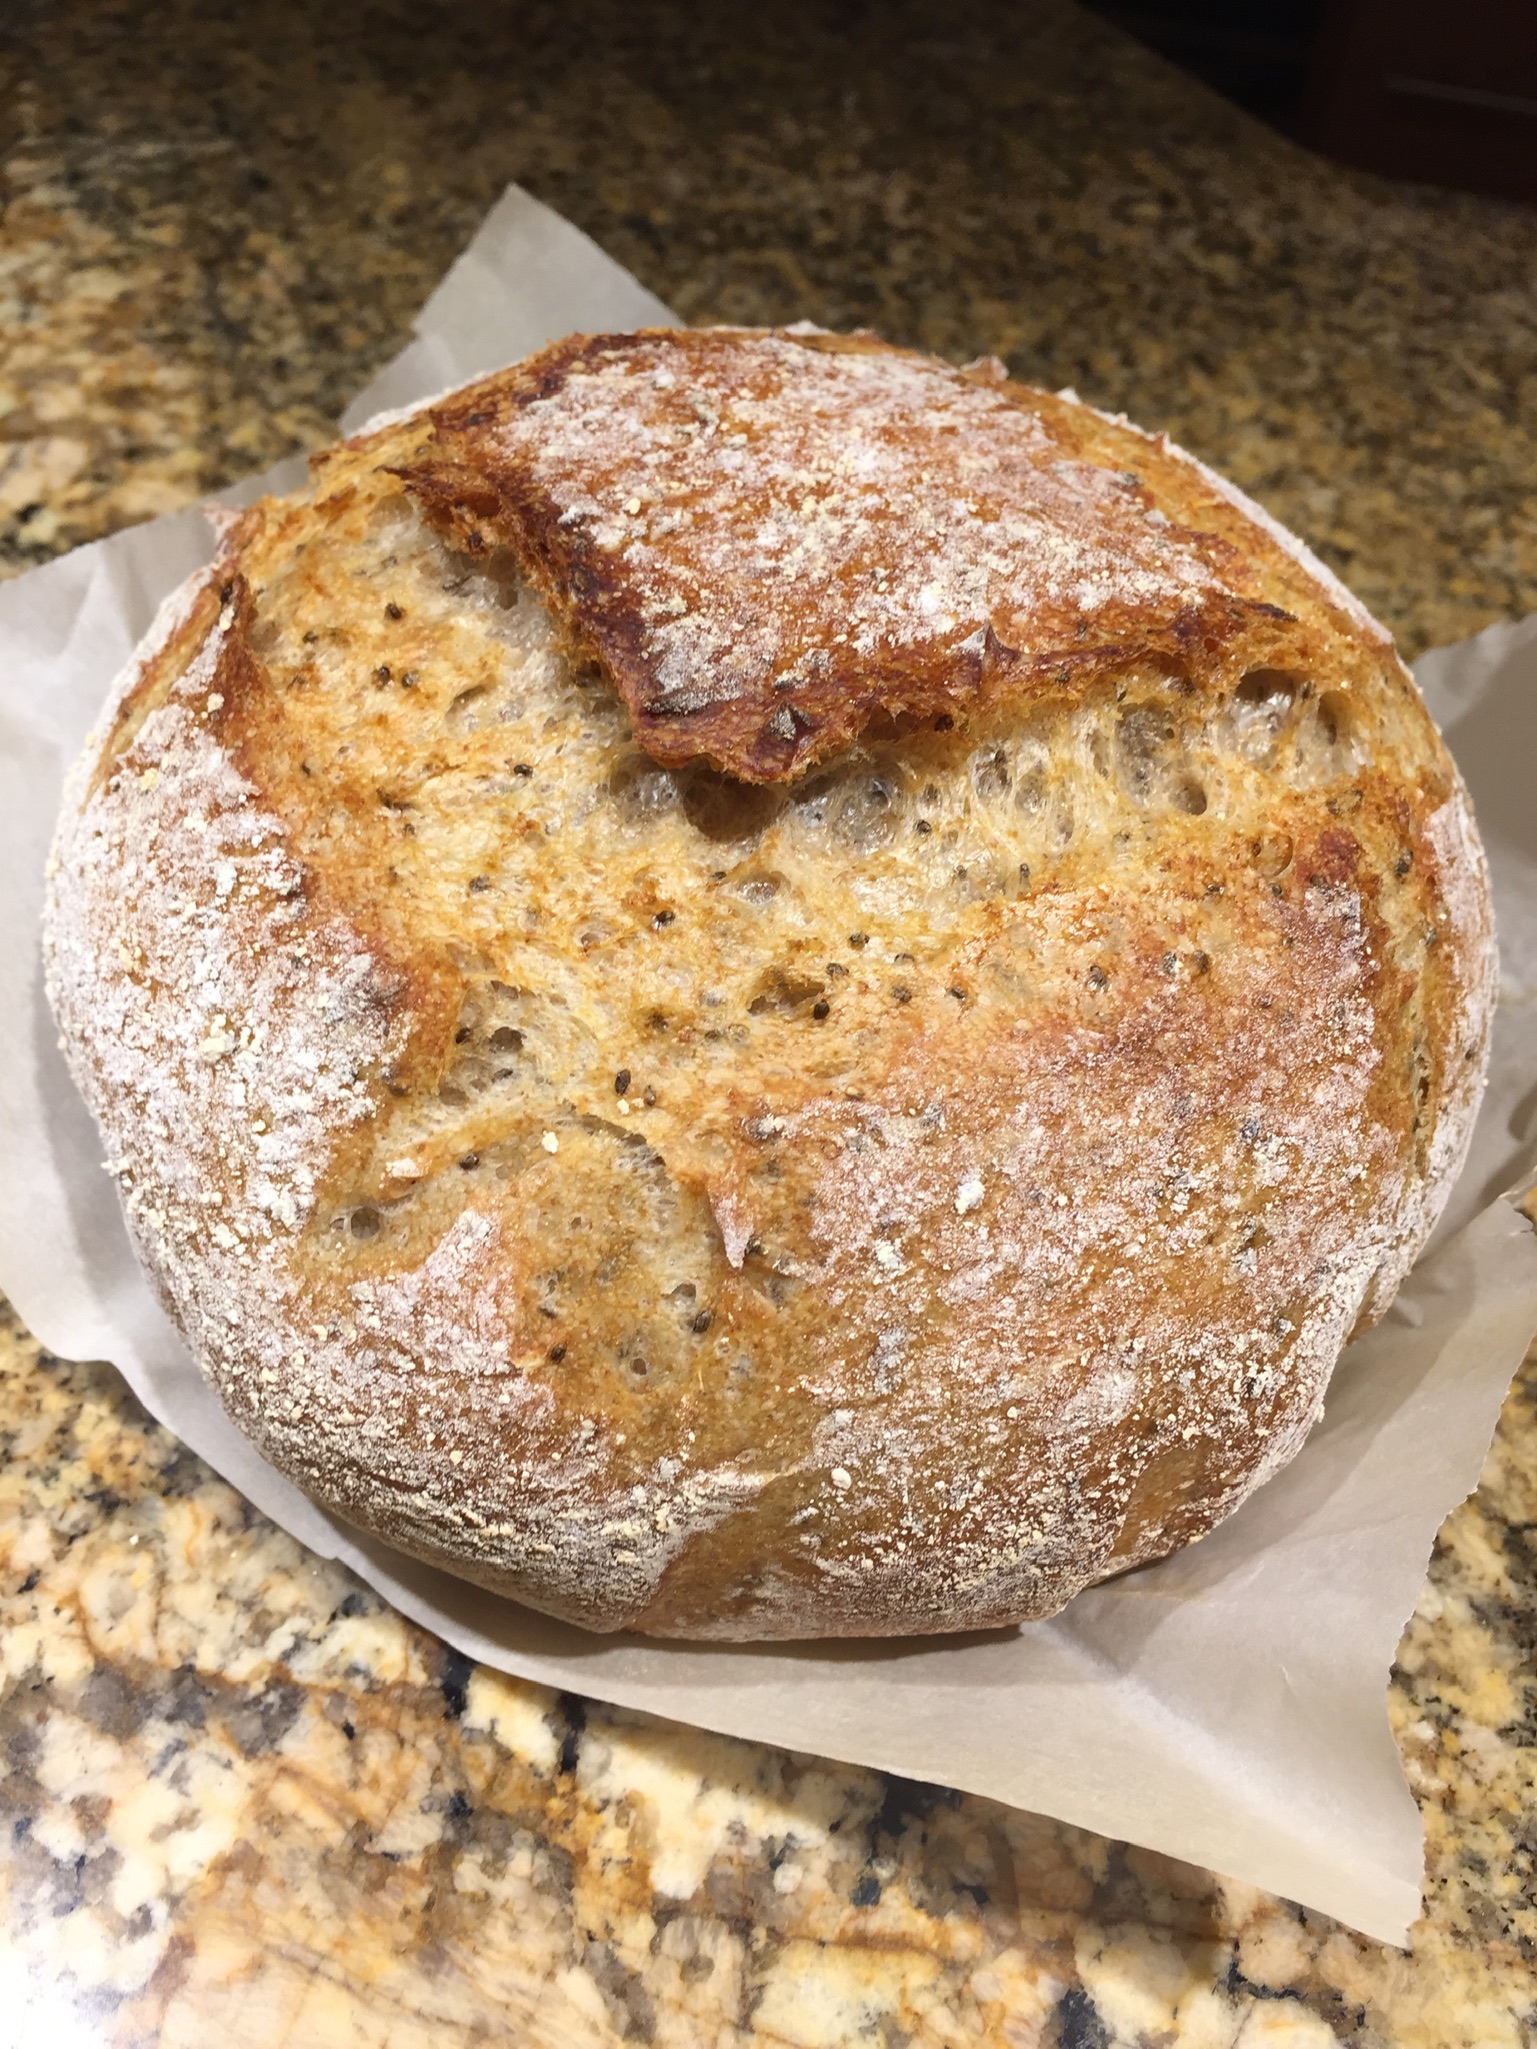
CHIA SEED SOURDOUGH BREAD
Chia Seed Sourdough Bread is more moist and nutritious than regular sourdough. Plus, when you toast it, there's an extra crunch from the toasted Chia. Try this recipe and you'll never go back to regular Sourdough bread!
Equipment
- Cast Iron dutch oven
- 2 Large Bowls
- Bread lame, razor or pair of scissors
- Dish towel to cover dough
Ingredients
- 355 grams water (80 degrees-lukewarm)
- 100 grams levain See "What is levain and how to make it"
- 400 grams bread flour
- 100 grams whole wheat flour
- 9 grams salt
- 20 grams chia seed
- 60 grams water water for soaking chia seeds
- rice / bread flour mixture Used for dusting your proofing bowl / banneton
Instructions
Prepare Ingredients the night before
- Make your levain the night before baking. See https://sammywongskitchen.com/levain
- Soak your chia seeds with boiling water. Stir .
Making your bread dough
- Sift you bread and wheat flour into a bowl. I do this because some bread flours are very refined and clumpy. Sifting helps remove those clumps.
- In another bowl, add your levain to your lukewarm water and stir to mix. It does not have to dissolve.
- Add your flour mix to the levain water. This allows your dough to autolyze, allowing the flour to completely absorb all the liquid making it easier to work with.
- Let it rest for 30 minutes.Set timer for 30 minutes
- Add salt to the chia seed mixture. The chia seed mixture should be so stiff that a teaspoon can stand erect in the middle of the mixture.
Kneading your bread dough
- The dough is now ready for bulk fermentation where it will develop its flavor and body! Ambient temperatures between 70-80 degrees Fahrenheit will take 3 hours for bulk fermentation
- Add salt and chia seed mixture to autolysed dough.
- Using wet hands, pull and stretch the dough out at the top and fold it back on itself, I then rotate the dough a quarter turn and do the same thing 16 times. (4 complete revolutions!) See https://sammywongskitchen.com/kneading/
- Let dough rest for 30 minutes. You will notice that the dough will become more pliable with time. Cover and let sit for 30 minutes. Don’t forget to set your timer! Set timer for 30 minutes
- Knead dough
- Let it rest for 30 minutes.Set timer for 30 minutes
- Knead dough
- Let dough rest for 30 minutesSet timer for 30 minutes
- Knead dough
- Let dough rest for 30 minutesSet timer for 30 minutes
- Knead dough
- Let dough rest for 30 minutesSet timer for 30 minutes
- Knead dough
- Let dough rest for 30 minutesSet timer for 30 minutes
- Knead dough. The dough should be soft and pliable. If not, continue bulk fermentation for another 30 mins - 1 hour.

Shaping your bread dough
- Pull dough out of the container, weigh your dough and divide accordingly if making smaller bolles. This recipe is for 1 large loaf. However, you can make 2 smaller bolles by dividing you dough into 2 bolles and using a 2 quart cast iron dutch oven.
- On a floured surface, lightly dust your divided dough with flour and work it into a round by pulling it towards you and rotating. It should become somewhat taut as you pull the dough. Part of your goal is to remove most of the air bubbles that were created during the fermentation process. See Cutting and Shaping your Dough in my Tips & Tricks section.
- Let it sit for 10 minutes. Set timer for 10 minutes
- Shape again. See Cutting and Shaping your Dough in my Tips & Tricks section.
- Prepare your banneton (Coiled rattan baskets for proofing) by generously dusting the bowl or banneton with your bread and rice flour mixture. Dust the tops of your loaves with flour and place it in a bowl or banneton to rise.
Proofing your dough (Quick proof)
- Cover your bowls with a damp cloth and let rise in a warm place for 2 and a half hours. I usually put this in my oven with the oven light on. Proof dough for 150 minutes
- Take your dough out and preheat oven with your cast iron dutch ovens. (Should take about half an hour depending on your oven. This will be a total of 3 hours of proofing. I have proofed bread for 4 hours. However, overproofing your dough with cause your dough to lose its ability to have enough strength for the "oven-spring" (the last rise in the oven as a result of intense heat).
Proofing your dough (slow proof)
- Cover your bowls with a damp cloth and let rise in a warm place for 1 hour. I usually put this in my oven with the oven light on if the kitchen is not around 70° F (21°C)
- Place it in a plastic bag in the refrigerator overnight.
Scoring your dough
- The dough should be loose but not impossible to handle after proofing. If you are new to bread baking, you can use the following ways to get your dough into the cast iron pot. Take a piece of parchment paper that will generously cover the top of the bowl/banneton. Place it over the bowl/banneton. Move your bowl / banneton over the cast iron dutch oven, flip the bowl / banneton and gently lower into the dutch oven. If you have a cast iron skillet / dutch oven set as shown on my "Helpful Tools" section. Place the shallow skillet over the proofing bowl / banneton and flip. After scoring, cover the dough with the dutch-oven section and place it in the oven with the skillet on the bottom.If you have a cast iron pot, transfer your dough into the cast iron pot.
- Dust the top of the dough with a little more flour and score the bread by cutting it with a razor blade, bread lame, or a pair of scissors.. Scoring the bread allows the dough to expand during baking and gives your dough a pretty design. See Scoring your dough in my Tips & Tricks section. Cover with lid.
- Reduce oven temperature to 450°F
- Bake for 25 minutes. Smaller 2 quart bolles should bake for 20 minutes.Set timer for 25 minutes for large bolle Set timer for 20 minutes for small bolle
- Remove the lid and continue baking for an additional 25 or 20 minutes respectively.Set timer for 25 minutes for large bolle Set timer for 20 minutes for small bolle
- Remove from oven and remove from dutch oven and let cool on wire rack.
- Remove from oven and remove from dutch oven and let cool on wire rack.
- If you are baking 2 loaves: To bake the second loaf, after removing the first loaf, bring the oven temperature back to 500 degrees, wipe the dutch oven with a clean dry towel or paper towel, place the dutch oven in it for 10 minutes and bake according to recipe
Notes
Makes 1 large loaf / bolle that bakes in a 3.3 quart (24 cm) dutch oven.
Nutrition
Serving: 1sliceCalories: 197kcalCarbohydrates: 39gProtein: 7gFat: 2gSaturated Fat: 1gPolyunsaturated Fat: 1gMonounsaturated Fat: 1gTrans Fat: 1gSodium: 352mgPotassium: 85mgFiber: 3gSugar: 1gVitamin A: 3IUVitamin C: 1mgCalcium: 23mgIron: 1mg
Tried this recipe?Let me know how it was or if you have any questions or suggestions!
I want to see!Follow @Sammywongskitchen on Instagram or Facebook, snap a photo and tag it #sammywongskitchen
Need meal ideas?
EASY, HEALTHY, DELICIOUS!
DON'T MISS A RECIPE
This recipe has revolutionised my sourdough baking — the added nutrition of the chia was the goal, but the reality of an incredibly moist loaf with scrumptious crisp crust was the ultimate win for the family! You’re absolutely right — this is my official daily recipe now.
Grateful for your generosity in sharing!
You are most welcome! Glad it’s made a difference in your life. It sure has mine!