1 Comments
share this
I love New York Style Pizza. It’s the airy, crispy crust that has that snap with every bite. Sourdough Pizza has a wonderful and complex flavor. When I used to make regular pizza dough, I experimented with the fermentation of the dough. Fresh pizza dough tasted bland. However, after 3 days of proofing, it developed a complex and interesting flavor. Sourdough pizza has that same flavor but does not require 3 days of proofing! When I wanted to learn how to make New York Style Pizza, I thought what better way to learn how to make New York Style Pizza than in New York City. I love NYC.


My girls work there now and it seems that my visits get longer and longer as I take more and more culinary classes and explore more and more restaurants there. I attended a pizza making class at a pizza school and learned a few things about obtaining a thin, crispy crust in a home oven. I've also developed an Easy tomato sauce for pizza that is amazing. The key is keep it thick and add fresh oregano! See EASY PIZZA SAUCE.
Tips:
Use a Steel. (Large rectangular flat metal plate) Instead of purchasing an official pizza steel, I purchased 2 steel plates from a metal shop and seasoned it with oil. If you'd like to make one yourself, comment below and I'll give you instructions.

I learned about the Pizza Steel from the Pizza School. I decided to do a side-by-side comparison using a pizza steel and stone. The pizza steel not only won, it did not crack! Most artisanal pizzas are cooked in 800 degree ovens. Home ovens may go to 550 degrees. In order to create that heat that causes the dough to puff up and create those air pockets as well as to crisp the bottom, having a metal steel helps. The steel is also more versatile because you can place it on the stovetop and use it as a griddle to cook pancakes, Indian naan and chapati, tortillas etc. See the steel plate options in my helpful tools section. Either make your own or purchase a ready-made one.
Pizza Peel: A peel is a pizza sized spatula. It makes getting your pizza in and out of the oven easier. I bought 2 kinds, a solid wood one and one made from a combination of natural materials like the one below. I like the one by Epicurean as it's thinner and smooth. The ones made from natural wood are more difficult to clean, cannot really cut your pizza on it, and the tomato sauce seems to stain the wood. The beveled front edge also helps getting the pizza out the oven easier.

Cornmeal: Dusting your peel GENEROUSLY with cornmeal NOT cornstarch creates “rollers” to slide your pizza onto the hot steel, rather than sticking to the peel.
Don't saturate. Dumping too much sauce and toppings makes the dough soggy! Just remember, less is more.
Cheese: Use high quality cheese. Mozzarella cheese gives the gooey, stringy texture. The flavor is somewhat bland and should be baked with the dough. There is definitely a difference in taste between full fat and non-fat cheese. I use regular full fat cheese, low-moisture mozzarella and try to exercise portion control! I sometimes add other tasty cheeses like fontina, cheddar, gouda etc. Avoid using that individually packed fake american cheese (plastic)! After the pizza has been baked, you can add a shaved peccorino, parmesan or romano hard cheese for taste.
Tomato Sauce: Your sauce should not be so wet that it makes your dough soggy. See Easy pizza sauce.
Fresh Oregano. It makes all the difference.
Toppings. Some toppings such as arugula and prosciutto should only be added at the end and not cook during the baking process. Also, vegetables should be thinly sliced, especially mushrooms to ensure that they do not release too much moisture and make your pizza soggy. Fresh basil can be added at the end. I invested a herb cutter scissors that I love! It has 5 blades and cuts your herbs uniformly, especially if used for toppings. I recommend the one in my Helpful Tools section as it is reasonably priced and comes with a cleaner and an herb leaf stripper!
Cooling the pizza: When removing pizza, briefly cool on wire rack before serving. Placing it directly on a plate accumulates moisture from the heat and results in a soggy bottom.
Also see my tip on reheating pizza to attain that crisp crust at the bottom of the pizza. See Pizza tips
INGREDIENTS
500 grams bread flour
130 grams levain
250 grams water
30 grams boiling water to dissolve salt
18 grams sea salt
14 grams olive oil
toppings
DIRECTIONS
Similar directions to making bread.
Making your Bread Dough:
- Pour 250 grams water into a large mixing bowl, preferably with a lid. Add levain. A little more levain will not affect the recipe. Mix with hands to disperse. Add flour and mix to bind. The flour mixture should be scraggly. Cover with a lid and let rest for 30 mins. This process is to “Autolyze” the dough. Without adding any other ingredients, it allows the flour to fully absorb all the liquid and makes it easier to work with.
- (Feed your levain with the 20 grams of starter)

Sourdough starter mixed with water

Pre-autolyzed dough

Post-autolyzed dough
- I create the salt solution by dissolving 30 grams of boiling water with the salt and let it cool during the autolyzing process.
- Add the salt solution and olive oil after the dough has autolyzed.

Dough after kneading several times
The dough is now ready for bulk fermentation where it will develop its full body! It will take 2 hours for bulk fermentation with ambient temperatures between 70-80 degrees Fahrenheit
Kneading dough by hand
- I “knead” the dough by hand...very therapeutic. Using wet hands, I pull and stretch the dough out at the top and fold it back on itself, I then rotate the dough a quarter turn and do the same thing 16 times. (4 complete revolutions!) Cover and let sit for 20 minutes. Don’t forget to set your timer! See Kneading sourdough by hand in Tips & Tricks. You can jump down to the recipe for a task check list and timer.
- Knead and rest for 5 more times or 2 hours.
Kneading dough by electric mixer
- Attach the dough hook, set it on low for 6 minutes. The dough should look smooth and shiny.
- Repeat this process after 20 minutes then divide dough. (Only requires 2 kneading)

Machine dough - left. Hand dough - right. Side-by-side taste test: Hand dough was lighter and chewier.
The video is for bread making, requiring a 30 minute rest period. Pizza dough can rest for just 20 minutes. The technique for kneading is the same.
Dividing dough
- Using digital scale, weigh dough and divide dough into 4 equal pieces
- Shape dough into balls.

Using digital scale, divide dough into 4 balls
- Grease 4 containers with olive oil
- Put dough balls into 4 separate greased containers and let proof for 3 hours. If proofing for longer than 3 hours, place containers in refrigerator up to 24 hours. The dough becomes more sour the longer it proofs in the fridge.

Divide sourdough into 4 equal portions, shape and proof

Piiza dough after proofing

Pizza dough proofed at room temperature for 3 hours. after refrigeration.
- Preheat oven to the highest setting with either a pizza steel or stone.
Stretching dough
- On a well floured surface, gently turn out your dough
- With your fingertips, GENTLY press the outer edge to make the pizza crust, keeping as many air pockets as you can. See Stretching pizza dough in the Tips & Tricks section.

Form pizza crust by gently depressing dough around the edge
- Working from the center, gently flatten the rest of the dough to increase your pizza to about 10 inches / 25 cm or to your preferred thickness. Remember, the dough will puff up in the oven.
- You can use your well-floured knuckles to assist with increasing the size of your circle.

Stretch pizza dough using knuckles and gravity.
- Place your pizza dough on a pizza peel that is dusted GENEROUSLY with cornmeal. The cornmeal prevents the dough from sticking to the peel, making it easier to transfer onto the hot pizza steel / stone.
- Add toppings. See Easy tomato sauce for pizza. (It's thick so it doesn't make your dough soggy, ensuring that the crust will stay crisp.) DO NOT oversaturate your dough. Otherwise you'll end up with a soggy pizza!
- Depending on your oven temperature, bake for 7-8 minutes until the crust is to your liking.
- Remove Pizza with pizza peel
- Garnish with fresh basil and oregano
- Briefly cool on a wire rack before serving. Placing it directly on a plate accumulates moisture from the heat and results in a soggy bottom.

Cool pizza on wire rack

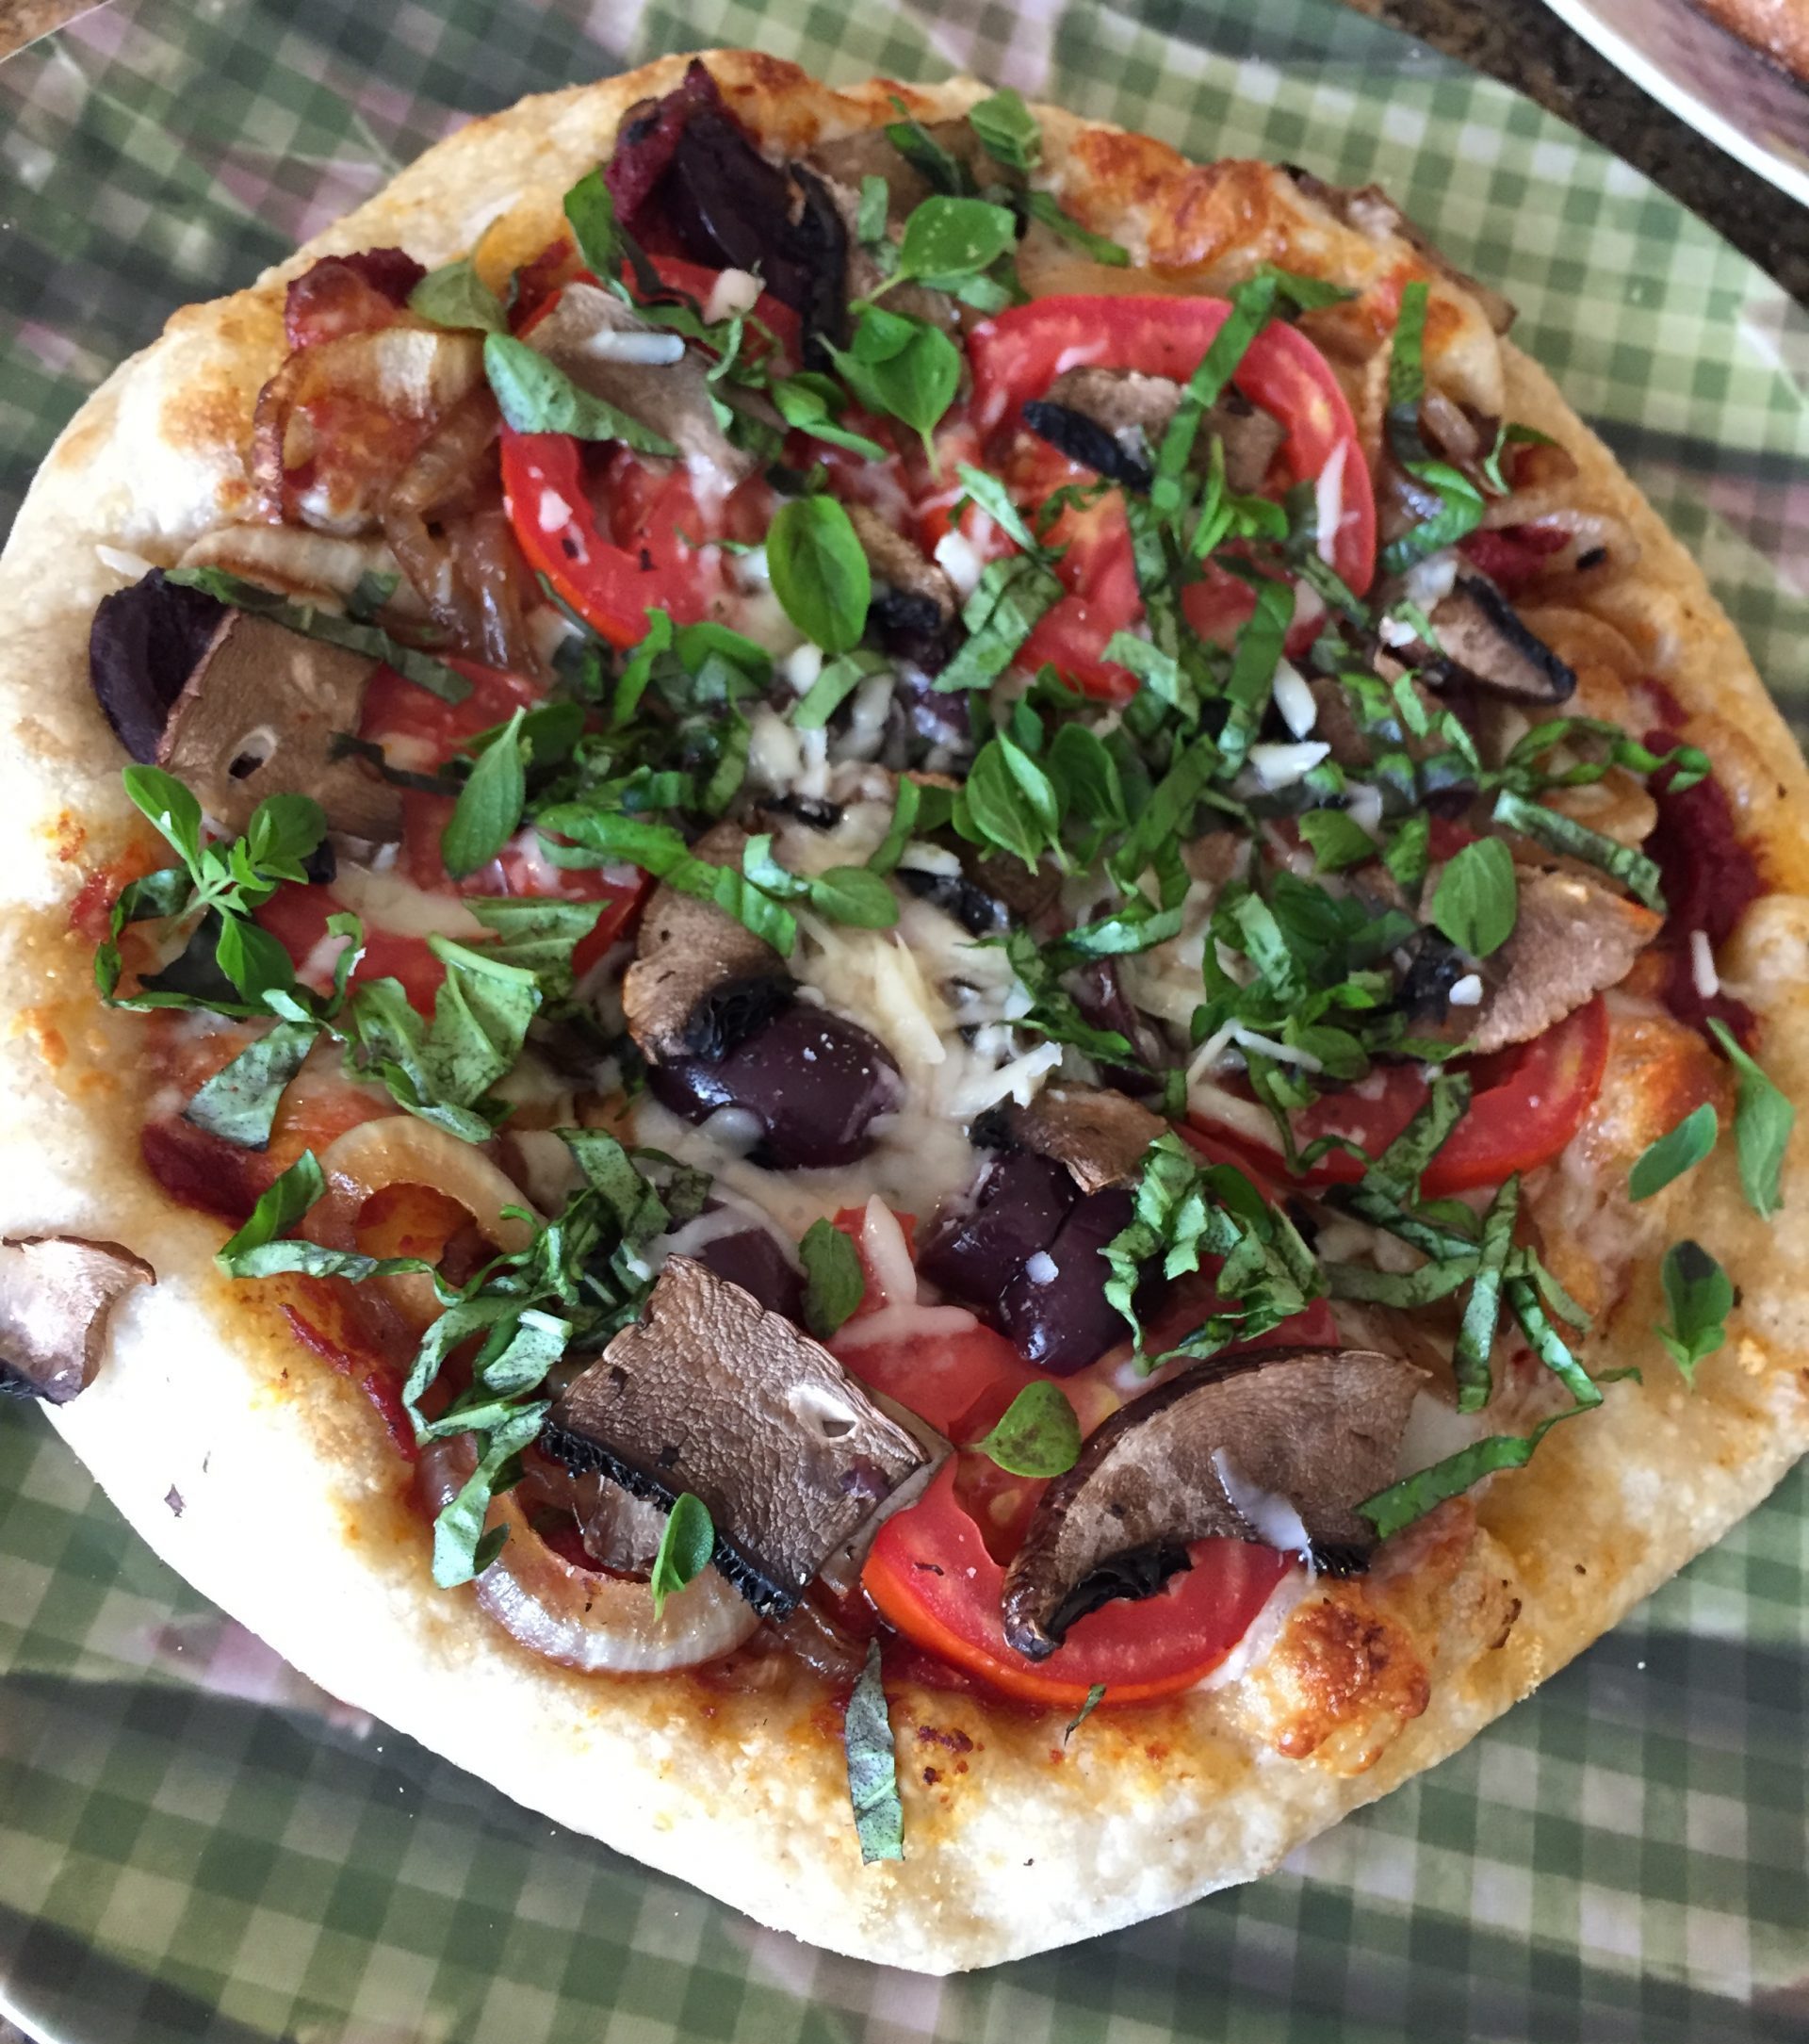
Sourdough pizza topped with portabella mushrooms, homemade tomato sauce, caramelized onions with fresh oregano and basil.

Pizza crust that is light and airy. Perfect!

Another airy pizza.
SOURDOUGH PIZZA
How to make pizza with your sourdough starter discards
Equipment
- Mixing bowl
- Pizza Peel
- Pizza stone / steel
- 4 bowls with lids for storing pizza dough
Ingredients
- 500 grams bread flour
- 130 grams levain
- 280 grams water room temperature
- 18 grams sea salt
- 14 grams olive oil
- toppings See Easy pizza sauce
Instructions
Make dough
- Pour room temperature water into a large mixing bowl, preferably with a lid.280 grams water
- Add levain130 grams levain
- Mix with hands to disperse.
- Add flour and mix to bind.500 grams bread flour
- Cover with a lid and let rest for 30 mins. This process is to “Autolyze” the dough. Without adding any other ingredients, it allows the flour to fully absorb all the liquid and makes it easier to work with.
- Set timer for 30 minutes
- Add salt and olive oil after the dough has autolyzed and mix to incorporate.18 grams sea salt, 14 grams olive oil
- The dough is now ready for bulk fermentation where it will develop its full body! It will take 2 hours for bulk fermentation with ambient temperatures between 70-80 degrees Fahrenheit
Kneading Dough by Hand
- Knead dough (#1)
- Let it rest for 20 minutes. Set timer for 20 minutes
- Knead dough (#2)
- Cover and let sit for 20 minutes. Set timer for 20 minutes
- Knead dough (#3)
- Cover and let sit for 20 minutes. Set timer for 20 minutes
- Knead dough (#4)
- Cover and let sit for 20 minutes. Set timer for 20 minutes
- Knead dough (#5)
- Cover and let sit for 20 minutes. Set timer for 20 minutes
- Knead dough (#6)
- Cover and let sit for 20 minutes. Set timer for 20 minutes
- Knead dough (#7)
Kneading Dough by Electric Mixer
- If you would like to use a mixer, attach the dough hook, set it on low for 6 minutes. The dough should look smooth and shiny.
- Set timer for 6 minutes
- Cover and let sit for 20 minutes. Set timer for 20 minutes
- Set timer for 20 minutes
- Knead again for another 5 minutes. (Only requires 2 kneading)
- Set timer for 5 minutes
Dividing Dough
- Using digital scale, weigh dough and divide dough into 4 equal pieces
- Shape dough into balls.
- Grease 4 containers with olive oil
- Put dough balls into 4 separate greased containers and let proof for 3 hours. If proofing for longer than 3 hours, place containers in refrigerator up to 24 hours. The dough becomes more sour the longer it proofs in the fridge. Dough should be brought back to room temperature before shaping.Set timer for 180 minutes
Stretching dough
- Preheat oven to the highest setting with either a pizza steel or stone. Make sure your oven has reach the correct temperature before stretching your dough.
- On a well floured surface, gently turn out your dough. With your fingertips, GENTLY press the outer edge to make the pizza crust, keeping as many air pockets as you can. See Stretching pizza dough in the Tips & Tricks section.
- Working from the center, gently flatten the rest of the dough to increase your pizza to about 10 inches / 25 cm or to your preferred thickness. Remember, the dough will puff up in the oven. You can use your well-floured knuckles to assist with increasing the size of your circle.
- Place your pizza dough on a pizza peel that is dusted GENEROUSLY with cornmeal. The cornmeal prevents the dough from sticking to the peel, making it easier to transfer onto the hot pizza steel / stone.
- Add toppings. See Easy tomato sauce for pizza. (It's thick so it doesn't make your dough soggy, ensuring that the crust will stay crisp.) DO NOT oversaturate your dough. Otherwise you'll end up with a soggy pizza!
- Depending on your oven temperature, bake for 7-8 minutes until the crust is to your liking.
- Remove Pizza with pizza peel
- Garnish with fresh basil and oregano
- Briefly cool on a wire rack before serving. Placing it directly on a plate accumulates moisture from the heat and results in a soggy bottom.
Video
Nutrition
Calories: 300kcal
Tried this recipe?Let me know how it was or if you have any questions or suggestions!
I want to see!Follow @Sammywongskitchen on Instagram or Facebook, snap a photo and tag it #sammywongskitchen
This sourdough pizza recipe is absolutely the BEST ! I have always been intimidated by pizza making thinking it was complicated and I needed to be a cook with lots of years of experience in cooking. After trying this recipe, I was blown away….. I really love the step by step and you can check the boxes so you know what step you are on. You can easily lose track when you are doing the knead and wait time. I appreciate the built in timer. This is an added bonus to this recipe layout.
I made this sourdough pizza and it was out of this world. So easy, so healthy and so GOOD !!!
No longer do I have a fear of pizza making .. Thank you Sammywongskitchen. Cannot wait to try all the recipes you post. 😃😃