0 Comments
share this
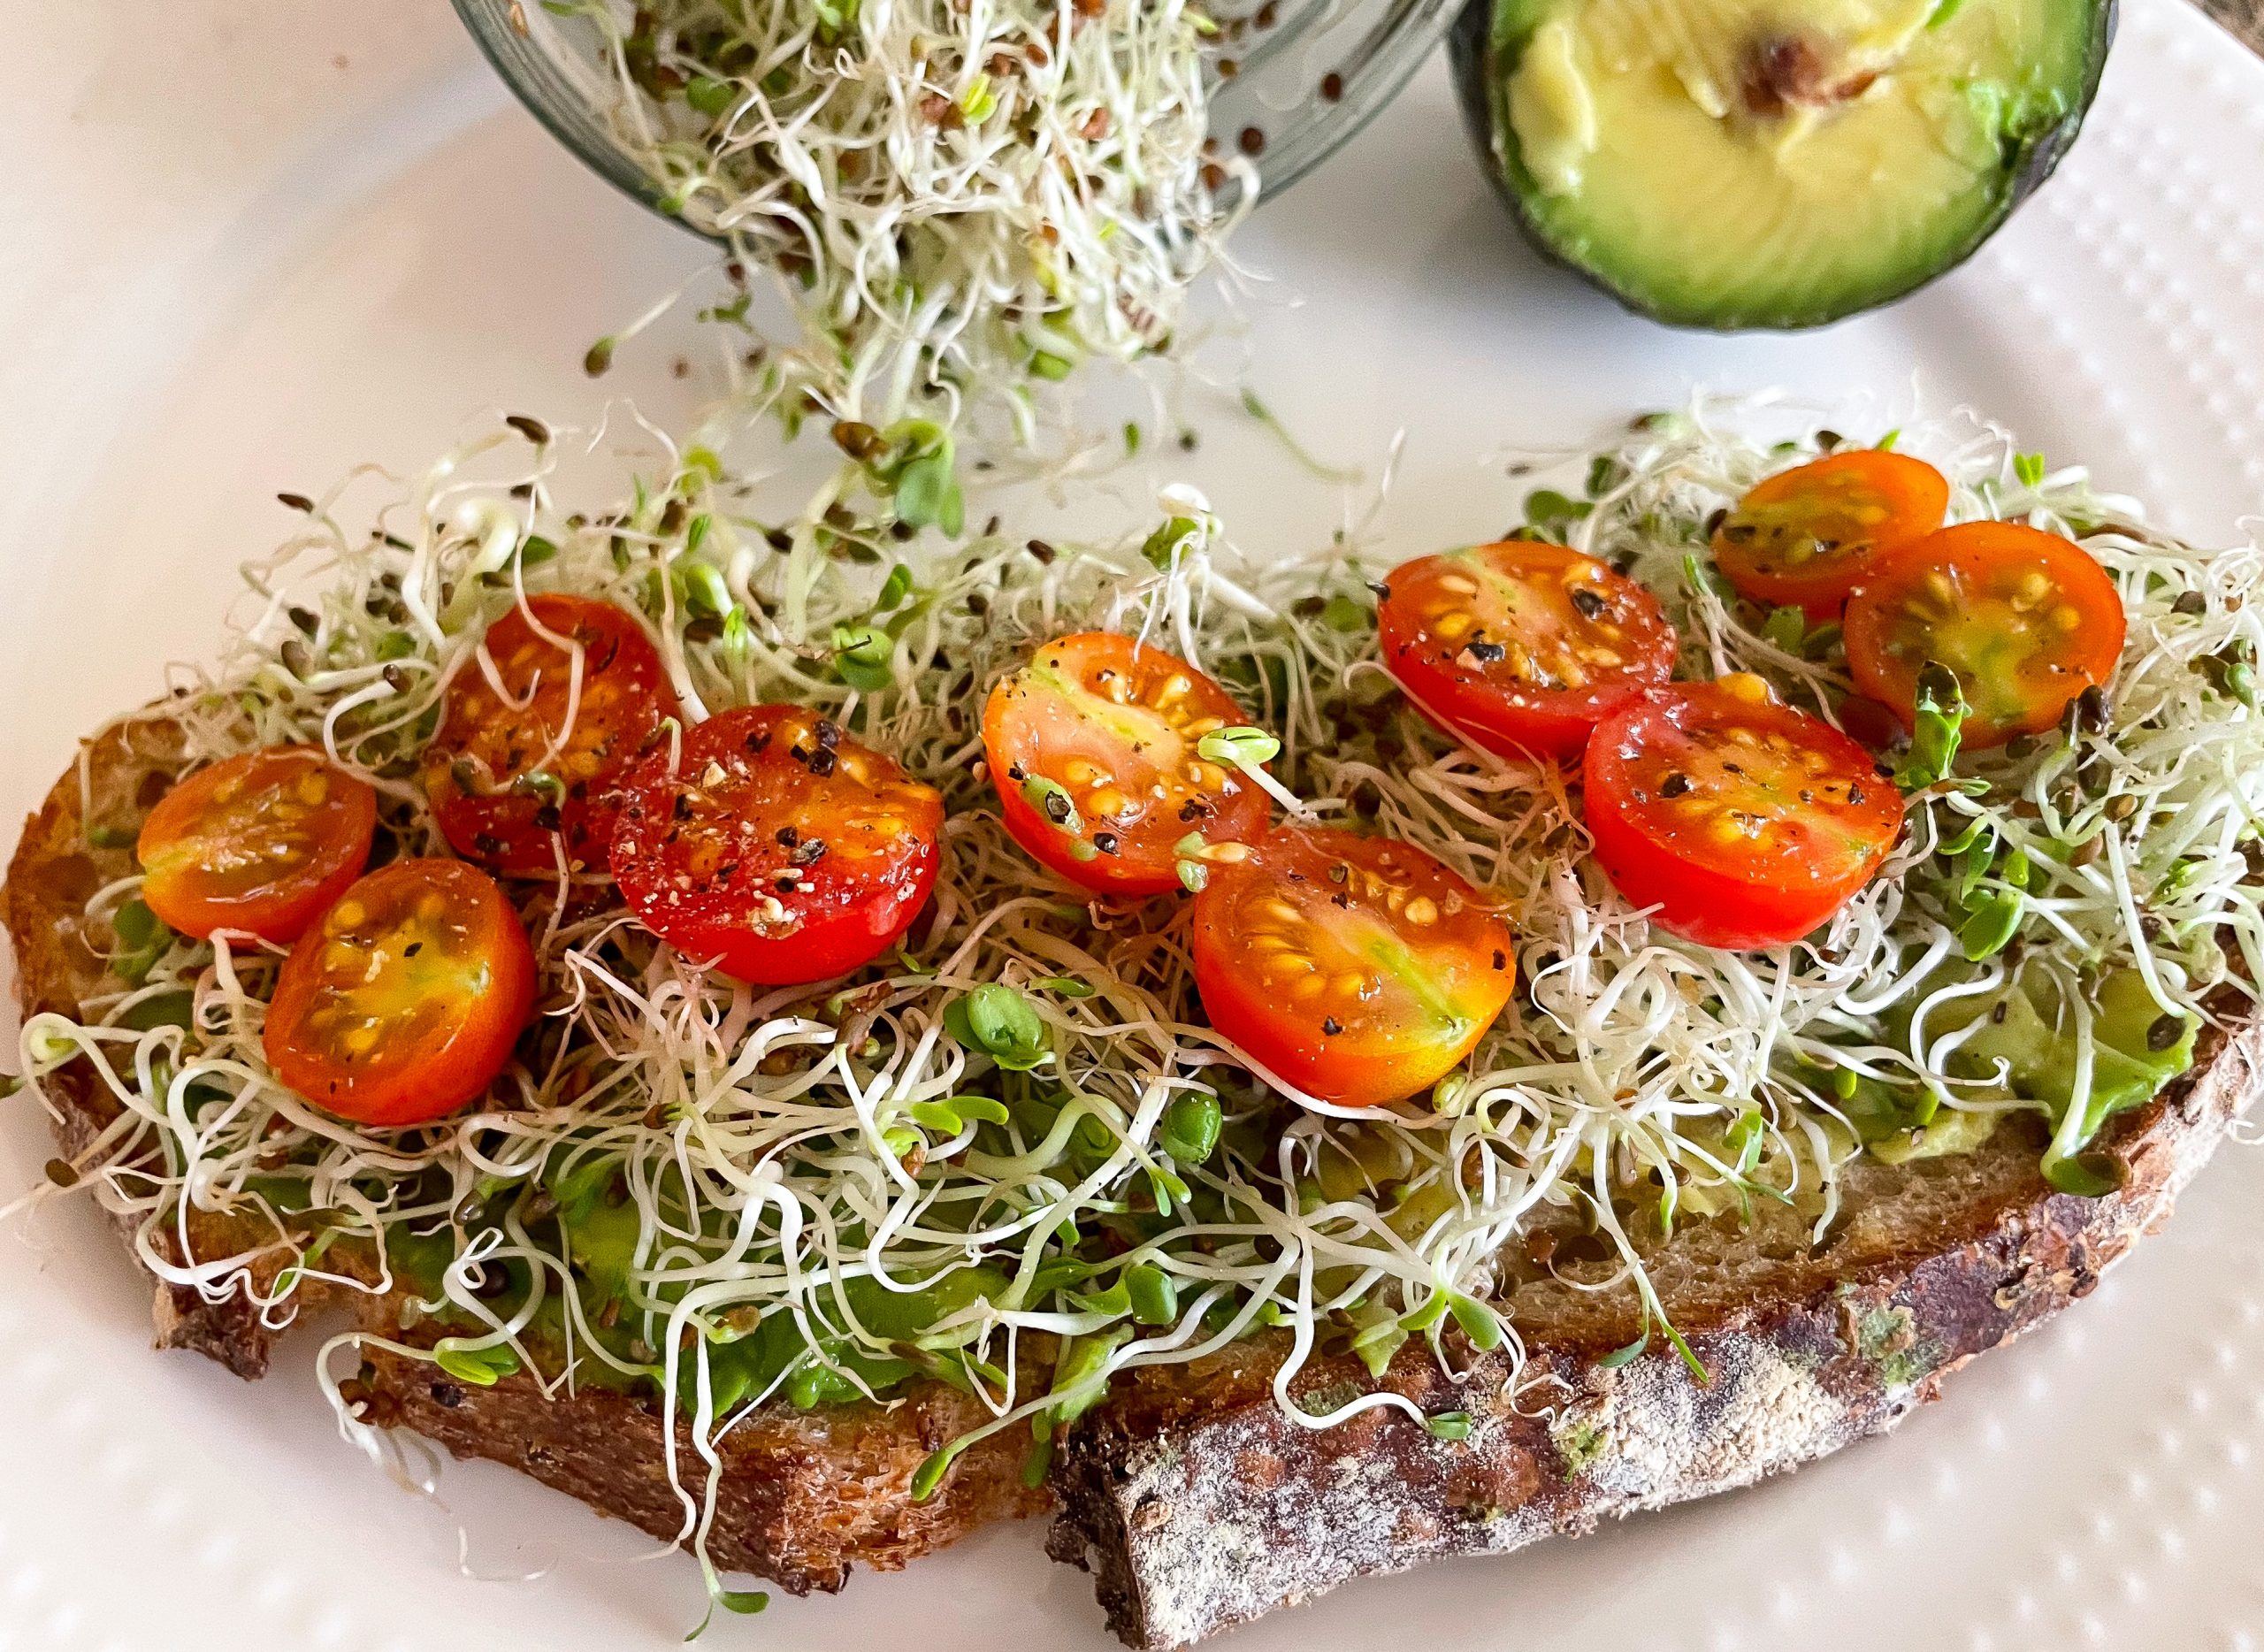
What is better than a healthy avo toast for breakfast? For me, avo toast with easy homegrown sprouts. For years I was buying little containers of sprouts, because I thought it was difficult to grow. A few years ago, I went to a Natural Food expo and one of the vendors was giving out sprout samples. I took a pack and as usual, asked them tons of questions about the health benefits of sprouting. I knew they were healthy. I just didn't know they were that healthy!
According to Heart.org, plant foods contain phytates (just like grain flours) that bind with minerals such as zinc, iron and magnesium; this prevents those minerals from being absorbed in the body. Humans don't have the enzymes to break down phytates, but the sprouting process helps release enzymes in the plant to do just that, which allows for minerals to be freely absorbed. (Sourdough does the same thing for grain flours). Five- to seven-day-old seed sprouts can often offer more nutrition benefits than the mature plants.
A month ago, I brought a salad with sprouts for the bridal party at my daughter's wedding. The girls gobbled it up even though they didn't want to eat before the wedding. Needless to say, I promised I'd do a blog on how to grow sprouts plus the home-made salad dressing. So, here it is!
Tips to growing easy, homegrown sprouts.
Seeds
An organic seed pack with a variety of seeds can be purchased. This is more cost effective than purchasing individual packs of a variety of seeds. Sprouts take an average of 6 to 7 days to grow. Initially, allow the sprouts to soak in water to hydrate for at least 6 hours or overnight. The seeds grow about 1 cm, a little less that 1/2" per day and roots can be seen 24 hours after the soaking period! So, you can grow your own sprouts in a week!
Equipment
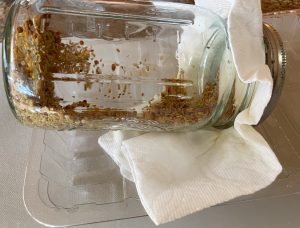
No specialized equipment is needed to grow sprouts. Sprouts just need water. The best container to grow and keep your sprouts is a 24 oz glass canning jar.

24 oz canning jars
For the first 6-7 days of growing, water is used to rinse the sprouts and this water should drain out. Cover the mouth of the mason jar with either a coffee filter, oil filter or paper towel to allow the water to drain but keep the sprouts in the container.
Turn the canning jar on its side and place it on a tray at a slant to allow the water to drain out from the sprouts into the tray.

Angle canning jar to allow water to drain onto a tray.
Germinating
The seeds should be rinsed with water and drained every day until ready. Other than the initial period of soaking the seeds to hydrate them, the seeds should not be swimming in water as this will encourage bacteria to grow! They should just be damp. Hence, it is important to angle the mason jar down to allow the excess water to drain out.

Day 1

Day 2

Day 3

Day 4

Day 5

Day 6
Storing
After the sprouts are ready, cover the mason jar with a lid and if it seems very wet, place a folded paper towel on the top before covering it and place it in the refrigerator upside down. This allows the excess water to be absorbed by the paper towel. Use the sprouts as needed and will last a week if not consumed before that. I would caution against germinating too many sprouts at once, because they should be consumed in a timely manner to avoid bacteria growth. Enjoy and let me know what you think in the comment section!
EASY HOMEGROWN SPROUTS
Easy homegrown sprouts that takes approximately 6 days to grow.
Equipment
- 1 mason jar
- Paper towel, coffee filter or oil filter to help with draining the water.
- Elastic band
Ingredients
- 20 grams organic mixed sprouting seeds
- water
Instructions
- Place the sprouting seeds in a mason jar.
- Cover the seeds with about 5 cm (2") of water.
- Stir to ensure that there are no clumps of seeds and all the seeds are submerged under the water.
- Soak the seeds for 6 hours or overnight.
- Drain the seeds, rinse and drain all the water.
- Place a paper towel and seal it with an elastic band.
- Gently shake the jar on its side so that the seeds are spread along the bottom of the jar.
- Place it on a tray at an angle to allow the water to drain.
- Place it in a cool, non-sunny place and allow to germinate for 24 hours.
- Rinse and drain for 6 days.
- When sprouts are about 6 cm (~2") in length, place a folded paper towel at the top of the jar to absorb excess water and cover with a lid.
- Place it upside down in the refrigerator so that the excess water can absorb into the paper towel. Enjoy!
Video
Nutrition
Serving: 4gCalories: 5kcalCarbohydrates: 0.4gProtein: 1gFat: 0.1gSaturated Fat: 0.01gPolyunsaturated Fat: 0.1gMonounsaturated Fat: 0.01gSodium: 1mgPotassium: 16mgFiber: 0.4gSugar: 0.04gVitamin A: 31IUVitamin C: 2mgCalcium: 6mgIron: 0.2mgNet Carbohydrates: 0.04g
Tried this recipe?Let me know how it was or if you have any questions or suggestions!
I want to see!Follow @Sammywongskitchen on Instagram or Facebook, snap a photo and tag it #sammywongskitchen
DON'T MISS A RECIPE