0 Comments
share this

What is proofing?
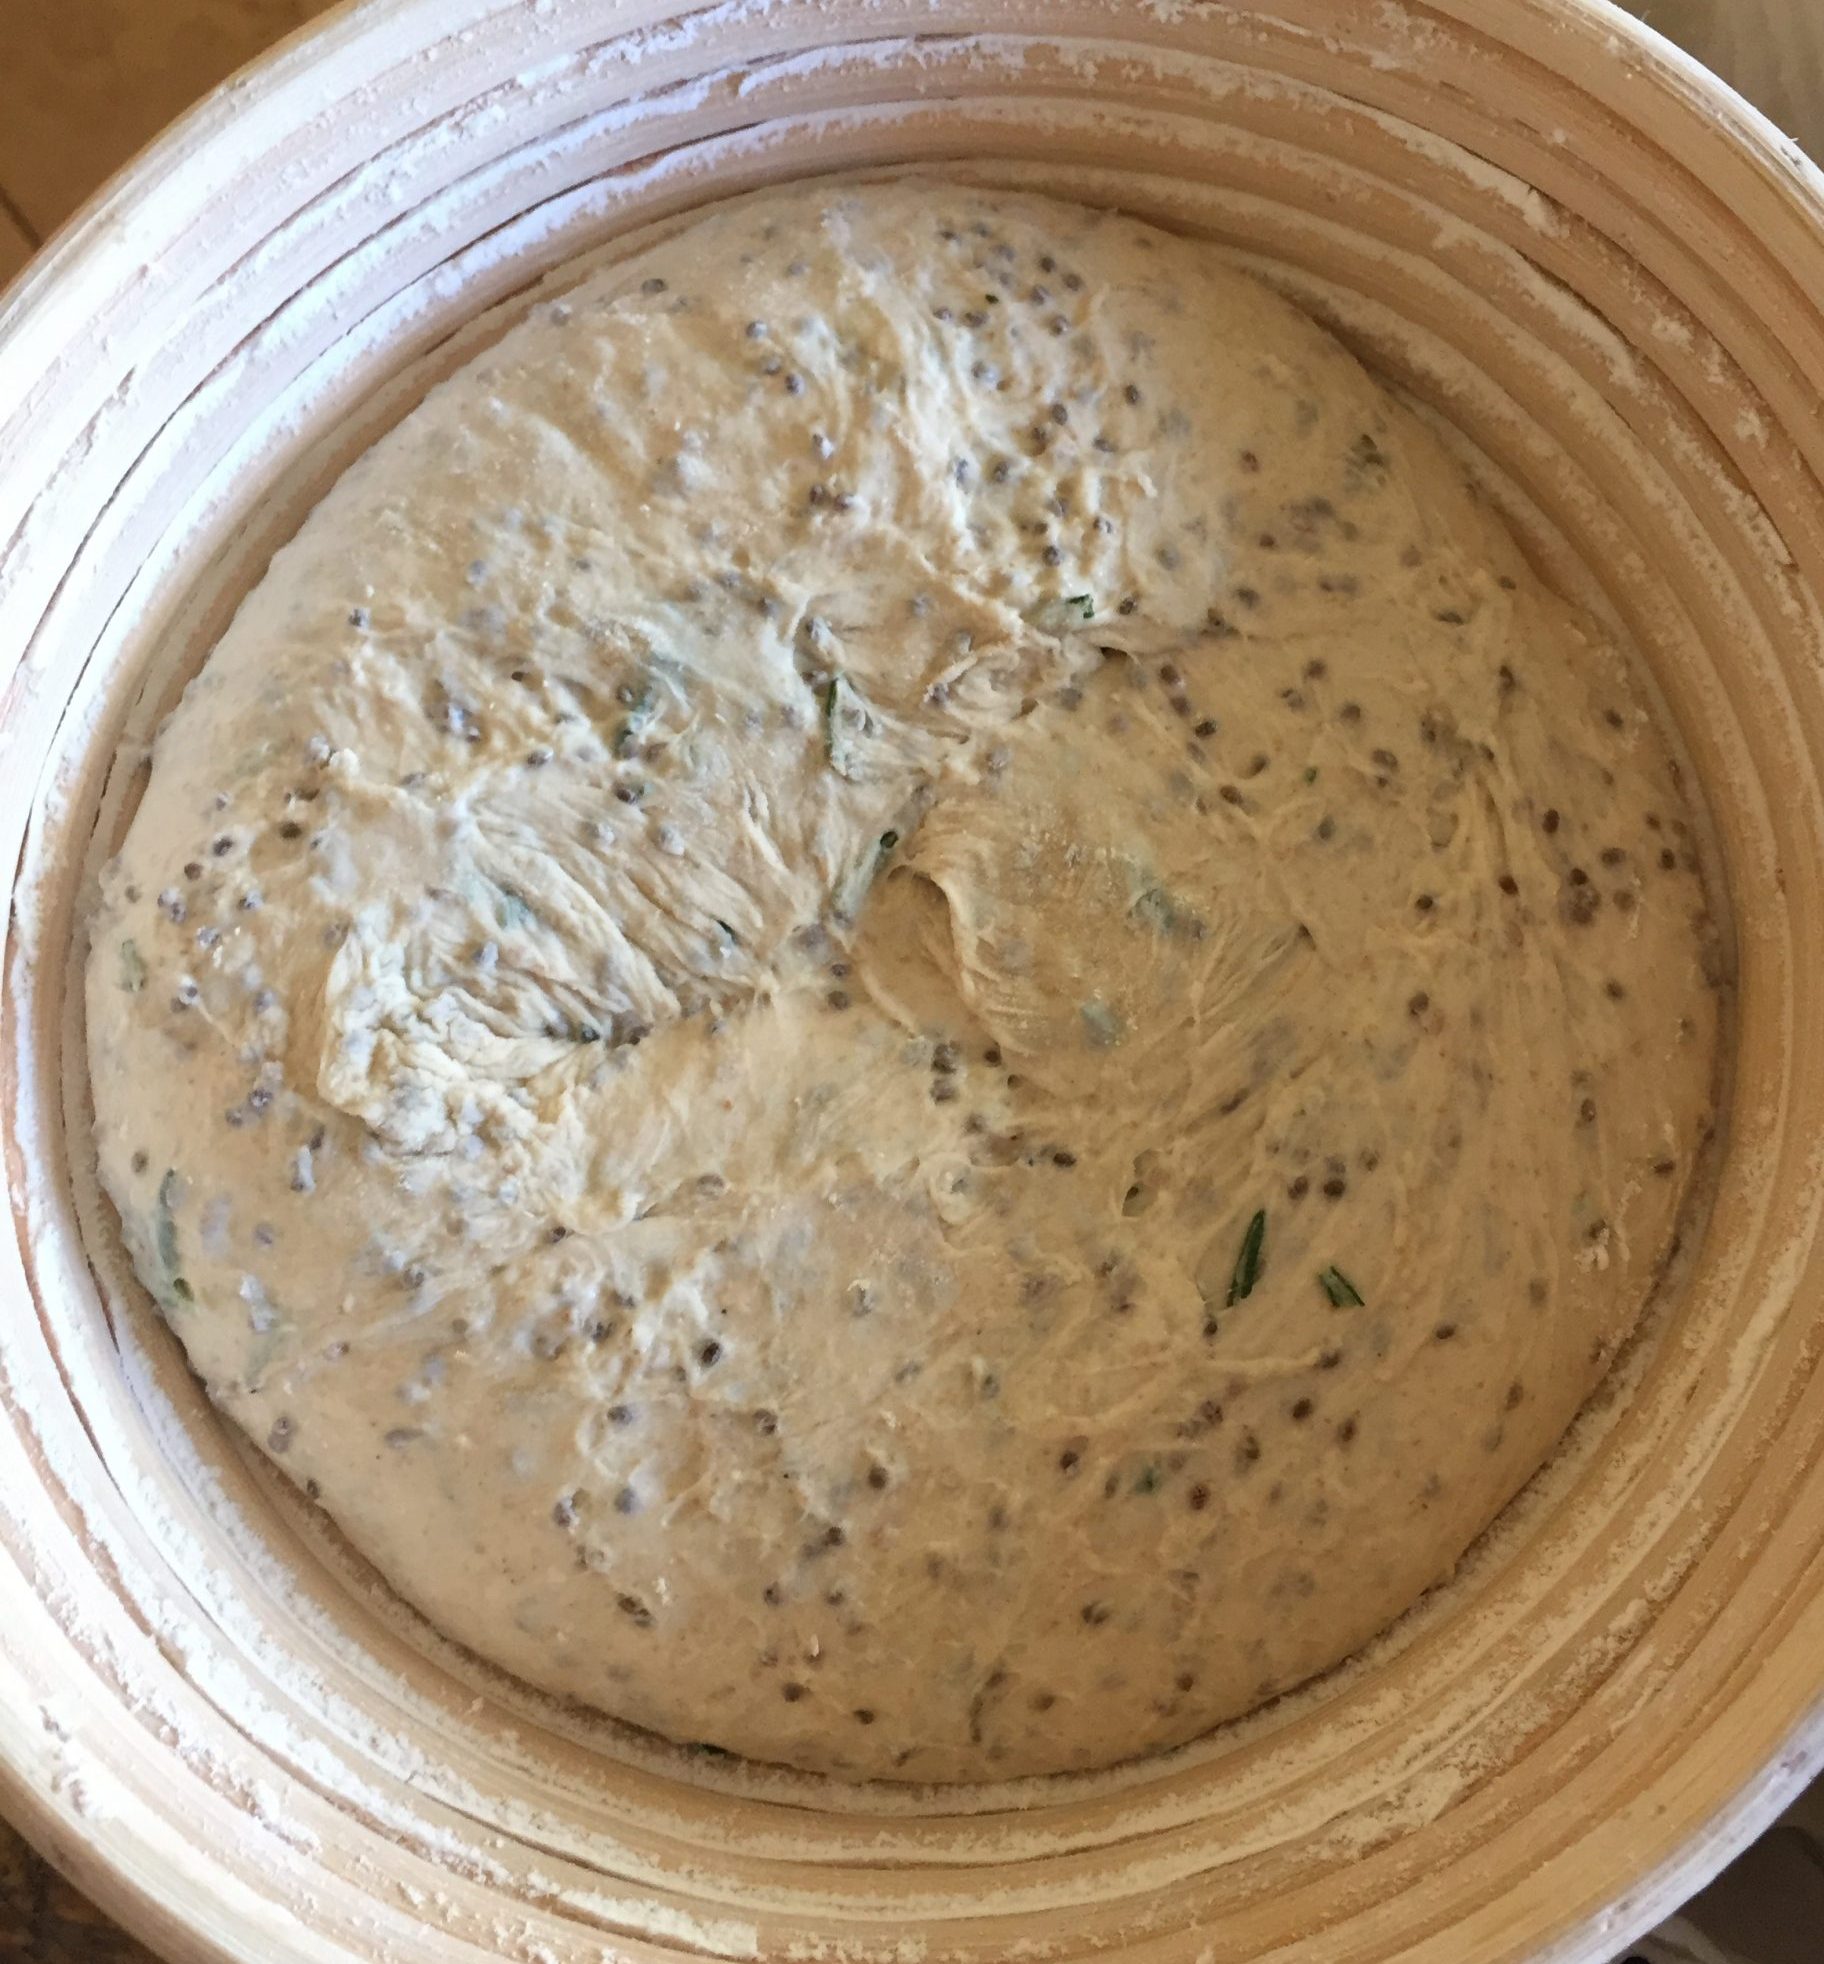
What does proof your sourdough mean and what is the best way to do it? After shaping your sourdough and placing it in a prepared bowl or banneton, proofing or a final rise before baking is necessary to provide the soft, airy crumb. Place the prepared bowl with the dough in a plastic bag to keep the dough from drying out and developing a thick crust which prevents the dough from expanding. Time, temperature and humidity affects proofing.
How time affects proofing
The amount of time for proofing affects the bread. Both under-proofed and over-proofed bread will result in a dense loaf. Underproofed dough will not have time for the gases to sufficiently release and create the airiness in the dough. Over-proofed dough will collapse in the oven due to the lack of strength in the dough. The dough needs to be just sufficiently proofed so that the last rise in the oven creates oven spring.
How temperature affects proofing
There are multiple ways to proof your sourdough: at room temperature at about 70 degrees F (21 degrees C), in a proofing box set at 77 degrees F (25 degrees C) or in the refrigerator (40 degrees F or 4 degrees C). The warmer the temperature, the less time it will take to proof. If you live in a colder climate and don't have a proofing box, turn on the oven light in your oven and allow the heat from the light create a warm proofing box. This is my proofing box during the colder months and it works well.
I have experimented with various combinations of warm and cold proofing methods. Although there are slight differences in the end product, I try to stick to a long proof if time permits. Research has shown that the optimal time for the sourdough enzymes to break down the protein and carbohydrates in the flour is about seven hours. See sourdough benefits.
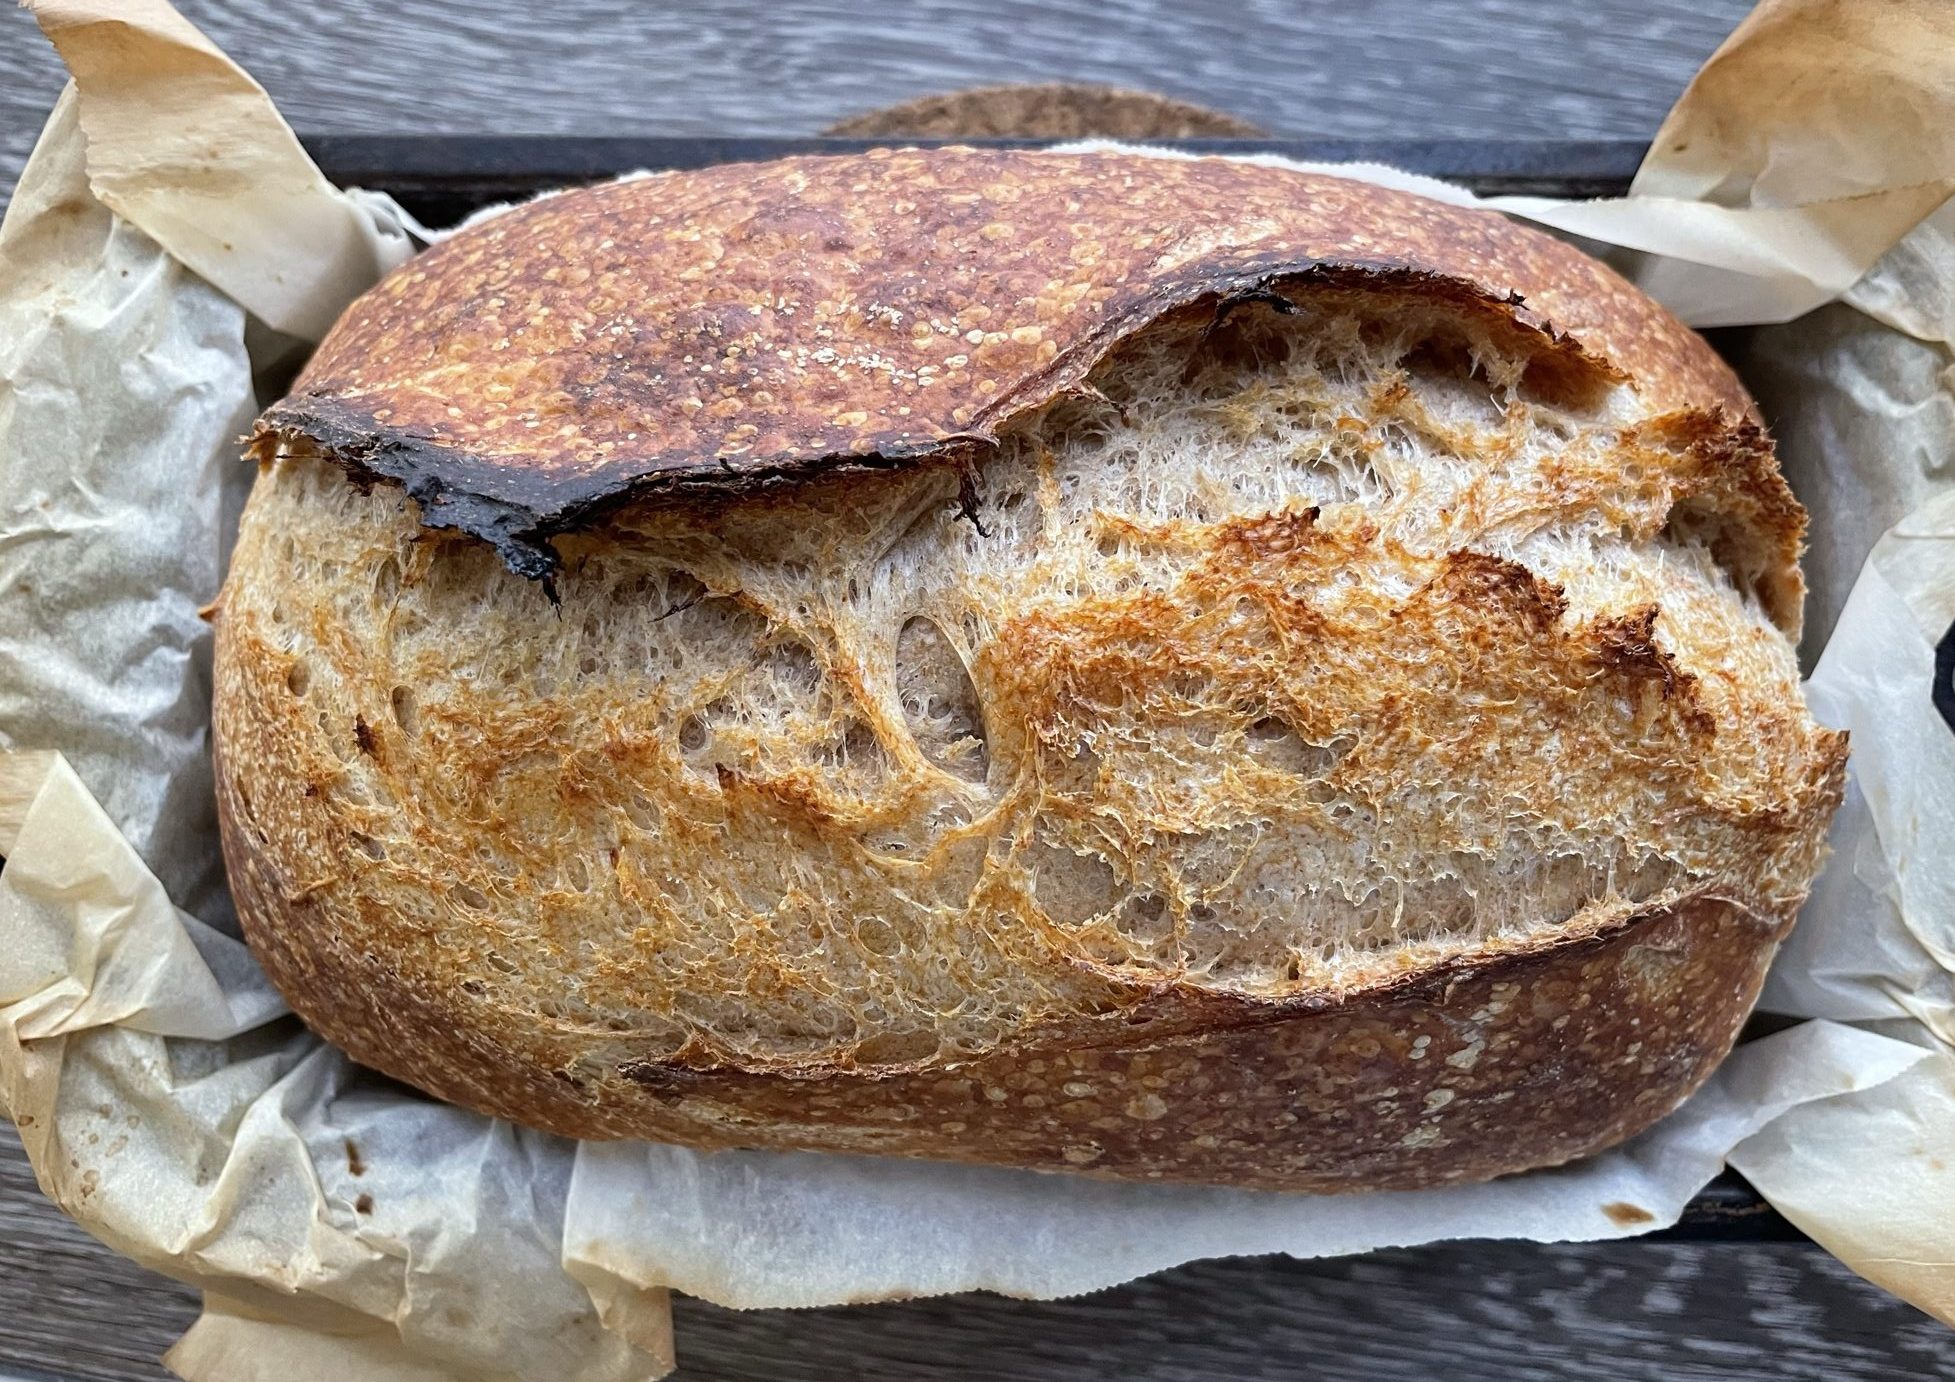
When doing the long proof, I have tried both warm proofing first followed by the cold proofing and vice versa. Cooling the dough slows down the fermentation process, allowing you to delay the baking process. It also allows the dough to firm up, making it easier to handle and score. I have also found that this lends itself to having a more pronounced "ear," portion of bread dough crust that rises where it is scored during baking, if that's important to you.

Sourdough with "ear"
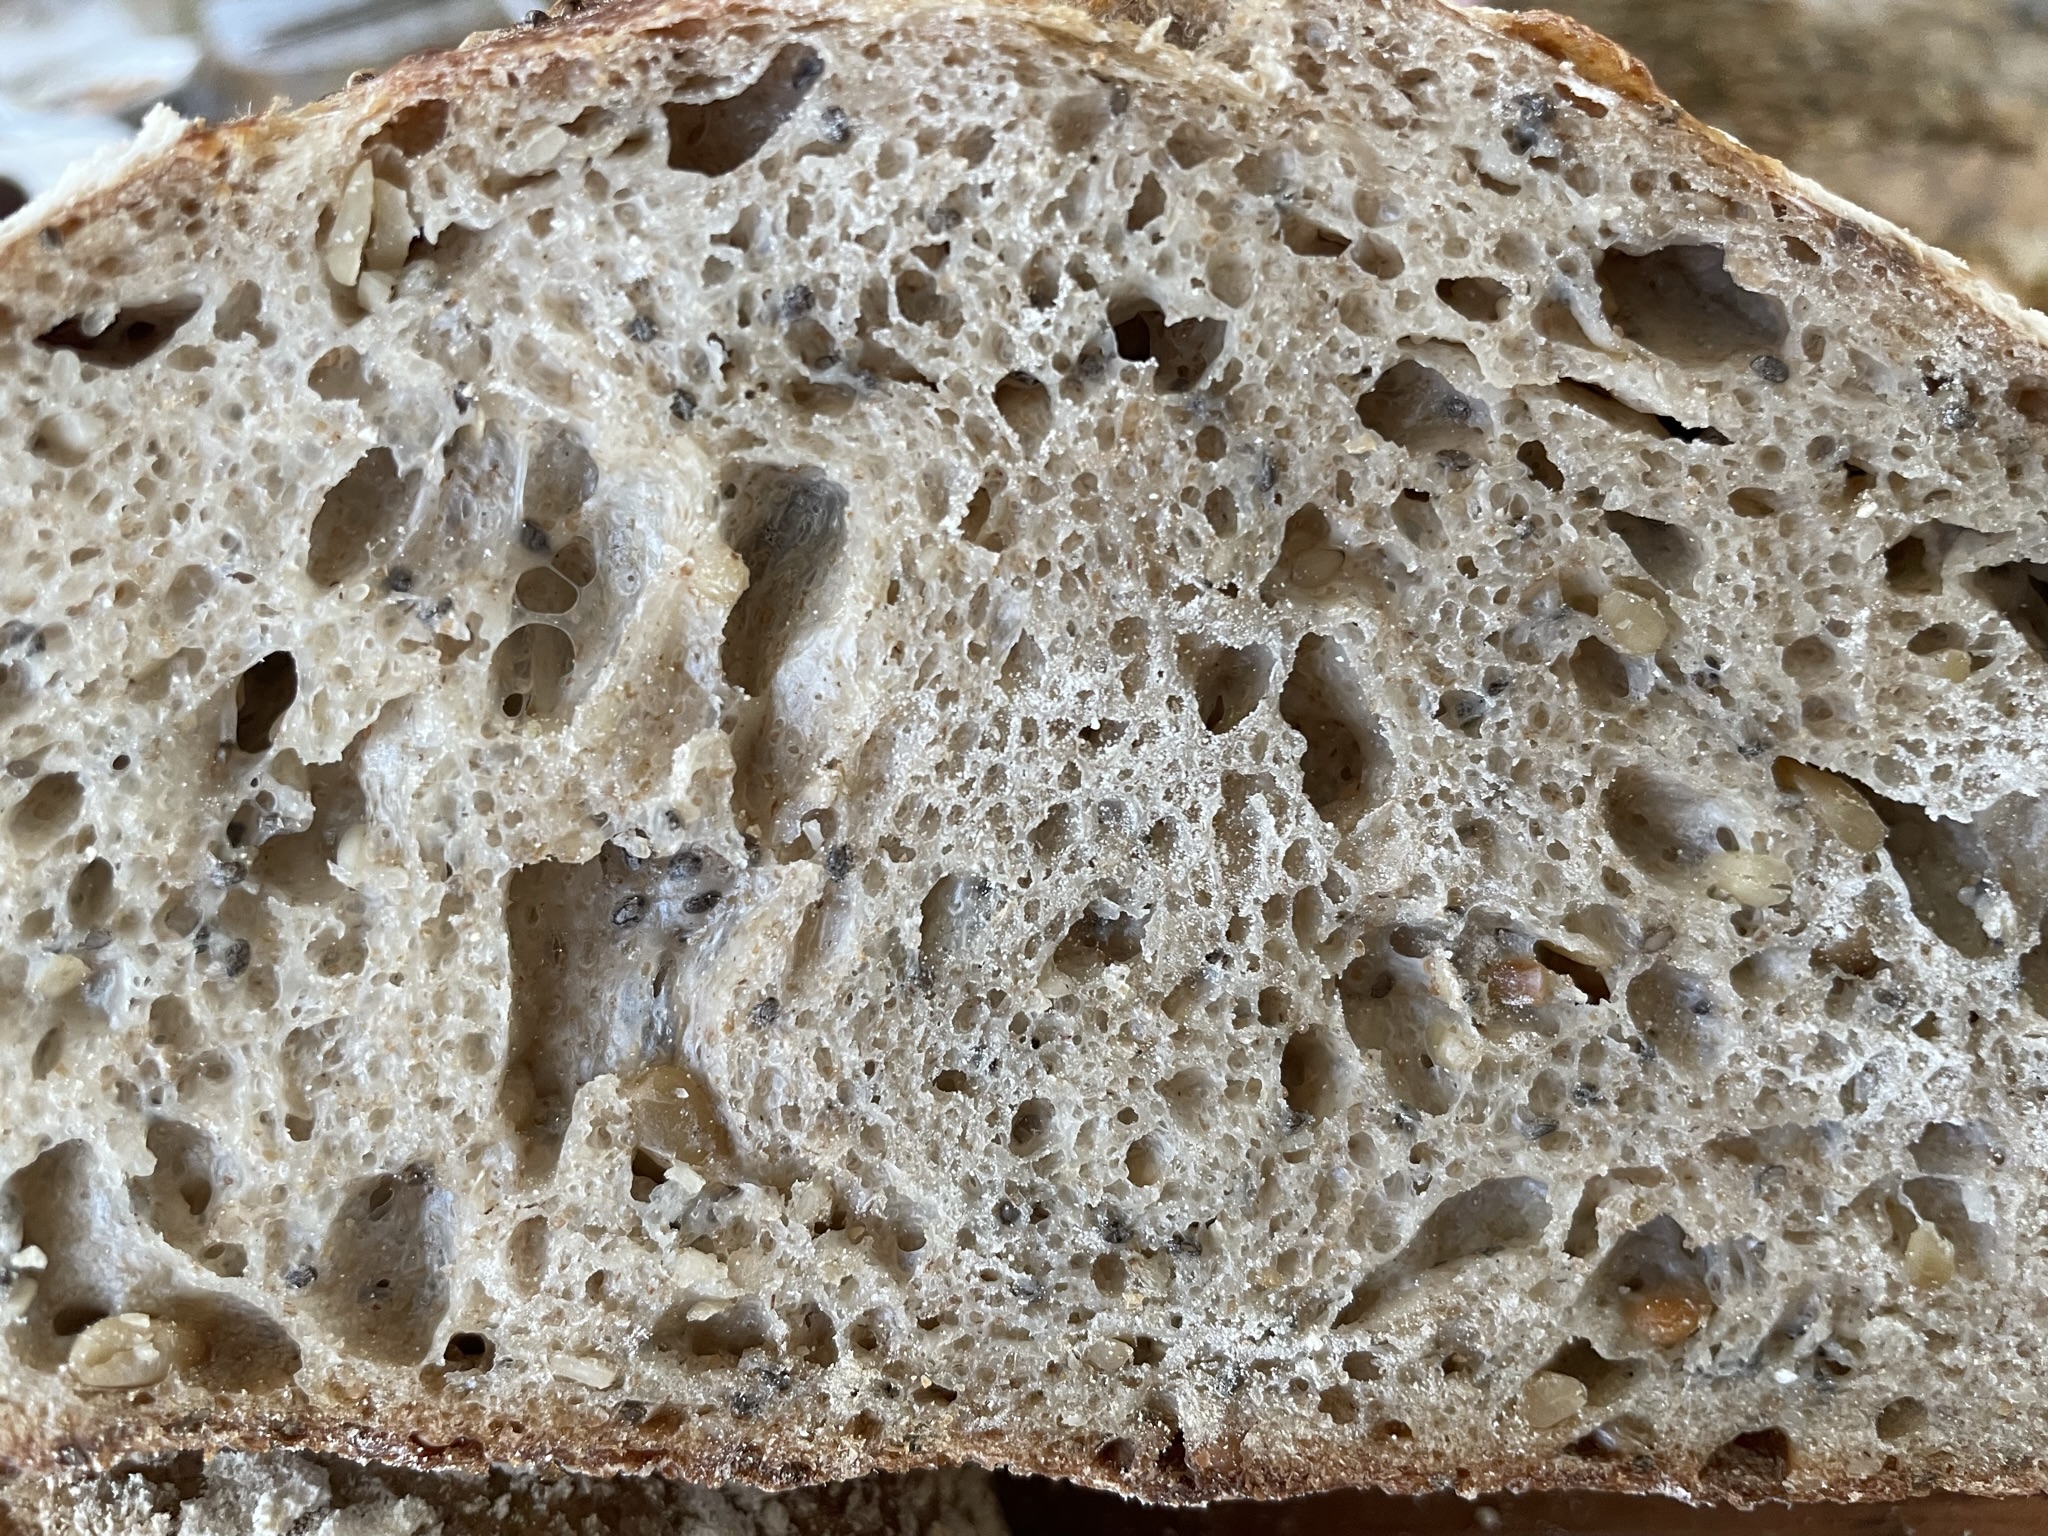
Allowing the dough to warm proof activates the lactobacillus cultures which gives off carbon dioxide gas while breaking down the flour. This affects the airiness of the "crumb", resulting in a bread with larger air pockets.

How humidity affects proofing
Although humidity doesn't directly affect proofing, it is more the heat and the extra moisture in the air that affects the fermentation process. If you are baking in a hot and humid climate, reduce the amount of liquid used in the bread by 5-10%, and reduce the proofing time to avoid overproofing. The time between each stretch and fold during the bulk fermentation should also be reduced.
Advantages and disadvantages of different proofing times
Header | SHORT PROOF | MEDIUM PROOF | LONG PROOF |
|---|---|---|---|
Warm Proof time (70-80 F or ~27 C) | 3 hours | - | 1 hour |
Cold Proof time (40 F or ~4 C Refrigerator temp) | - | 8 - 14 hours | 8 - 14 hours |
Total proof time | 3 hours | 8 hours | 9 hours + |
Advantages | Total proofing: 3 hours. | No warm proof. | *Easy to handle / score when dough is cold. *Breakdown of carb. by bacteria takes 6-7 hours. *Lower glycemic index. *More nutritious. |
Disadvantages | -More difficult to handle / score room temperature dough. -Easy to over-proof. | Dense crumb. | Time. |
Need meal ideas?
EASY, HEALTHY, DELICIOUS!
DON'T MISS A RECIPE
