0 Comments
share this

Making GOOD and healthy sourdough bread is a labor of love. It takes time and patience. I estimated that it takes approximately 60 hours to make a sourdough loaf from start to finish. Most of this time is spent allowing the lactobacillus (lactic acid bacteria) to do its work. As a result, this type of bread will never be found in a commercial bakery because time is money! However, after you've made and tasted your first sourdough bread, nothing else can compare to it. It's simply delicious.
When starting to make the sourdough bread dough, there are a few things that I have discovered that makes a big difference to the end product. Incorporating these tips into your sourdough bread making will improve the quality of your bread immensely.
Tips for making the sourdough bread dough
Active levain
Make sure that the levain is active. If the starter has not been fed for 3-4 days, feed it once before making a levain. Make sure that the levain is active and at its peak. See "Making levain" to know when the levain is at its peak. When making the levain, do not refrigerate it as it slows down the microbial activity.
Soaking the coarse flours.
If you are using a combination of flours in addition to the white bread flour, such as whole wheat flour, soak these flours with the amount of water required for the recipe. Soaking flours that are unrefined help with the leavening of the bread. The endosperm of the wheat that is present in whole grain flours are like sharp blades that cut the gluten structure during bulk fermentation. By soaking these flours, there is less damage to the gluten development, resulting in an airy, more leavened bread.
Soaking the add-ins.
If you are adding any add-ins, soak these when making the levain to ensure that they are fully hydrated. If the add-ins are not sufficiently hydrated, they will be absorbing water from the bread, resulting in a drier crumb.
Autolyse
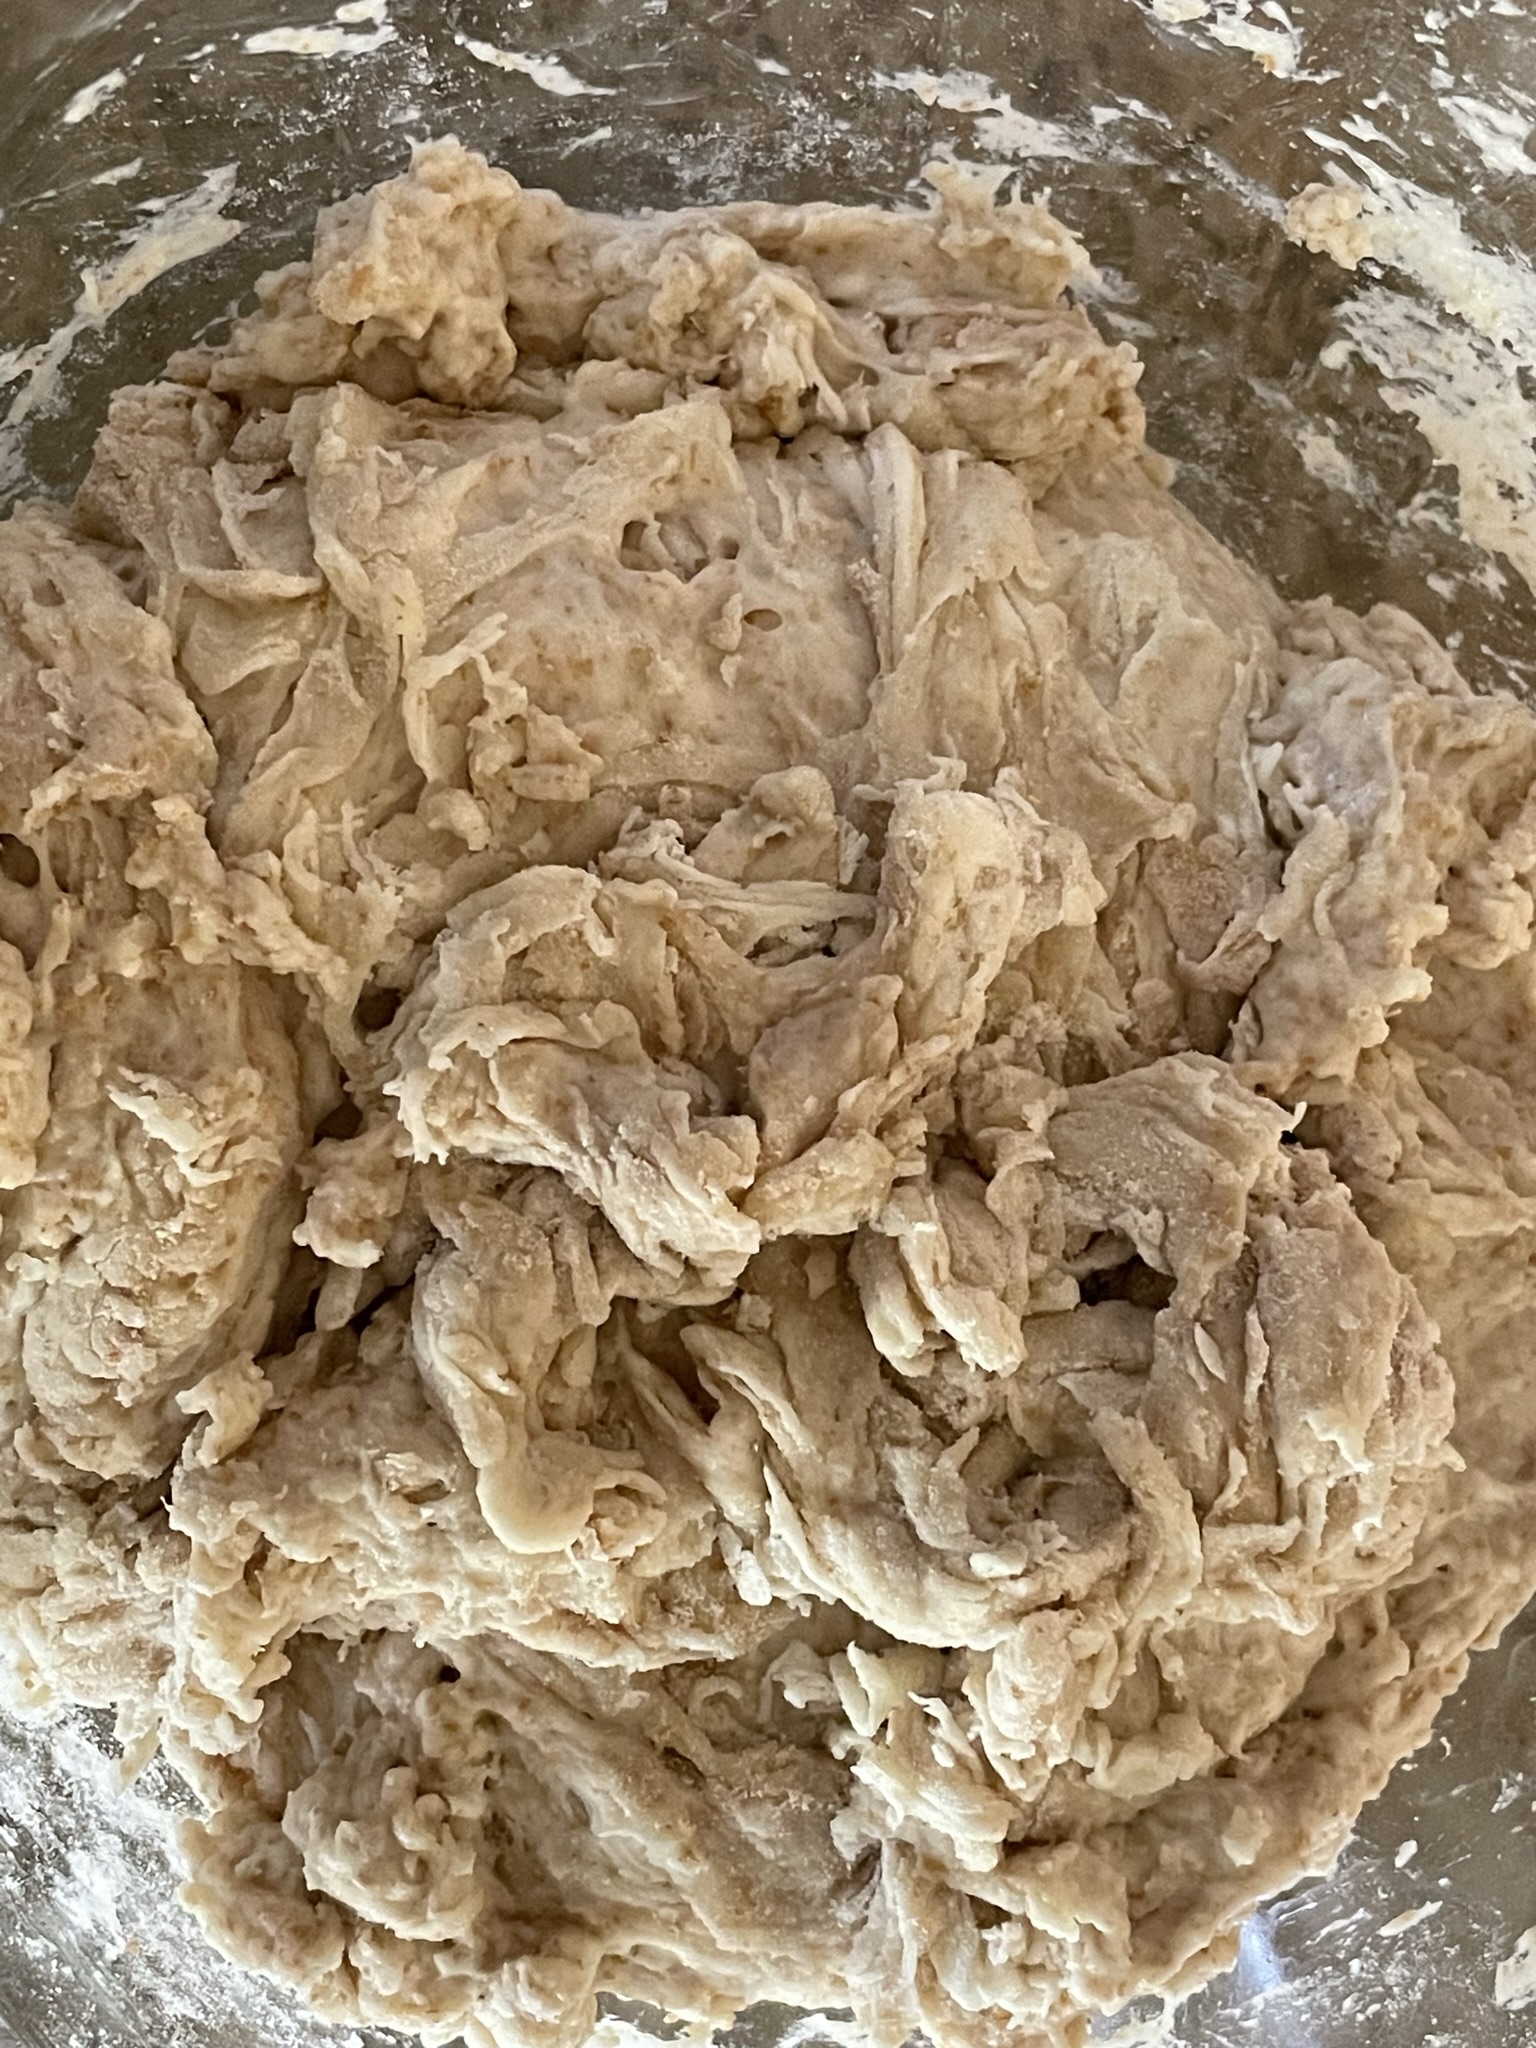
Combine the water, starter and flours together and allow the dough to rest for approximately 30-45 minutes. This allows to water to fully absorb into the flours, making them easier to handle. Do NOT add the salt and add-ins at this time. Salt will prevent the flour from fully hydrating as well as affect the fermentation of the bread.

Barely mix flour, starter and water for autolyse. The dough should look scaggly / shaggy.
Bulk fermentation
After the autolyse process, the dough will undergo a series of stretch-and-folds which deflates the carbon dioxide and redistributes the microbes in the dough. Between every stretch-and-fold, there is a 20-30 minute rest period. During the rest period, the dough is fermenting and the gluten is developing. There are usually about 6-7 stretch and folds, taking about 3 hours to complete.
Cutting and Shaping
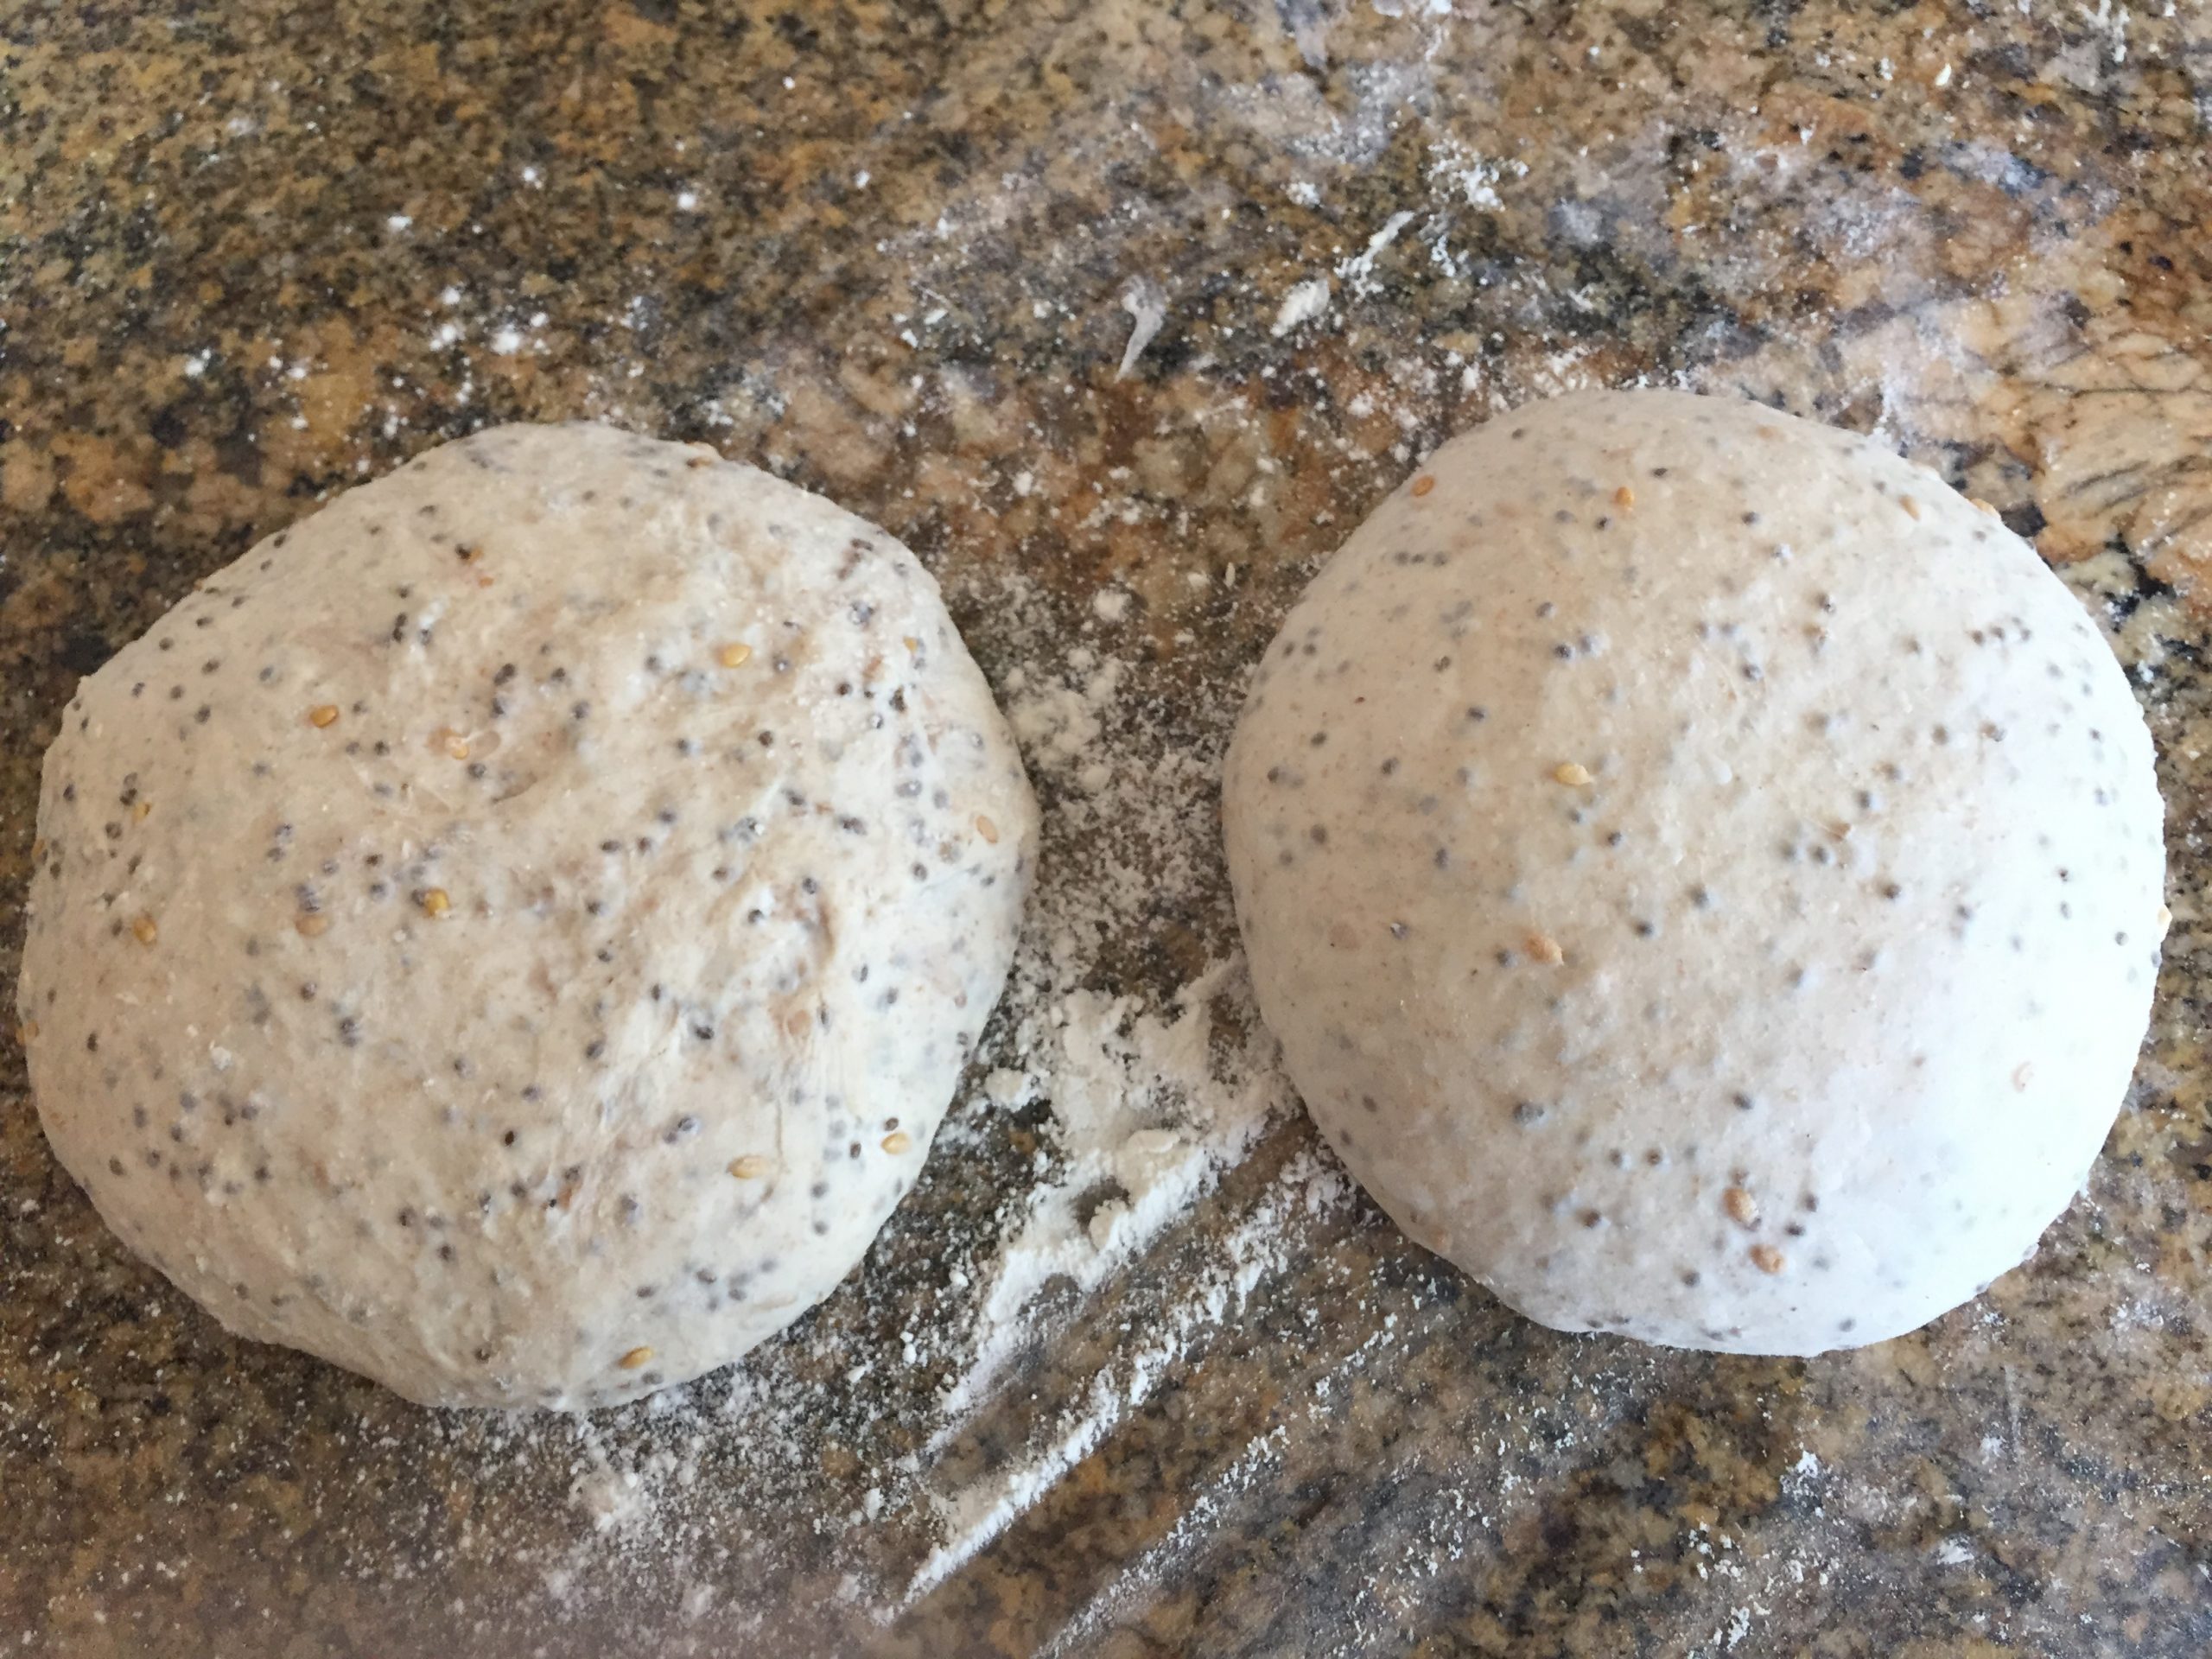
After bulk fermentation, the dough is portioned and shaped. The purpose of shaping is to create a surface tension on the surface of the dough which helps keep its shape and prevents the dough from spreading out as if it weren't contained.

Left: Unshaped dough Right: Shaped dough
Proofing
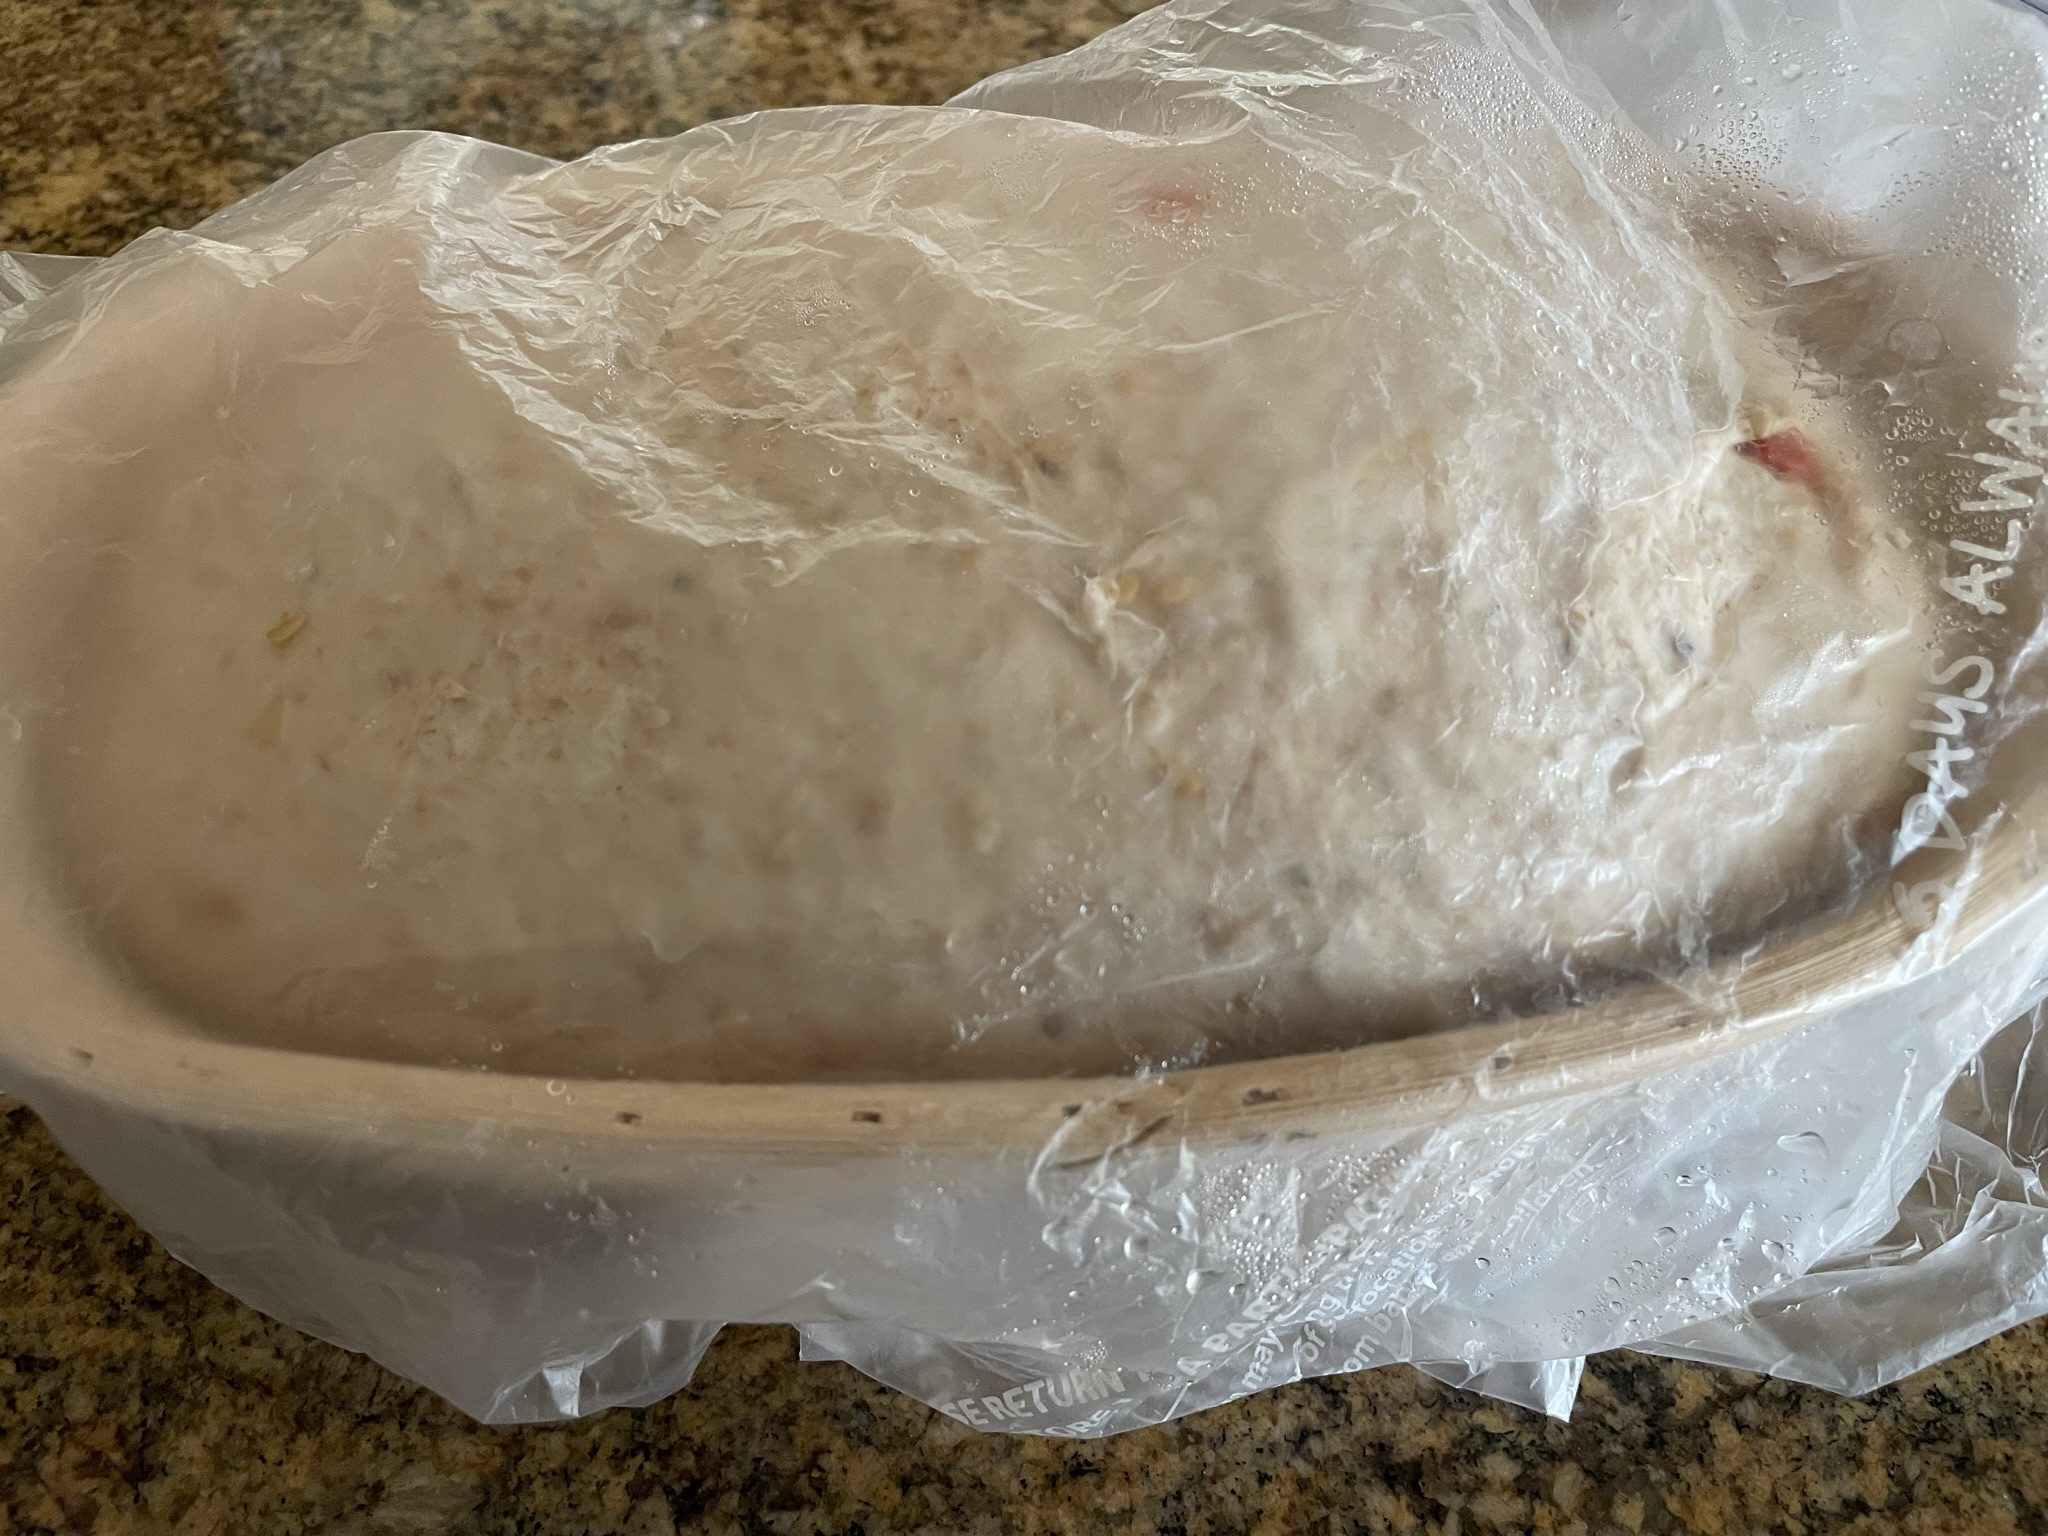
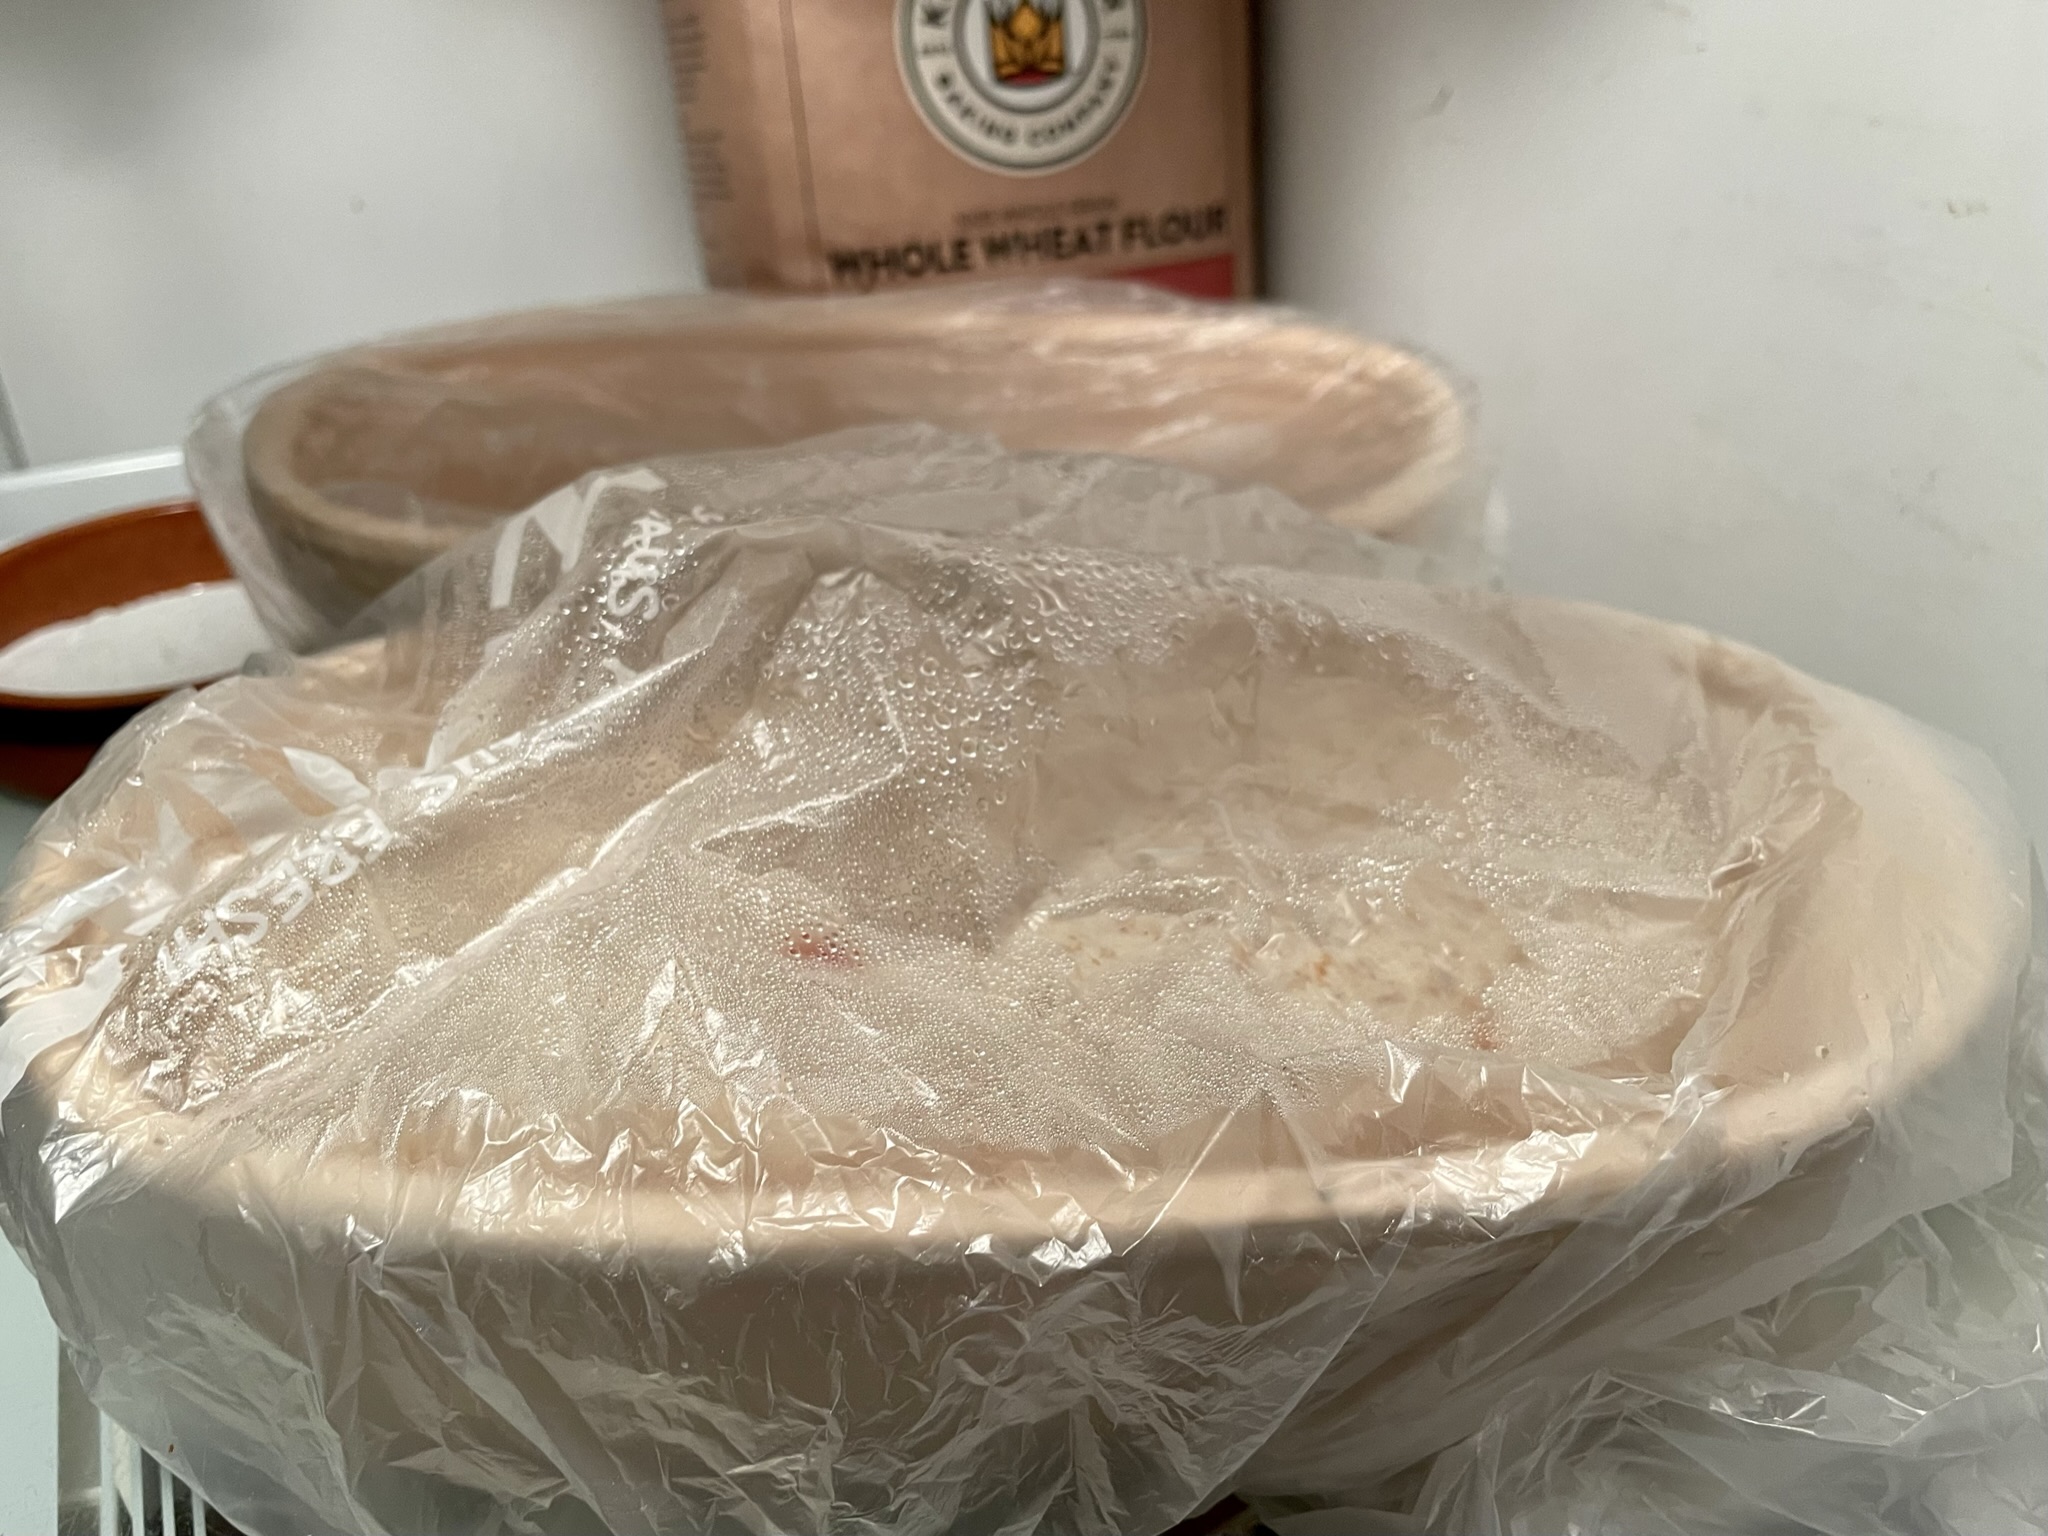
After the dough is shaped, place it in a prepared banneton, seam side up. Allow the dough to proof in the banneton for a hour at room temperature, followed by a 48 hour cold proof in the refrigerator. This sounds like a long timer but trust me, my best breads have been with a 48 hour cold proof! This allows the dough to develop its flavor and texture. It also firms up the dough making it easier to remove from the banneton and score before baking.


48 hour cold proofed dough
If you have any comments or questions, please leave them in the comment section.
Need meal ideas?
EASY, HEALTHY, DELICIOUS!
DON'T MISS A RECIPE
