0 Comments
share this

Given that it is summer time and Fathers Day is around the corner, I decided to do a post of grilling perfect steak. Eversince I was a child, I started grilling meat. Being South African, we love our "braaivleis" which usually includes "pap" which is like grits except denser. The "pap" would soak up the juices from the steak and it would taste out of this world! (My mouth is literally salivating as I write this!)
Over the years, I've spent time analyzing what makes a good steak and what doesn't and this is what I've learned.
Tips to grilling perfect steak.
Meat quality.
Purchase a good grade and cut of meat. Some parts of the beef are tough and are meant for stews and slow cooking. Steaks are usually more marbled which means there are fat layers between the meat fibers, making it more succulent. What kind of steak to grill is a matter of personal preference. My mother-in-law loved the fillet because it was very tender. I thought that the mouthfeel was somewhat mushy. My daughters like the rib-eye and I like the New York strip steak. So, there is no one cut that is better than another.
Meat grade.
In the USA there are three grades of steak and this is usually a direct correlation with the amount of marbelling for that same cut of steak. USDA currently has Select, Choice and Prime. I avoid the select grade as I find it somewhat tough and sinewy!
Meat thickness.
I try to get steaks that are 2” thick (5 cm). Thin steaks cook too quickly leaving no room for error and usually results in overcooked meat. If your grocery store has a butcher, make him your best friend! You can oftentimes request a special cut. My favorite place to purchase meat is from Sprouts. For a while, the steaks were very thin. I told Ernie, who works in the meat department, that the steaks should be cut thicker and gave him the reasons for it. He now has thin cut steaks that are prepackaged and the thick cut steaks are displayed in the showcase.
If your grocery store does not have thick steaks, purchase a roast of that cut and slice it into thick steaks. I recently bought a tri-tip roast and cut it into 2" thick steaks and they were delicious!
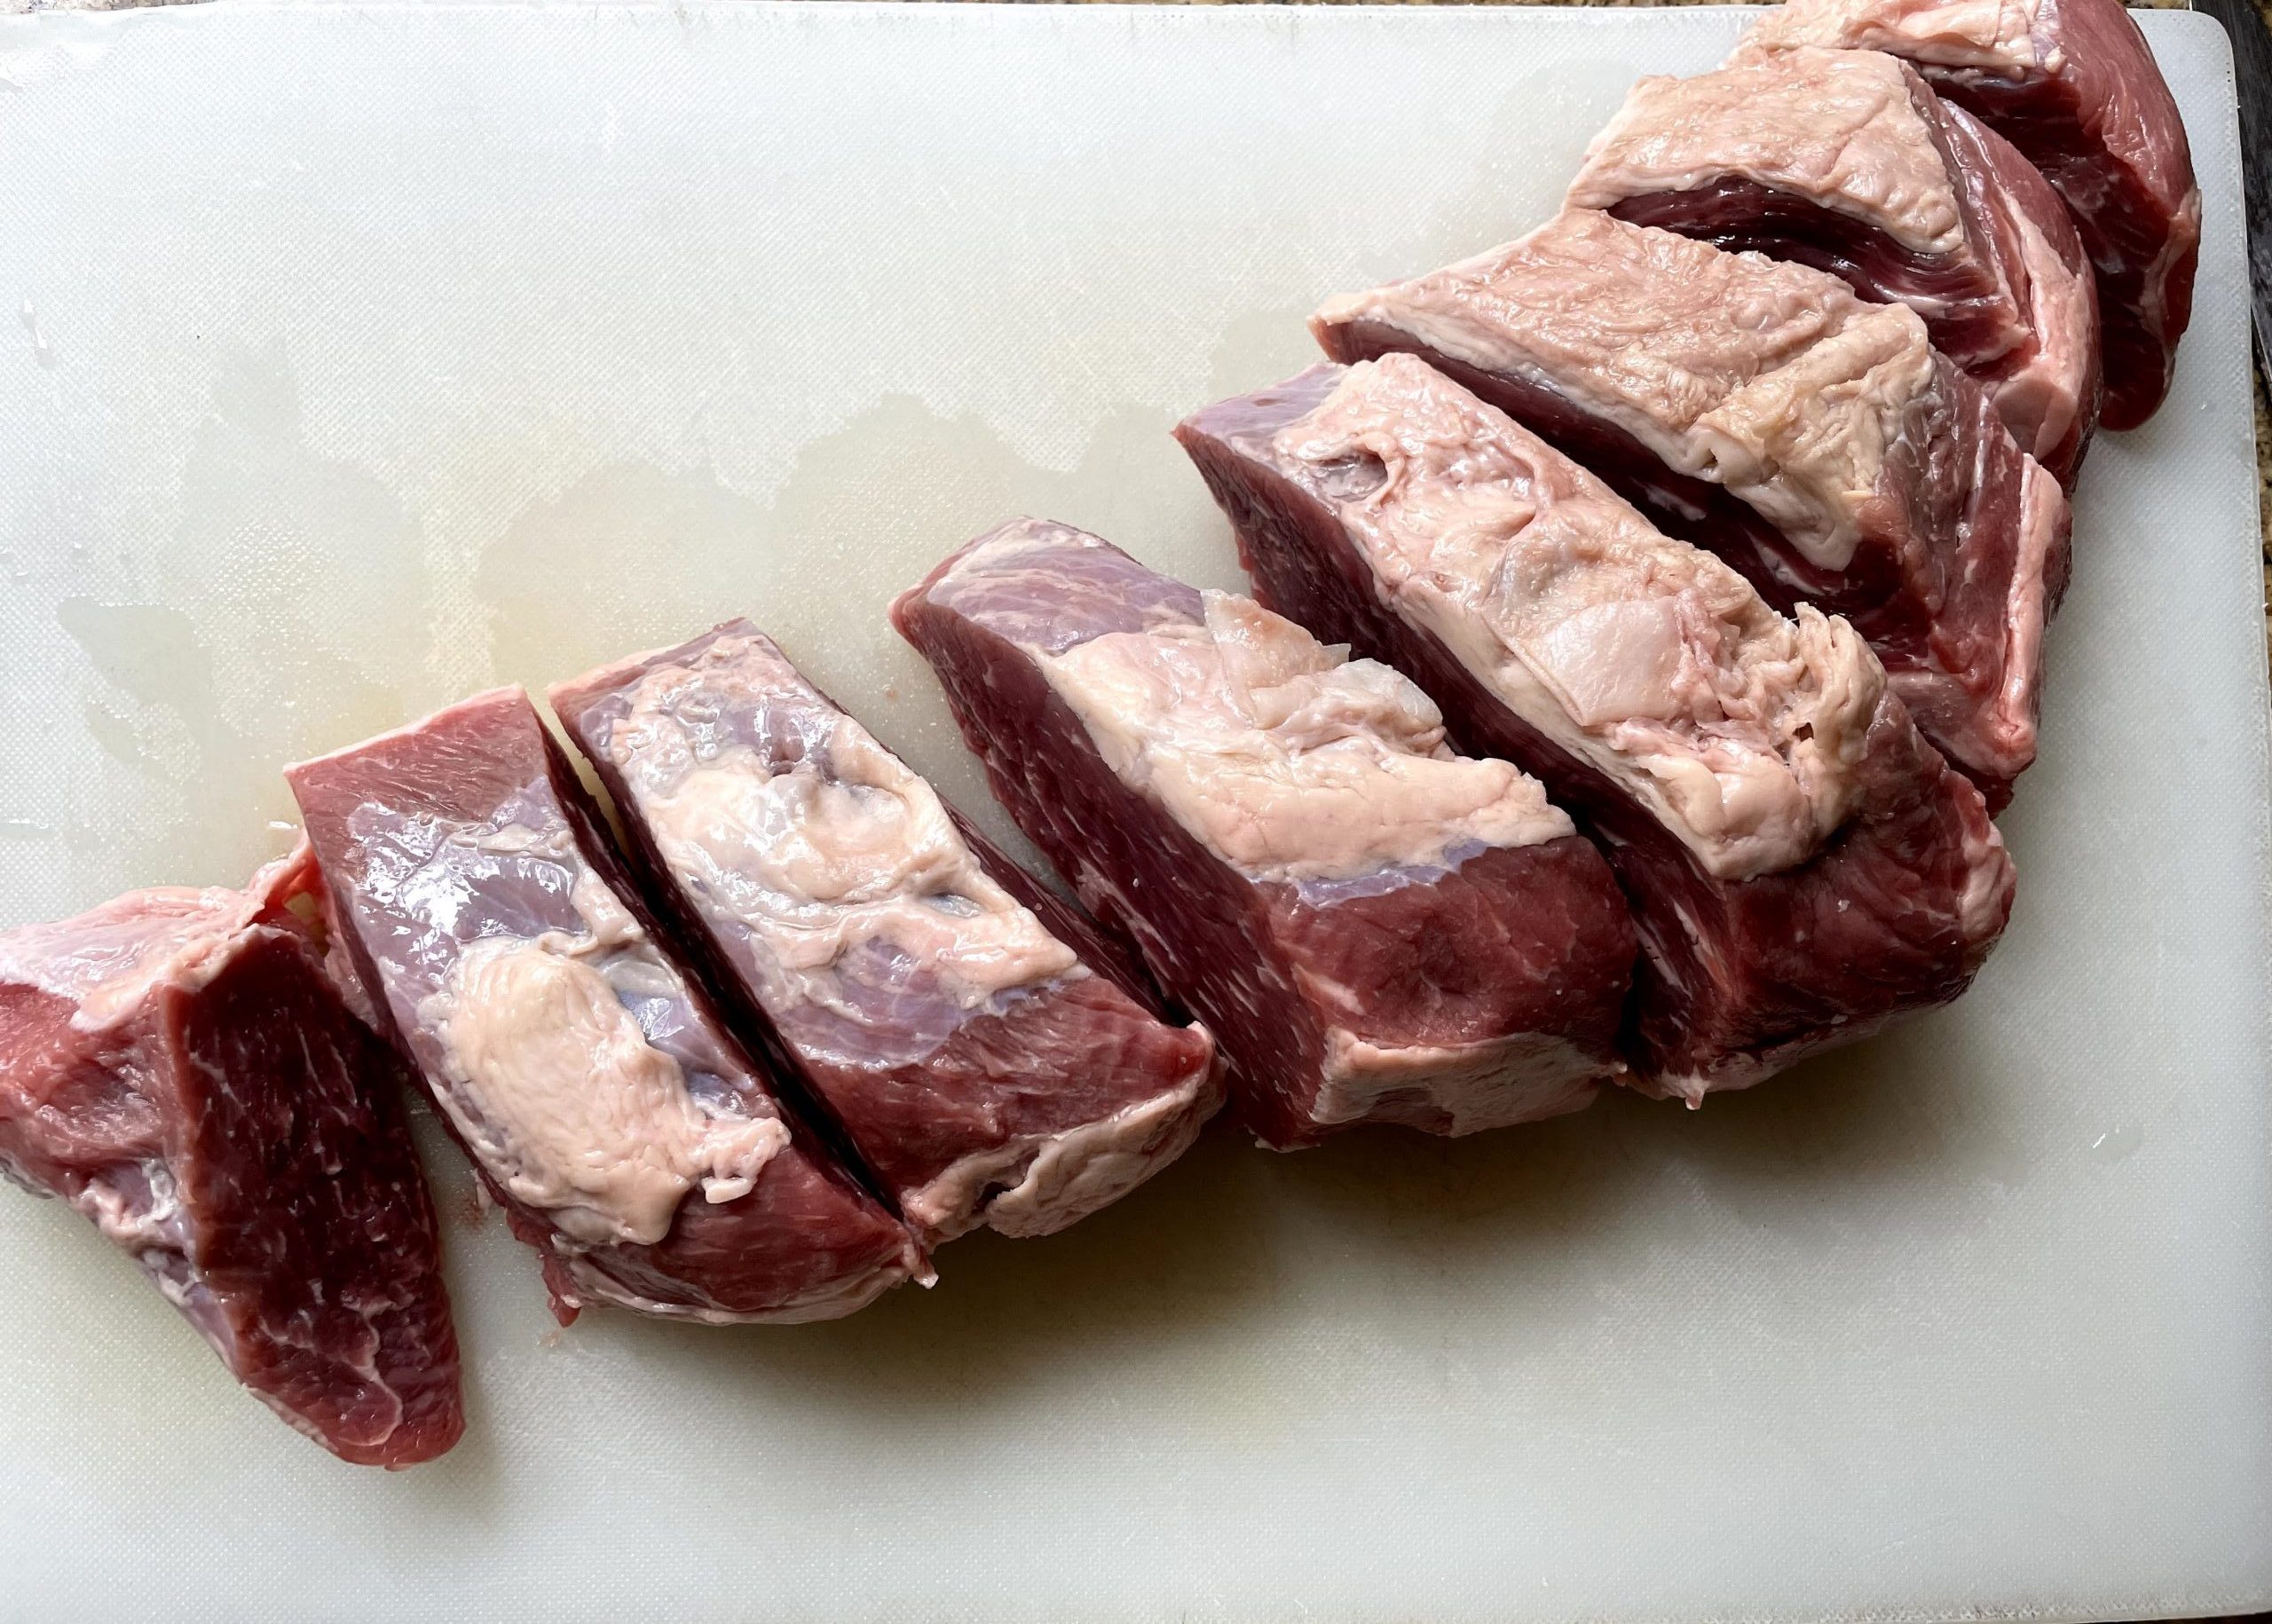
Tri-tip roast cut into steaks
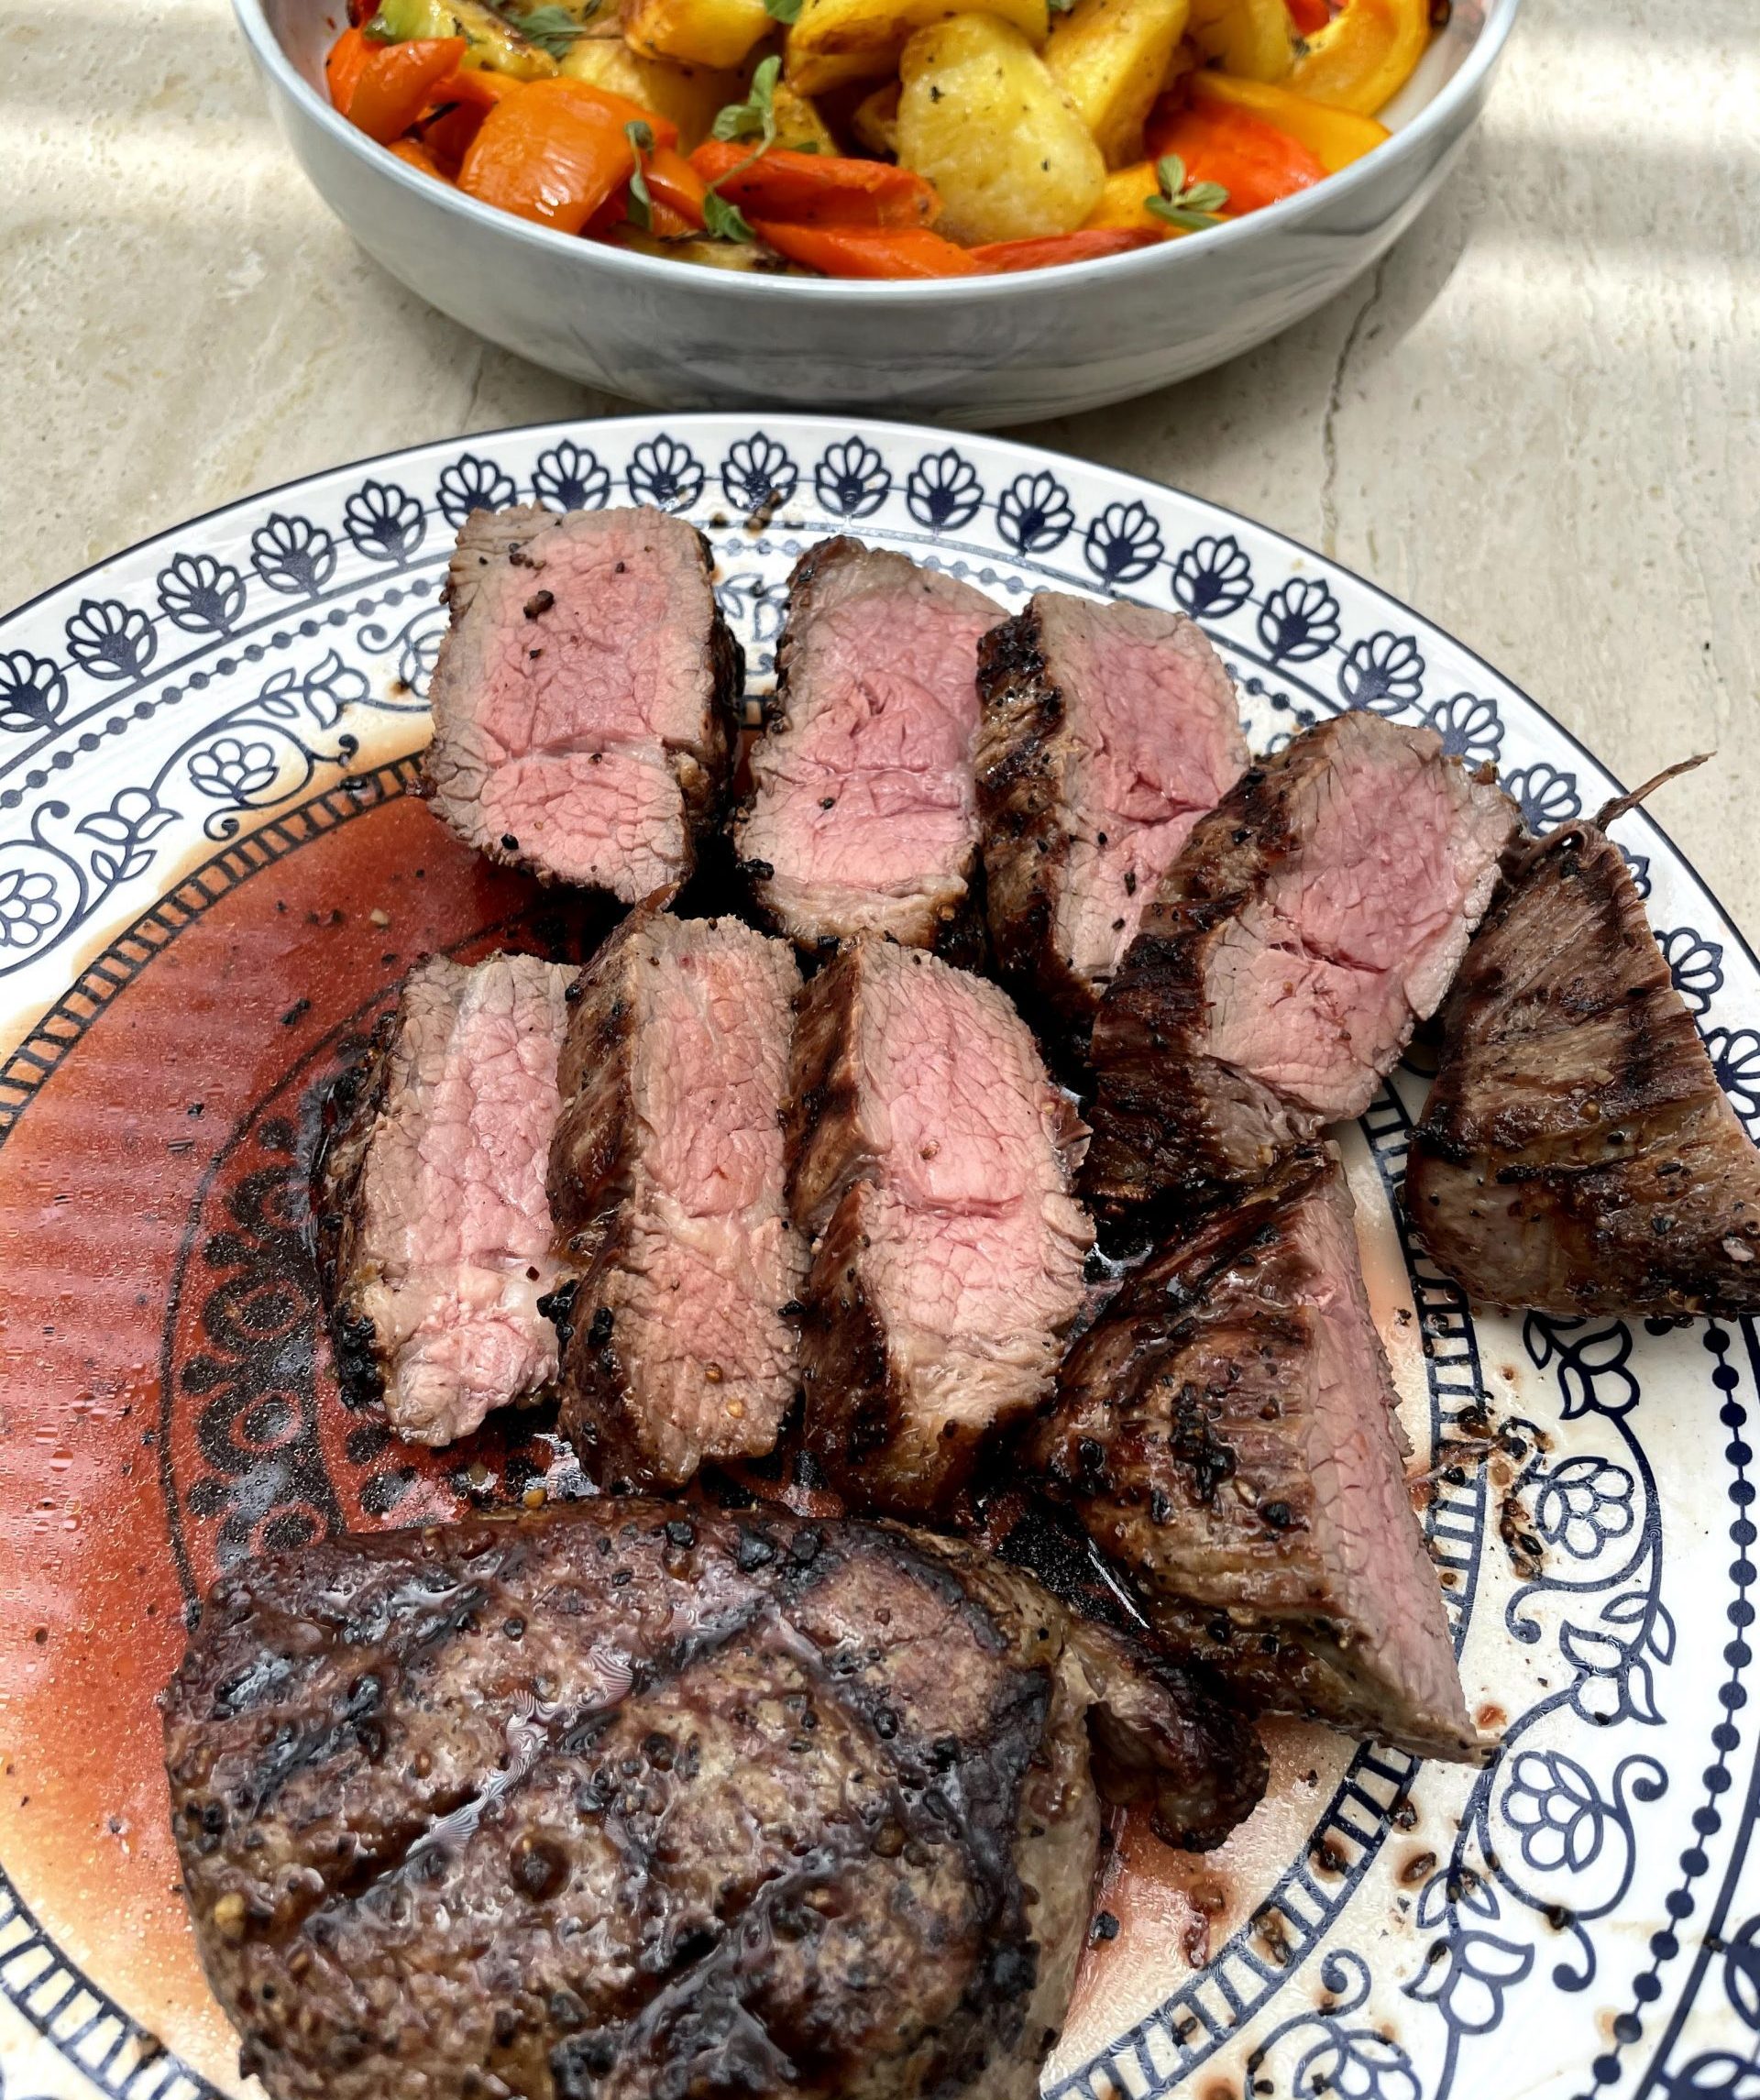
Grilled tri-tip steaks for dinner.
Meat preparation.
I don’t marinate my steaks in a marinade because I sear all my steaks before grilling. Marinating steaks in a liquid makes the meat very wet which is very difficult to sear due to the excess moisture. After washing the meat, dry it thoroughly with paper towels to remove all the water.
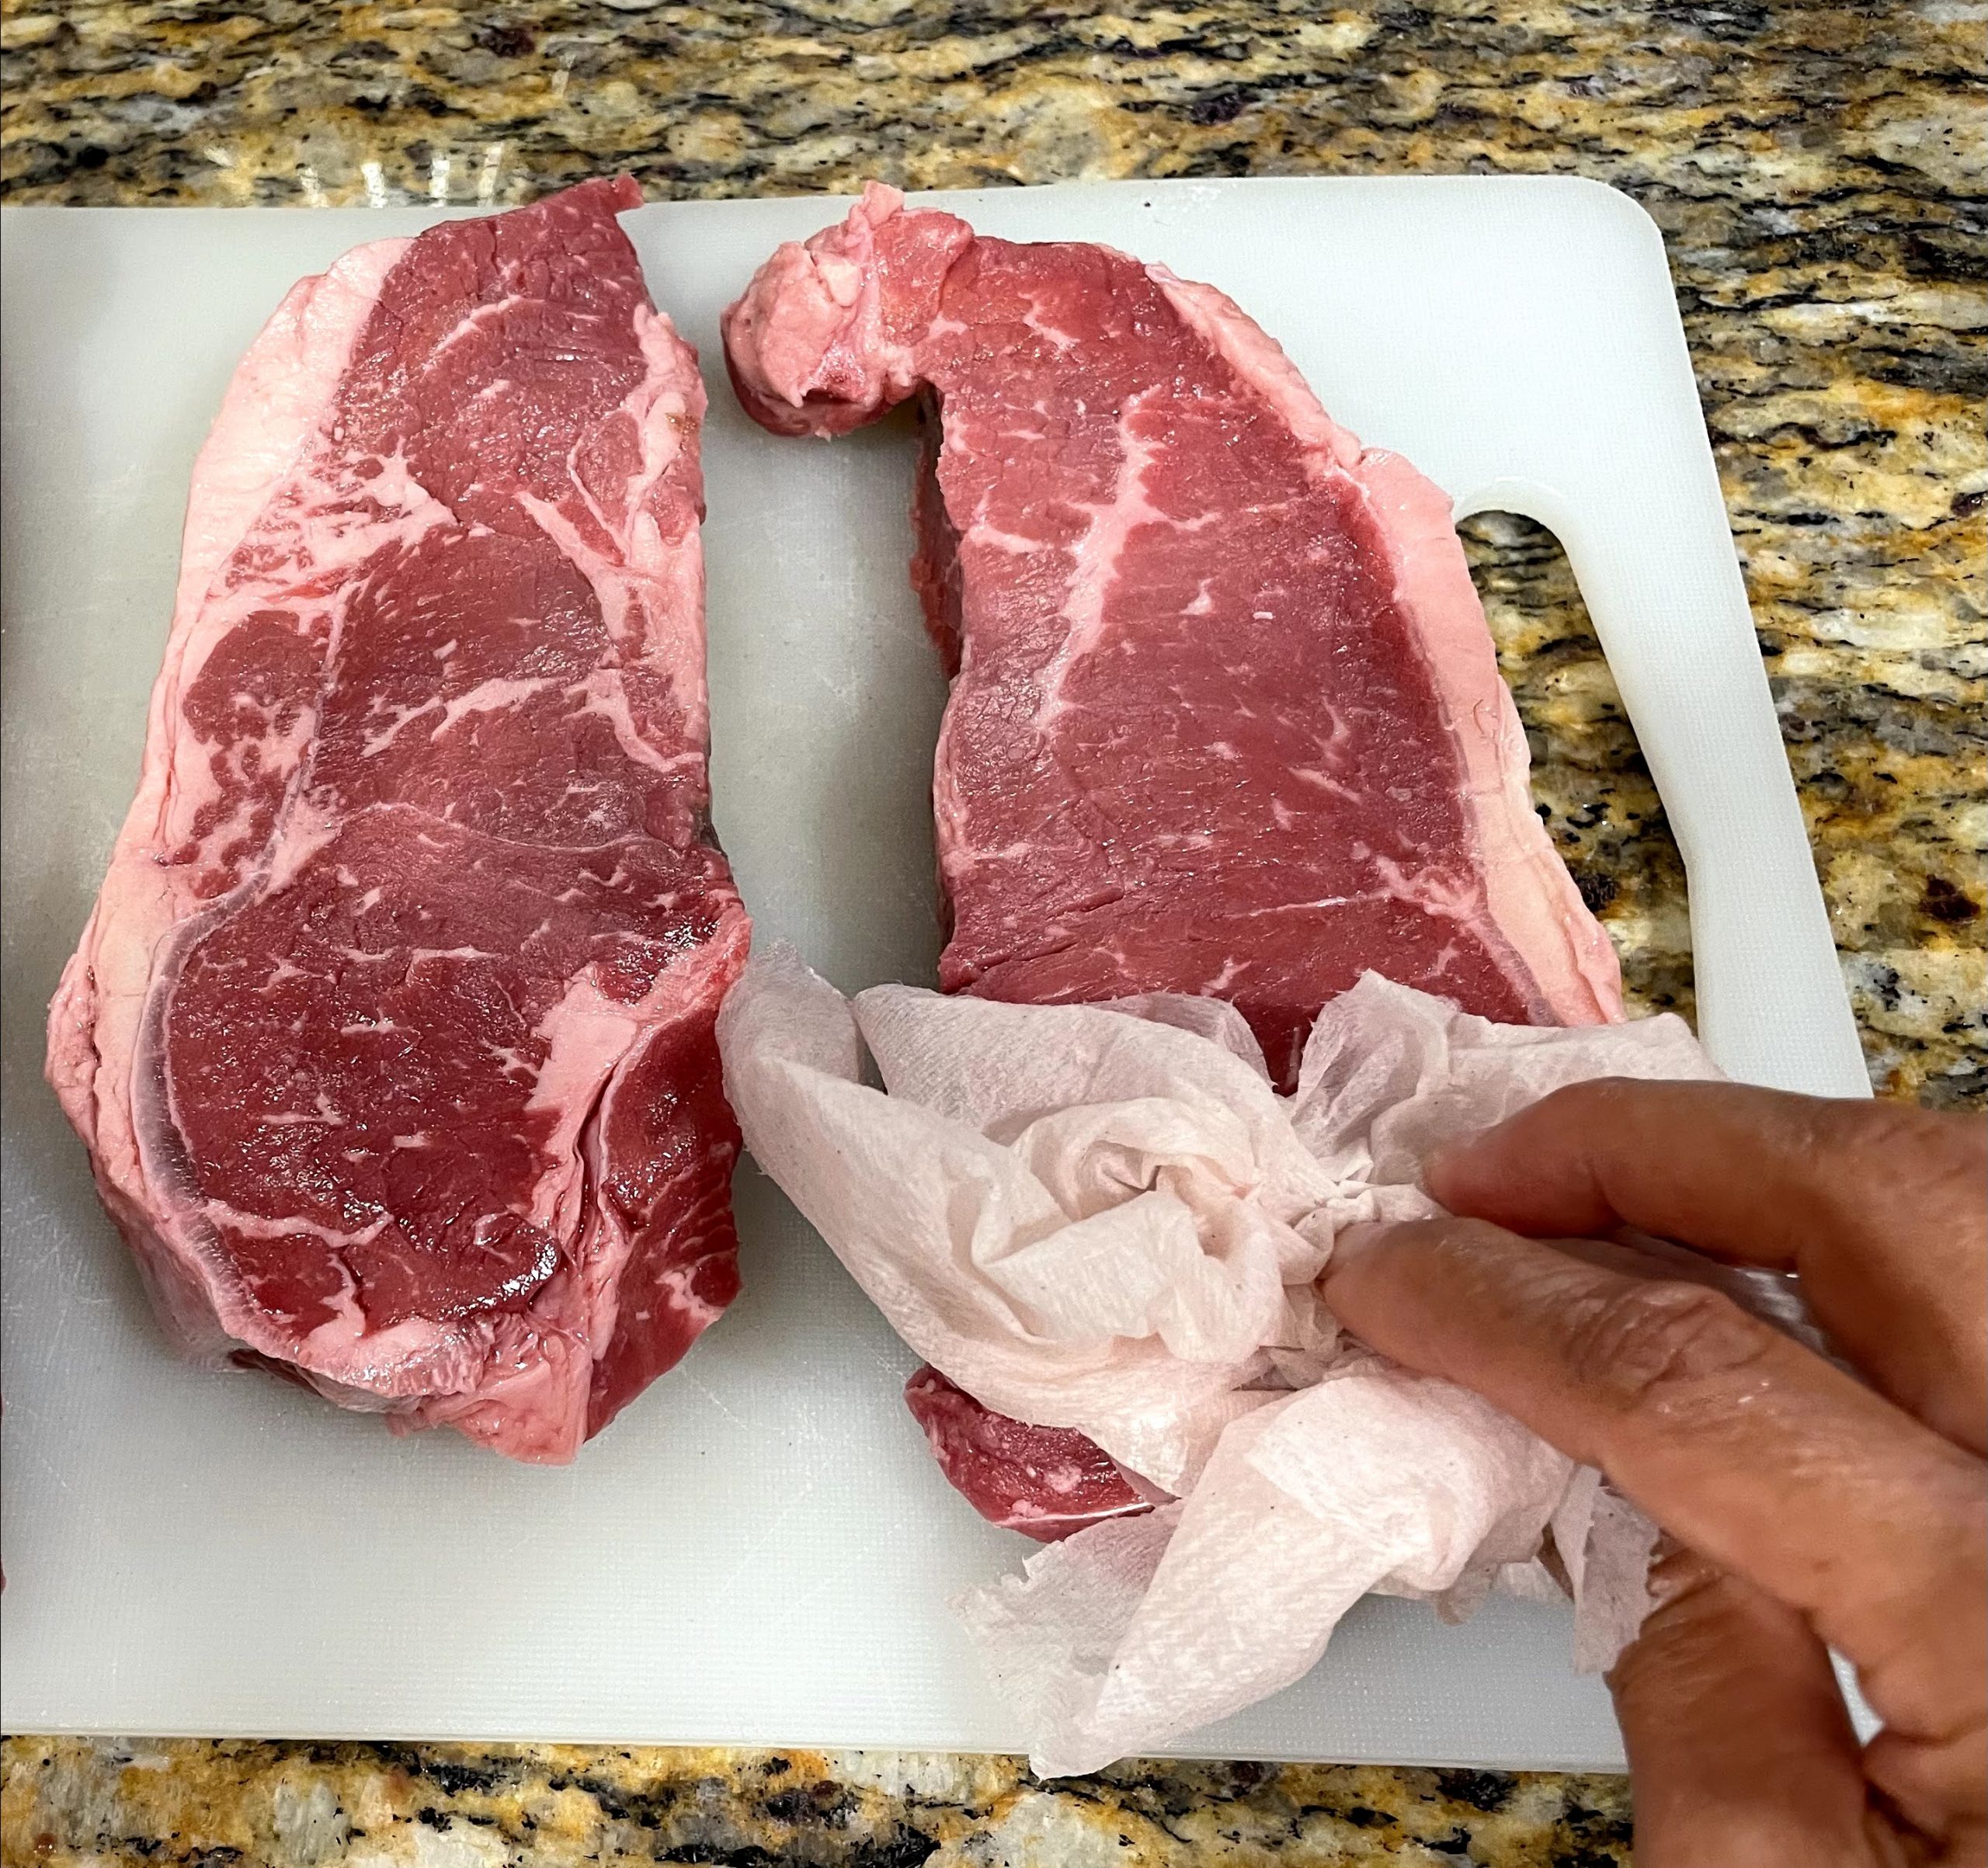
Dry steaks thoroughly after washing to remove excess moisture.
Sprinkle on a generous amount of (garlic) salt, pepper and dried herbs or a savory dry rub and allow the seasoning to absorb for about half an hour. Leaving the steak with the dry rub for too long results in the salt extracting the juices from the meat, making the steak less juicy.
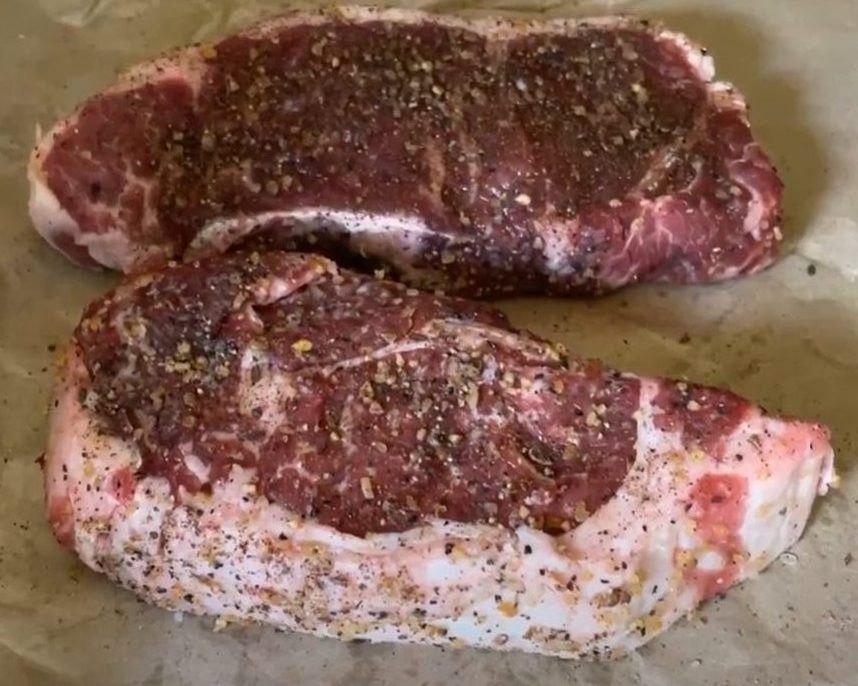
Steak with dry rub.
Searing.
To encapsulate the juices in the steak, the meat needs to be seared. I used to have a BBQ that had a special “sear” area. It didn’t work as well, perhaps newer BBQs can get the heat up to truly sear the meat. Searing needs to be done quickly. The heat needs to brown the proteins and caramelize the natural sugars, creating a seal around the meat. Because this process is done quickly, I sear my steaks on a smoking hot cast iron skillet. Avoid using non-stick pans as the coating on the pans will burn off with such high heat.
Spritz a little oil onto the preheated, smoking hot cast iron skillet to prevent sticking or render the fat by placing the steak with the fat side down first.
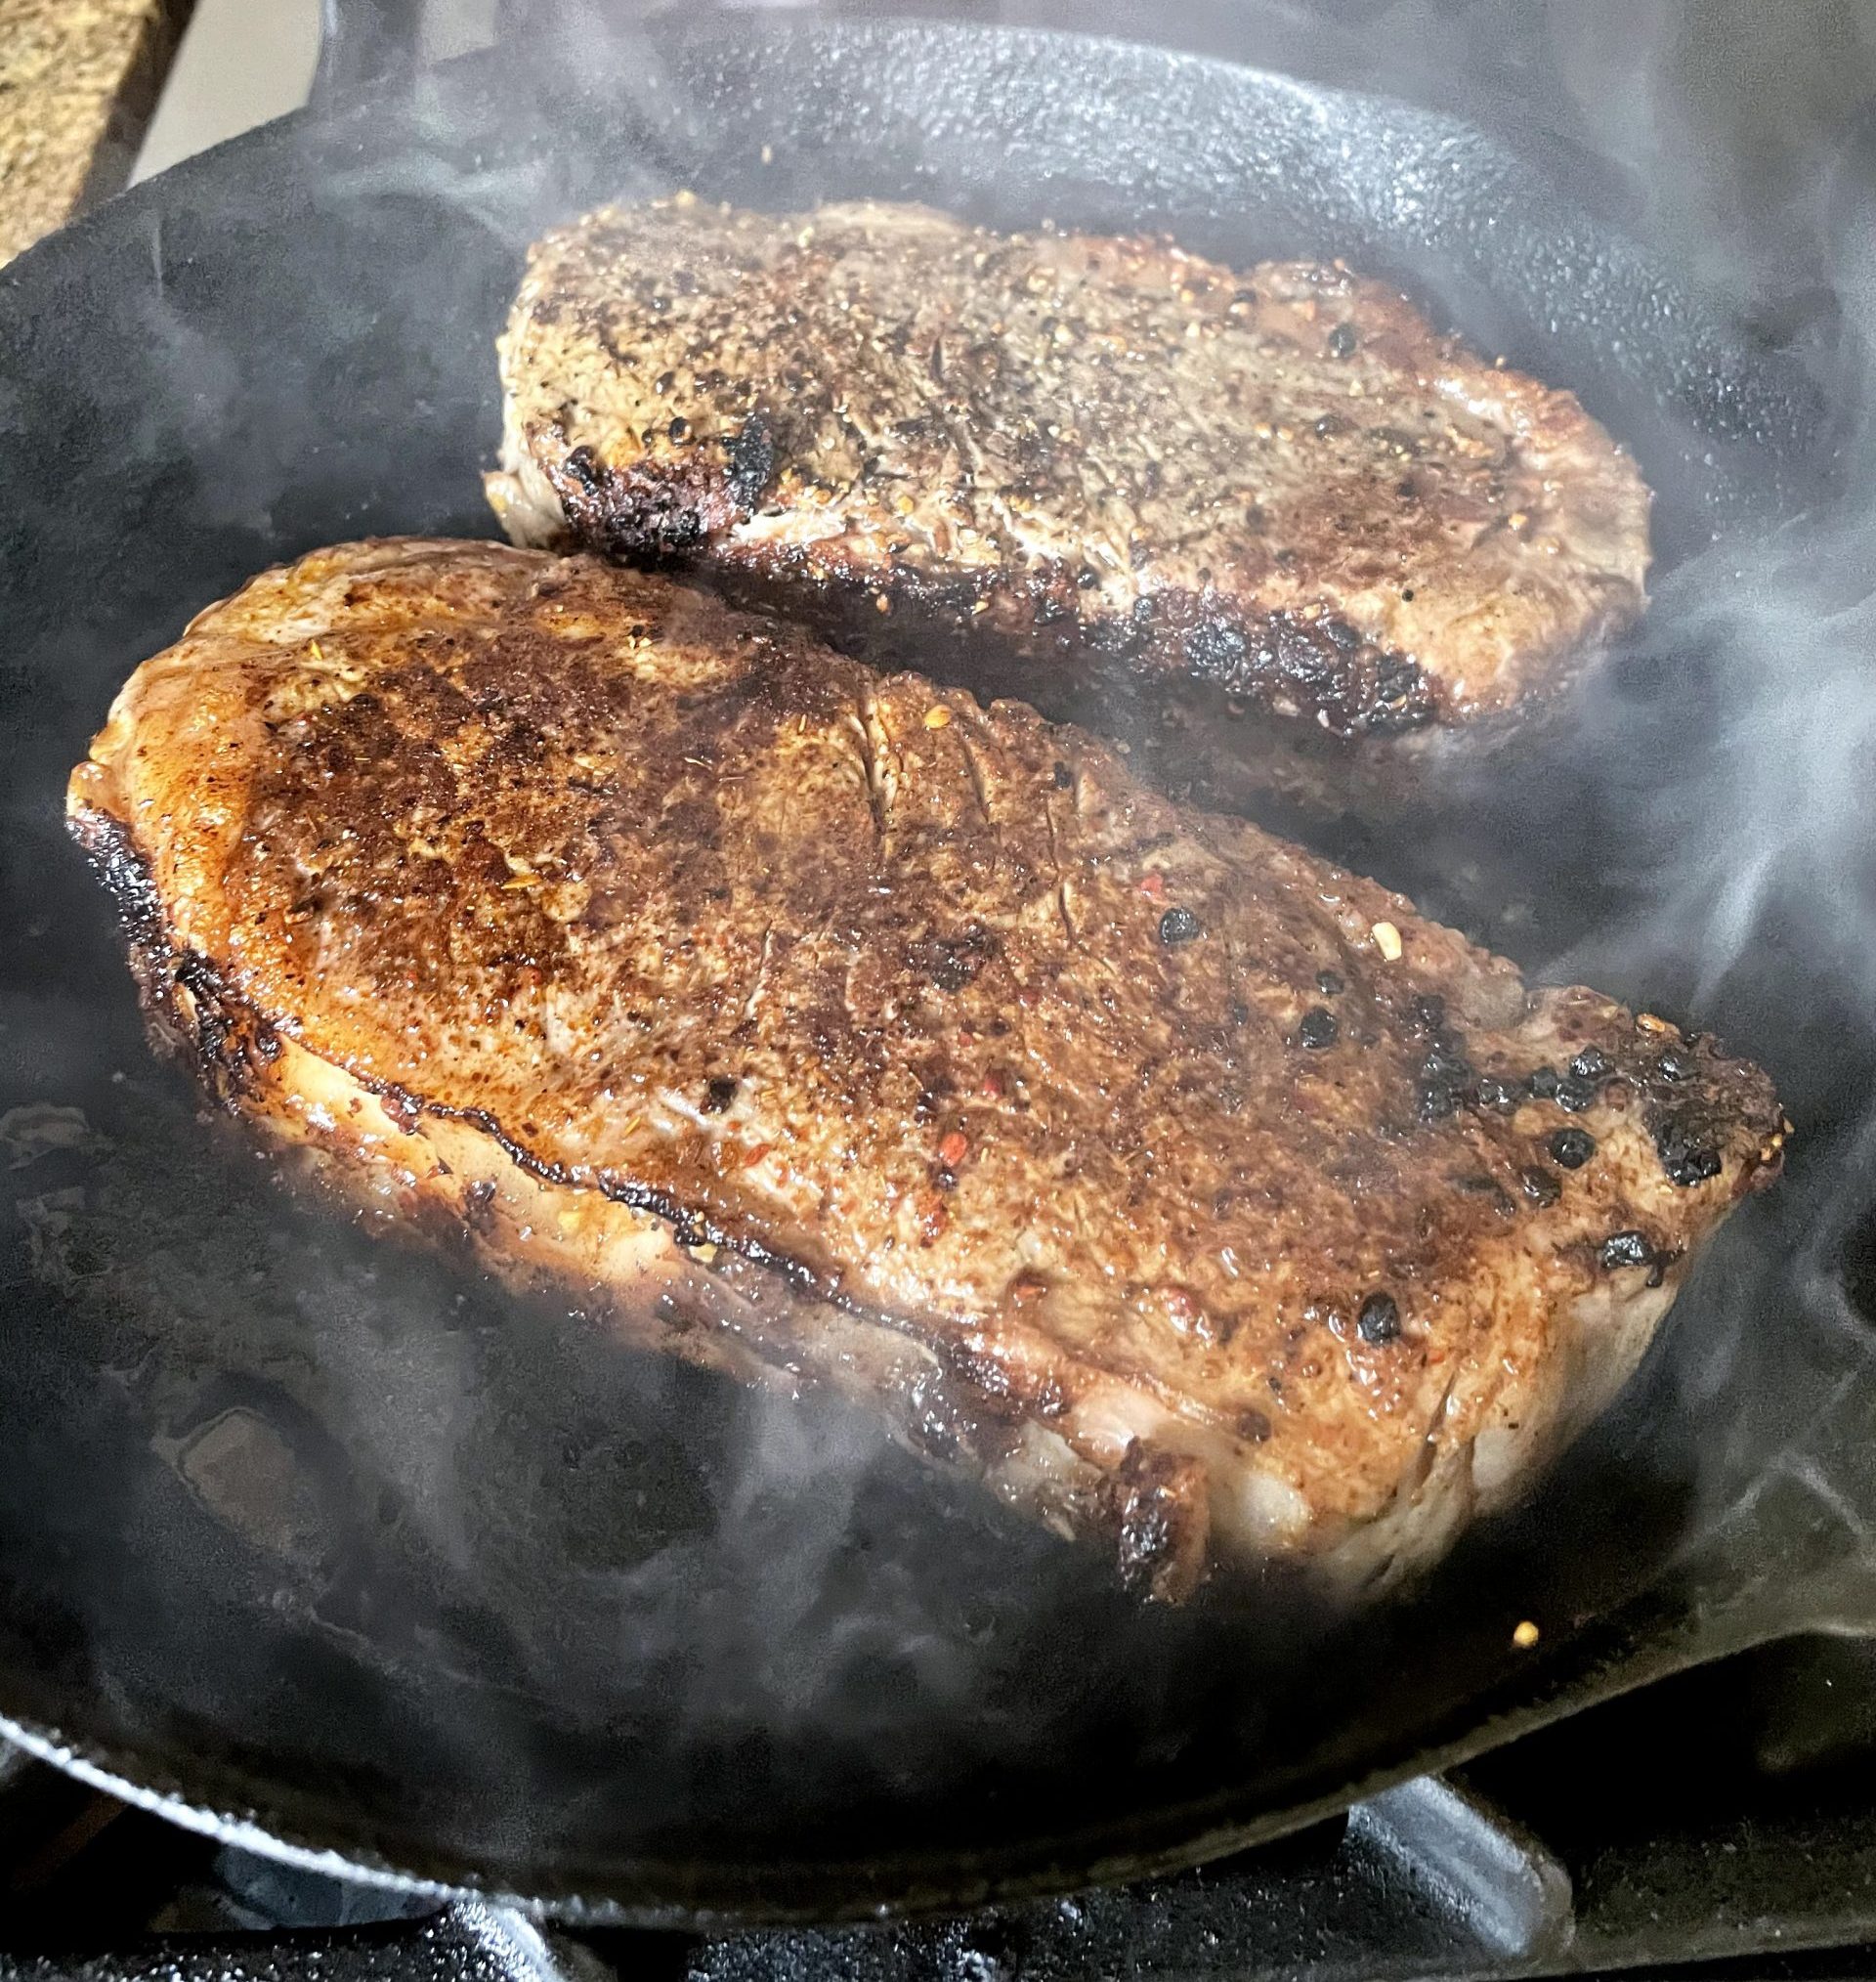
Sear steaks on a HOT cast iron skillet.
After searing the steak, grill it on the BBQ to finish cooking to the temperature you want and to get those wonderful grill marks!
Getting the grill marks when grilling perfect steak.
Place the steaks on a preheated grill with temperature around 400° F or 204.4° C. I place my steaks on a diagonal and halfway through the required time for one side, I switch it to the other diagonal on a different, HOT part of the grill in order to get the wonderful grill marks which makes the steaks look so appetizing!
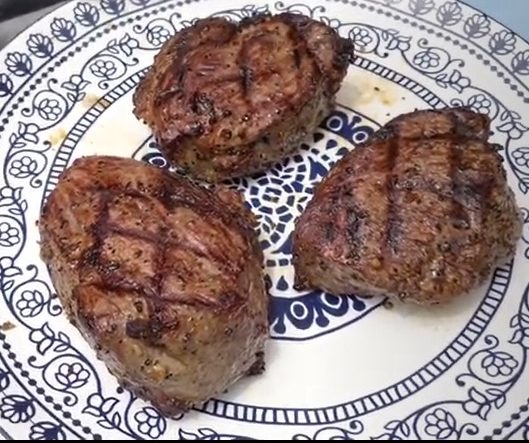
Placing steaks on a diagonal and switching to the other side of the diagonal on a different, HOT part of the grill creates these wonderful grill marks.
Timing.
Grilling steak on the BBQ after searing should take minutes. The best way to test if your steak is done to your liking is to use the “hand trick” as seen in the video. This avoids having you constantly poke or cut your steak on the grill. Once your steak has the right firmness, you can then insert a digital thermometer to confirm the internal temperature, losing no meat juices!
Here is a guide to help you get the doneness you want.
Level of doneness | Time per side at ~400° F / 204.4° C | Internal temp. before resting | Internal temp. after resting |
|---|---|---|---|
Rare | 2 mins. per side 1 min per diagonal. | 120° - 125° F | 125°-130° F 51.7° - 54.4° C |
Medium Rare | 3 mins. per side 1.5 mins. per diagonal. | 125° - 130° F 51.7° - 54.4° C | 130° - 135° F 54.4° - 57.2° C |
Medium | 4 mins. per side 2 mins. per diagonal. | 130° - 135° F 54.4° - 57.2° C | 135° - 140° F 57.2° - 60° C |
Medium Well | 5 mins. per side 2.5 mins. per diagonal. | 135° - 140° F 57.2° - 60° C | 140° - 145° F 60° - 62.8° C |
Overcooked! | You get distracted and forget! | > 145° F |
Resting.
Allow your steaks to rest for about 5 minutes. This allows the juices to redistribute in the steak and it also will continue to cook for another 5° F.
I hope this has helped you understand a little more about steaks and grilling the perfect steak. If you have any questions, ask me in the comment section!
DON'T MISS A RECIPE
