0 Comments
share this
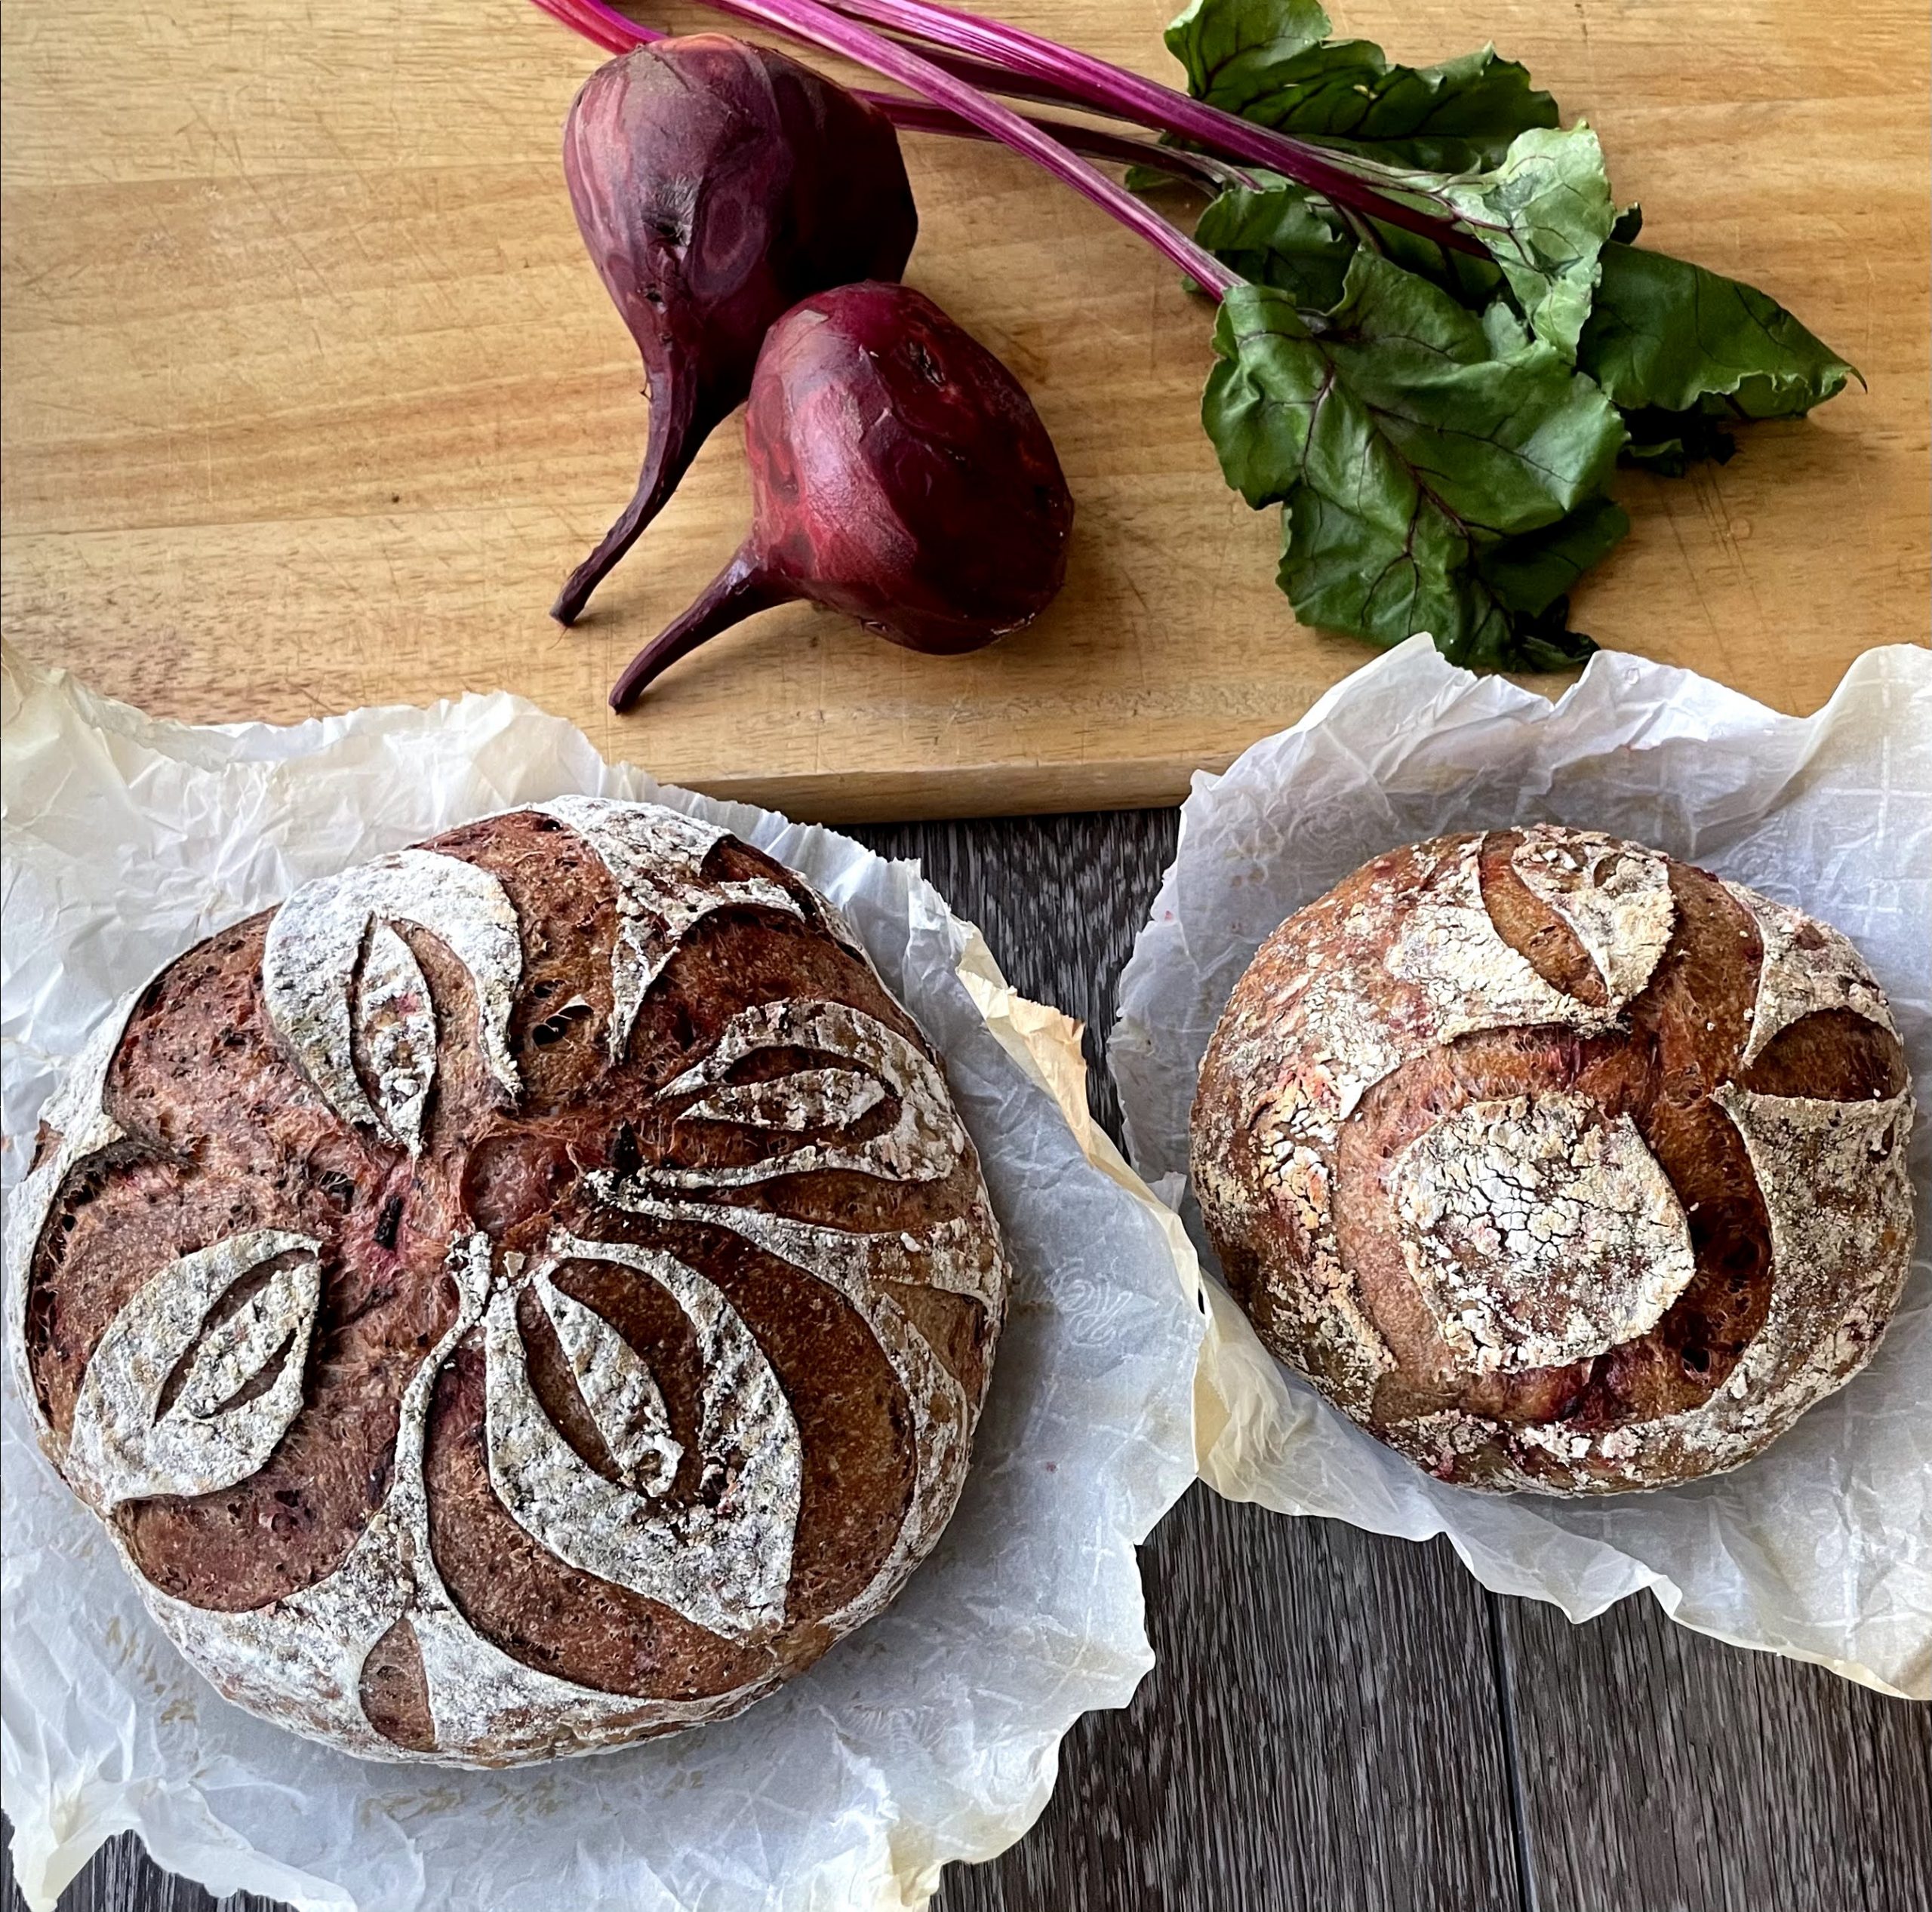
I have recently become reobsessed with beets because of their health benefits. I enjoy beet soup, roasted beets and beet and burrata salad. A few months ago, I decided I needed to make a beet sourdough bread. The very first attempt tasted fine, but I wanted to improve the color and texture while keeping the strong beet taste. Beets have a considerable amount of liquid so I added chia seeds to the dough to regulate the mositure level. This allowed me to maximize the amount of beet juice used in the recipe without having the dough becoming dense and heavy.
I also wanted to keep the beets bright red rather than completely oxidizing and darkening. By tweaking the technique, I was able to get a brighter bread that tastes like roasted beets.
Tips for making beet chia sourdough bread.
Beets.
Raw beets are used. I estimate two medium sized beets per 500g of dough. I have found that the moisture levels of beets vary drastically depending on the beets' freshness. Beets without stems may be months old and have less moisture than beets that have their leaves attached. It is preferable to buy beets with the leaves attached, because the leaves will be a good indication whether the beets are fresh or not.
When purchasing beets with the leaves, do not discard the leaves. They make a great soup or a sauteed side dish.
Beet juice.
To maximize the nutrition of the beet bread, I use the entire beet. However, it is difficult to know how much moisture is in the beet. By shredding the beets and extracting most of the juice with salt, you will be able to better control the moisture level of the bread.
Once the beets are shredded, place the shredded beets in a sieve over a bowl. Sprinkle crushed Vitamin C and salt onto the beets. The salt will extract the juice from the beets. Using your hands, squeeze the beets to get as much of the beet juice out of the shredded beets.
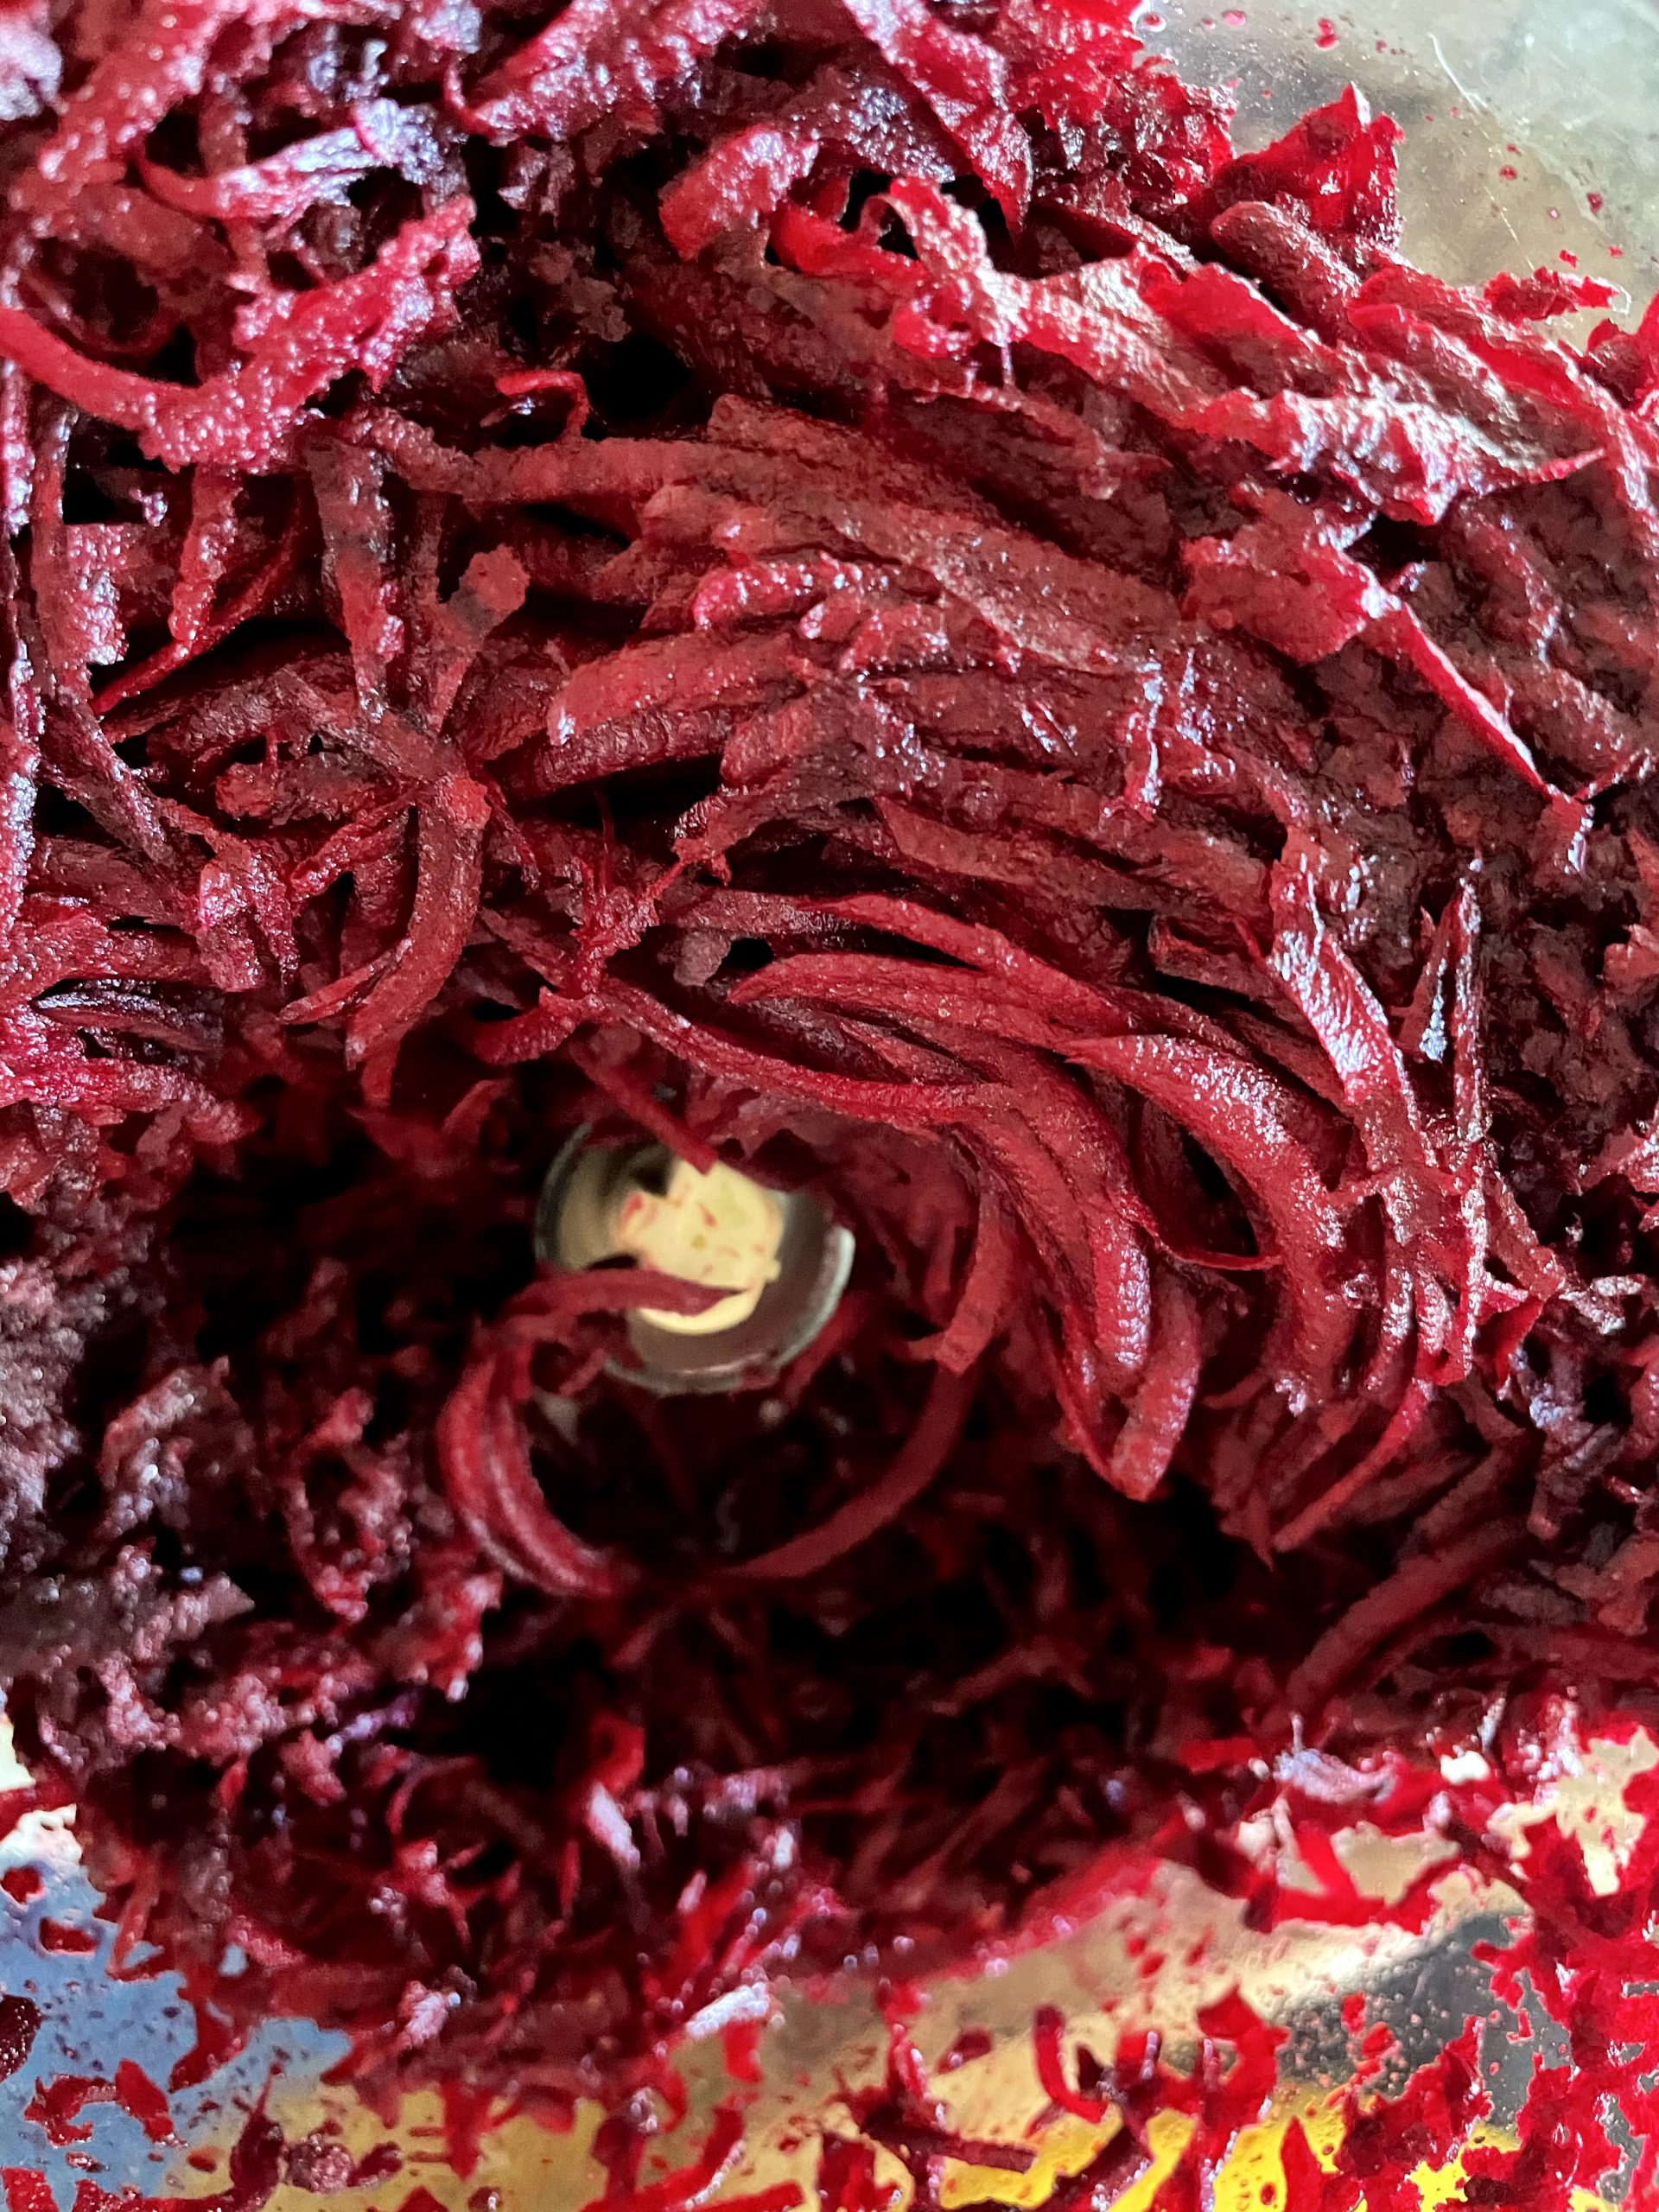
Use a grater or food processor to shred the beets. Hand dice some beets as inclusions.
Keeping the beets bright.
To maximize the brightness of the beets:
- Use only white bread flour to enhance the color contrast.
- Mix the shredded beets with 1000mg of crushed Vitamin C. Vitamin C is a form of ascorbic acid that retards oxidations.
- Dice a quarter of the beet quantity, creating larger pieces, and add them to the dough at the end as inclusions. This helps add pops of color.
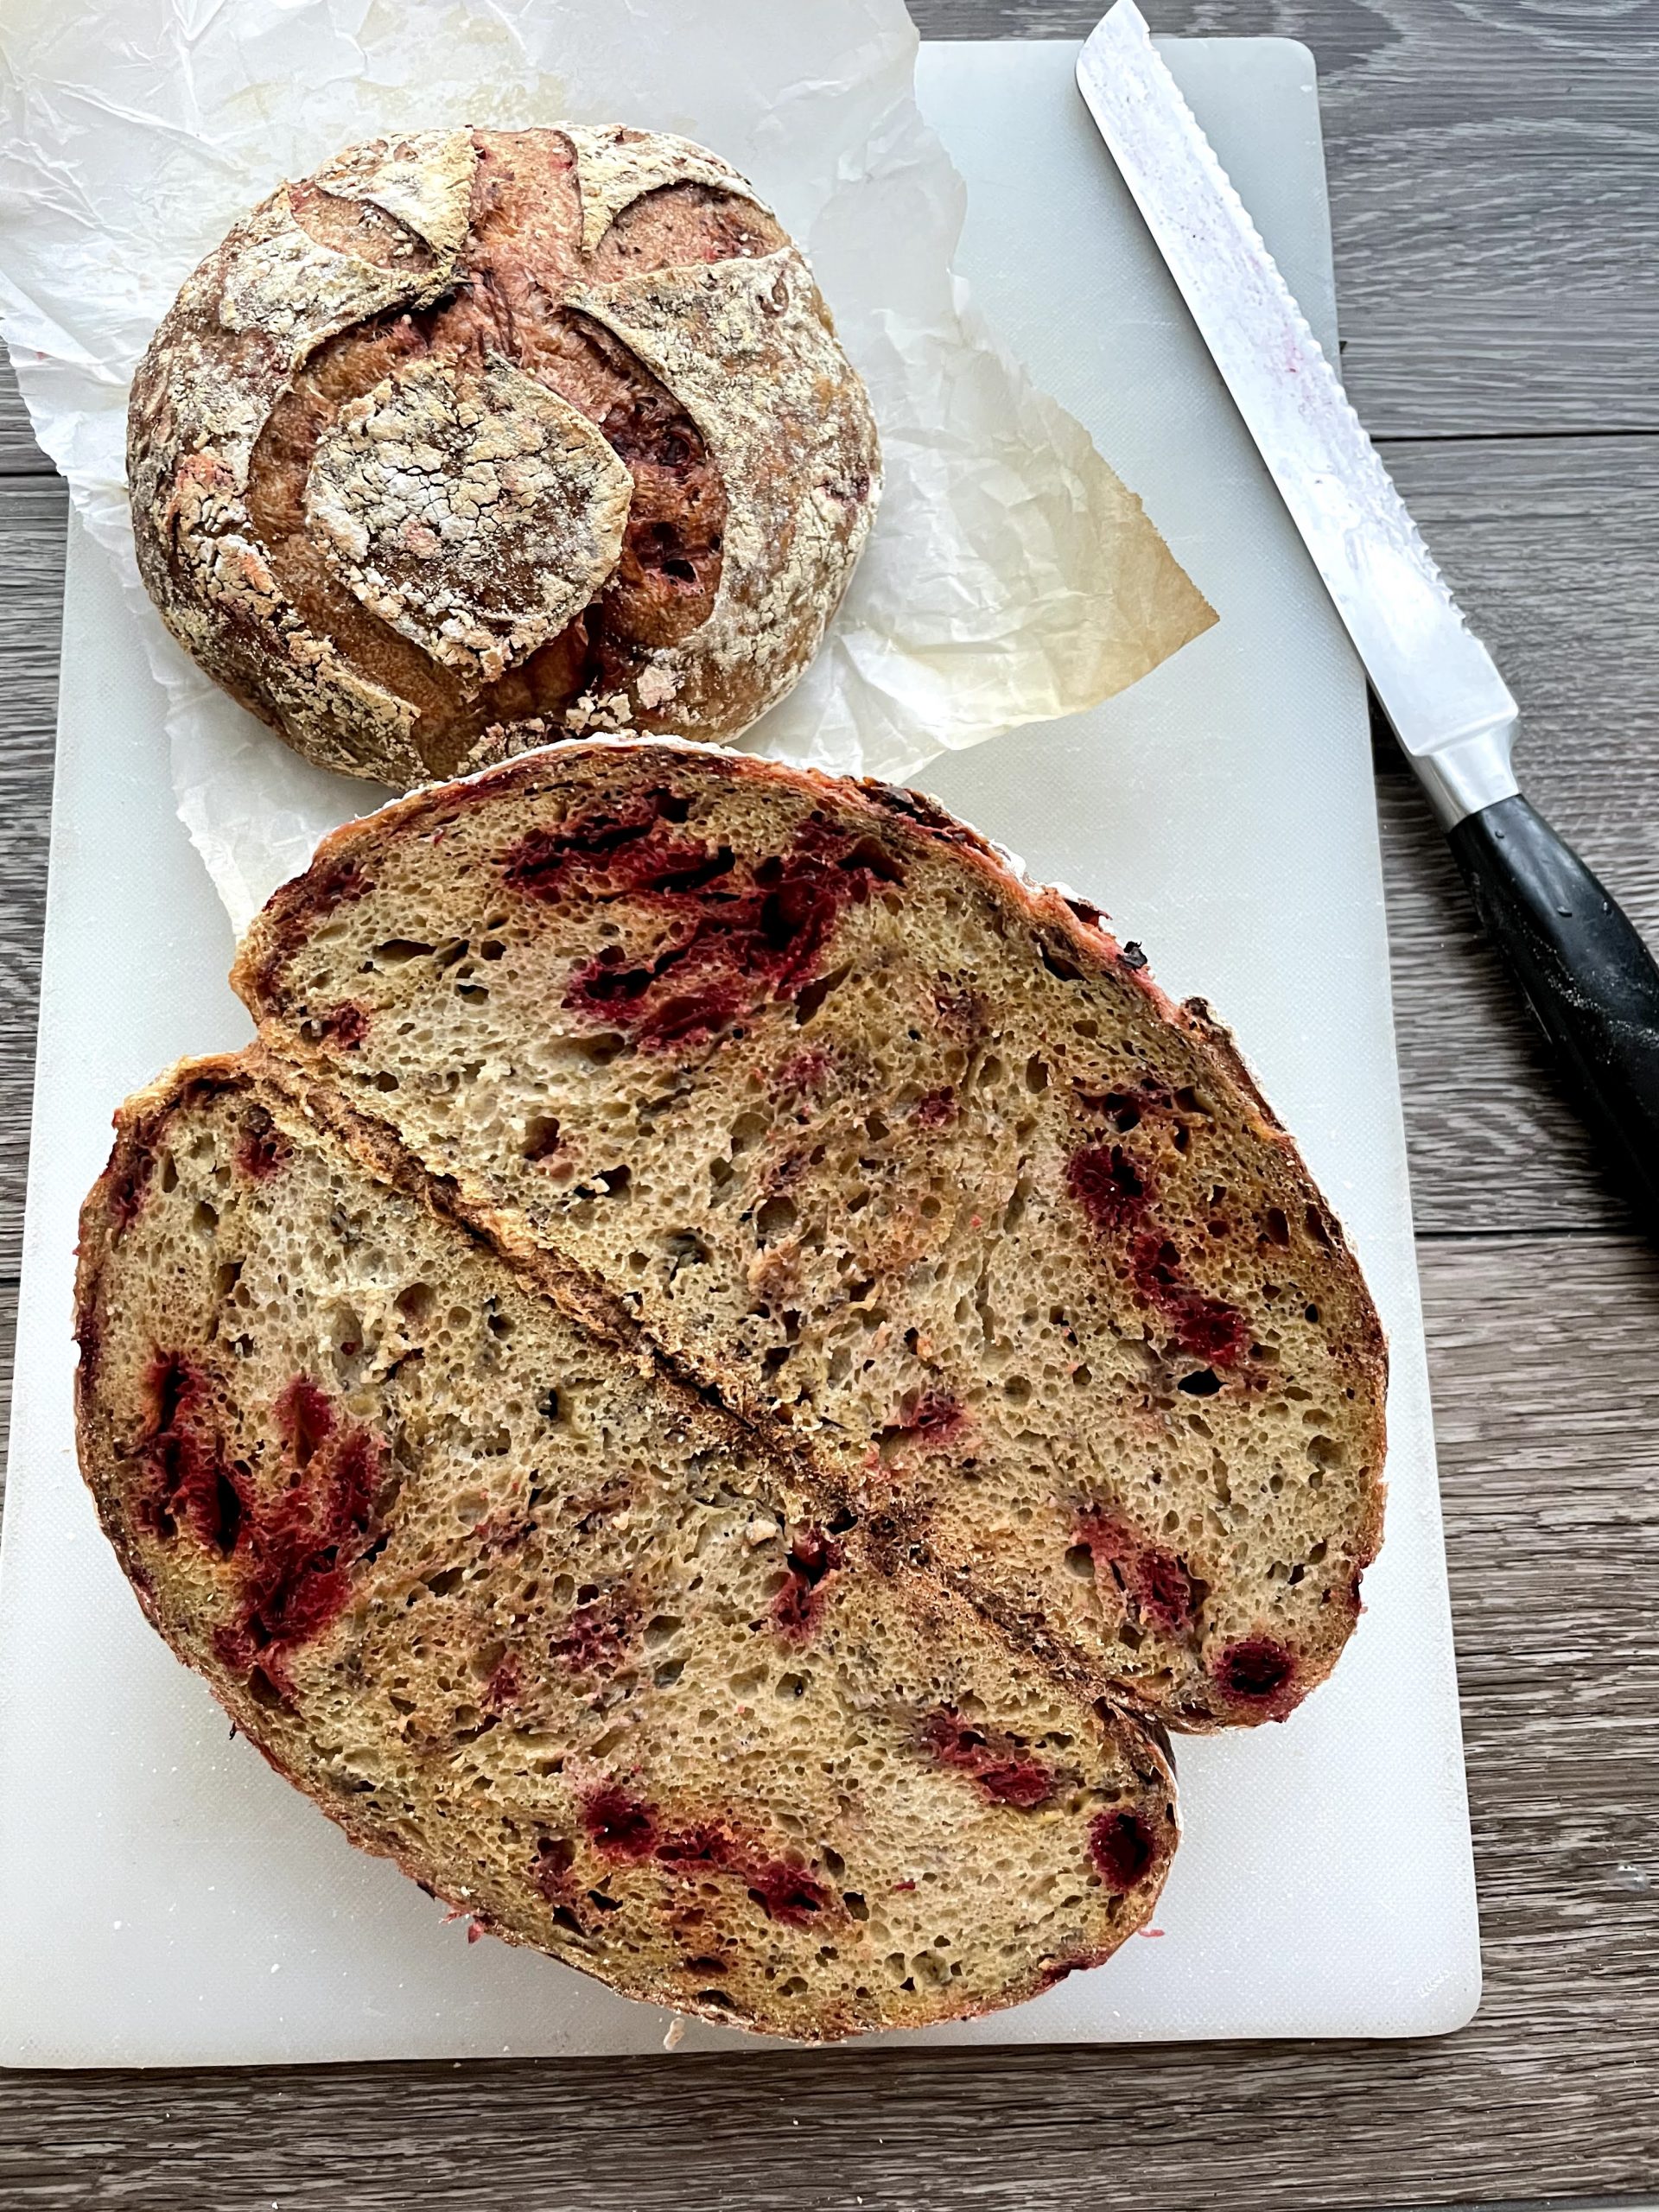
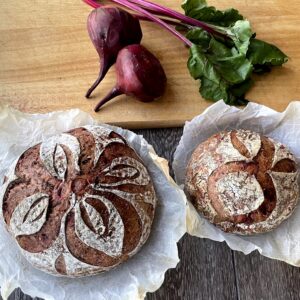
Beet chia sourdough bread (with part whole wheat flour) showing pops of color from larger beet pieces.
Chia seed.
Chia seed is the healthy panacea for dealing with wet ingredients in sourdough. Once all the juice has been extracted from the beets, weigh the amount of beet juice extracted.
Calculating the amount of chia seed needed:
Divide the juice weight by 4. This is the weight of chia seed that is added to the beet juice. Stir and allow to hydrate overnight.
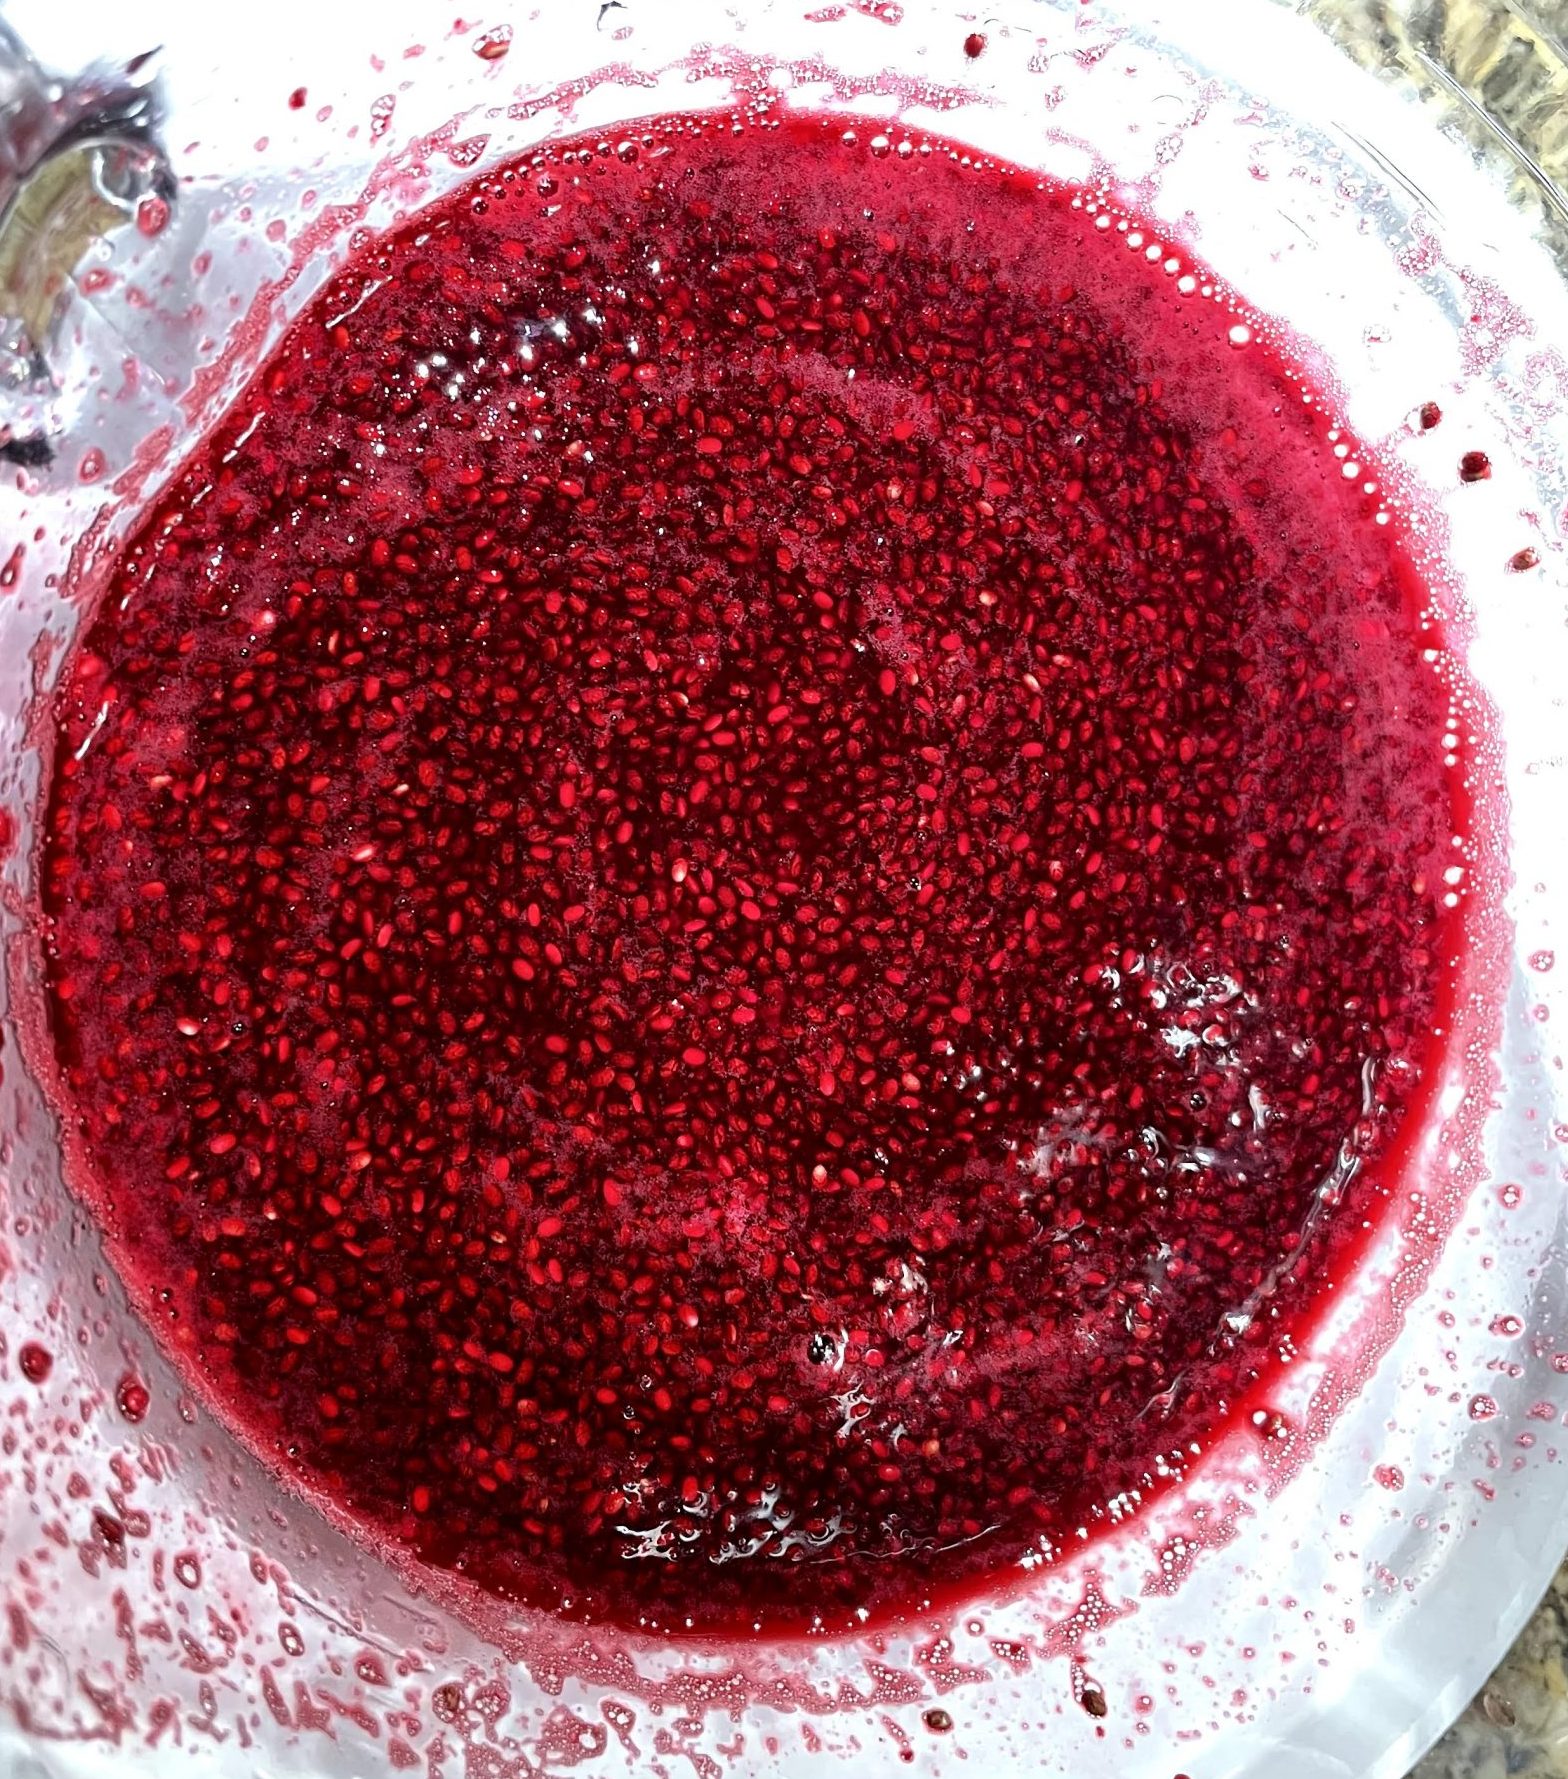
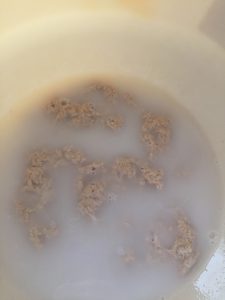
Chia seed mixture at the beginning
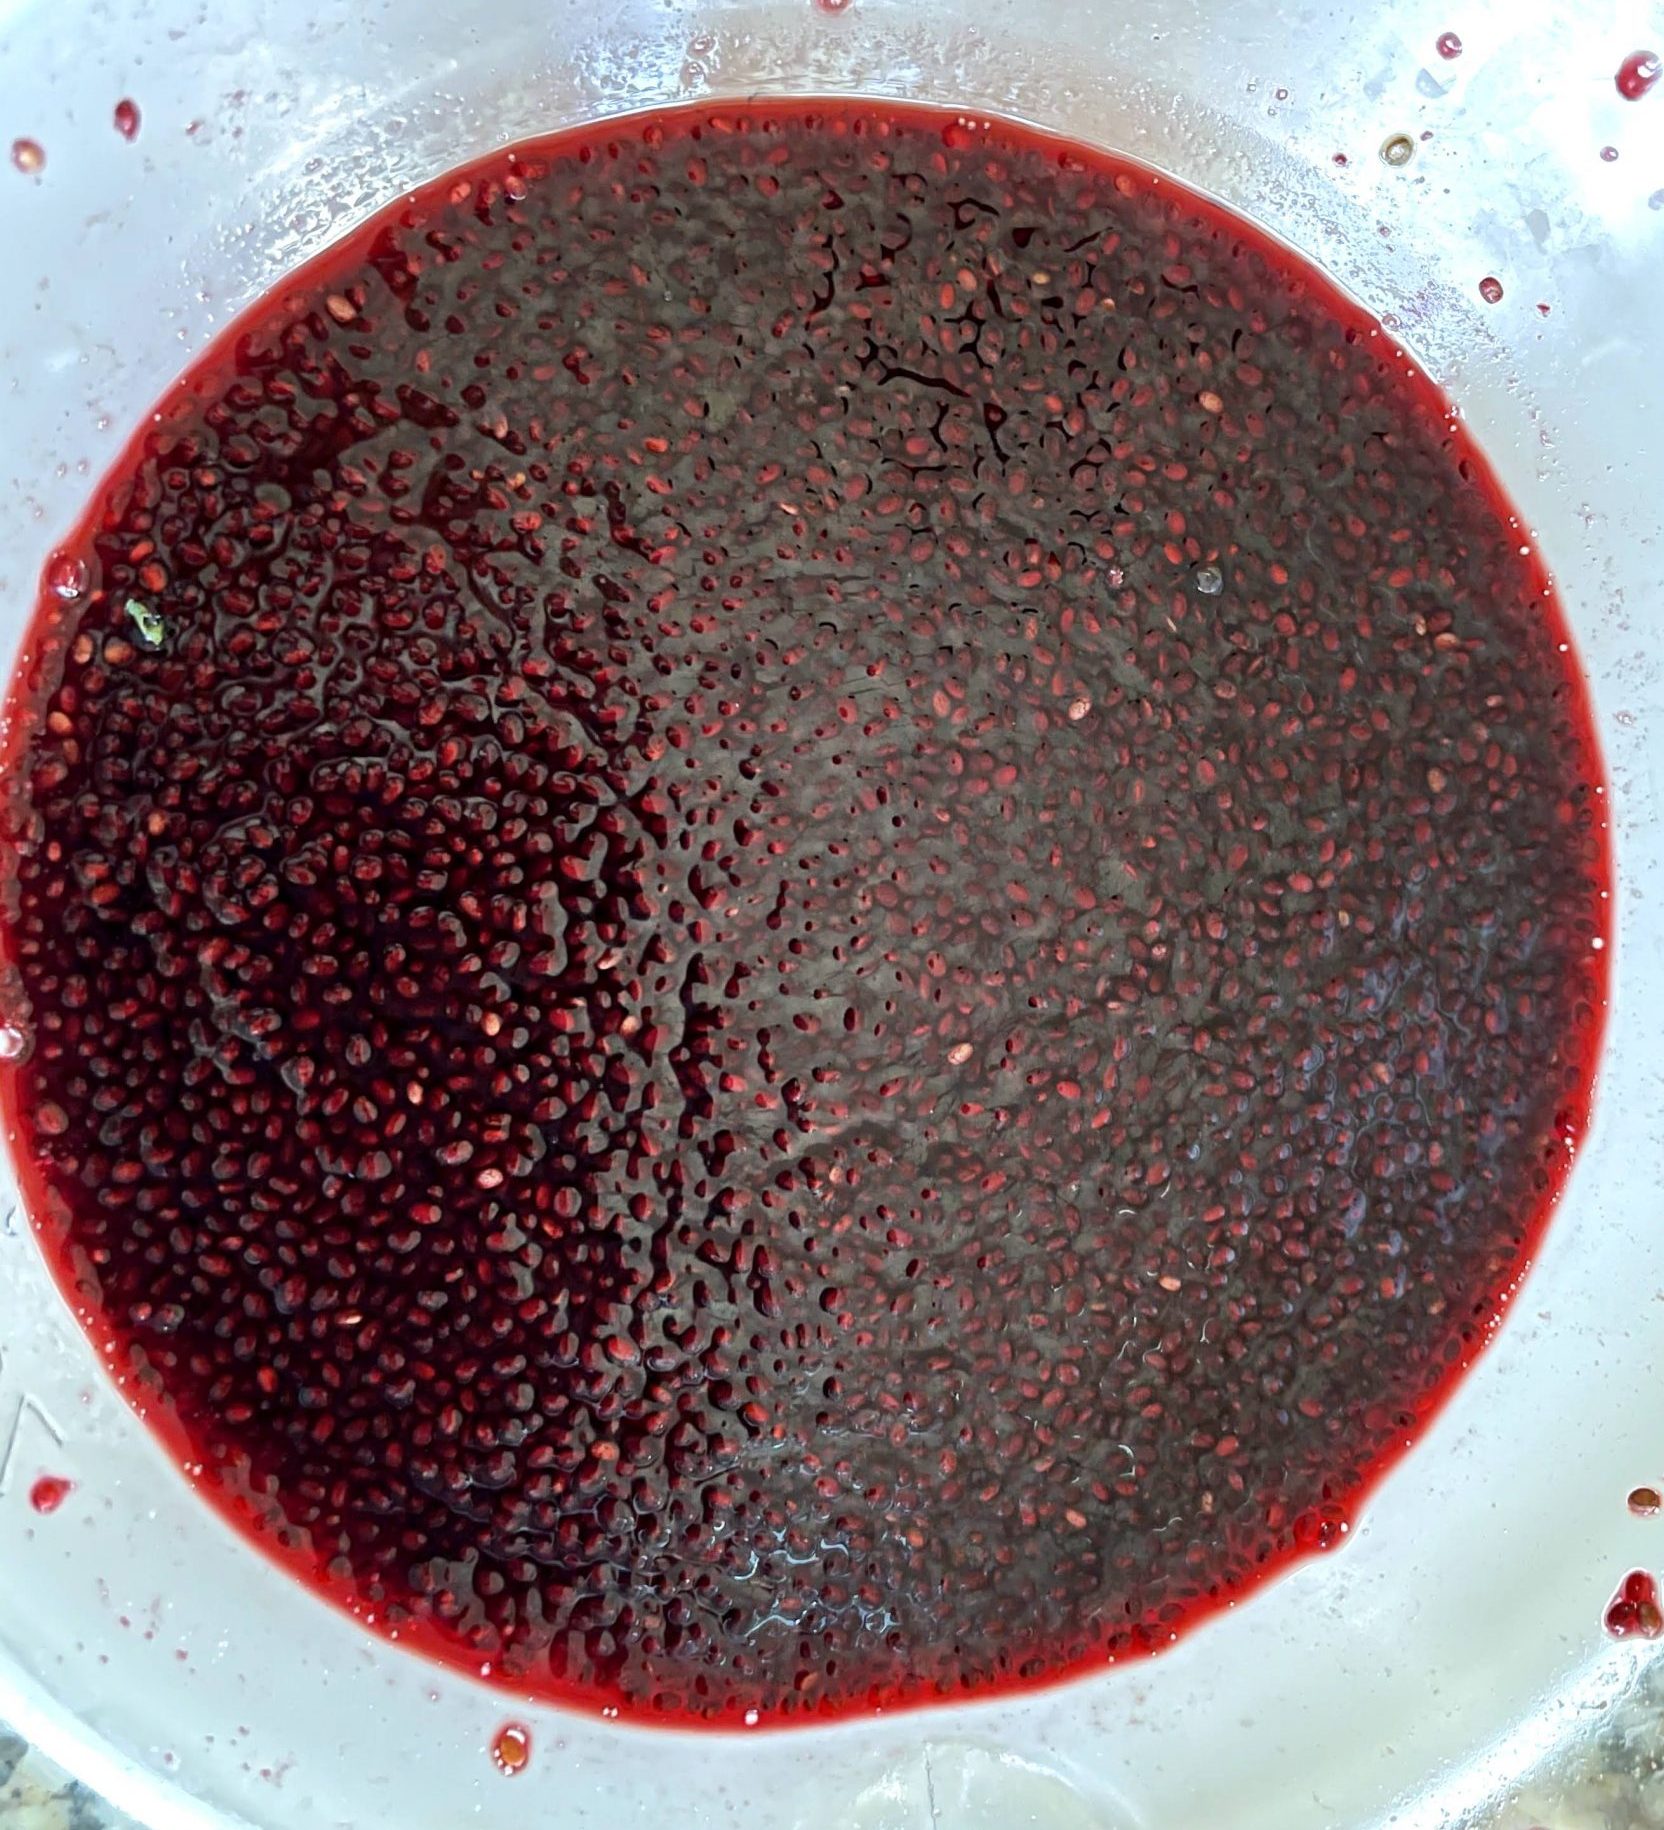
Chia seed mixture after overnight hydration.
Adding the beets and chia seed
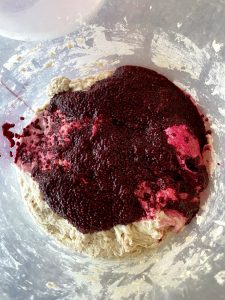
The shredded beets and chia seed are added after the autolyse process.
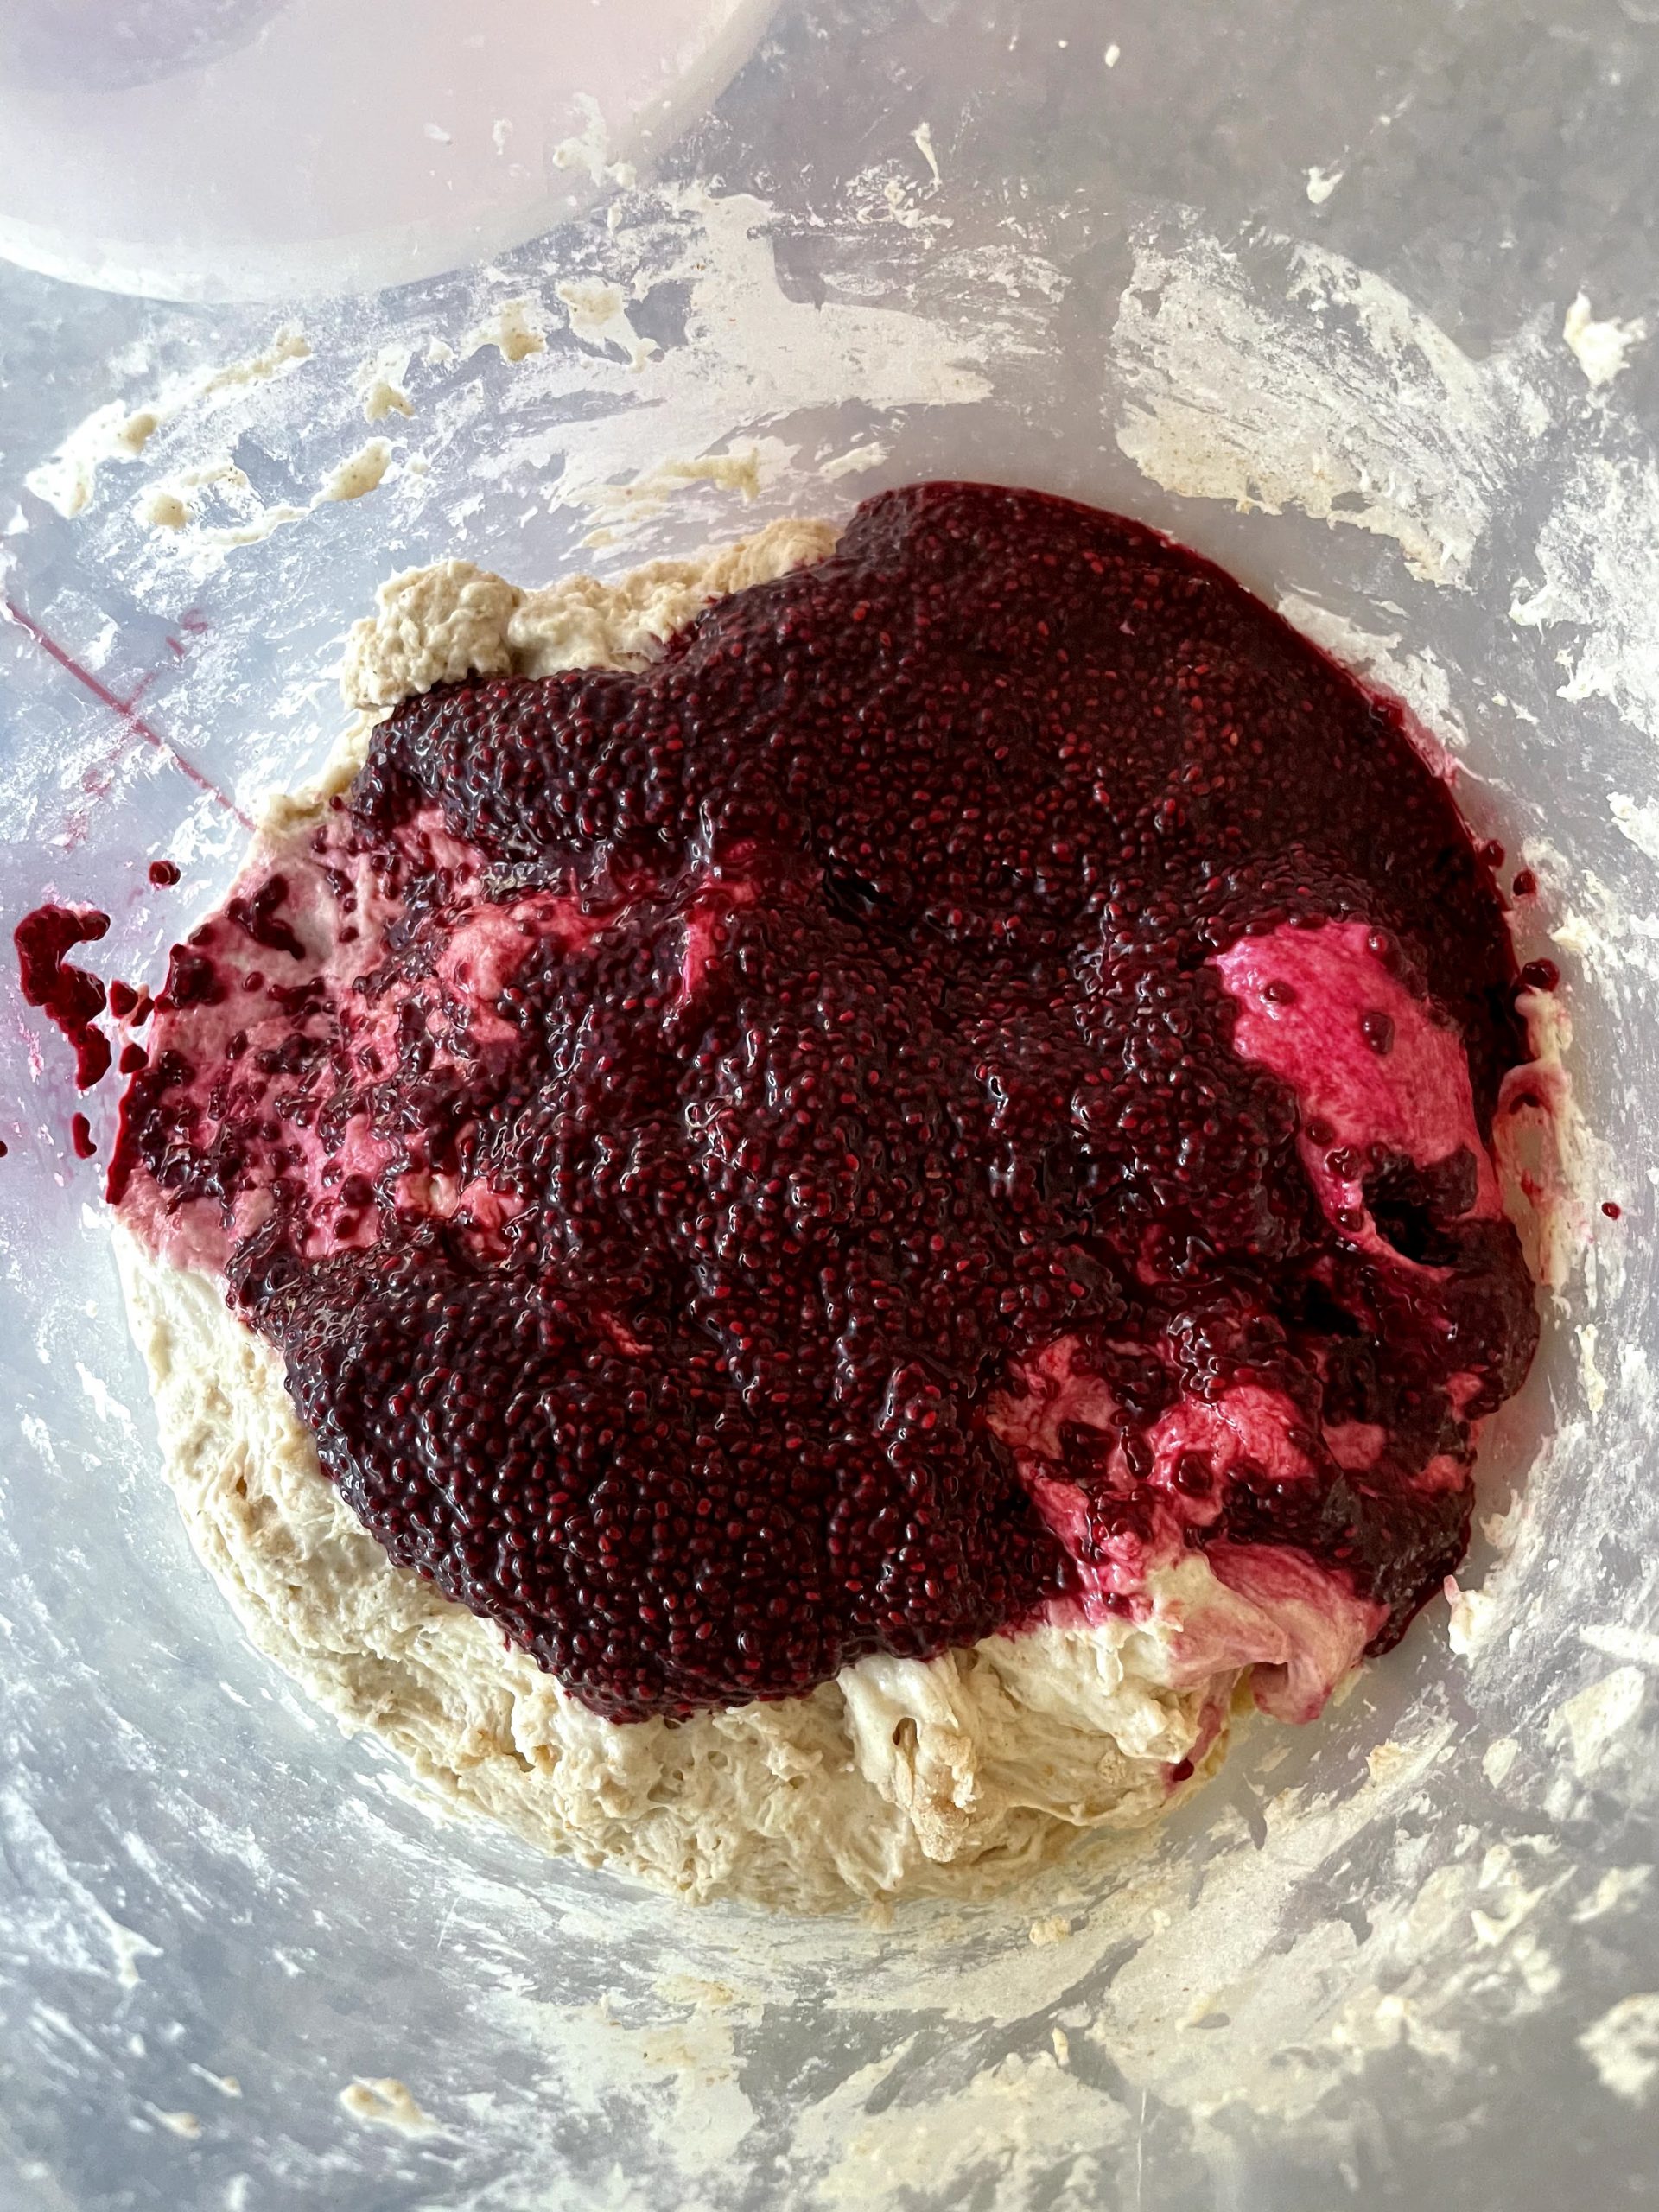
Add the chia seed mixture to the dough after the autolyse process.
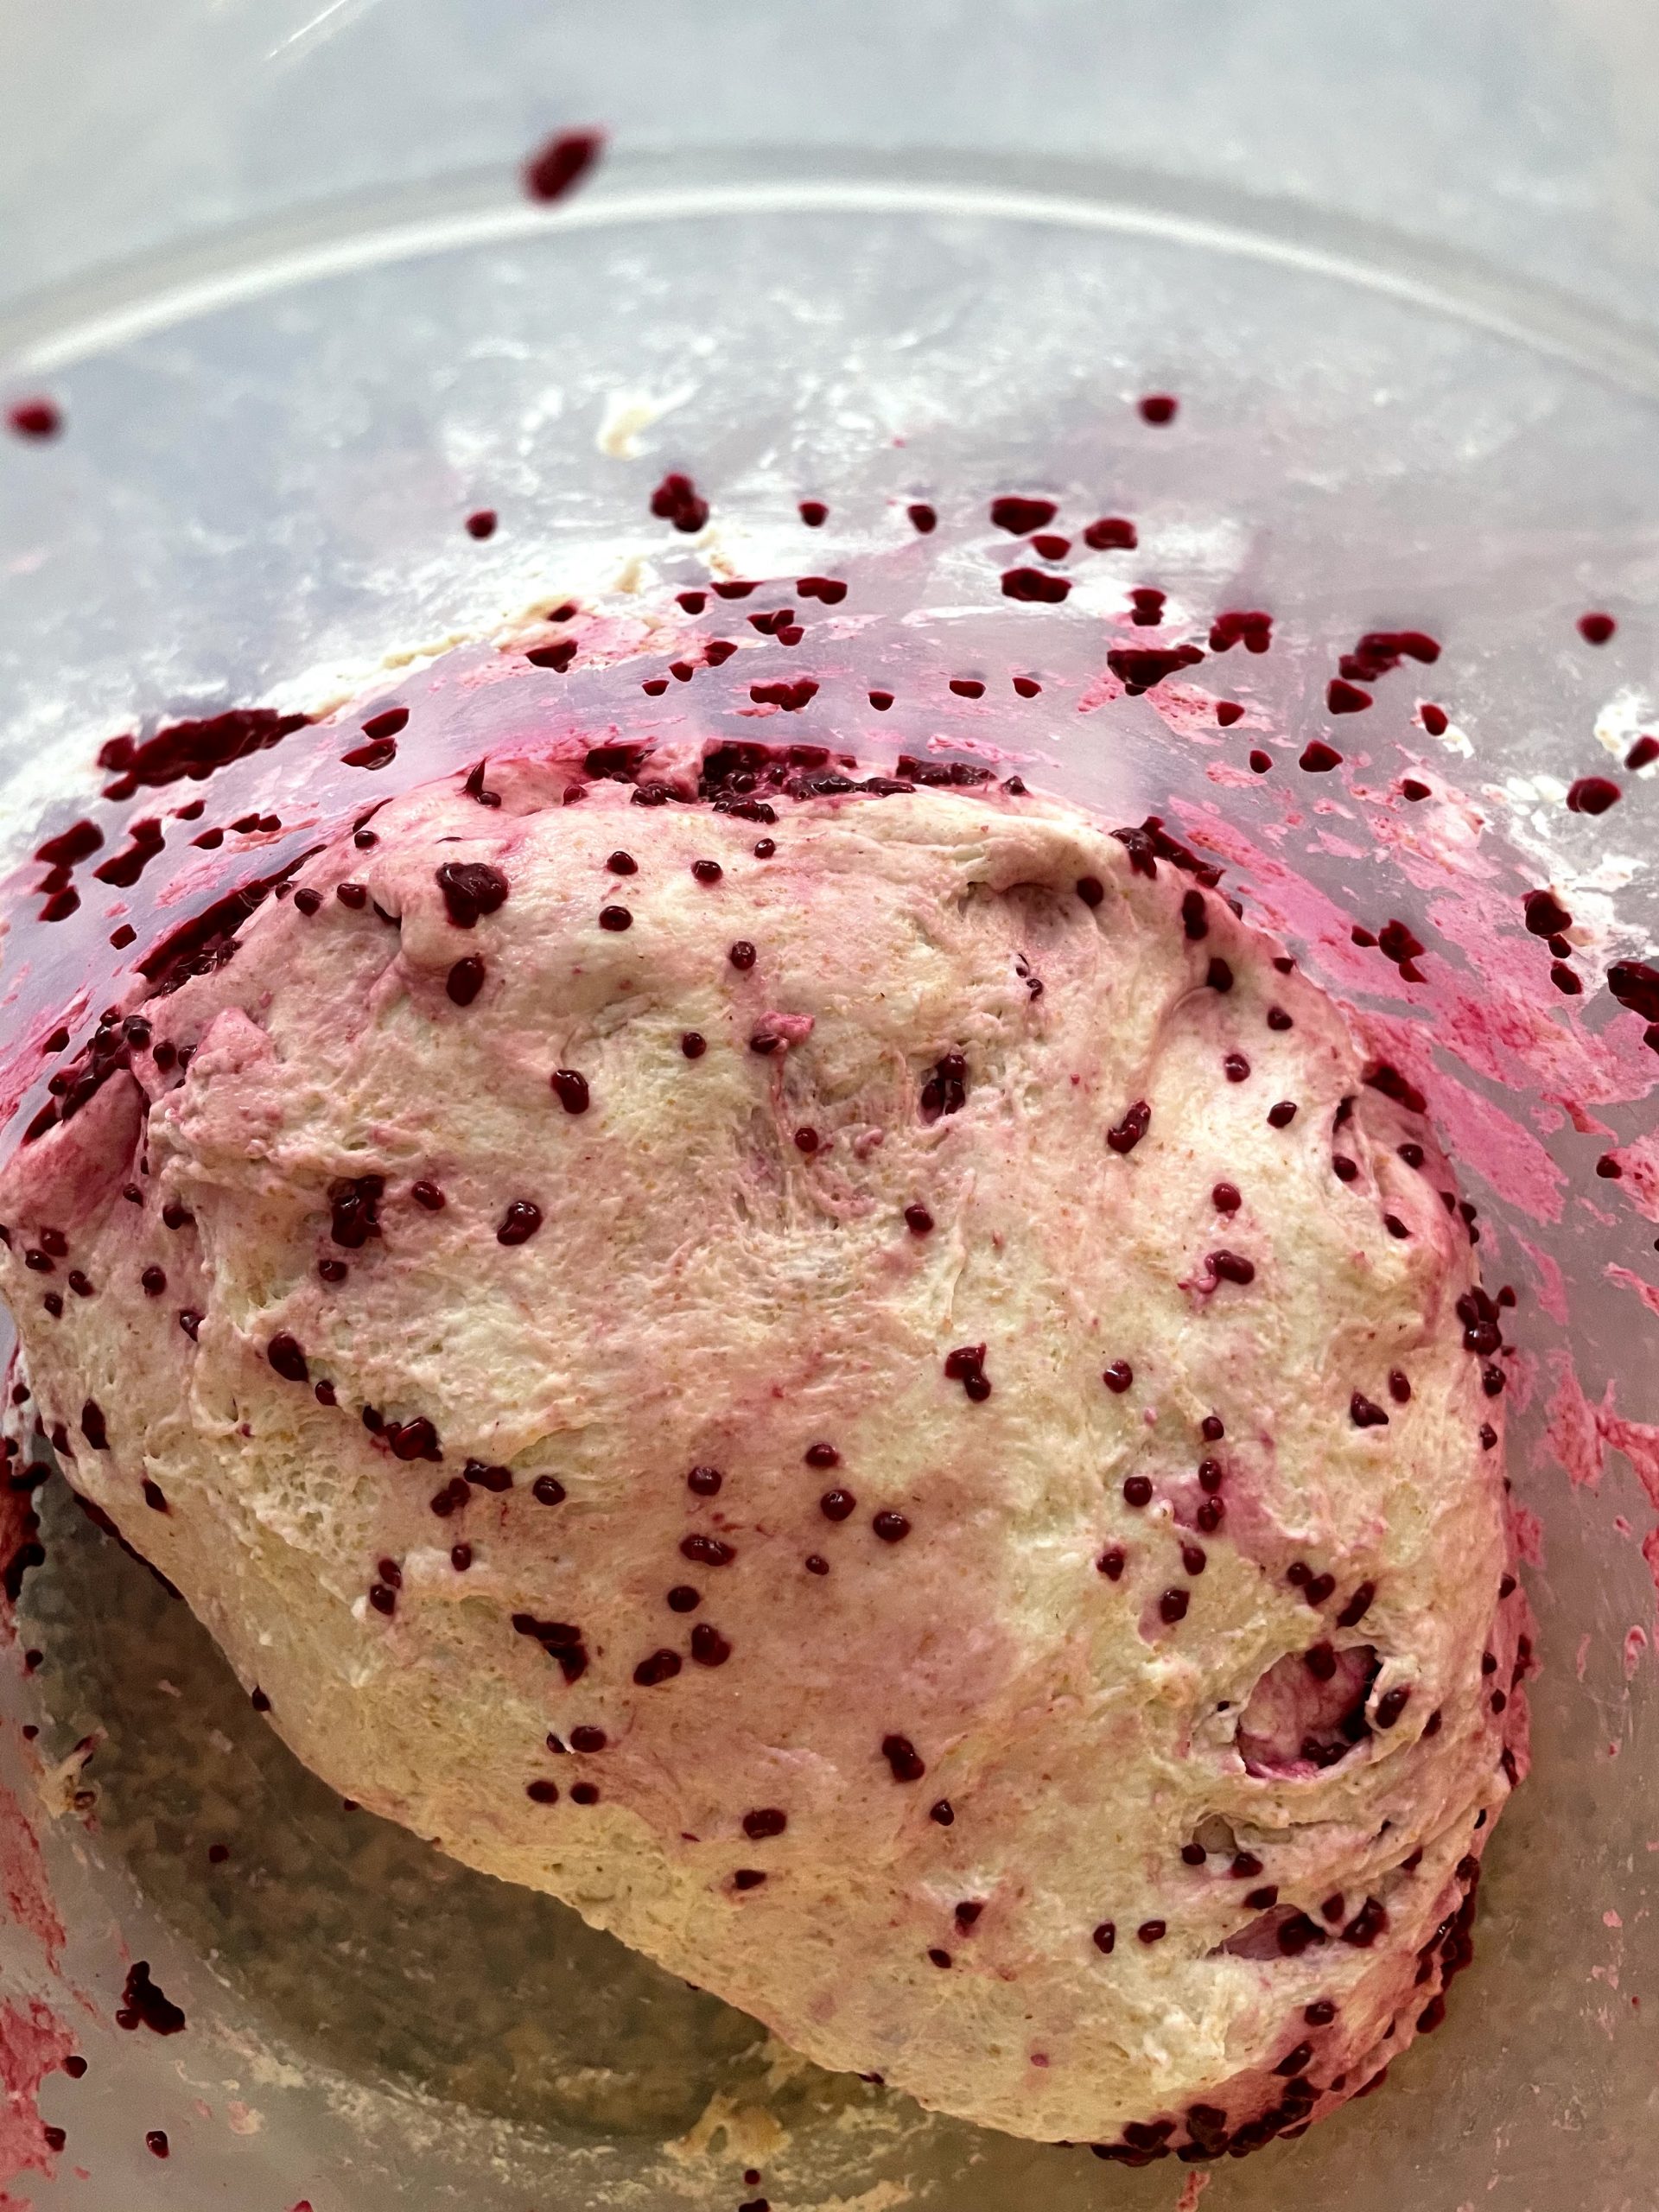
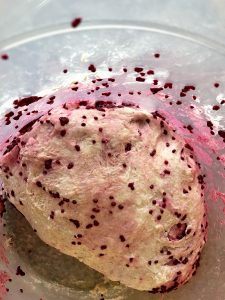
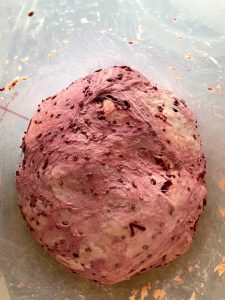
Bulk fermentation using the stretch and fold method.
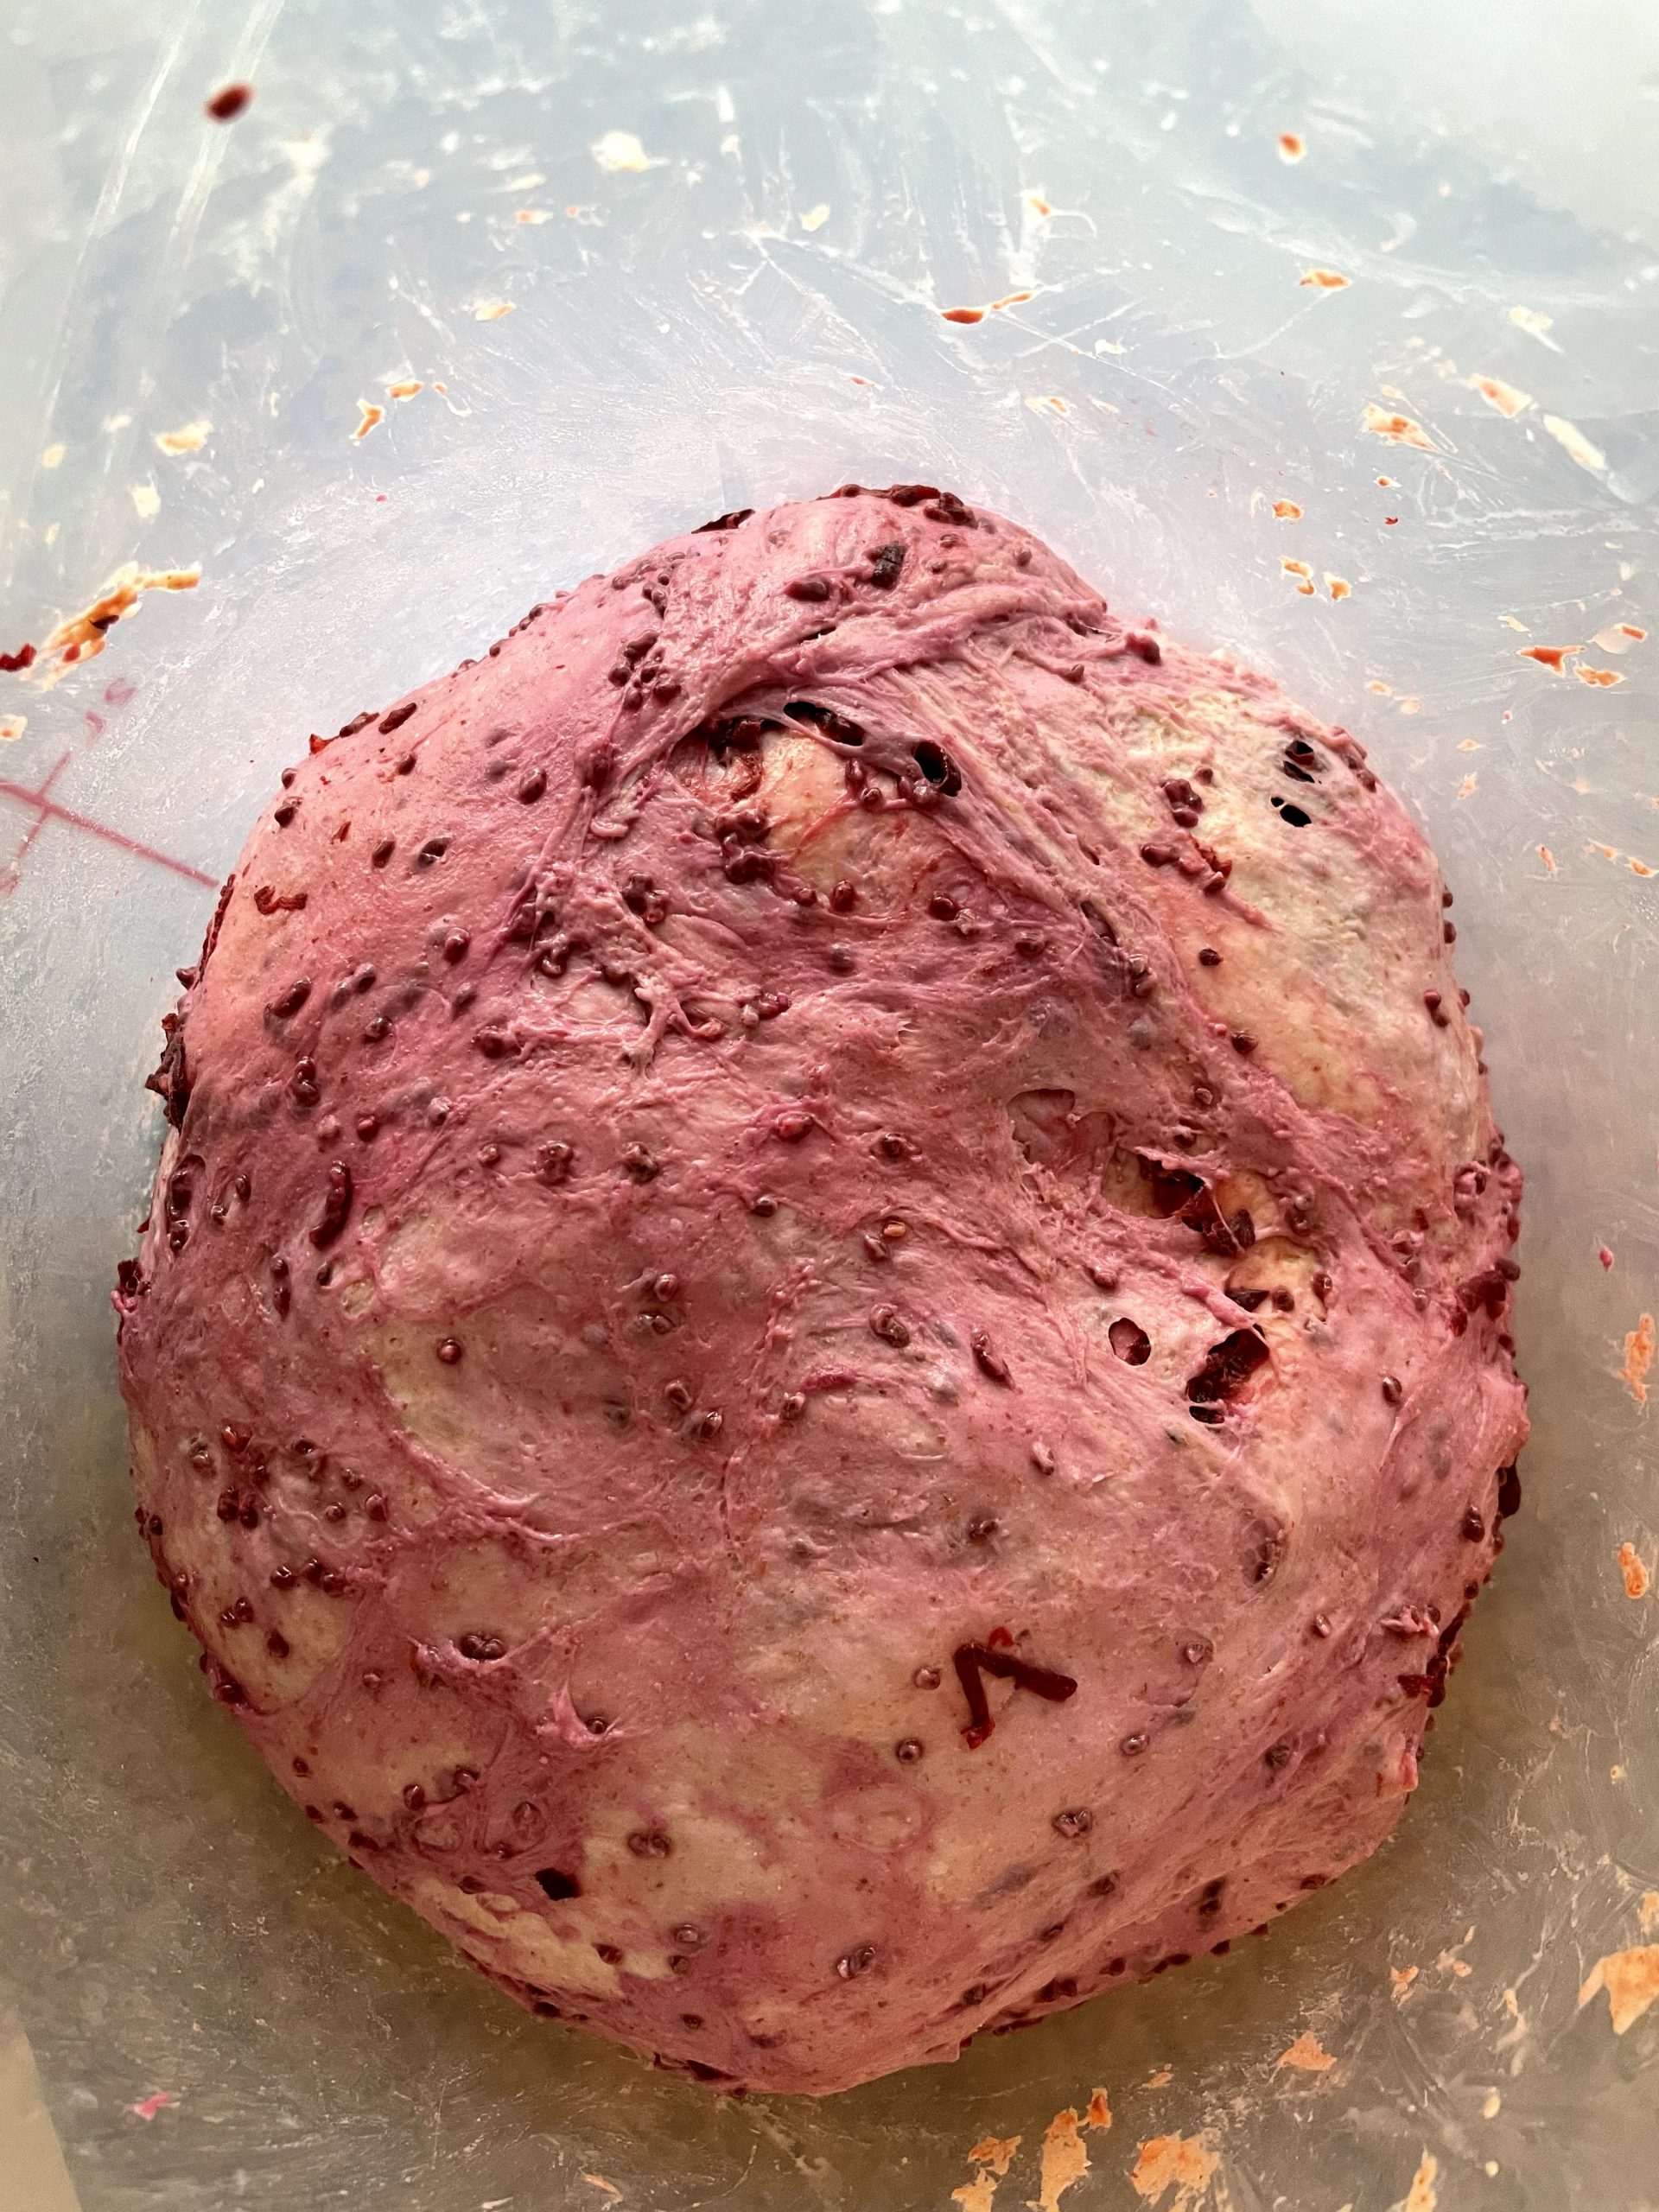
Continued bulk fermentation.
The diced beets are added during shaping as inclusions.
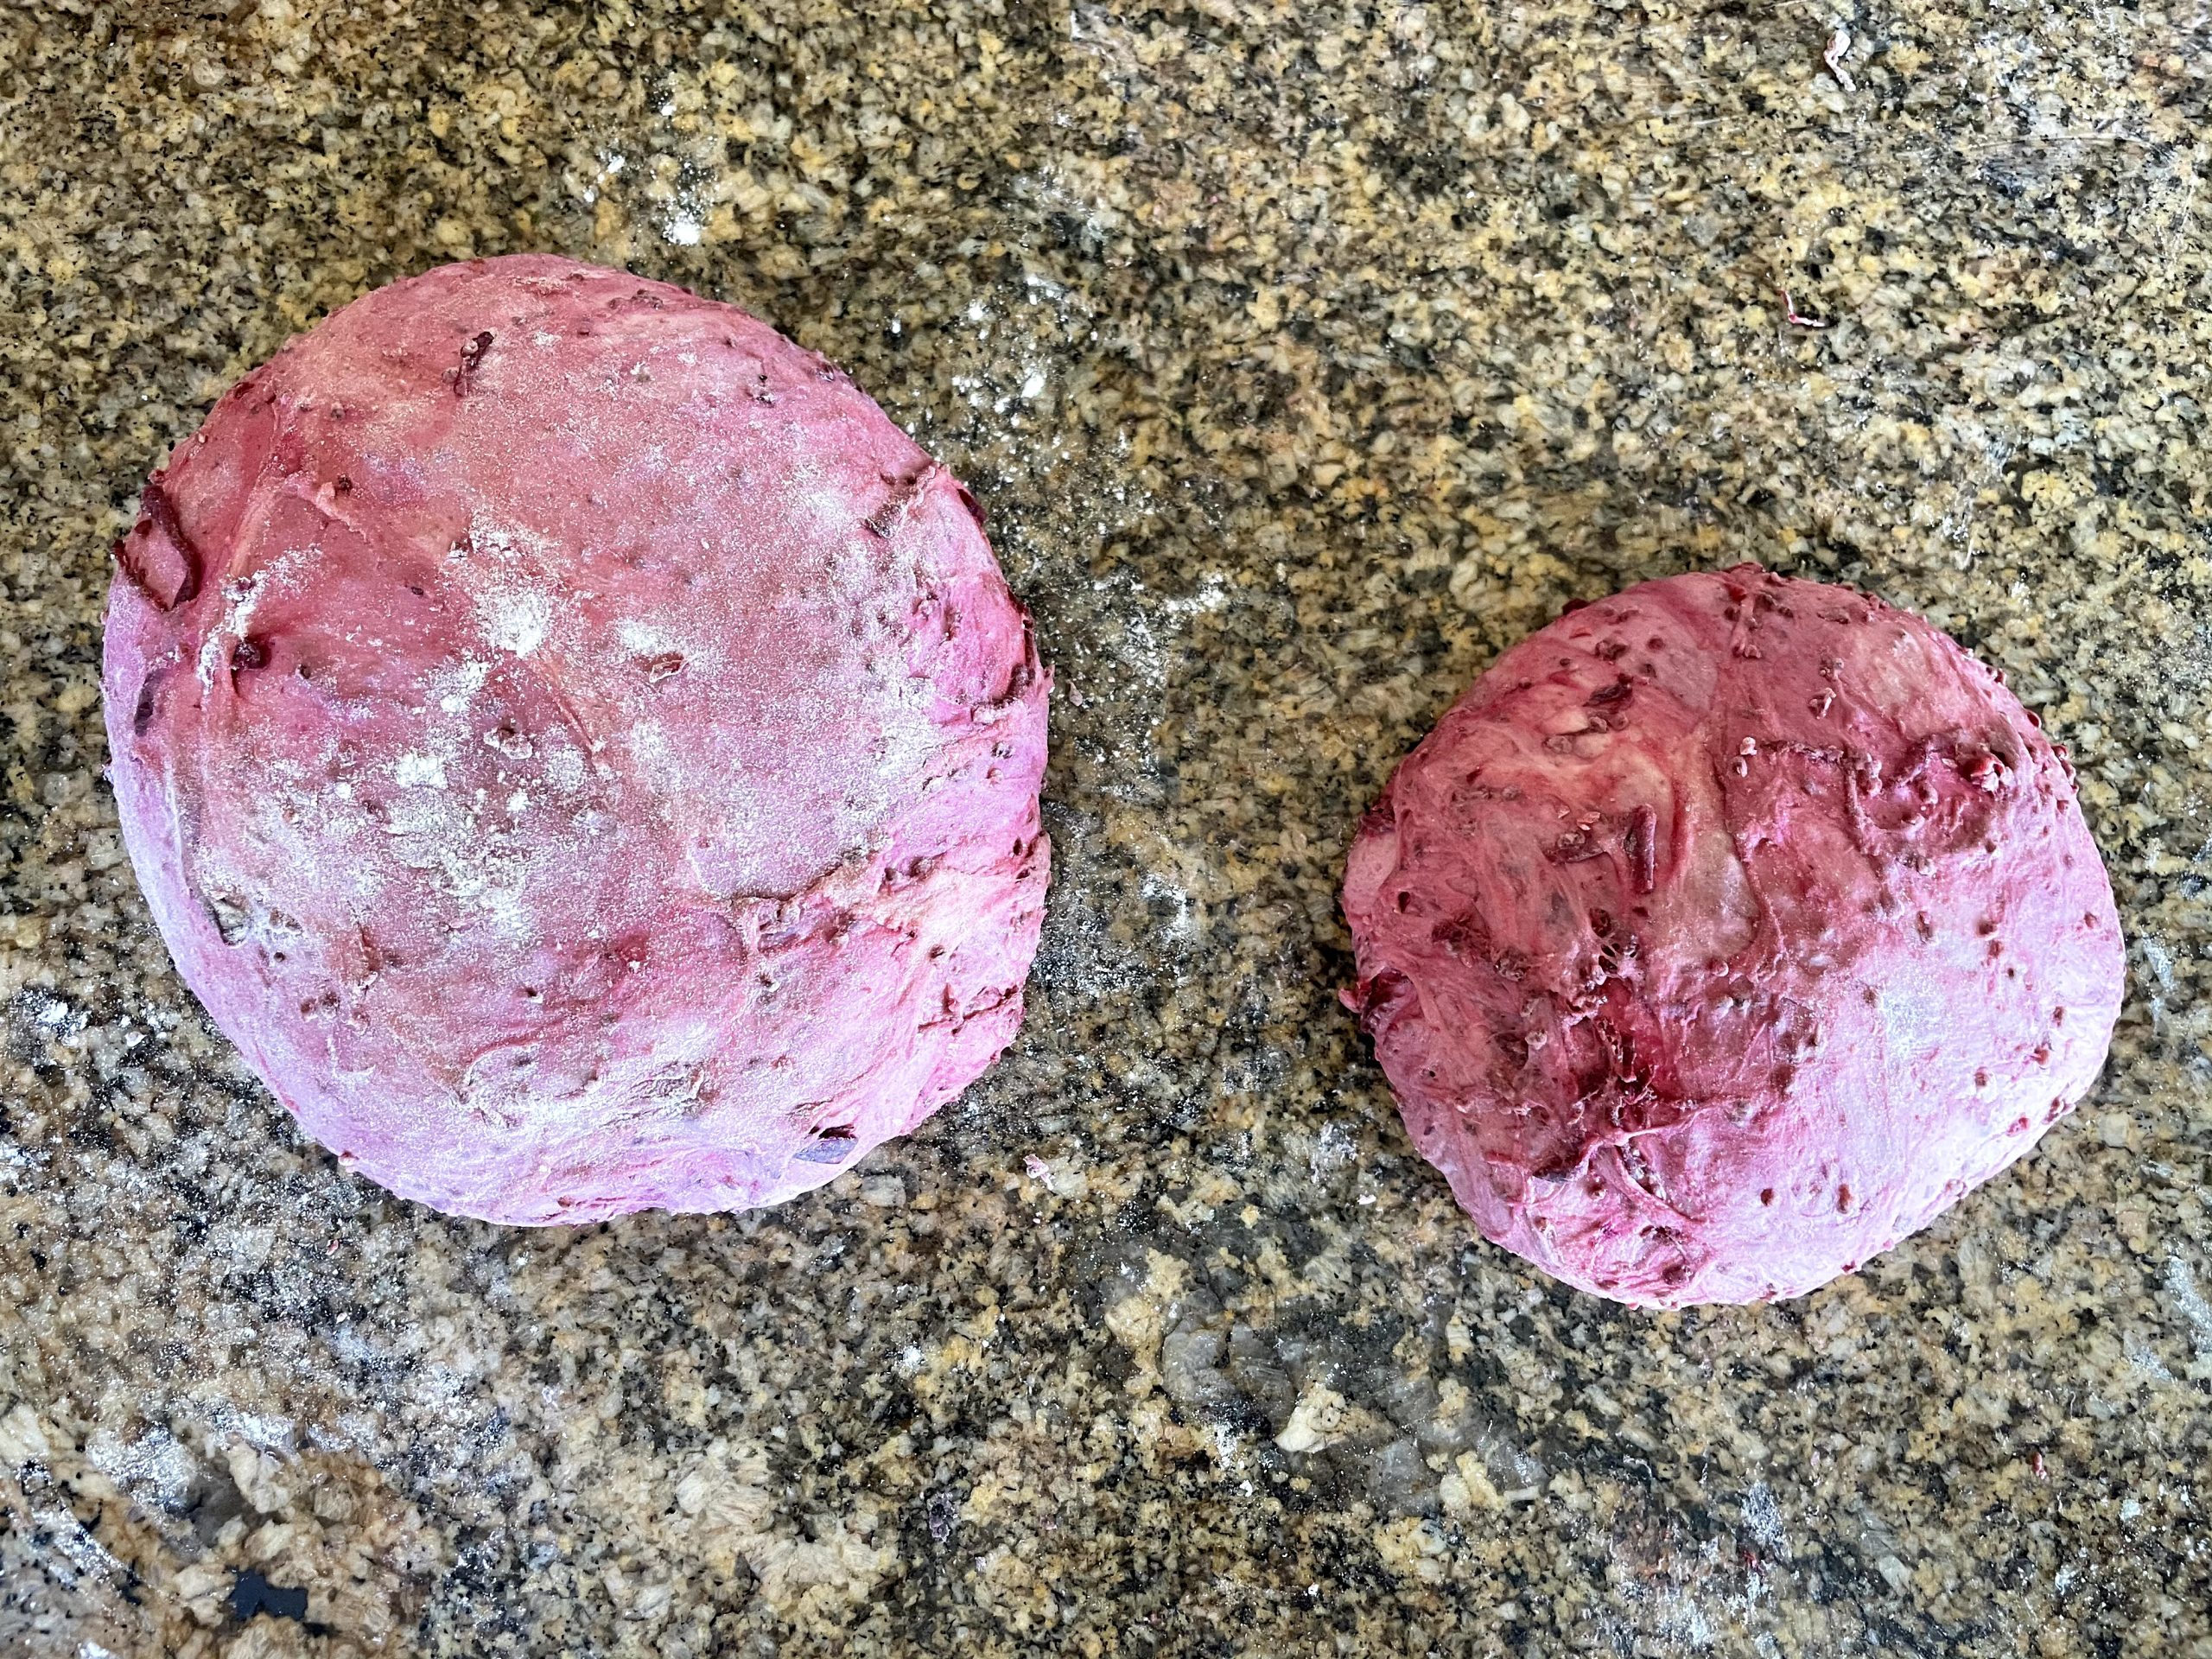
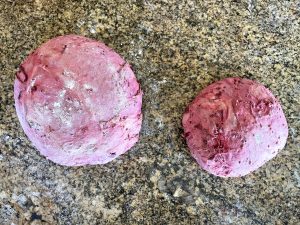
Shaped beet and chia sourdough
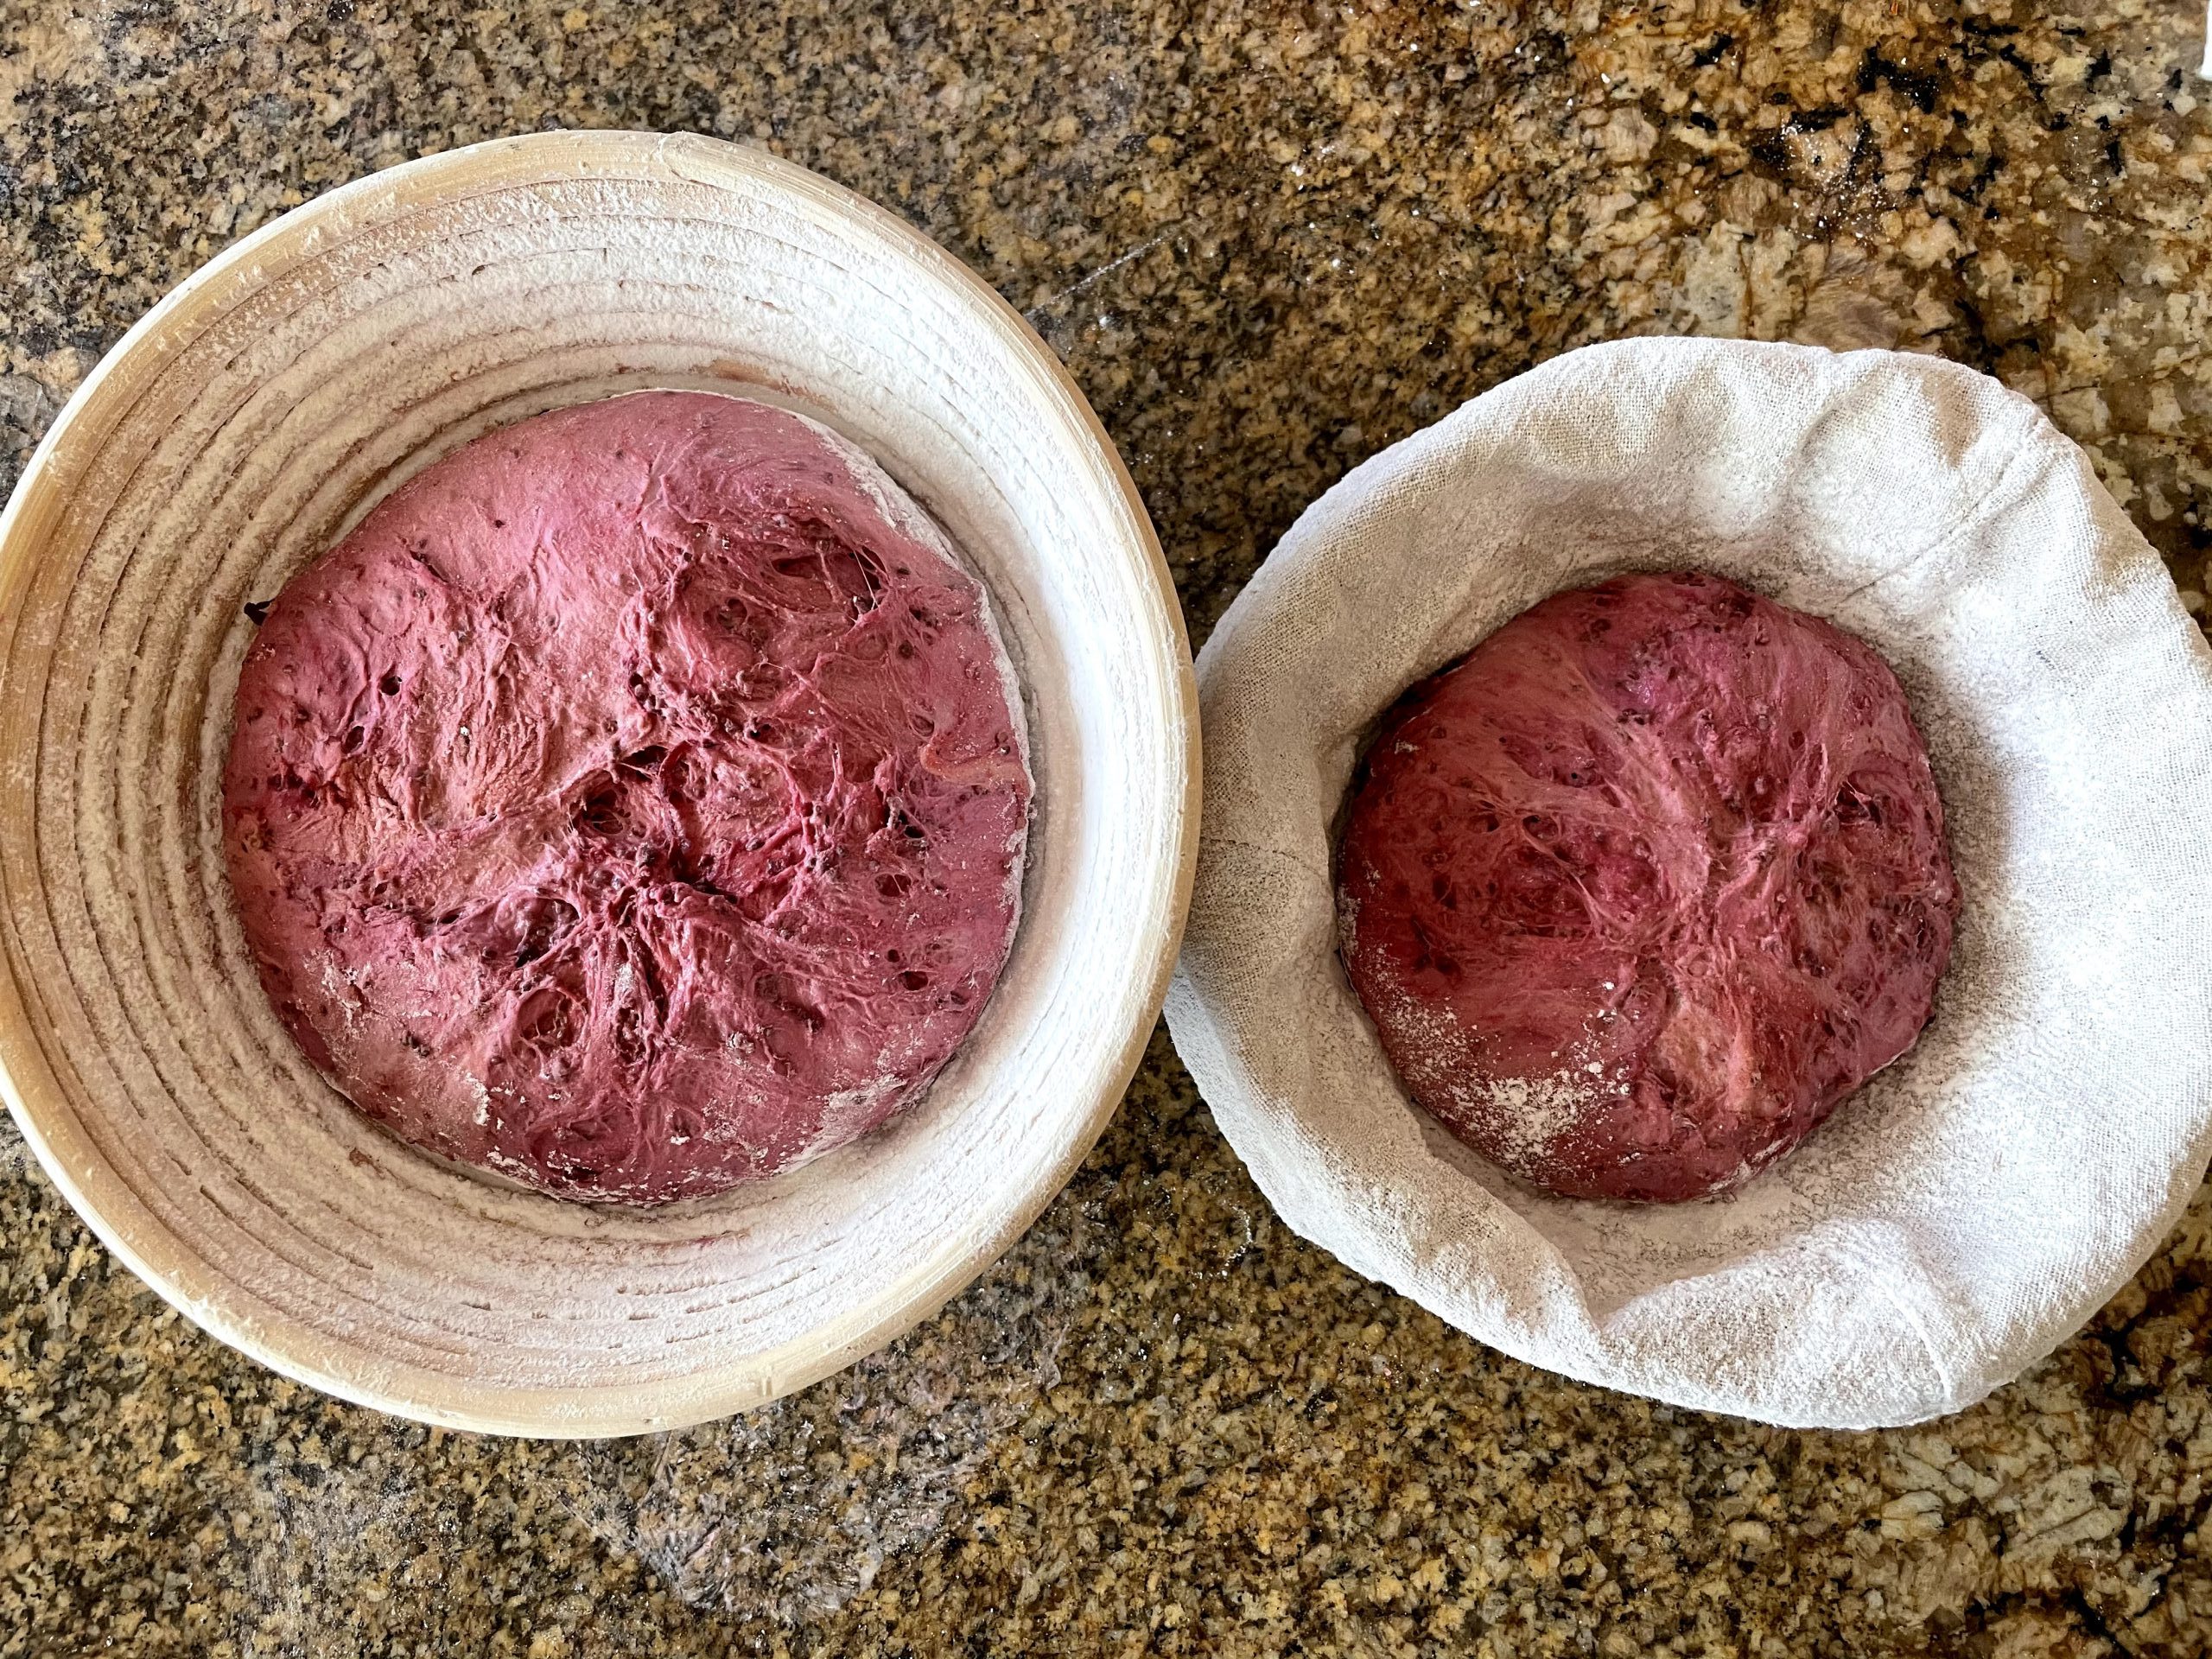
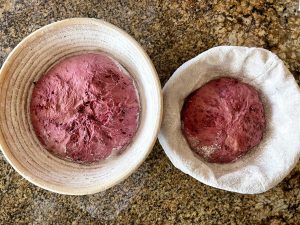
Beet and chia sourdough ready for overnight rise.
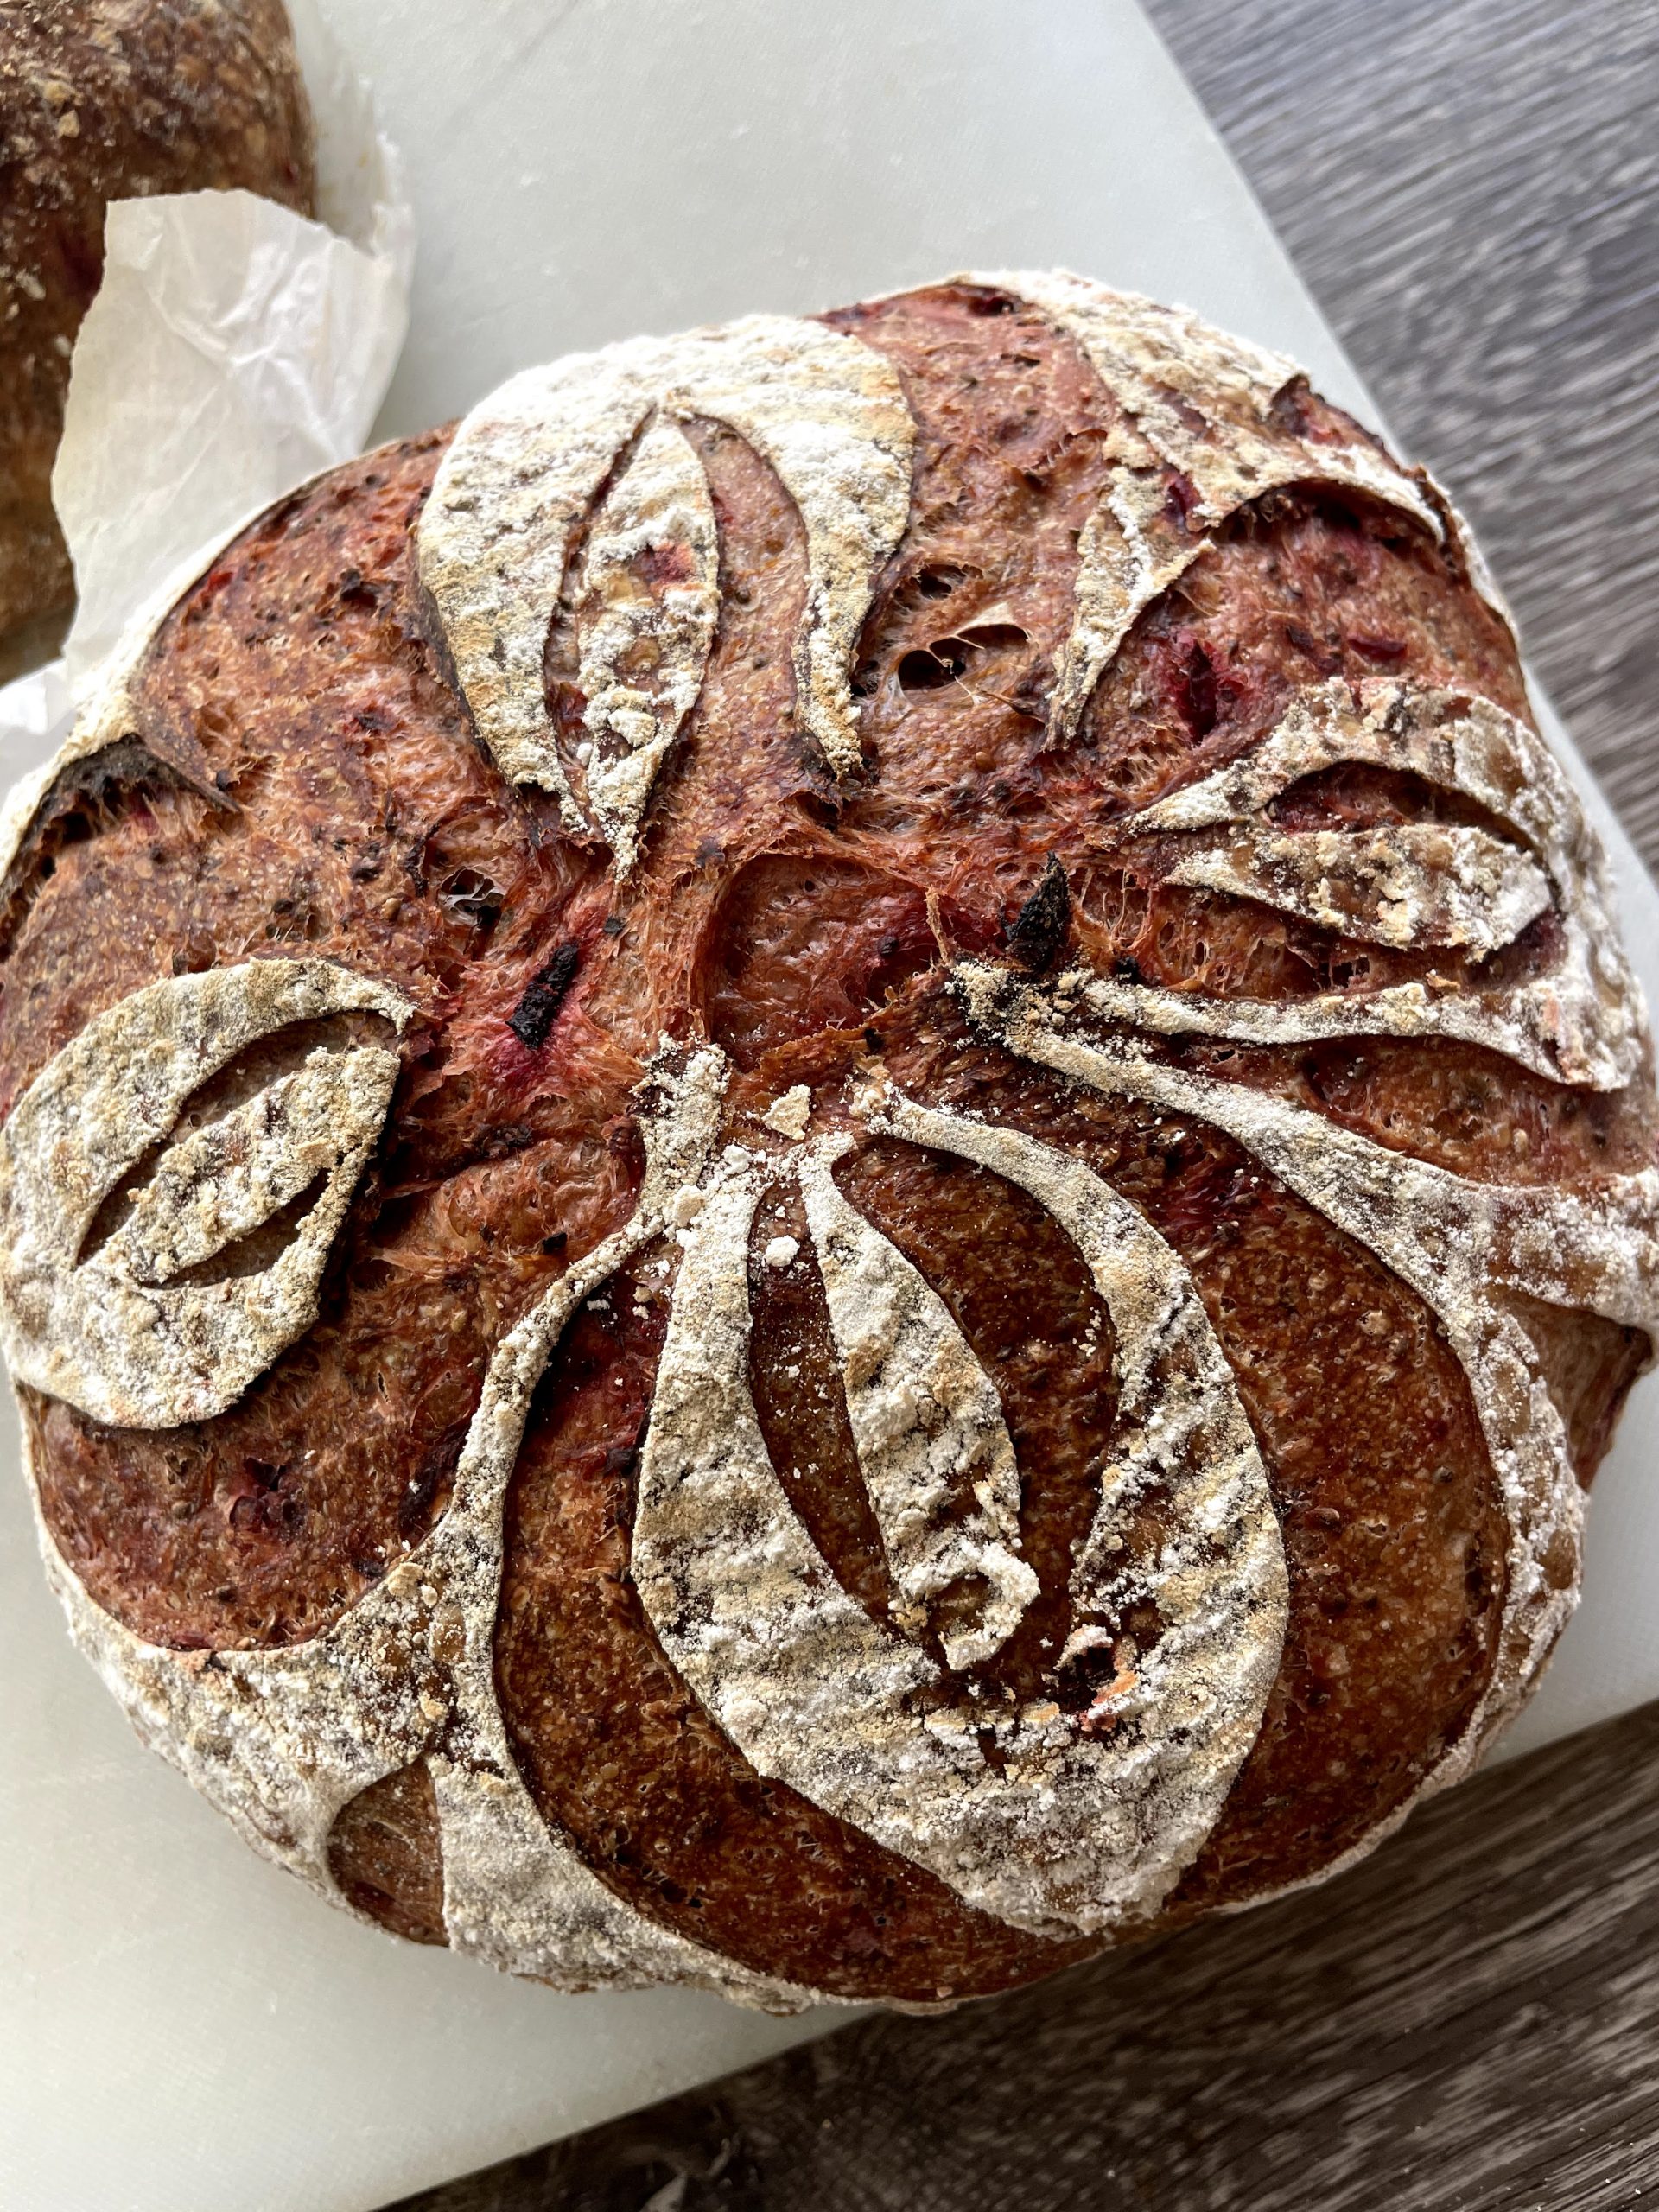
Large beet chia sourdough loaf.
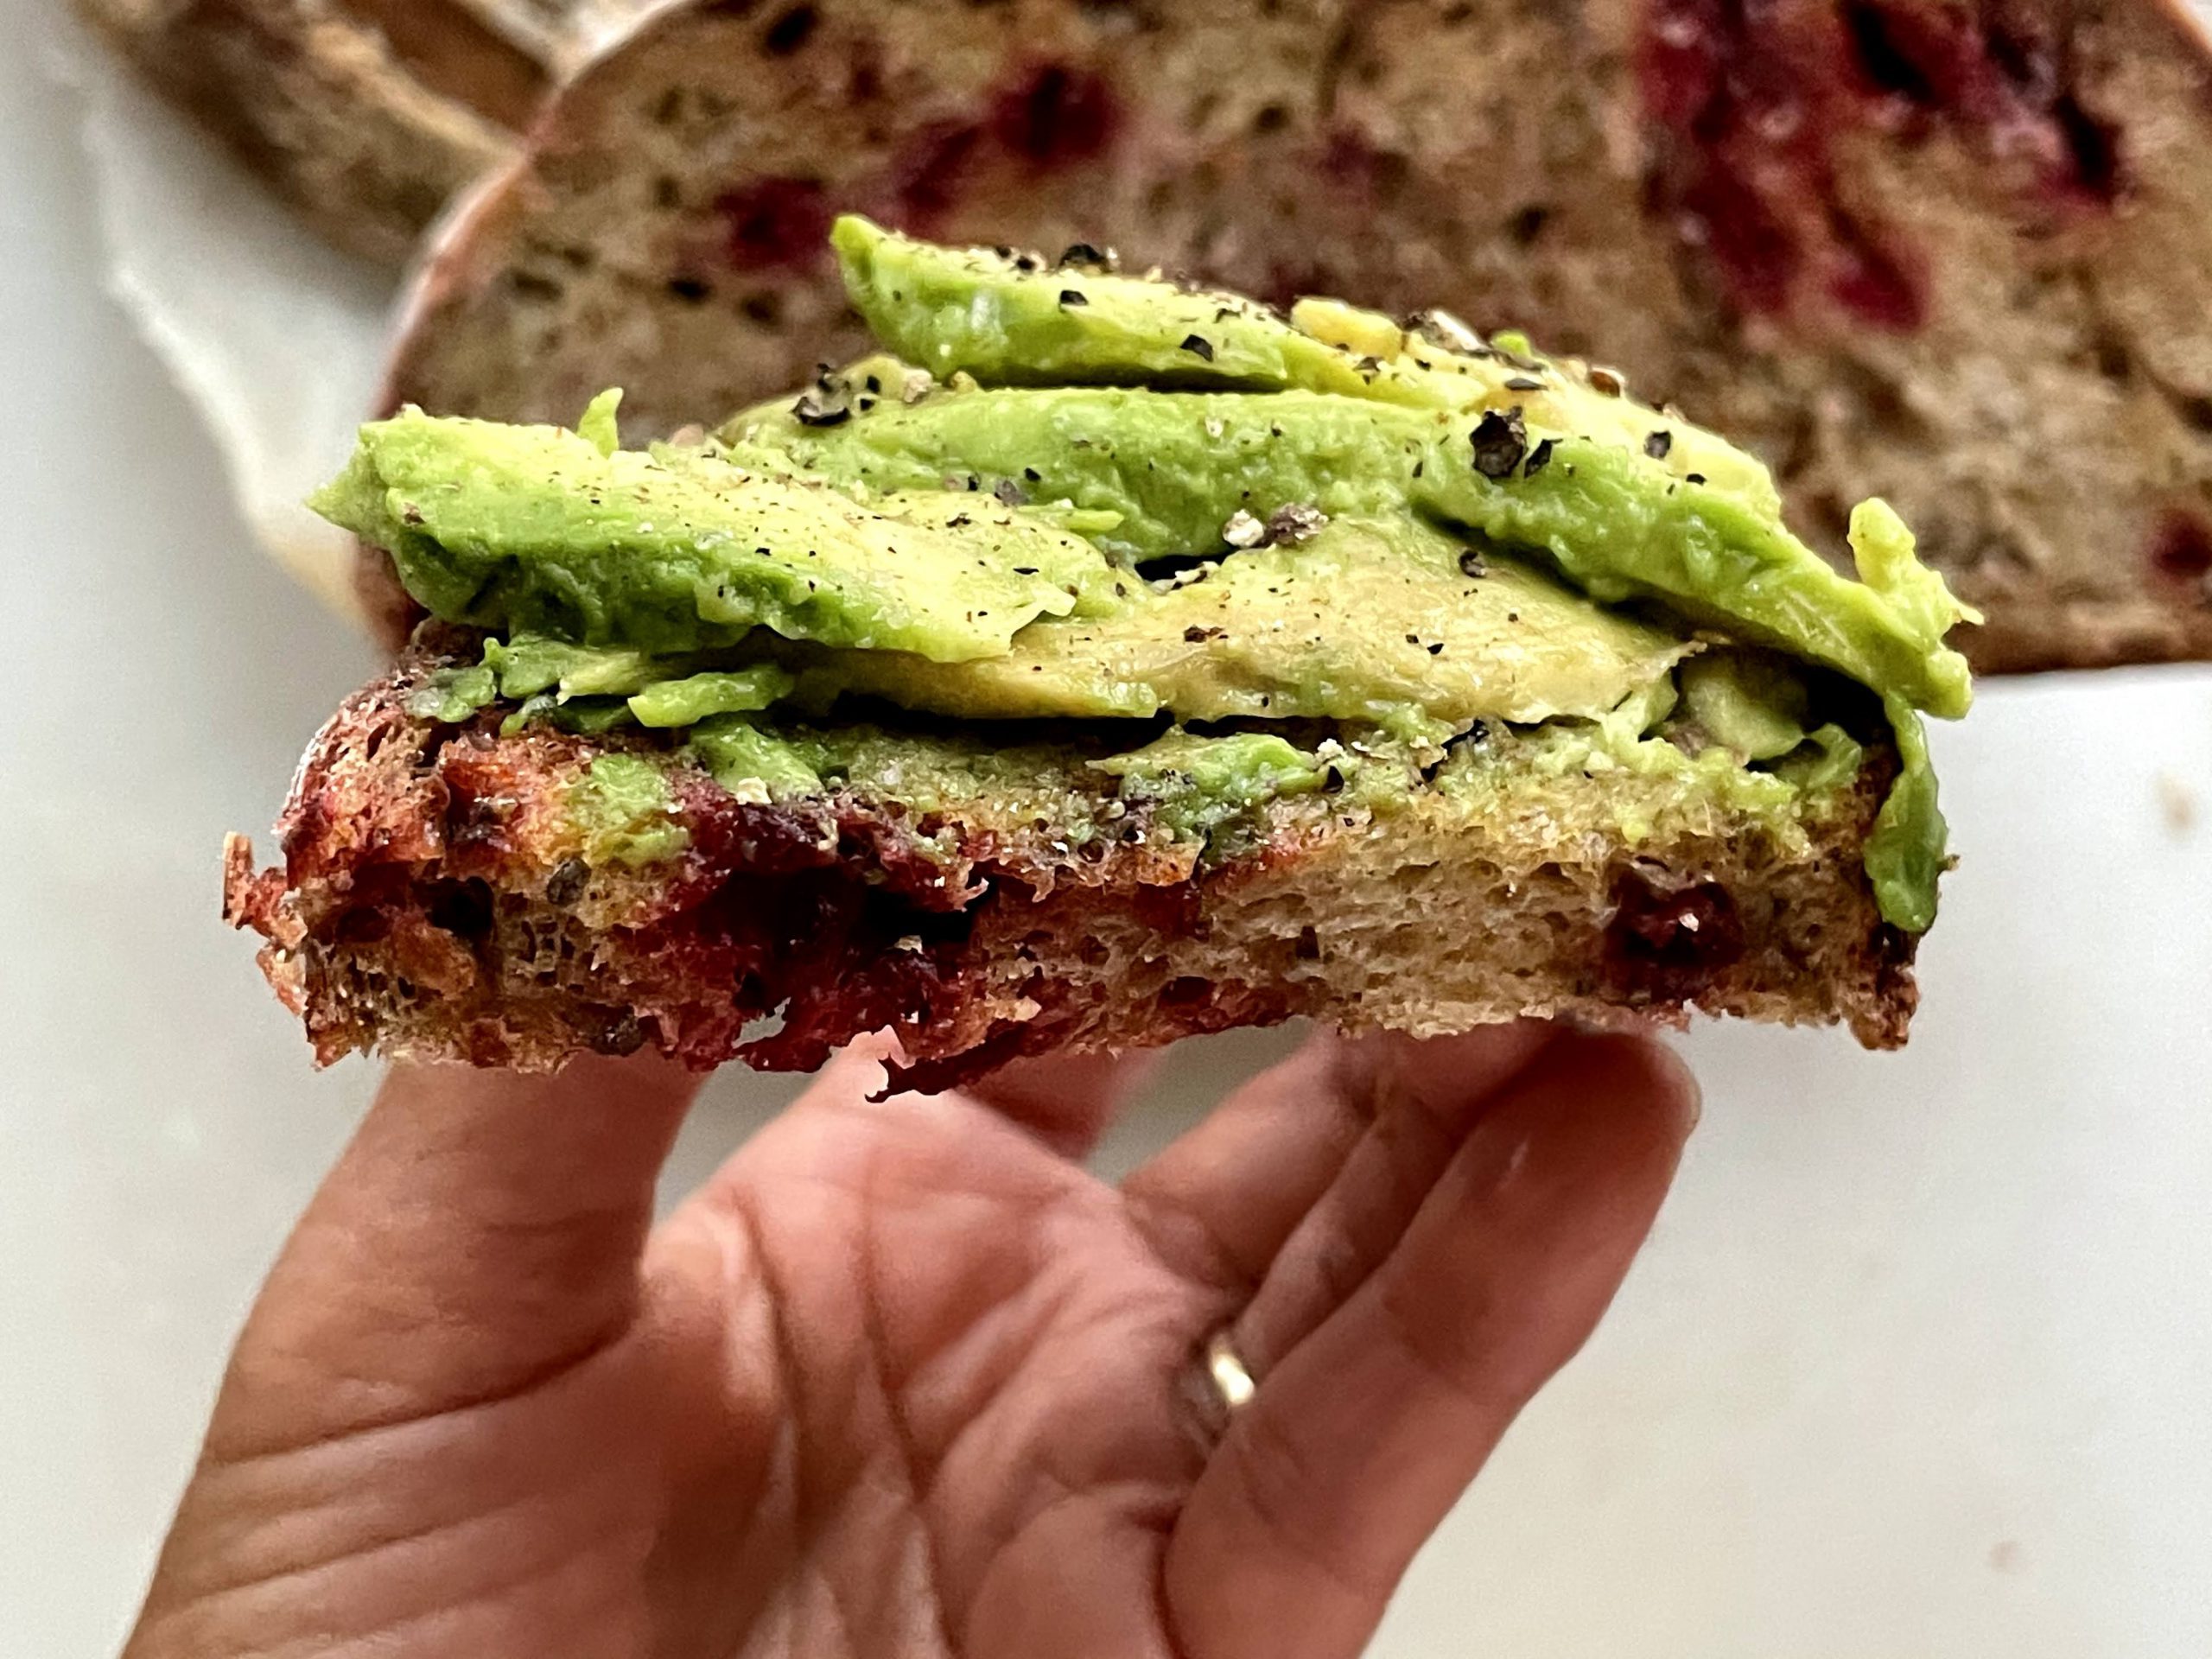
Beet chia sourdough bread with avo. Sprinkled with salt, pepper and nutritional yeast! Delicious!
Let me know how your beet chia seed sourdough turned out in the comment section!
BEET CHIA SOURDOUGH BREAD
Equipment
- Cast Iron dutch oven
- 2 Large Bowls
- Bread lame, razor or pair of scissors
- Dish towel to cover dough
Ingredients
- 2 medium fresh beets
- 1000 mg Vitamin C tablet Crushed into powder
- chia seeds Measurement depends on amount of beet juice available.
- 330 grams water 80 degrees-lukewarm
- 100 grams levain (active starter) See "What is levain and how to make it"
- 400 grams bread flour
- 100 grams whole wheat flour
- 9 grams salt
- rice / bread flour mixture Used for dusting your proofing bowl / banneton
Instructions
Prepare Ingredients the night before
- Make your levain the night before baking. See https://sammywongskitchen.com/levain
- Peel and shred 1 ½ beets. Dice the remaining ½ beet.
- Place shredded beets in a seive in a bowl to drain juice.
- Sprinkle salt and vitamin C powder onto shredded beets and mix.
- Allow to rest for 15 minutes.
- Using your hand, squeeze shredded beets to drain as much juice as possible.
- Weigh the amount of beet juice squeezed. Divide the weight by 4. This is the amount of chia seed needed.
- Add the appropriate amount of chia seed to the beet juice. Cover and allow to hydrate overnight.
Making your bread dough
- Sift you bread and wheat flour into a bowl. I do this because some bread flours are very refined and clumpy. Sifting helps remove those clumps.
- In another bowl, add your levain to your lukewarm water and stir to mix. It does not have to dissolve.
- Add your flour mix to the levain water. This allows your dough to autolyse, allowing the flour to completely absorb all the liquid making it easier to work with.
- Let it rest for 45 minutes.Set timer for 45 minutes
Kneading your bread dough
- The dough is now ready for bulk fermentation where it will develop its flavor and body! Ambient temperatures between 70-80 degrees Fahrenheit will take 3 hours for bulk fermentation
- Add chia seed juice mixture and shredded beets to the autolysed dough. The juice, chia seed mixture should be so stiff that a teaspoon can stand erect in the middle of the mixture.
- Using wet hands, pull and stretch the dough out at the top and fold it back on itself, then rotate the dough a quarter turn and do the same thing 16 times. (4 complete revolutions!) See https://sammywongskitchen.com/kneading/
- Let dough rest for 30 minutes. You will notice that the dough will become more pliable with time. Cover and let sit for 30 minutes. Don’t forget to set your timer! Set timer for 30 minutes
- Knead dough
- Let it rest for 30 minutes.Set timer for 30 minutes
- Knead dough
- Let dough rest for 30 minutesSet timer for 30 minutes
- Knead dough
- Let dough rest for 30 minutesSet timer for 30 minutes
- Knead dough
- Let dough rest for 30 minutesSet timer for 30 minutes
- Knead dough
- Let dough rest for 30 minutesSet timer for 30 minutes
- Knead dough. The dough should be soft and pliable. If not, continue bulk fermentation for another 30 mins - 1 hour.
Shaping your bread dough
- Pull dough out of the container, weigh your dough and divide accordingly if making smaller bolles. This recipe is for 1 large loaf. However, you can make 2 smaller bolles by dividing you dough into 2 bolles and using a 2 quart cast iron dutch oven.
- On a floured surface, lightly dust your divided dough with flour, add the diced beet inclusions and work it into a round by pulling it towards you and rotating. It should become somewhat taut as you pull the dough. Part of your goal is to remove most of the air bubbles that were created during the fermentation process. See Cutting and Shaping your Dough in my Tips & Tricks section.
- Let it sit for 10 minutes. Set timer for 10 minutes
- Shape again. See Cutting and Shaping your Dough in my Tips & Tricks section.
- Prepare your banneton (Coiled rattan baskets for proofing) by generously dusting the bowl or banneton with your bread and rice flour mixture. Dust the tops of your loaves with flour and place it in a bowl or banneton to rise.
Proofing your dough (Fast rise)
- Cover your bowls with a damp cloth and let rise in a warm place for 2½ hours. I usually put this in my oven with the oven light on.
- Take your dough out and preheat oven with your cast iron dutch ovens.(Should take about half an hour depending on your oven. This will be a total of 3 hours of proofing. I have proofed bread for 4 hours. However, overproofing your dough with cause your dough to lose its ability to have enough strength for the "oven-spring" (the last rise in the oven as a result of intense heat).
Proofing your dough (Slow rise)
- Place your bowl in a plastic bag and let rise in a warm place for an hour. Transfer covered bowl to the refrigerator and proof overnight. (12 hours)
Scoring your dough
- Dust the top of the dough with a little more flour and score the bread by cutting it with a razor blade, bread lame, or a pair of scissors. Scoring the bread allows the dough to expand during baking and gives your dough a pretty design. See Scoring your dough in my Tips & Tricks section. Transfer to the heated dutch oven /cast iron pot. Cover with lid.
- Reduce oven temperature to 450°F
- Bake for 25 minutes. Smaller 2 quart bolles should bake for 20 minutes.Set timer for 25 minutes for large bolle Set timer for 20 minutes for small bolle
- Remove the lid and continue baking for an additional 25 or 20 minutes respectively.Set timer for 25 minutes for large bolle Set timer for 20 minutes for small bolle
- Remove from oven and remove from dutch oven and let cool on wire rack.
- If you are baking 2 loaves: To bake the second loaf, after removing the first loaf, bring the oven temperature back to 500 degrees, wipe the dutch oven with a clean dry towel or paper towel, place the dutch oven in it for 10 minutes and bake according to recipe

