0 Comments
share this
UPDATED 7/1/2023
All sourdough bread beginner bakers start with the basic sourdough bread. I was no different! When I decided to do research on sourdough, the making of the starter was quite daunting. Once I got past that and became more comfortable with the bread making process, I began tweaking and altering recipes to suit my lifestyle.
I usually make 2 loaves every 2 weeks. I end up making bread for friends and neighbors. On the "off week", since I have to feed my starter weekly, I find creative ways to use my starter.
If you are new to sourdough and want a few tips before embarking on this wonderful adventure, I would suggest you read my Sourdough Digest with my Sourdough baking 101 series which goes through the various steps of sourdough baking with video tutorials.
My advice to you is to take note of the smell, the look and feel of the dough through the various stages as well notice how the weather affects your bread making so that you will be able to improve or fix your mistakes. If you have any questions, comments or suggestions, don't hesitate to leave them in the comment section. I would love to hear from you!
Tips for making basic sourdough bread
Preparing the ingredients.
When preparing the levain, soften the whole wheat flour with the water. When the whole wheat flour is softened, this help lessen the wheat germ in the whole wheat flour from cutting the gluten strands which results in a fully, more voluminous bread dough.
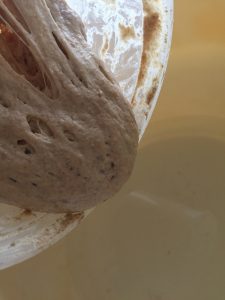
Also, make sure that your levain is active. See Maintaining the starter, making the levain.
Mixing the dough.
Sift you bread flour into a bowl. I do this because some bread flours are very refined and clumpy. Sifting helps remove those clumps.

Levain will more than double in volume
In another bowl, add your levain to your whole wheat flour and water mix and stir to combine. Does not have to dissolve.
Add your white bread flour and let sit for 45 minutes. This allows your dough to autolyse, allowing the flour to completely absorb all the liquid making it easier to work with.


Pre-autolyzed dough

Post-autolyzed dough
Add the salt after the dough has autolysed. Similar to kneading, sourdough dough goes through a series of stretch-and-folds, separated by a rest period.
Bulk fermentation.
After the sourdough has autolysed, the dough is now ready for bulk fermentation where it will develop its flavor and body! Ambient temperatures between 70-80 degrees Fahrenheit will take 3 hours for bulk fermentation. I knead the dough by hand...very therapeutic. Using wet hands, I stretch and fold the dough out at the top and fold it back on itself, I then rotate the dough a quarter turn and do the same thing 16 times. (4 complete revolutions!) Cover and let sit for 30 minutes. Don’t forget to set your timer!

Dough after kneading several times
Stretch-and-fold the dough every 20-30 minutes for 3 hours. You will notice that the dough will become more pliable with time. After 3 hours, if it doesn’t seem pliable, continue bulk fermentation for another 30 mins - 1 hour.
Cutting and Shaping.
After bulk fermentation, the dough will be cut and shaped if you made sufficient dough for multiple sourdoughs.
See Cutting and Shaping your Dough in my Tips & Tricks section.
The purpose of shaping the dough is to create surface tension around the outside of the bread which allows the bread to be contained rather than spread out. It also helps remove most of the air bubbles that were created during the fermentation process. I have found that if you keep these air bubbles, your bread will be very porous with a lot of air bubbles (almost like a ciabatta). Some people like this, other people want a little more substance. This is done twice with a 15-20 minute resting period in between.
Final proofing the sourdough.
There is a quick proofing method and a slow proofing method. This probably depends on your time constraints. Quick proofing can be done in 3 hours. Depending on the temperature of my house, if I need it warmer, I usually put this in my oven with the oven light on. When placing the dough to proof in the oven, I will remove it after 2 hours so that I can preheat the oven for an hour.
The slow method involves proofing your sourdough in the refrigerator anywhere from 12 - 24 hours. My best breads are made with a 24 hour proof! Yes, 2 days in the refrigerator! Do not proof it overnight at room temperature as the dough will over-proof and there will not be enough strength for oven-spring, resulting in a dense, flat bread. I prefer cold proofing, although it takes much longer, because nutritionally, it is healthier. The colder dough is also easier to score just before baking. I allow my dough to rest at room temperature for an hour after placing it in a banneton, because the ambient temperature allows the dough to rise fairly quickly and then I place it in the refrigerator for the rest of the time. I suggested this process to a friend who was having trouble getting a good rise for her bread. Once she proofed it in a warm area which was her oven with just the oven light on for an hour before refrigerating her dough, it was a game changer.

Providing humidity for sourdough

48 hour cold proofed dough
Oven temperature.
The intense heat from the enclosed cast iron dutch oven plus a dough with a high hydration percentage is the perfect combination to produce the steam required to produce that wonderful crust with a prominent ear. In order to get the cast iron dutch oven hot enough, preheat the dutch oven in a 500 degree fahrenheit (260 degree celcius). After the dough is placed in the dutch oven and is ready to bake, reduce the oven temperature to 450 degree fahrenheit.
Scoring the dough.
Take a piece of parchment paper that will generously cover the top of the bowl/banneton. Crumple it so that it is more flexible when placing it in the dutch oven. Place it over the bowl/banneton, flip the bowl / banneton until the dough falls out onto the parchment paper.
Score the bread by cutting it with a razor blade, bread lame, or a pair of scissors (in a pinch). Scoring the bread allows the dough to expand in a controlled manner during baking . See Scoring your dough in my Tips & Tricks section.
Getting your dough into a hot dutch oven.
Gently lower the parchment paper into the dutch oven.
If you've purchased a cast iron skillet / dutch oven set as shown on my "Helpful Tools" section and do not want to use parchment paper, first dust the surface of the dough with flour to ensure that the bottom does not stick to the skillet. Place the shallow skillet over the proofing bowl / banneton and flip. After scoring, cover the dough with the dutch-oven section and place it in the oven with the skillet on the bottom.
Cooling bread.
Bread should cool for at least an hour before attempting to slice into it otherwise the crumb will be a little gummy.

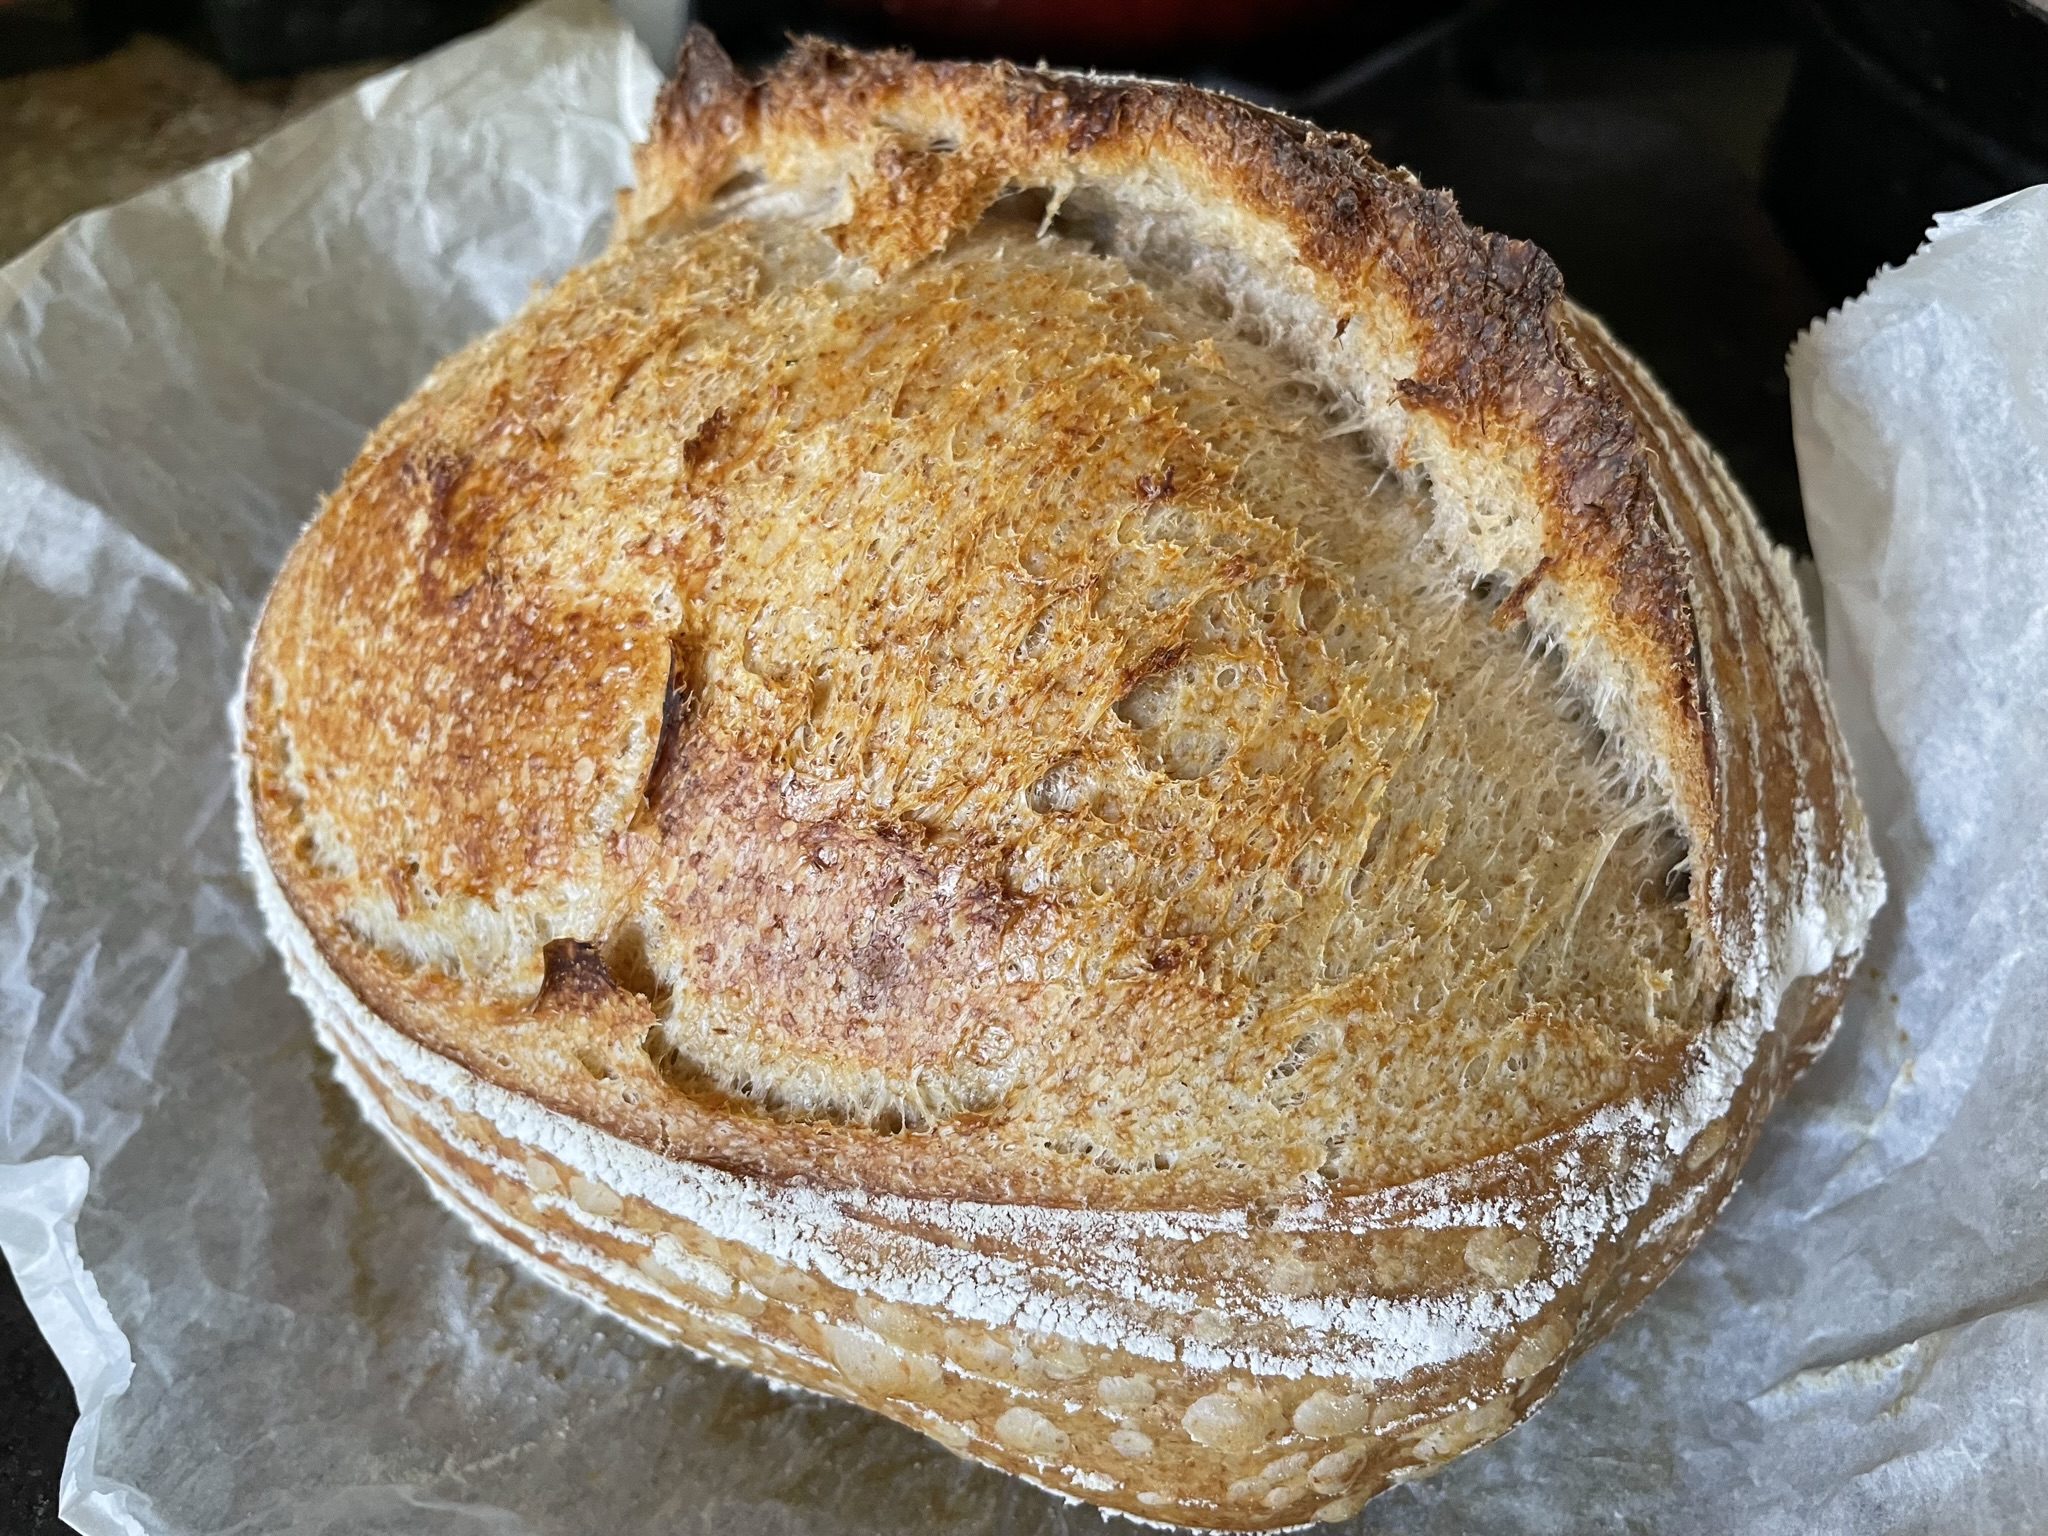
Baked bread
BASIC SOURDOUGH BREAD
Amazing sourdough bread made entirely by hand. The long fermentation process helps develop the wonderful crisp crust that has a crunch with every bite.
Equipment
- Cast Iron dutch oven
- 2 Large Bowls
- Bread lame, razor or pair of scissors
- Dish towel to cover dough
Ingredients
- 350 grams water Room temperature water
- 400 grams bread flour
- 100 grams whole wheat flour
- 9 grams salt
- rice / bread flour mixture Used for dusting your proofing bowl / banneton
- 100 grams levain See "What is levain and how to make it"
Instructions
Preparing your ingredients
- Prepare you levain, making sure it is very active100 grams levain
- Measure and soak your wheat flour with the water100 grams whole wheat flour, 350 grams water
Making your bread dough
- Add your levain to your water-whole wheat flour mixture and stir to combine. The levain does not have to dissolve.
- Sift your bread flour into the levain / whole wheat mixture bowl. I do this because some bread flours are very refined and clumpy. Sifting helps remove those clumps.400 grams bread flour
- Mix in your bread flour and let sit for 45 minutes. This allows your dough to fermentolyze, allowing the flour to completely absorb all the liquid making it easier to work with.Set timer for 45 minutes

Bulk fermentation.
- The dough is now ready for bulk fermentation where it will develop its flavor and body! Ambient temperatures between 70-80 degrees Fahrenheit will take 3 hours for bulk fermentation
- Add salt after the dough has autolyzed.9 grams salt
- I stretch and fold the dough by hand...very therapeutic. Using wet hands, I pull and stretch the dough out at the top and fold it back on itself, I then rotate the dough a quarter turn and do the same thing 16 times. (4 complete revolutions!)
- Let dough rest for 20-40 minutes (required rest period) depending on the temperature of your environment. You will notice that the dough will become more pliable with time. Cover and let sit for 30 minutes. Don’t forget to set your timer!
- It is also at this time when I will add add-ins to the dough. Stretch and fold.
- Let it rest for required rest period.
- Stretch and fold.
- Let dough rest for required rest period.
- Stretch and fold.
- Let dough rest for required rest period.
- Stretch and fold.
- Let dough rest for required rest period.
- Stretch and fold.
- Let dough rest for required rest period.
- Stretch and fold. The dough should be soft and pliable. If not, continue bulk fermentation for another required rest period
Shaping your bread dough.
- Pull dough out of the container. You can make smaller loaves by using about halving the recipe. See Cutting and Shaping your Dough in my Tips & Tricks section.
- On a floured surface, lightly dust your dough with flour and work it into a round by pulling it towards you and rotating. It should become somewhat taut as you pull the dough, part of your goal is to remove most of the air bubbles that were created during the fermentation process. I have found that if you keep these air bubbles, your bread will be very porous with a lot of air bubbles (almost like a ciabatta). Some people like this, other people want a little more substance.
- Let it sit for 15 minutes. Set timer for 15 minutes
- Shape again. See Cutting and Shaping your Dough in my Tips & Tricks section.
- Prepare your banneton (Coiled rattan baskets for proofing) by generously dusting the bowl or banneton with your bread and rice flour mixture. Dust the tops of your loaves with flour and place it in a bowl or banneton with the dome side on the bottom of the banneton.rice / bread flour mixture
Proofing your dough - Quick Proof (not recommended)
- Cover your banneton with a damp cloth and let rise in a warm place for 2 hours. I usually put this in my oven with the oven light on.Proof dough for 120 minutes
- Take your dough out of the oven that was proofing the dough. Preheat oven to 500° fahrenheit (260° Celcius) with your cast iron dutch oven in it. (Should take about an hour depending to get your cast iron pot to the desired temperature.) This will be a total of 3 hours of proofing. I have proofed bread for 4 hours. However, overproofing your dough with cause your dough to lose its ability to have enough strength for the "oven-spring" (the last rise in the oven as a result of intense heat).
Proofing your dough - Slow Proof (recommended)
- Place your banneton in a plastic bag. Seal it with a clip. Place it in the refrigerator for 12-48 hours. Highly recommend a 48 hour proof for the dough to develop its flavor.
- Preheat oven to 500° fahrenheit (260° Celcius) with your cast iron dutch oven in it. (Should take about an hour to get your cast iron pot to the desired temperature.)
Scoring your dough.
- The dough should be fairly firm but not impossible to handle after (cold) proofing. Take a piece of parchment paper that will generously cover the top of the bowl/banneton. Crumple it so that it folds easily in the pot. Place it over the bowl/banneton.
- Gently flip the banneton over. The dough is now ready for scoring
- Dust the top of the dough with a little more flour if necessary or brush off excess flour from proofing. Score the bread by cutting it with a razor blade, bread lame, or a pair of scissors. Scoring the bread allows for oven spring when the dough expands quickly during baking and gives your dough a pretty design. See Scoring your dough in my Tips & Tricks section.
- Gently lower your scored bread into the preheated dutch oven. If you have a cast iron skillet / dutch oven set as shown on my "Helpful Tools" section. After scoring, place the dough in the skillet of the set and cover the dough with the dutch-oven section. Place it in the oven with the skillet on the bottom.
- Cover.
Baking your bread
- Reduce oven temperature to 450°F
- Bake for 25 minutes. Smaller 2 quart bolles should bake for 20 minutes.Set timer for 25 minutes for large bolle Set timer for 20 minutes for small bolle
- Remove the lid and continue baking for an additional 25 or 20 minutes respectively.Set timer for 25 minutes for large bolle Set timer for 20 minutes for small bolle
- Remove from oven and remove from dutch oven and let cool on wire rack.
- To bake the second loaf, after removing the first loaf, bring the oven temperature back to 500 degrees, wipe the dutch oven with a clean dry towel, place the dutch oven in it for 10 minutes and bake according to recipe.
- Bread should cool for at least an hour before attempting to slice into it!
Notes
Makes 1 large loaf / bolle that bakes in a 3.3 quart (24cm) cast iron dutchoven or 2 small bolles that bakes in a 2 quart cast iron dutch oven
Although this recipe has a built-in timer, the clock will stop if you exit the program or your device goes to sleep. Sorry!
Nutrition
Serving: 1sliceCalories: 162kcal
Tried this recipe?Let me know how it was or if you have any questions or suggestions!
I want to see!Follow @Sammywongskitchen on Instagram or Facebook, snap a photo and tag it #sammywongskitchen
Need meal ideas?
EASY, HEALTHY, DELICIOUS!
DON'T MISS A RECIPE