2 Comments
share this
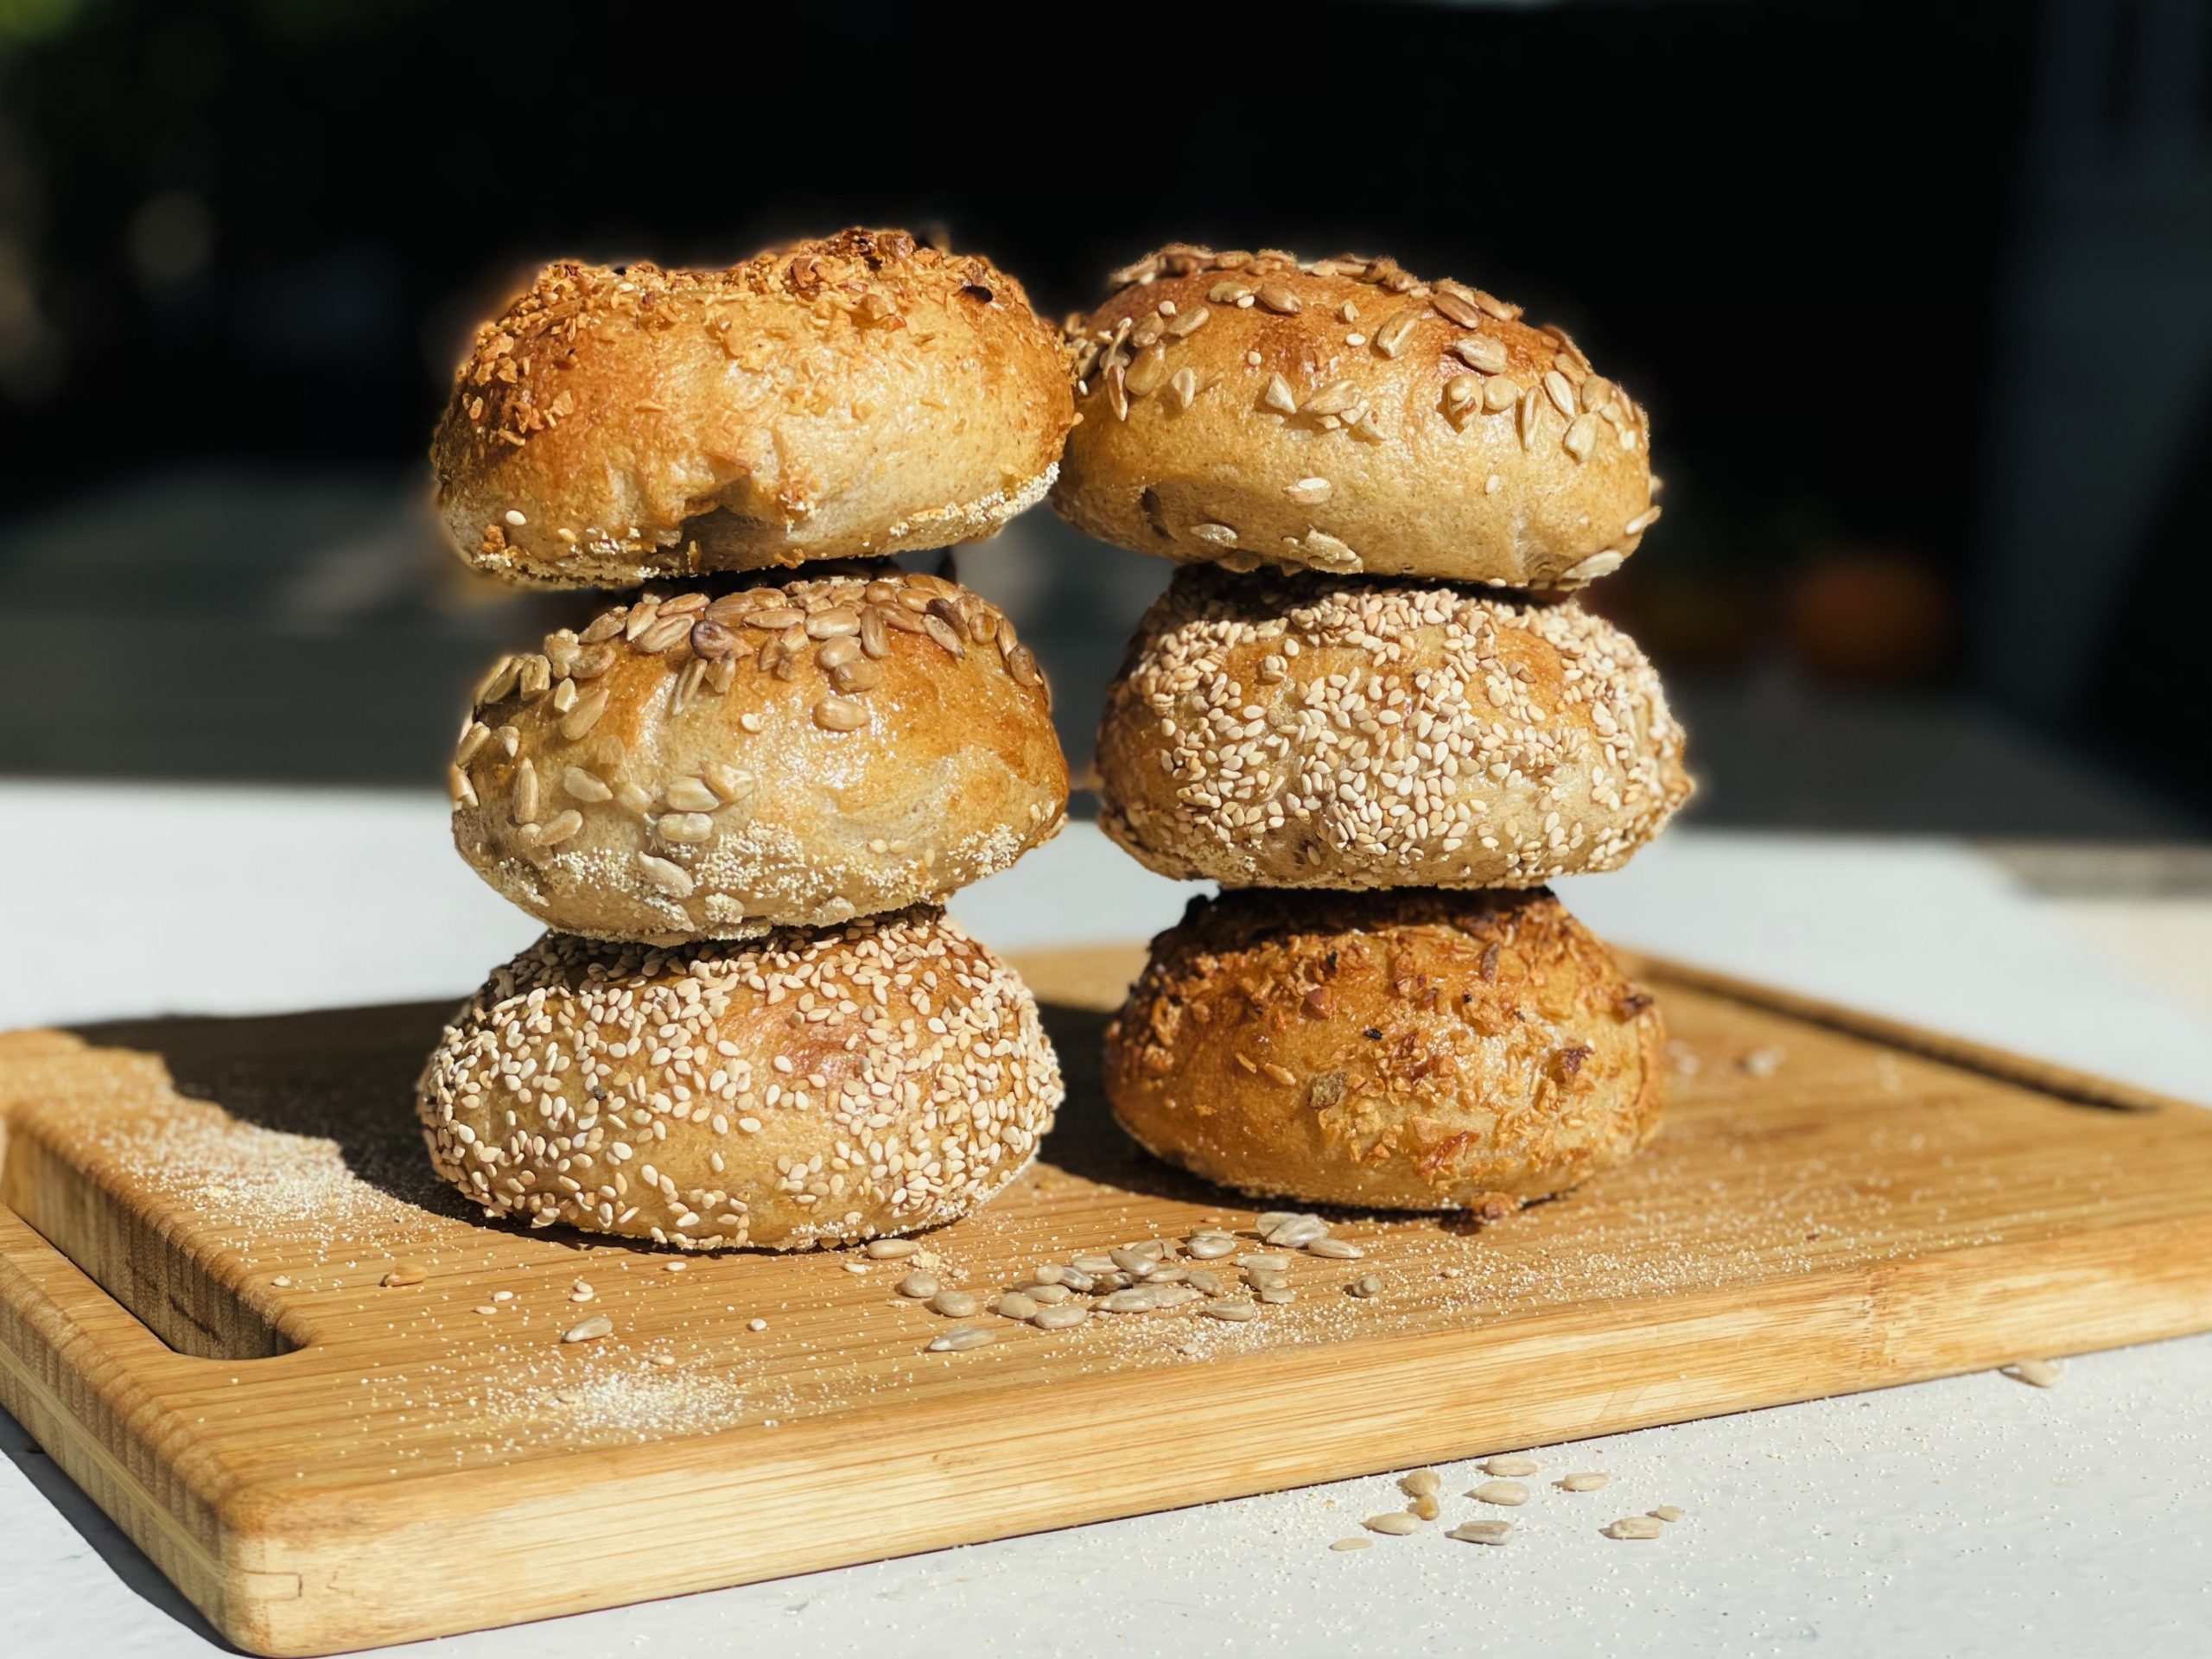
I enjoy fresh bagels, especially when they are fresh out of the oven. I remember going to one of my favorite bagel shops in New York City (Tompkins Square Bagels) that actually boil and bake their bagels there and I would just sit and watch the process. The process seemed pretty daunting. I made it once many years ago and they turned out as hard dough balls.
I recently decided to make sourdough bagels and they were AMAZING. They are chewy and soft, but what I like about them is the fact that they are sourdough. There do not taste sour. I use the sourdough fermentation process with these bagels to increase the nutritional content and also to lower the glycemic index. With that being said, these sourdough bagels do take longer to make, but that's the reason they are healthier! Don't think I'll be buying bagels from my local bagel shop again!
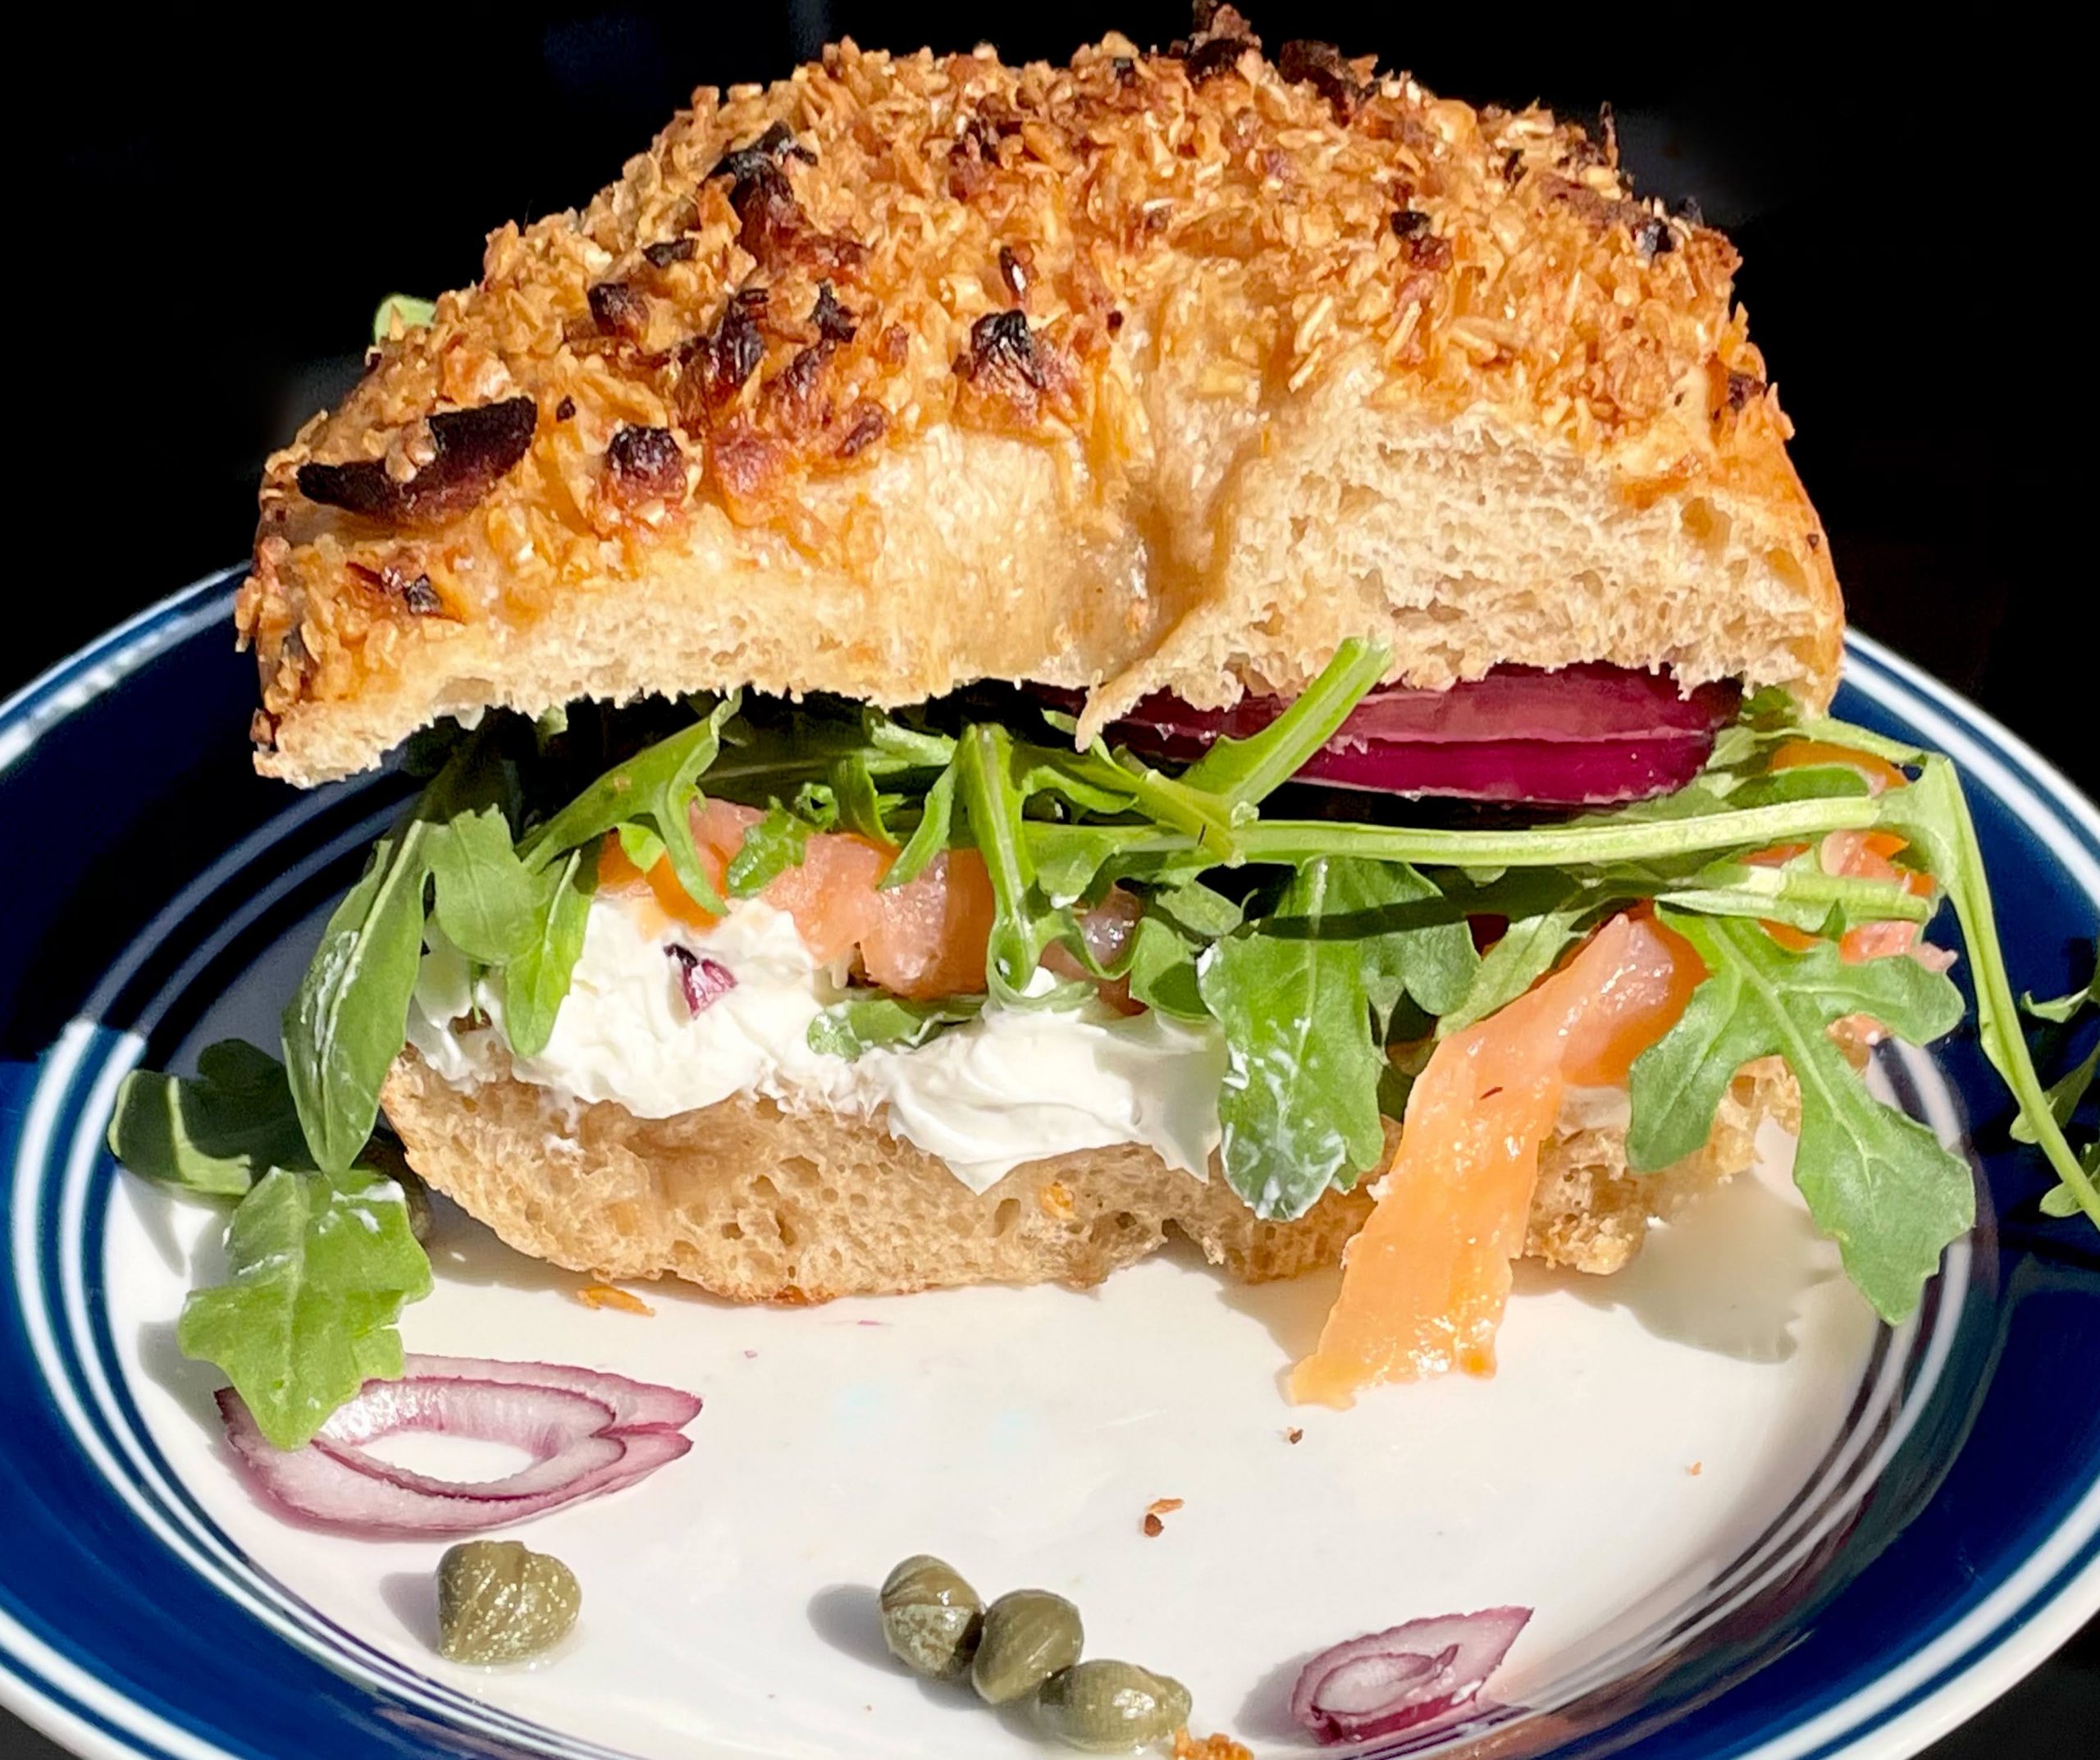
Sourdough bagel with all the fixins
Tips for making sourdough bagels.
This recipe calls for either malt or honey and molasses. I tried it with both options. Dried barley malt or the use of honey and molasses is supposed to condition the dough. Both seem to give the bagels a softer texture, but using honey and molasses results in a darker colored dough. The dough ends up looking darker than white bread eventhough no whole wheat flour is used.
I make the bagel dough the same as I make sourdough bread with a 45 minute - 1 hour autolyse process. I then divide the dough into equal pieces by weight and shape them into balls just like pre-shaping a sourdough bolle.
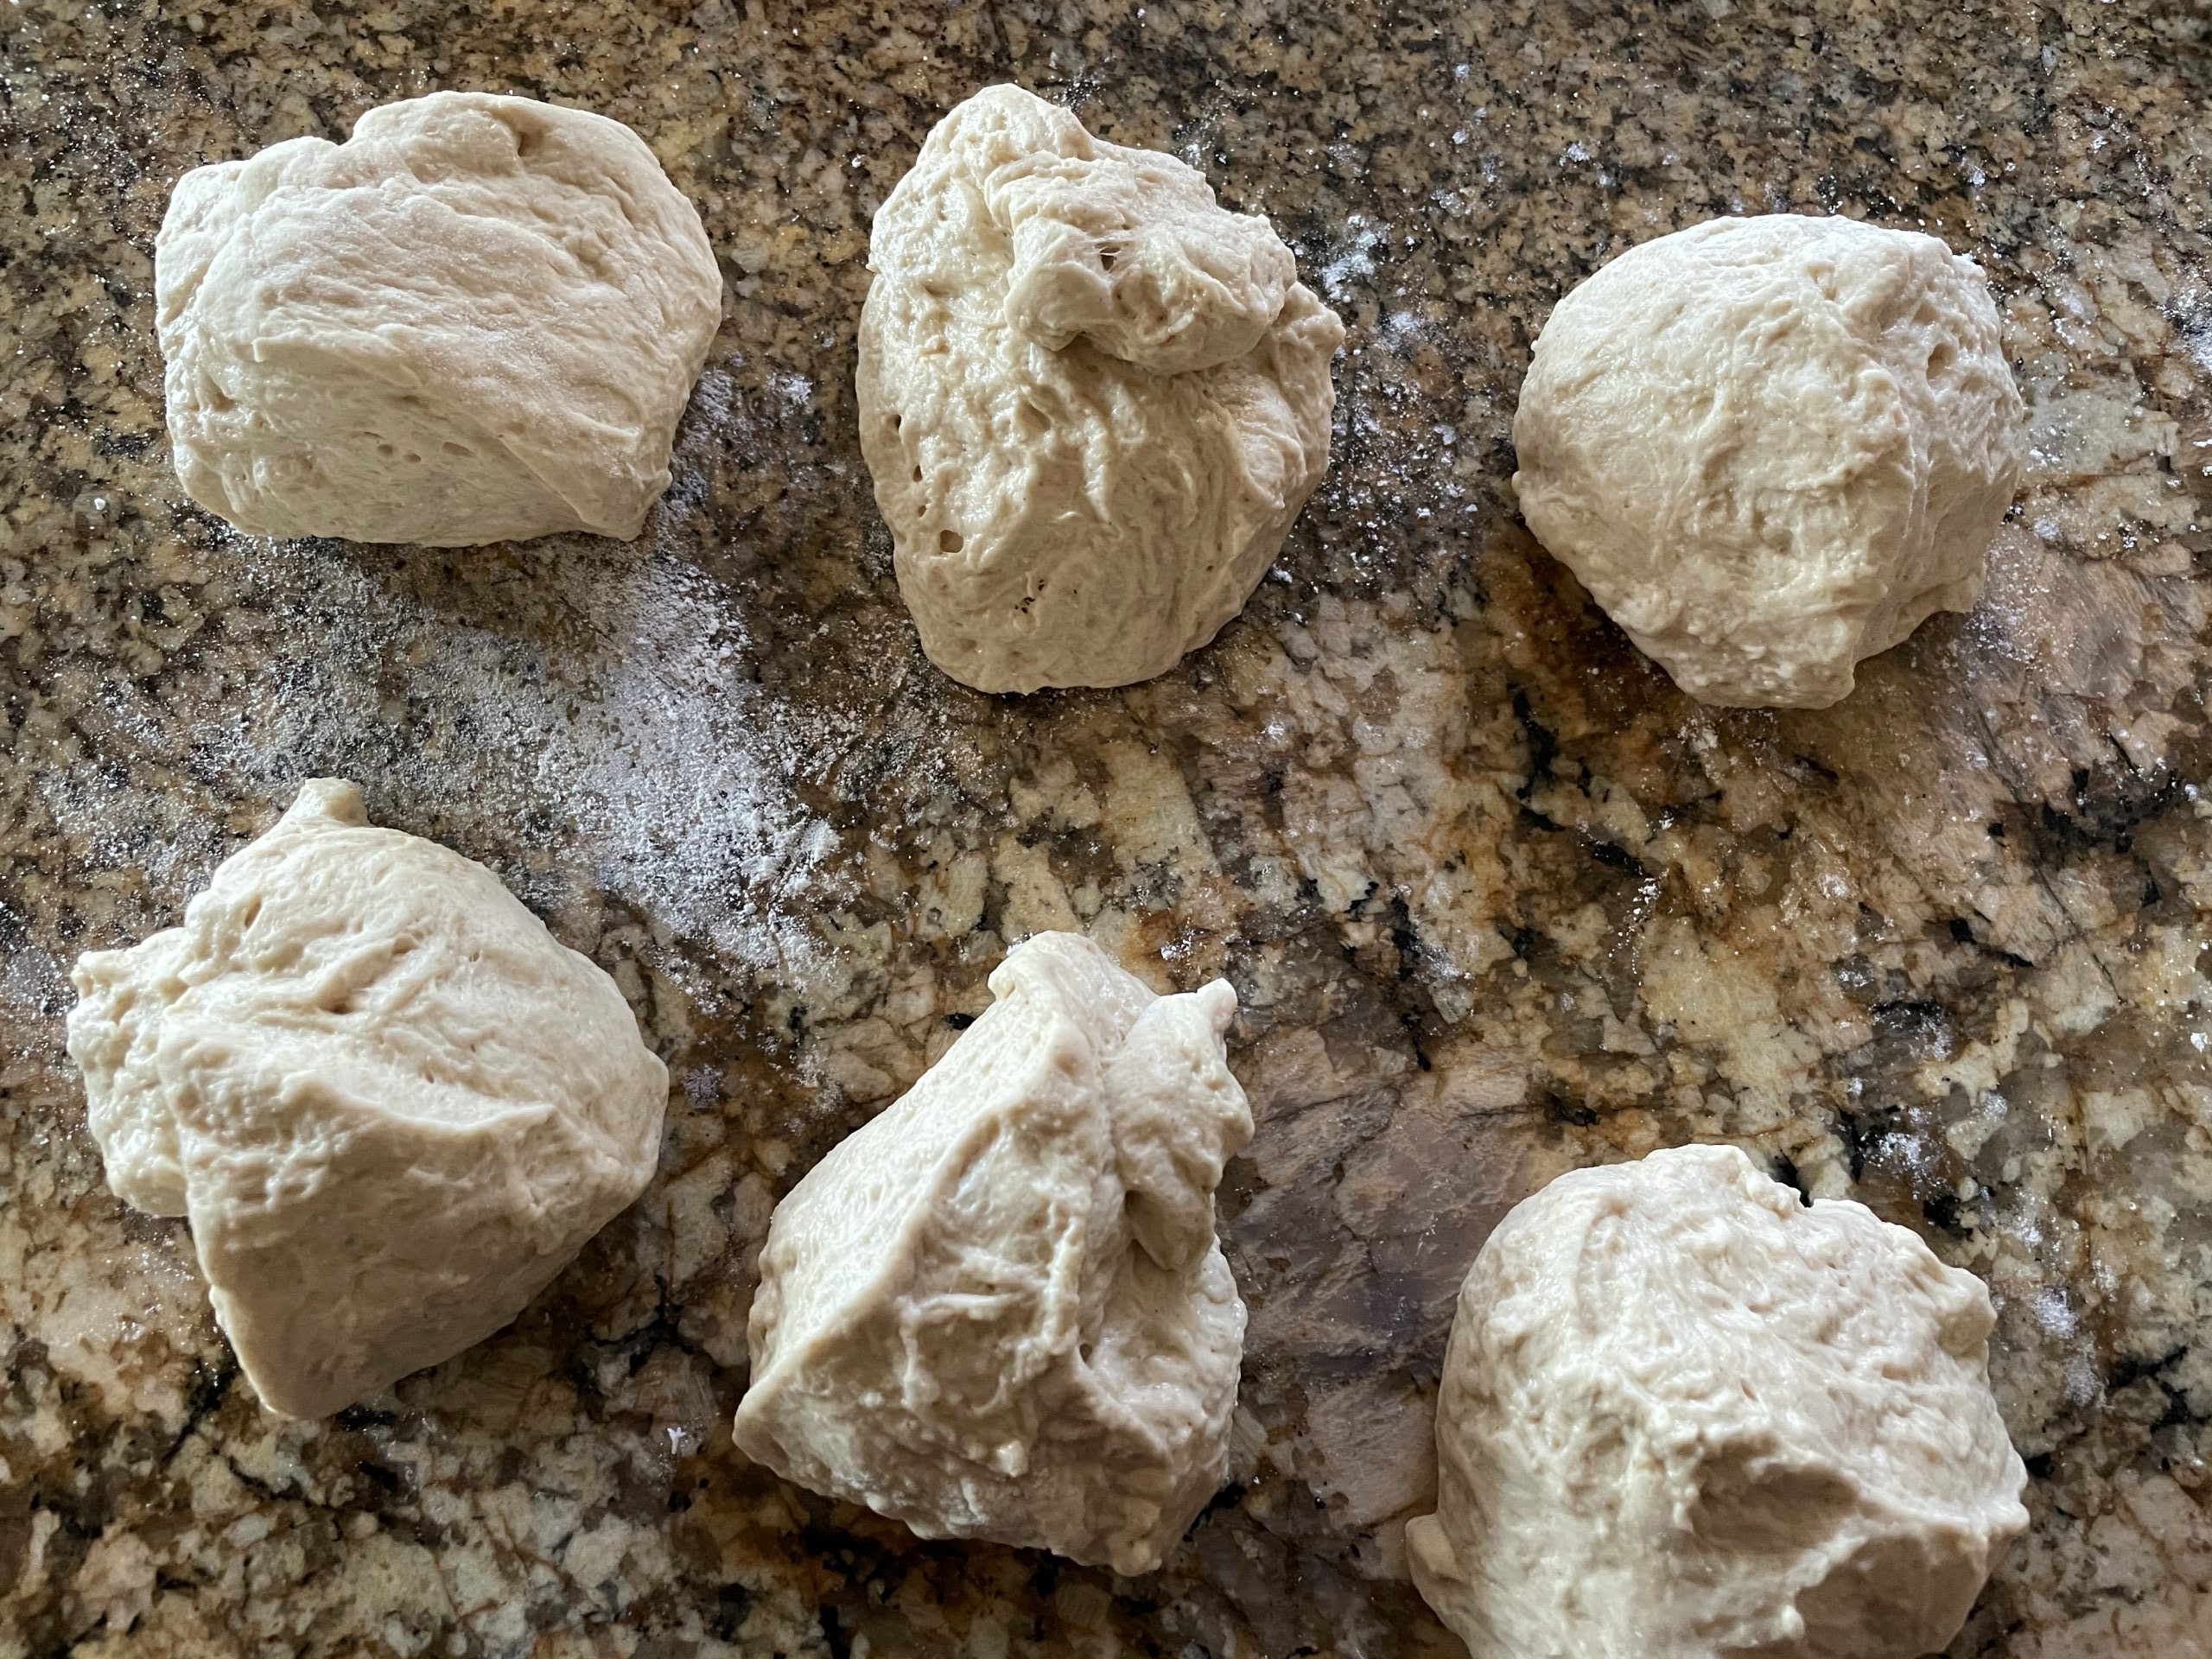
Divide dough into 6 equal pieces, by weight.
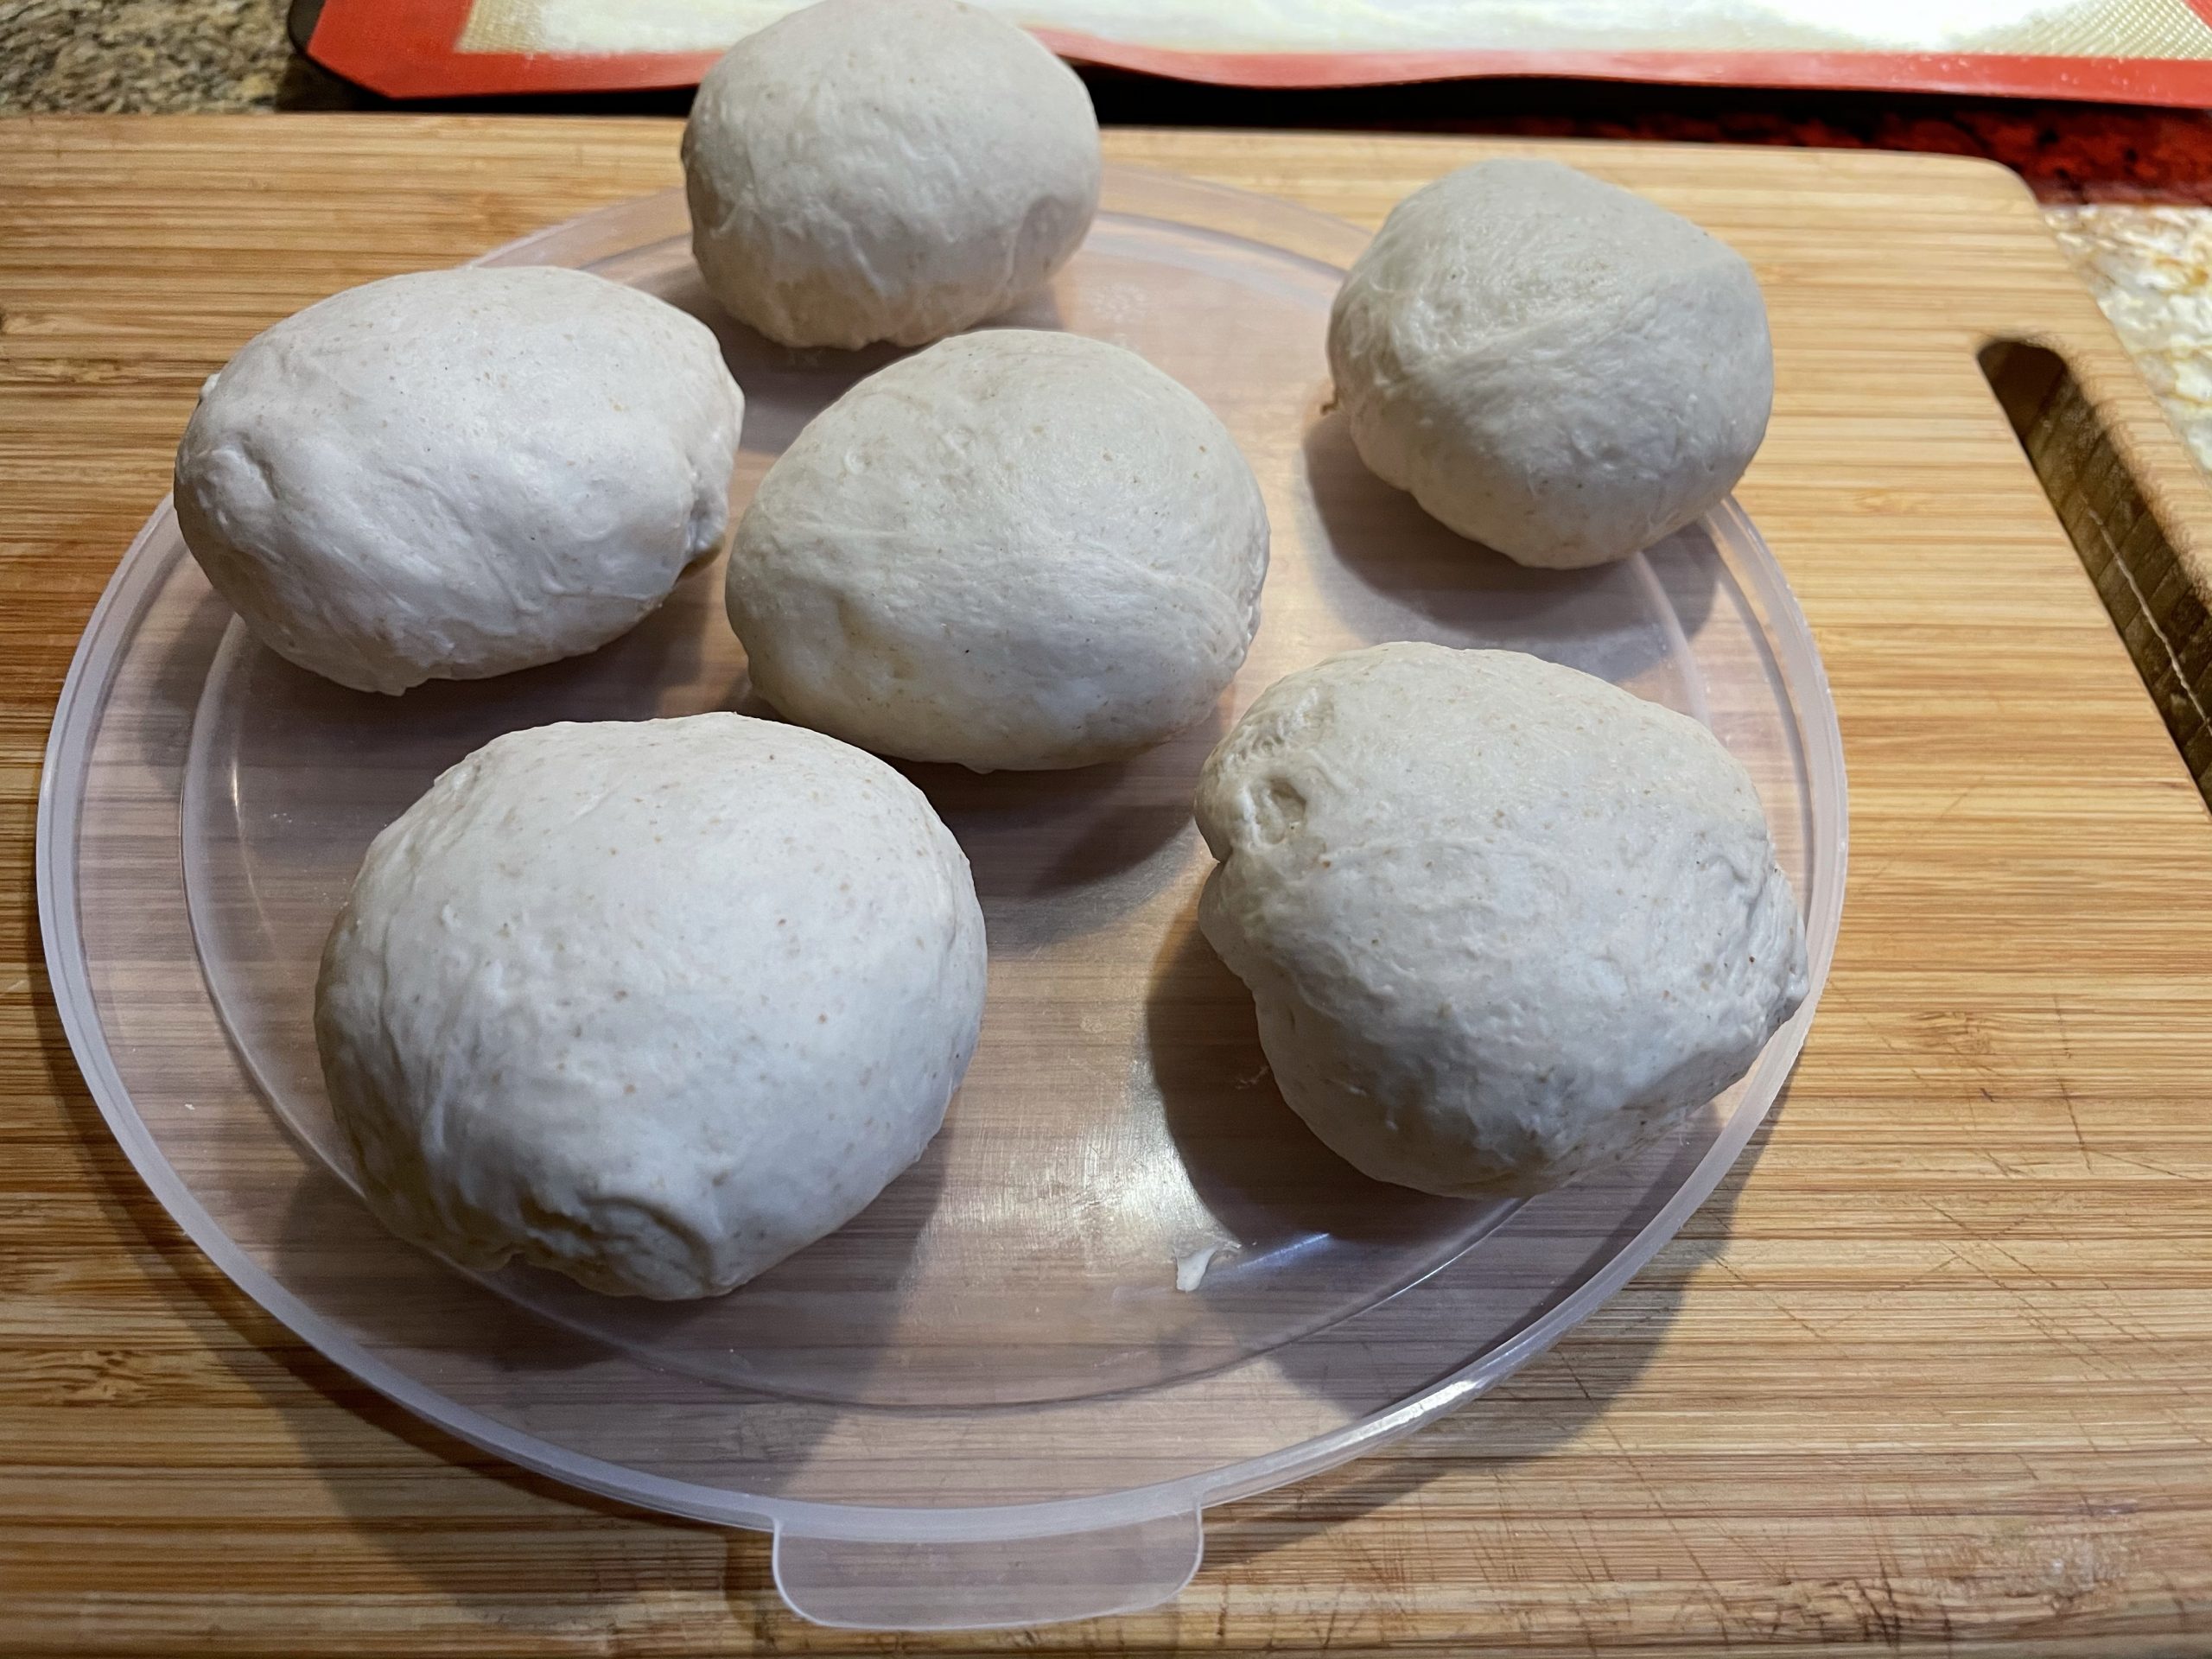
Shape dough into balls by pulling the edges into the center and do a "pre-shape".
Making the bagel hole.
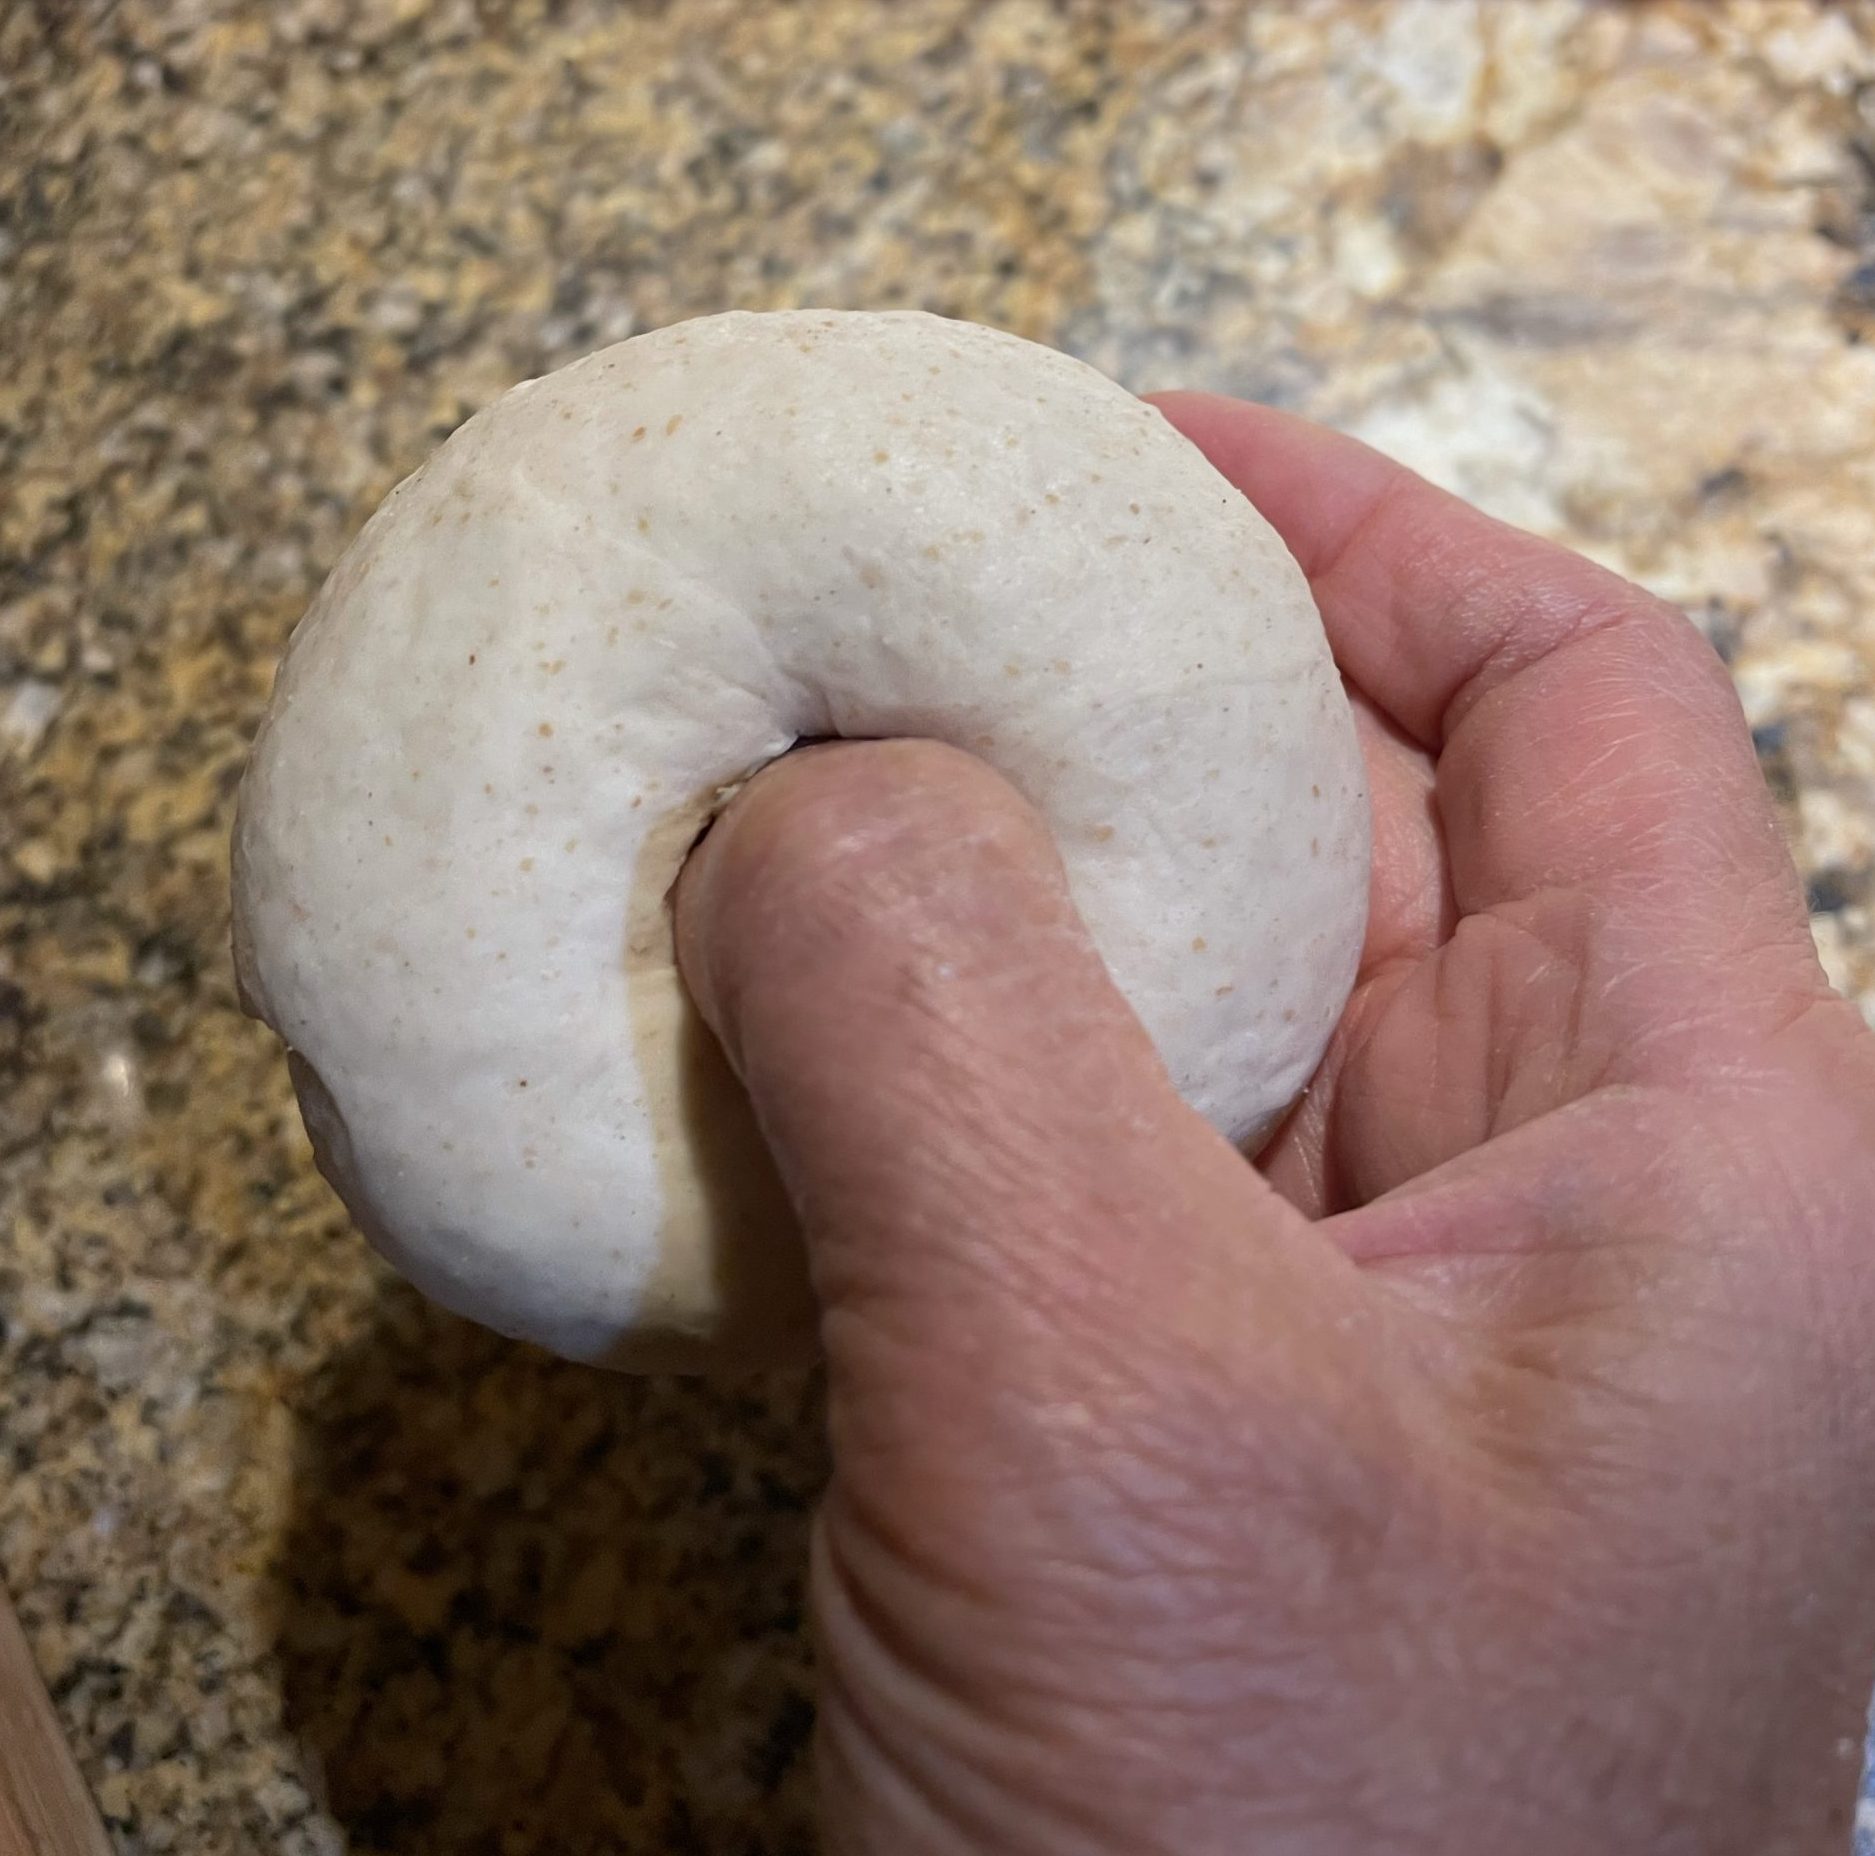
Make a hole in the center of the circle.
Prevent sticking.
In order to prevent sticking, use cornmeal on the baking tray. This will prevent them from sticking to the tray, making them easier to remove when inserting them into a pot of boiling water.
Proofing bagels.
Bagels should be proofed for 12 hours in the refrigerator in order to maximize the health benefits. When the bagels proof in the refrigerator, the dough relaxes but rises just a little. In order to get the bagels to rise, leave the bagels out at room temperature for at least 2 hours. However, if your home is very cool, you may want to allow your bagels to get to room temperature in the oven with just the oven light on. DO NOT HEAT THE OVEN.
You will notice that the dough will become puffy and "relaxed". Your bagels will now be ready for boiling.
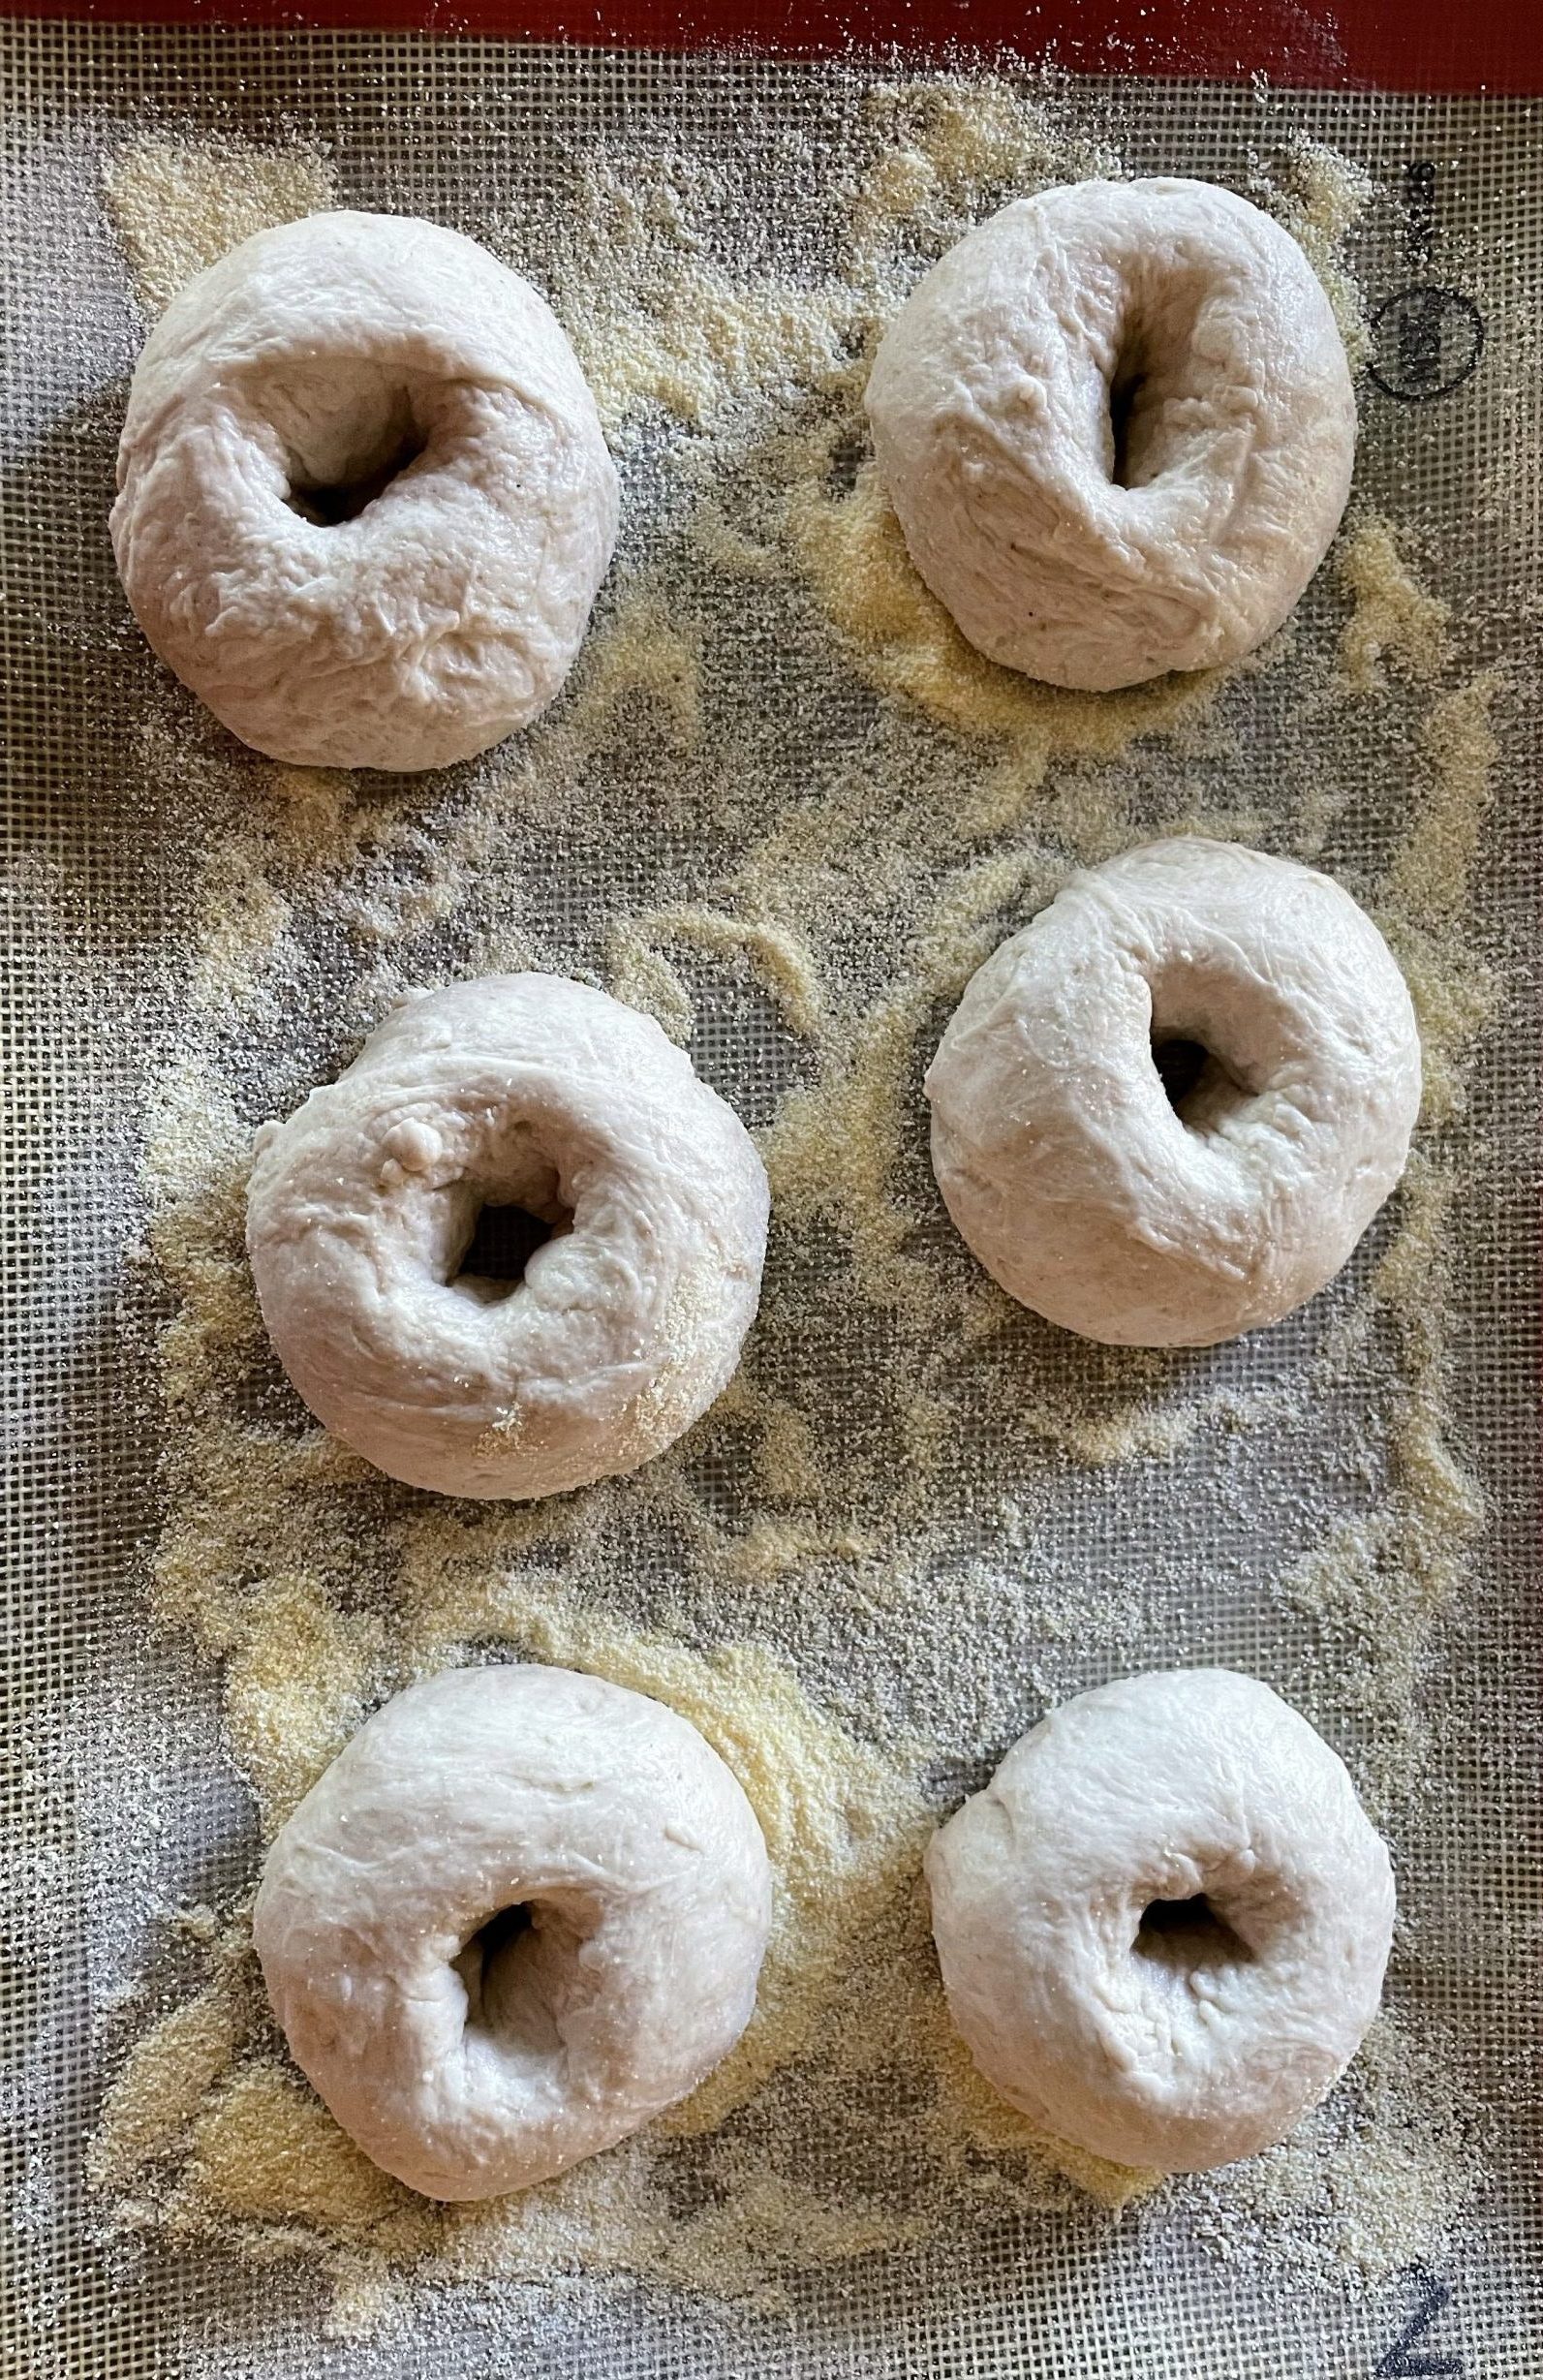
Bagels before proofing in refrigerator.
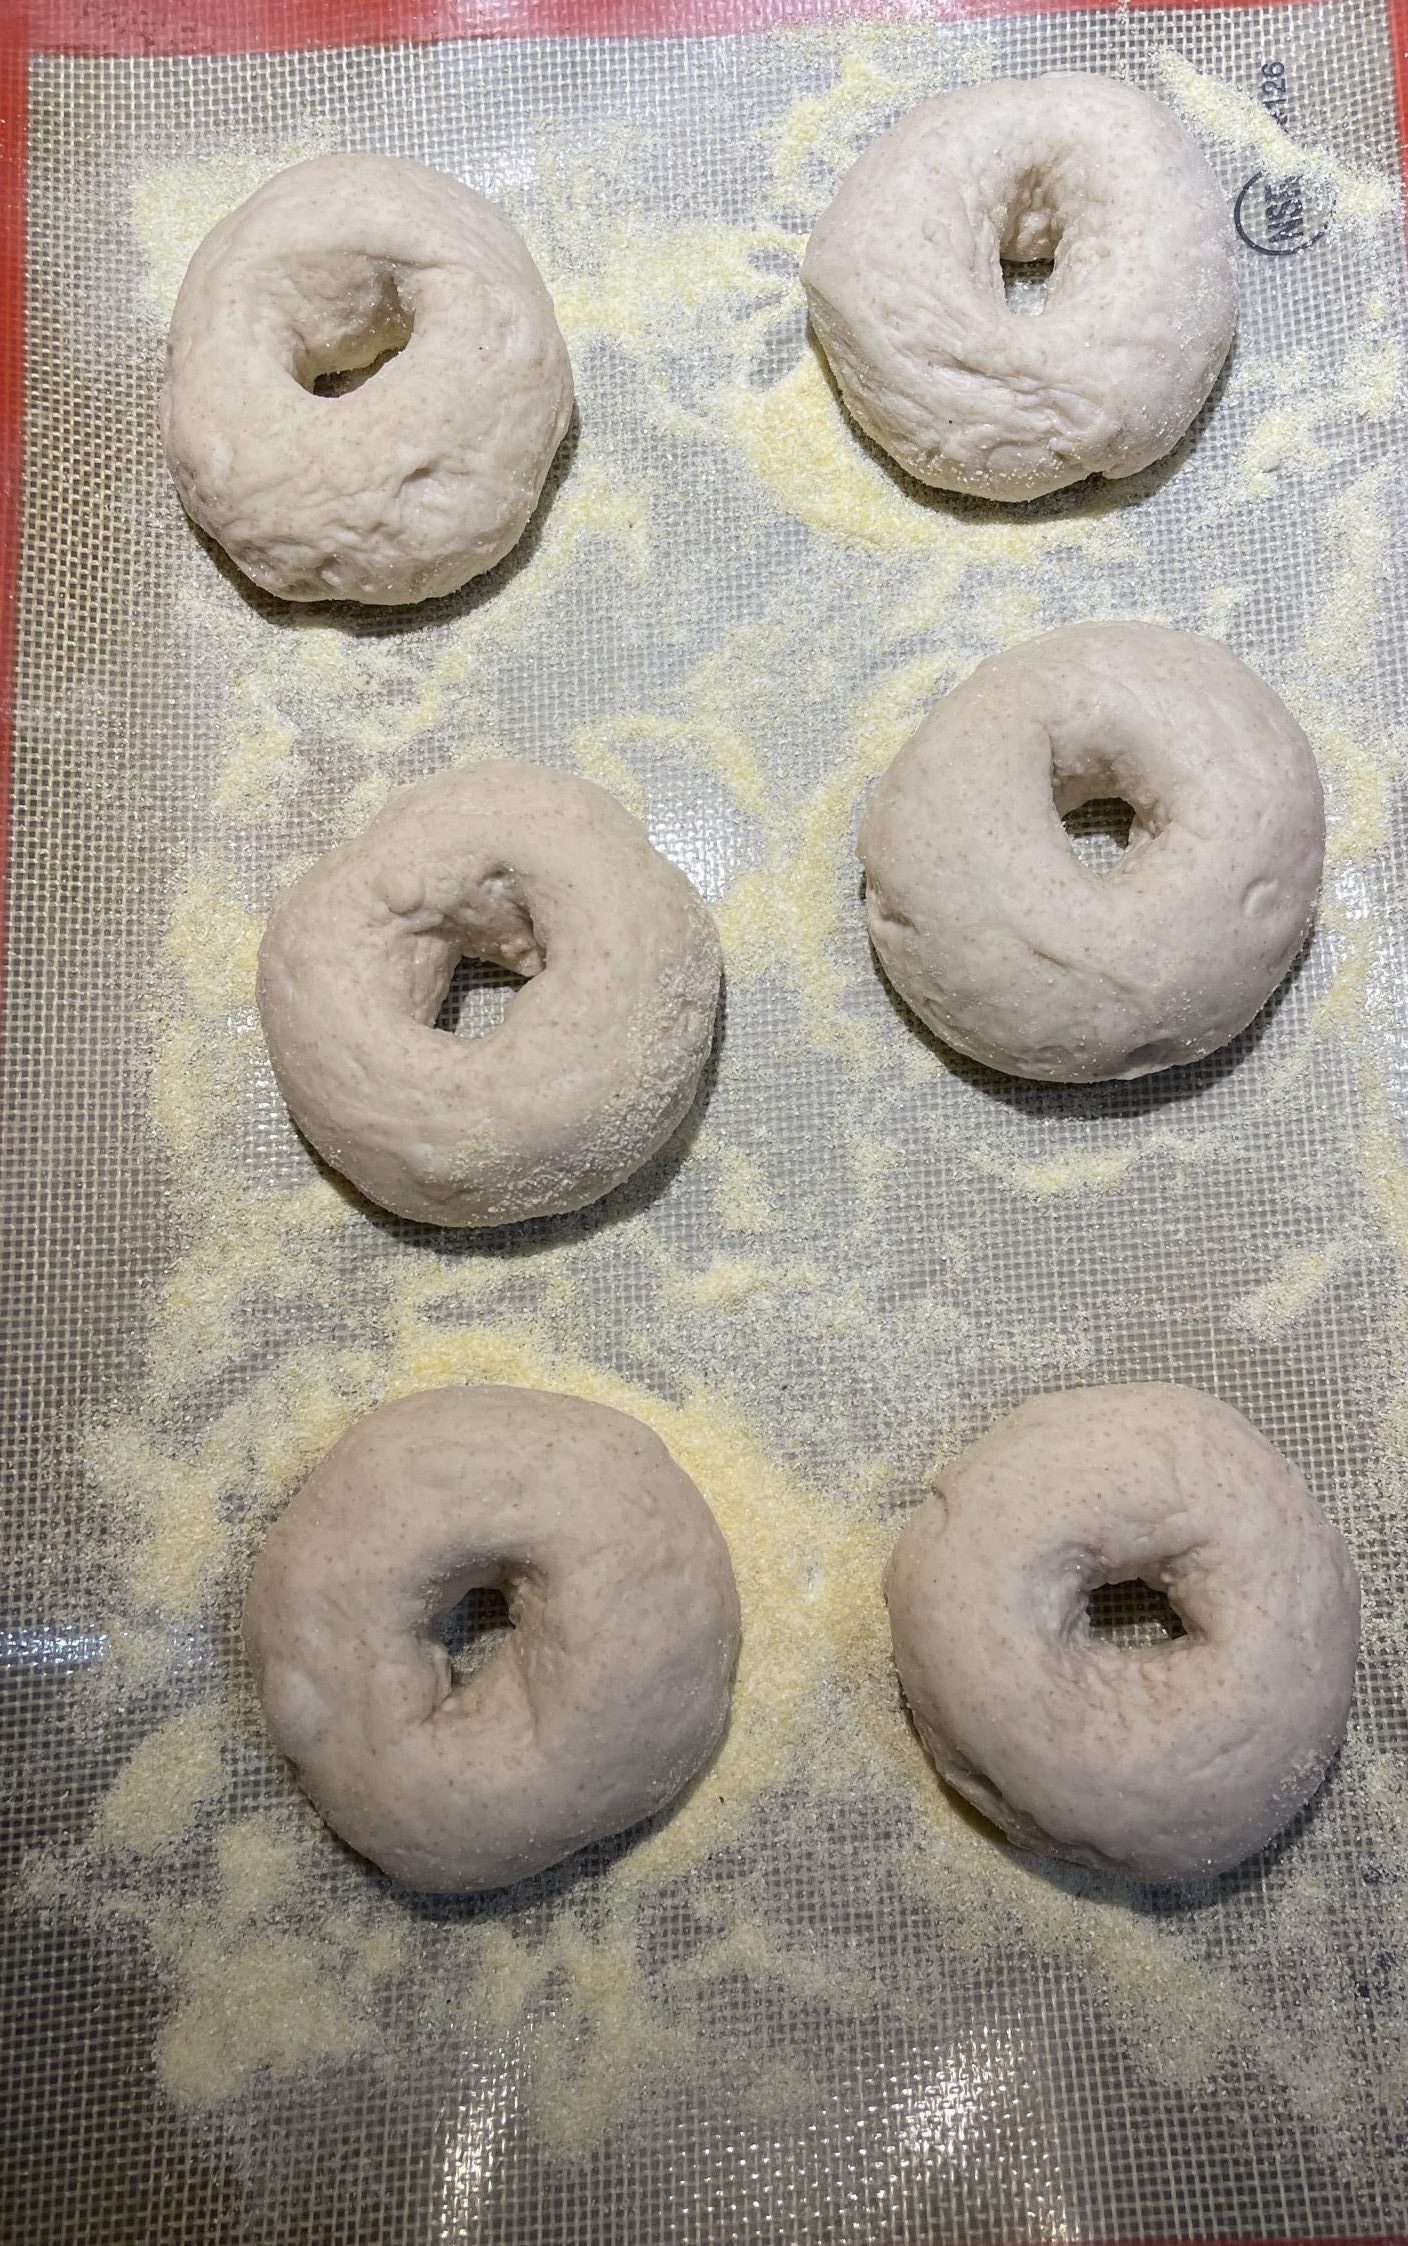
Bagels after proofing in refrigerator overnight.
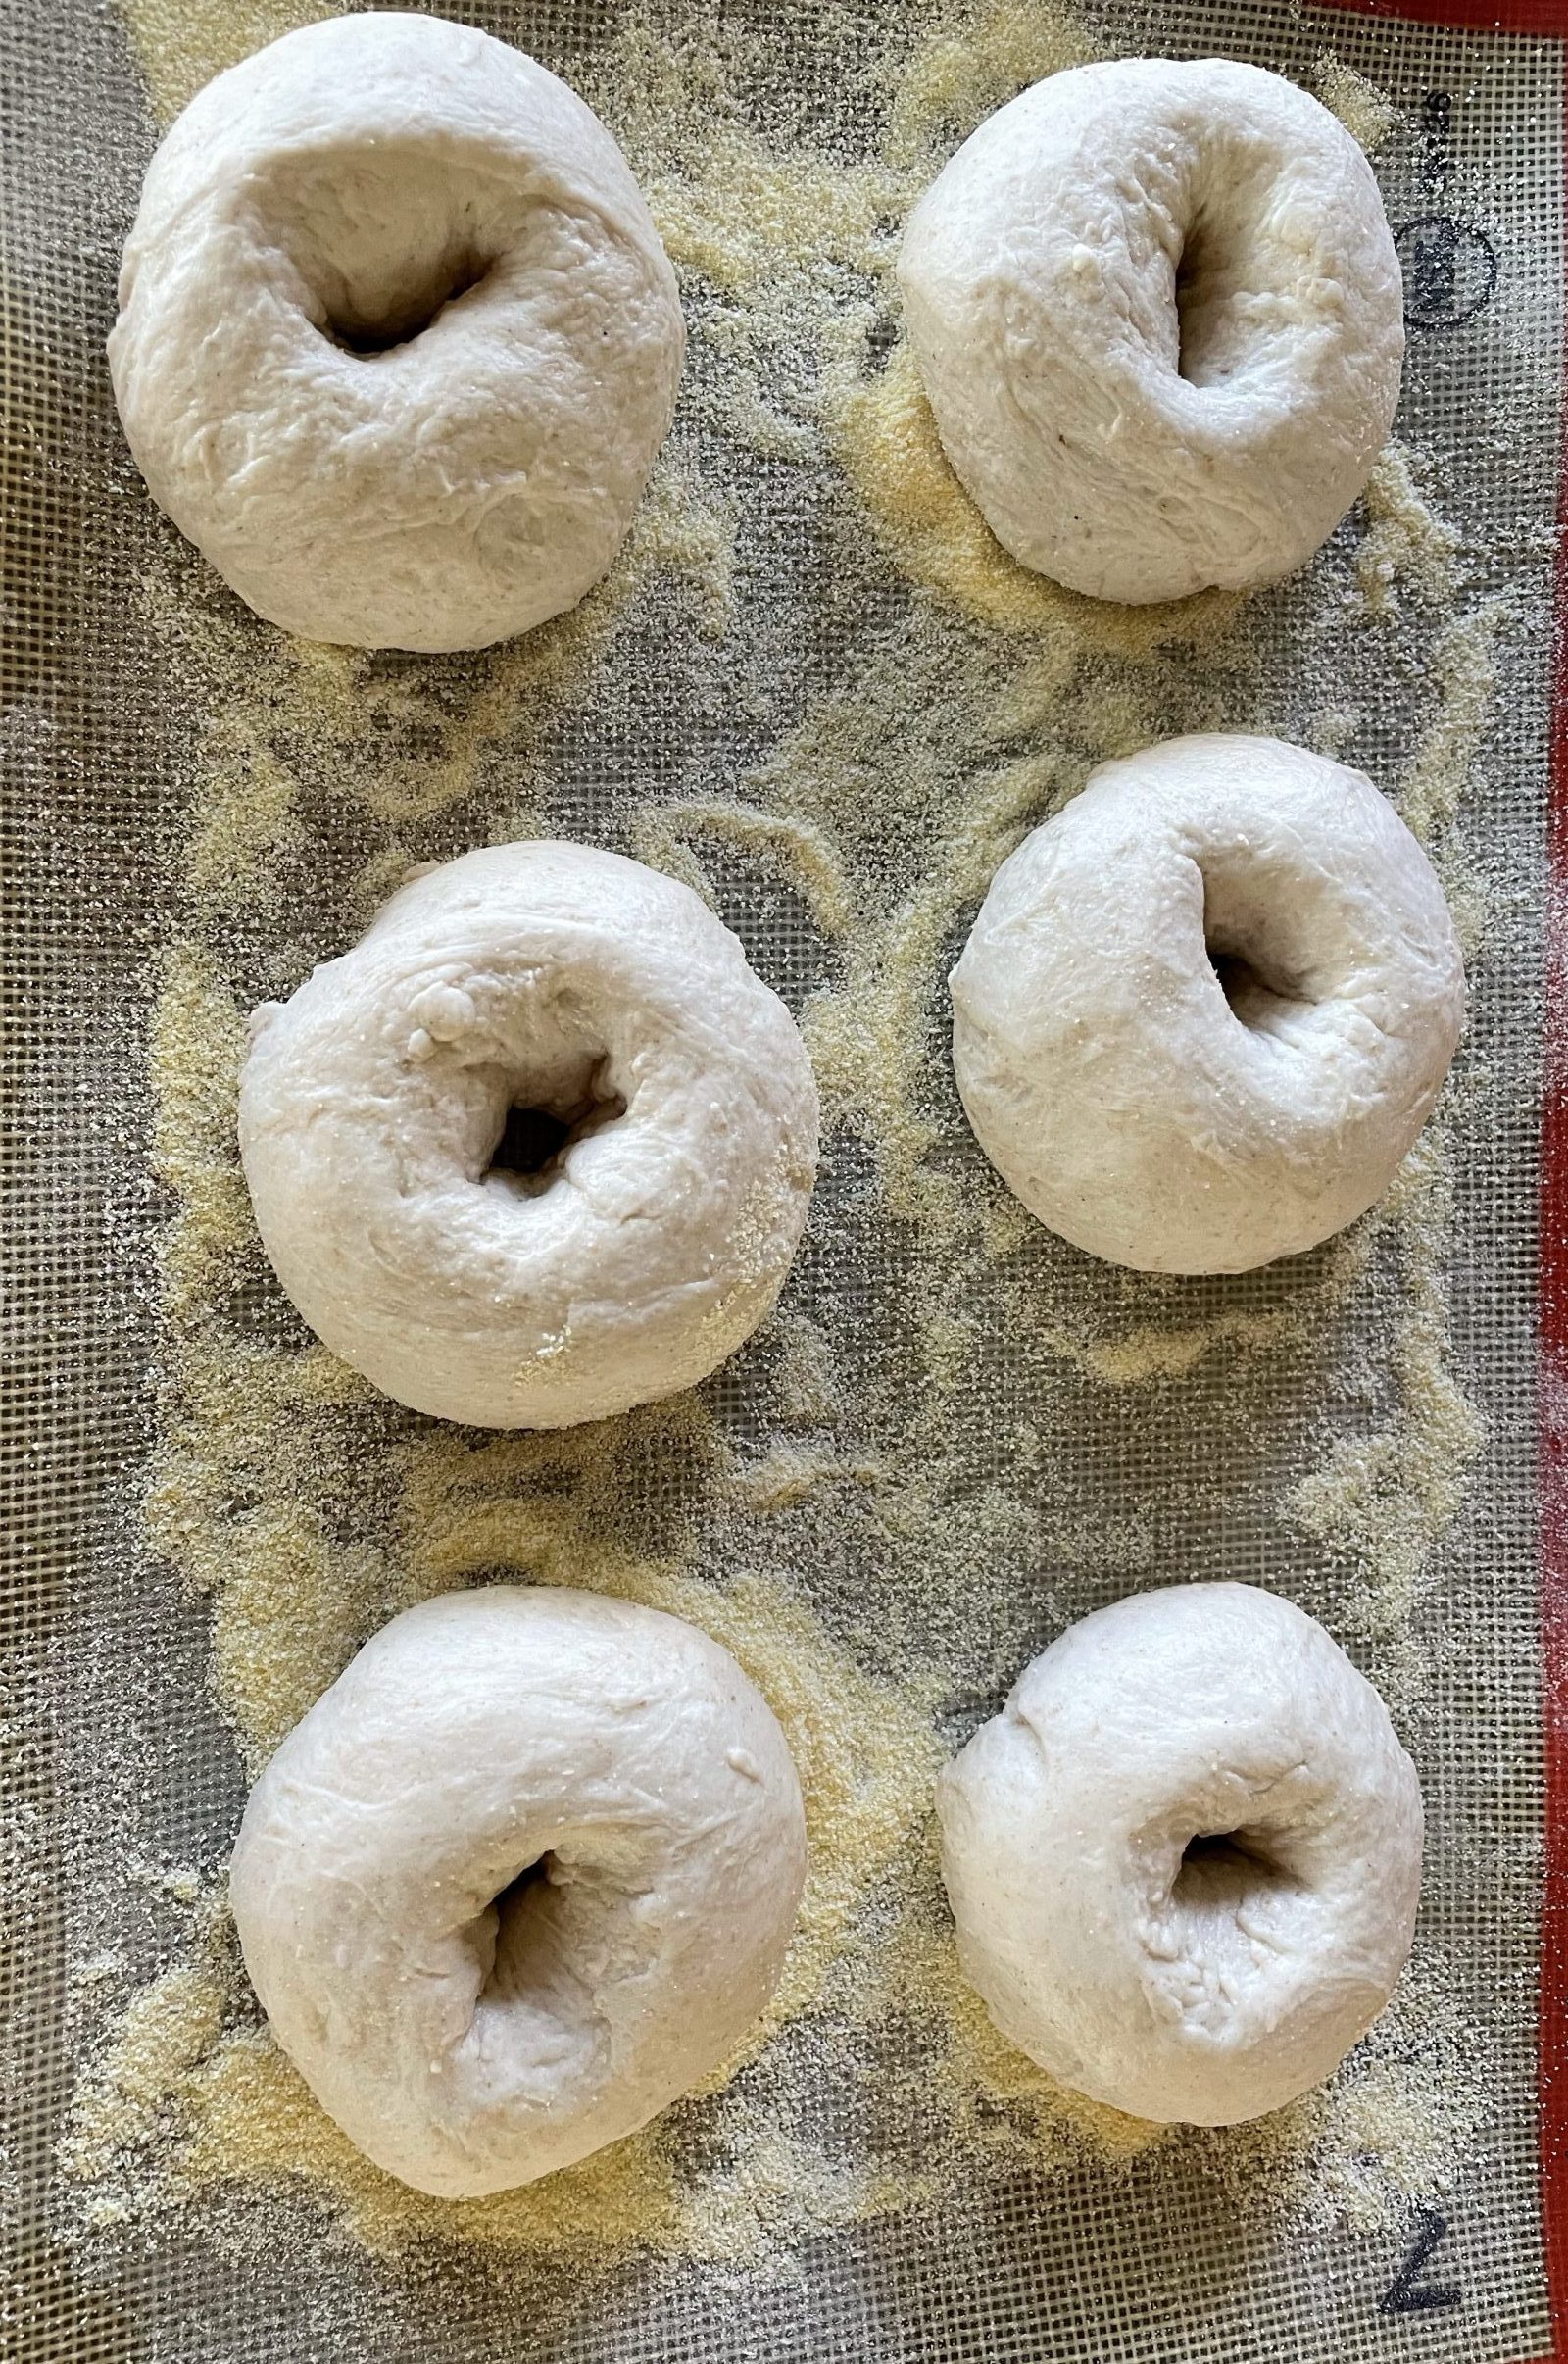
Bagels after proofing for 2 hours in warm area after overnight refrigeration.
Use whisked egg white to adhere toppings securely.
It is important to dip your bagels into a bowl of lightly beaten egg whites. before dipping them into the toppings. I experimented taking them directly out of the boiling water and dipping them into the toppings. The toppings with no egg white adheres during baking but falls off after being handled.
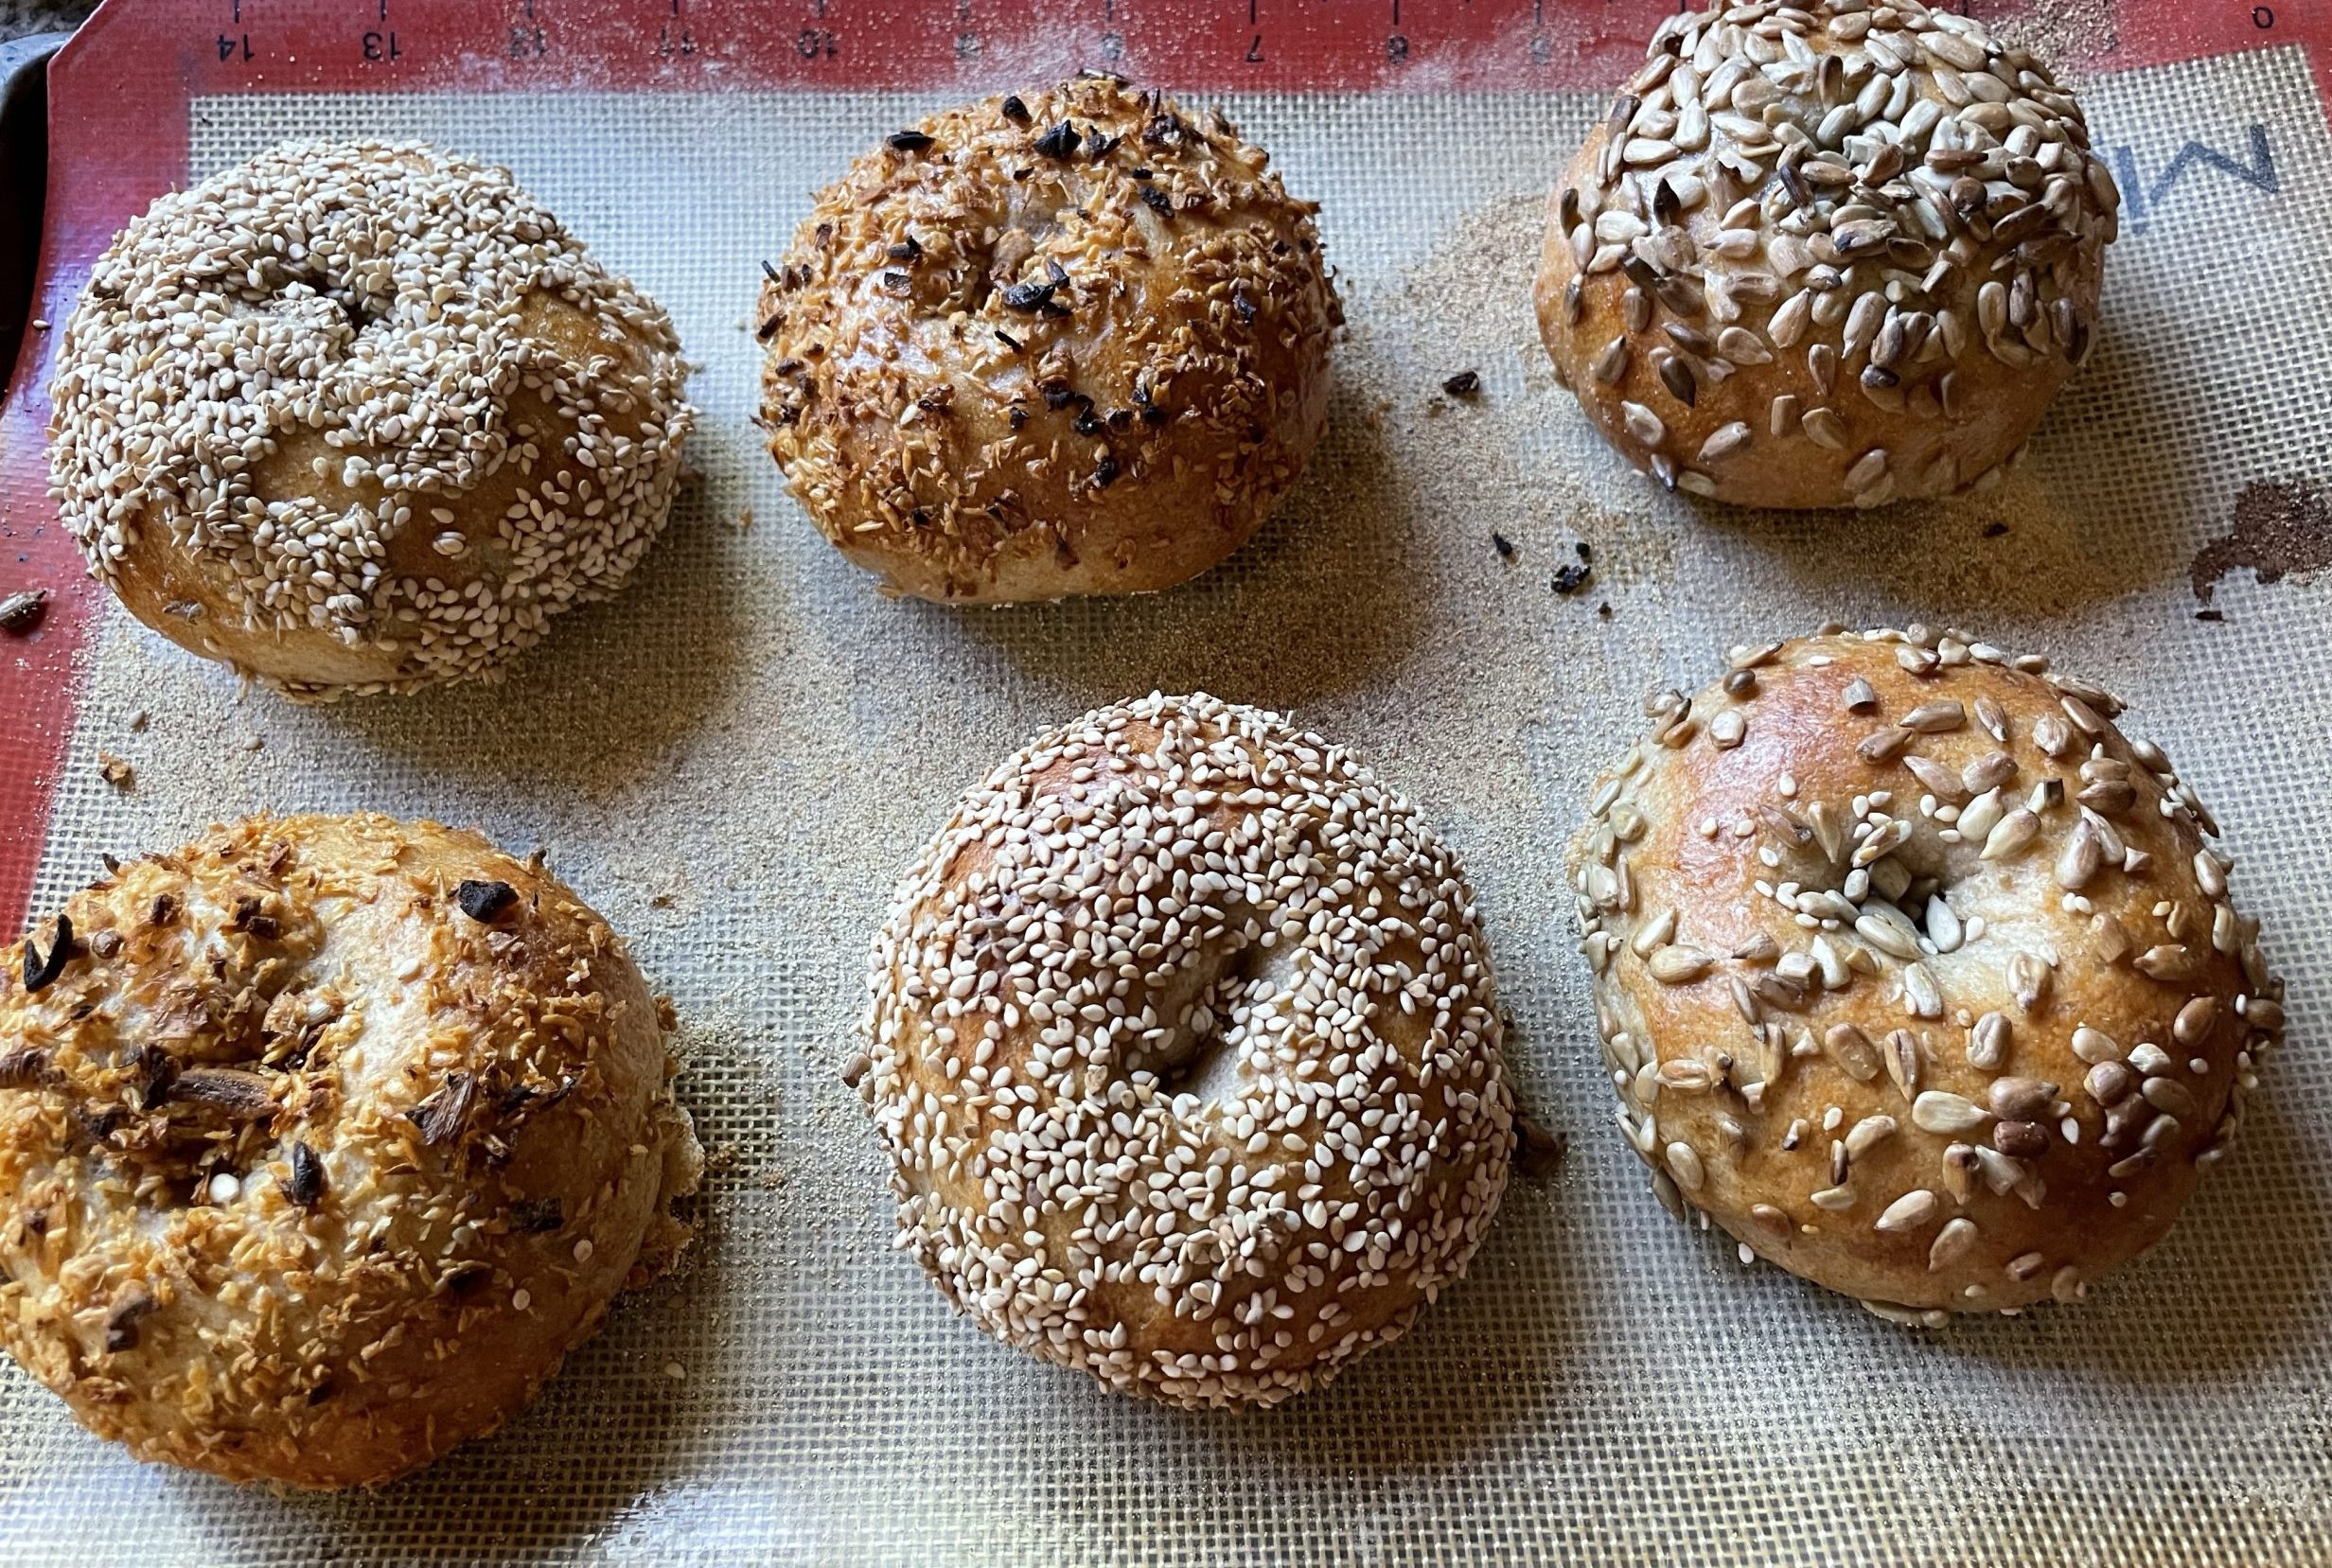
Baked bagels
Accompaniments.
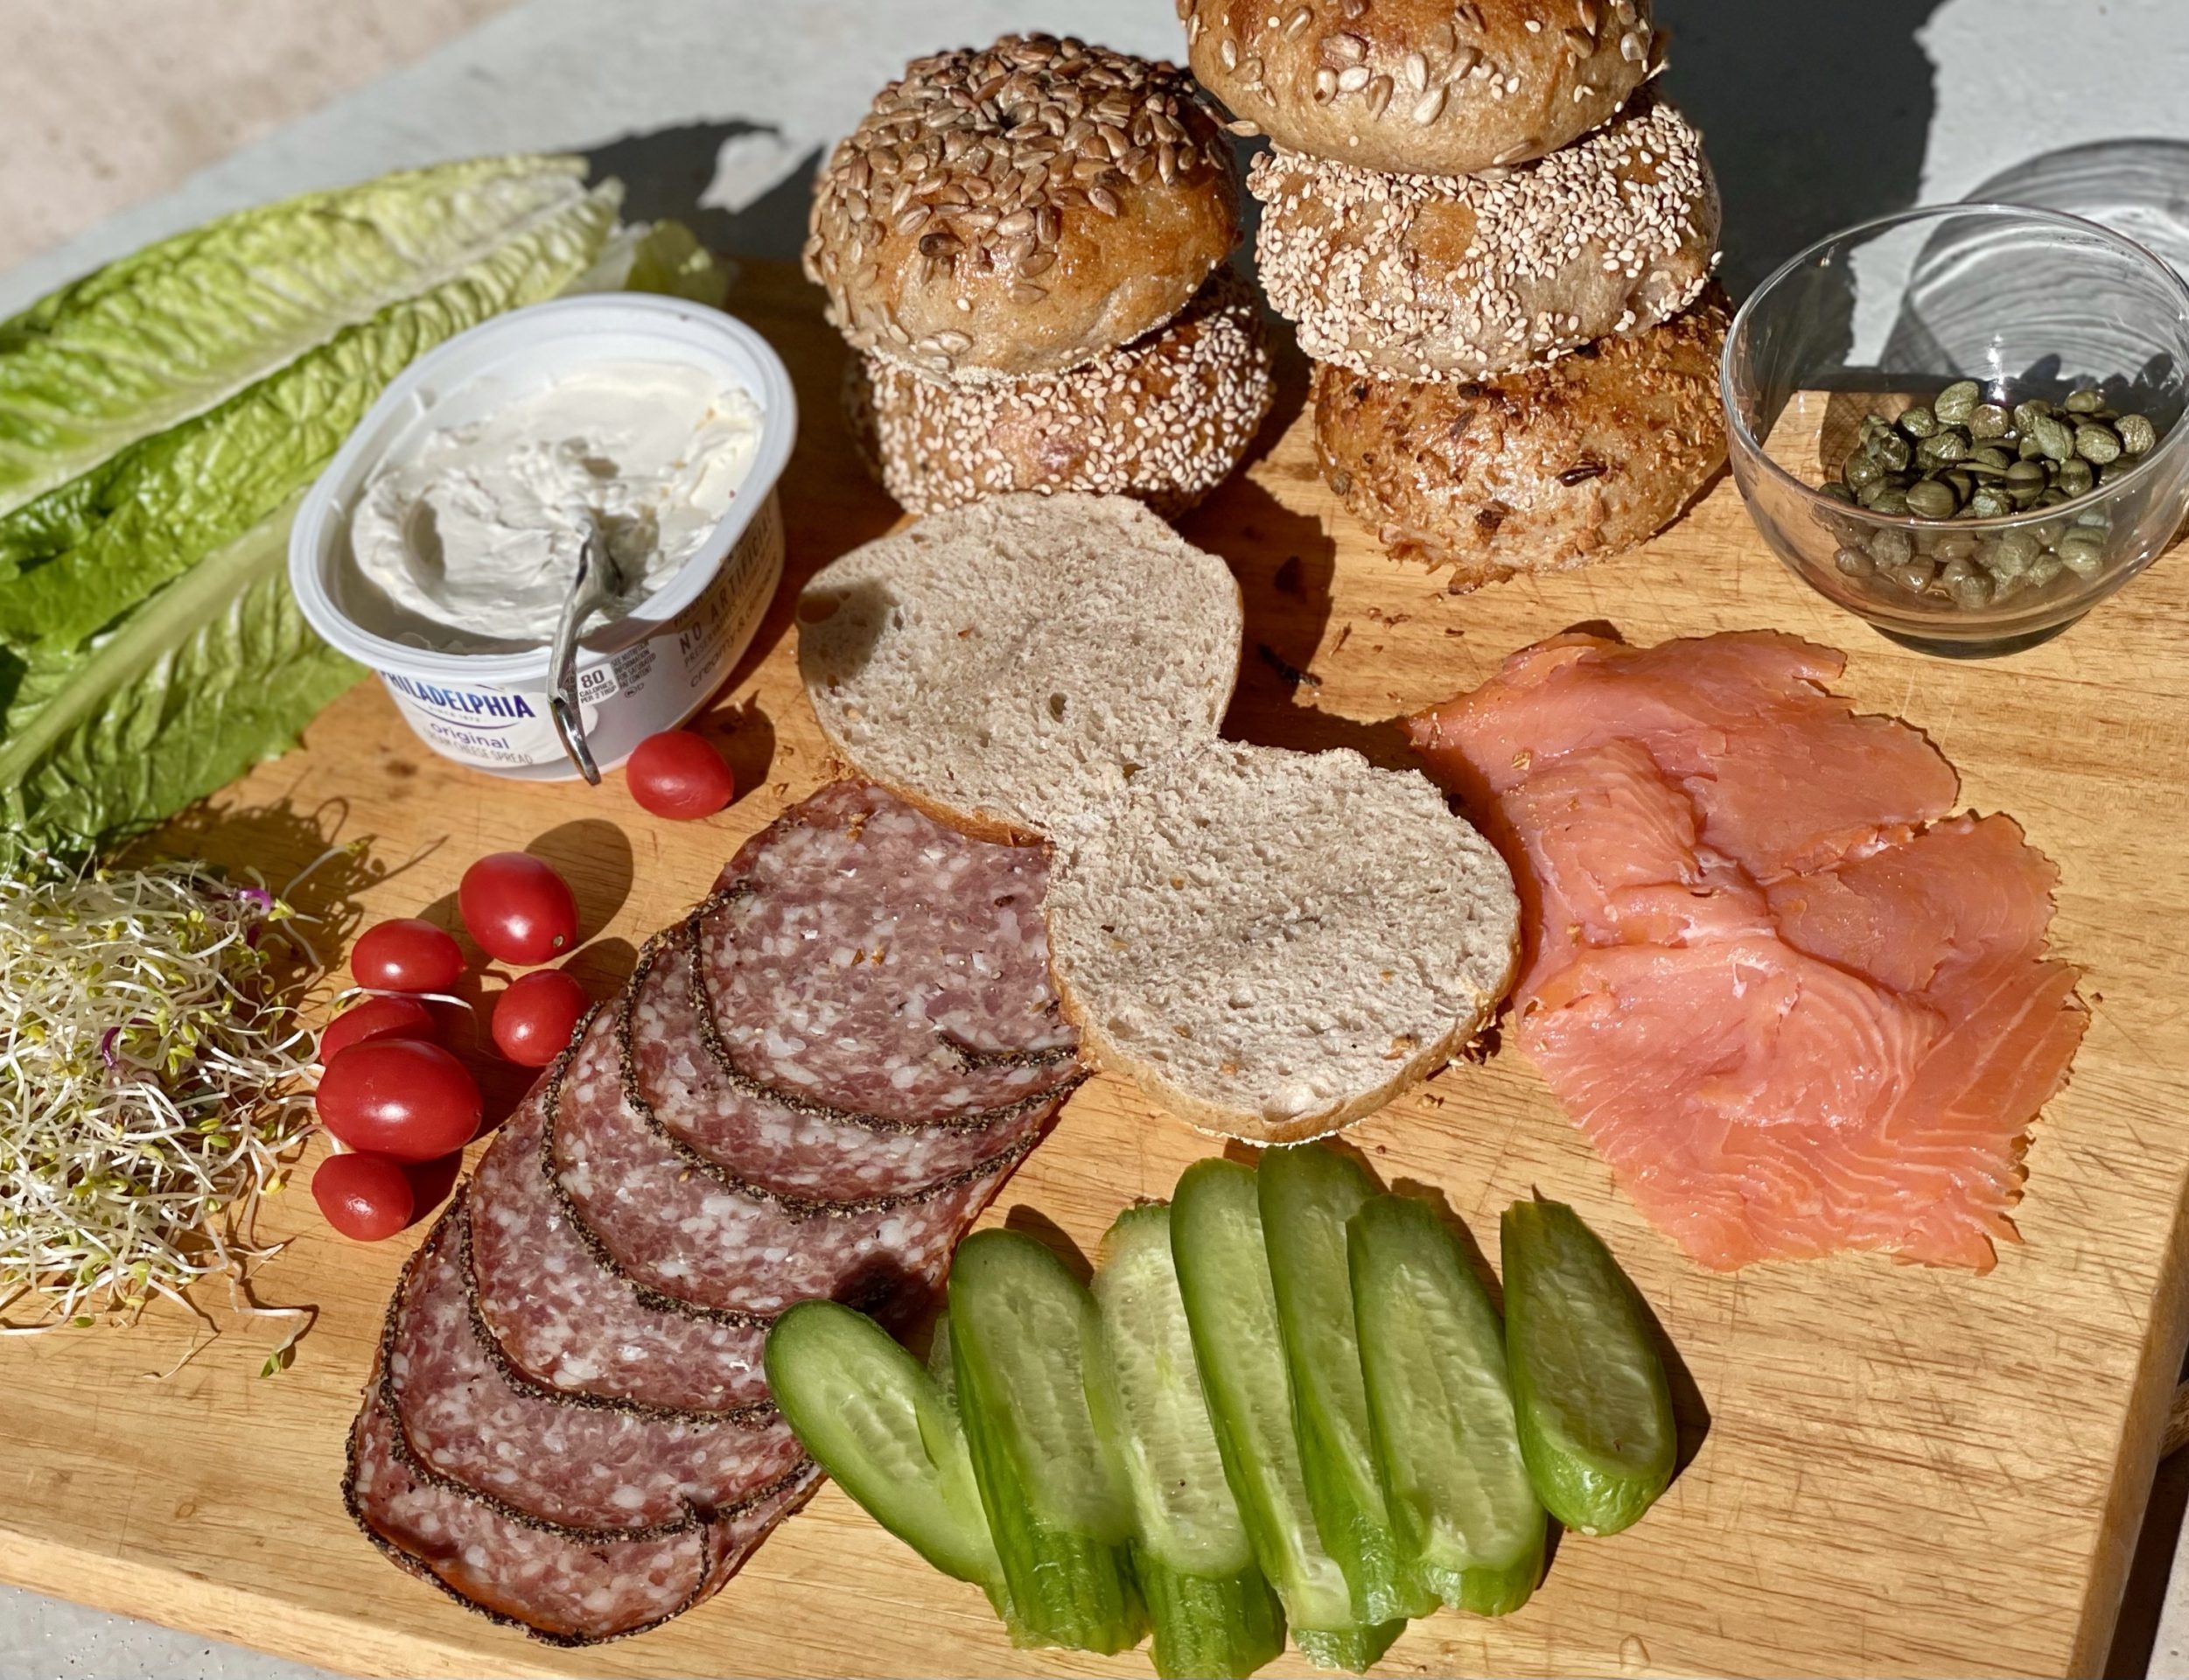
I enjoy bagels as a sandwich or with lox, cream cheese and capers! When entertaining, a plethora of eye catching fixins are always appealing.
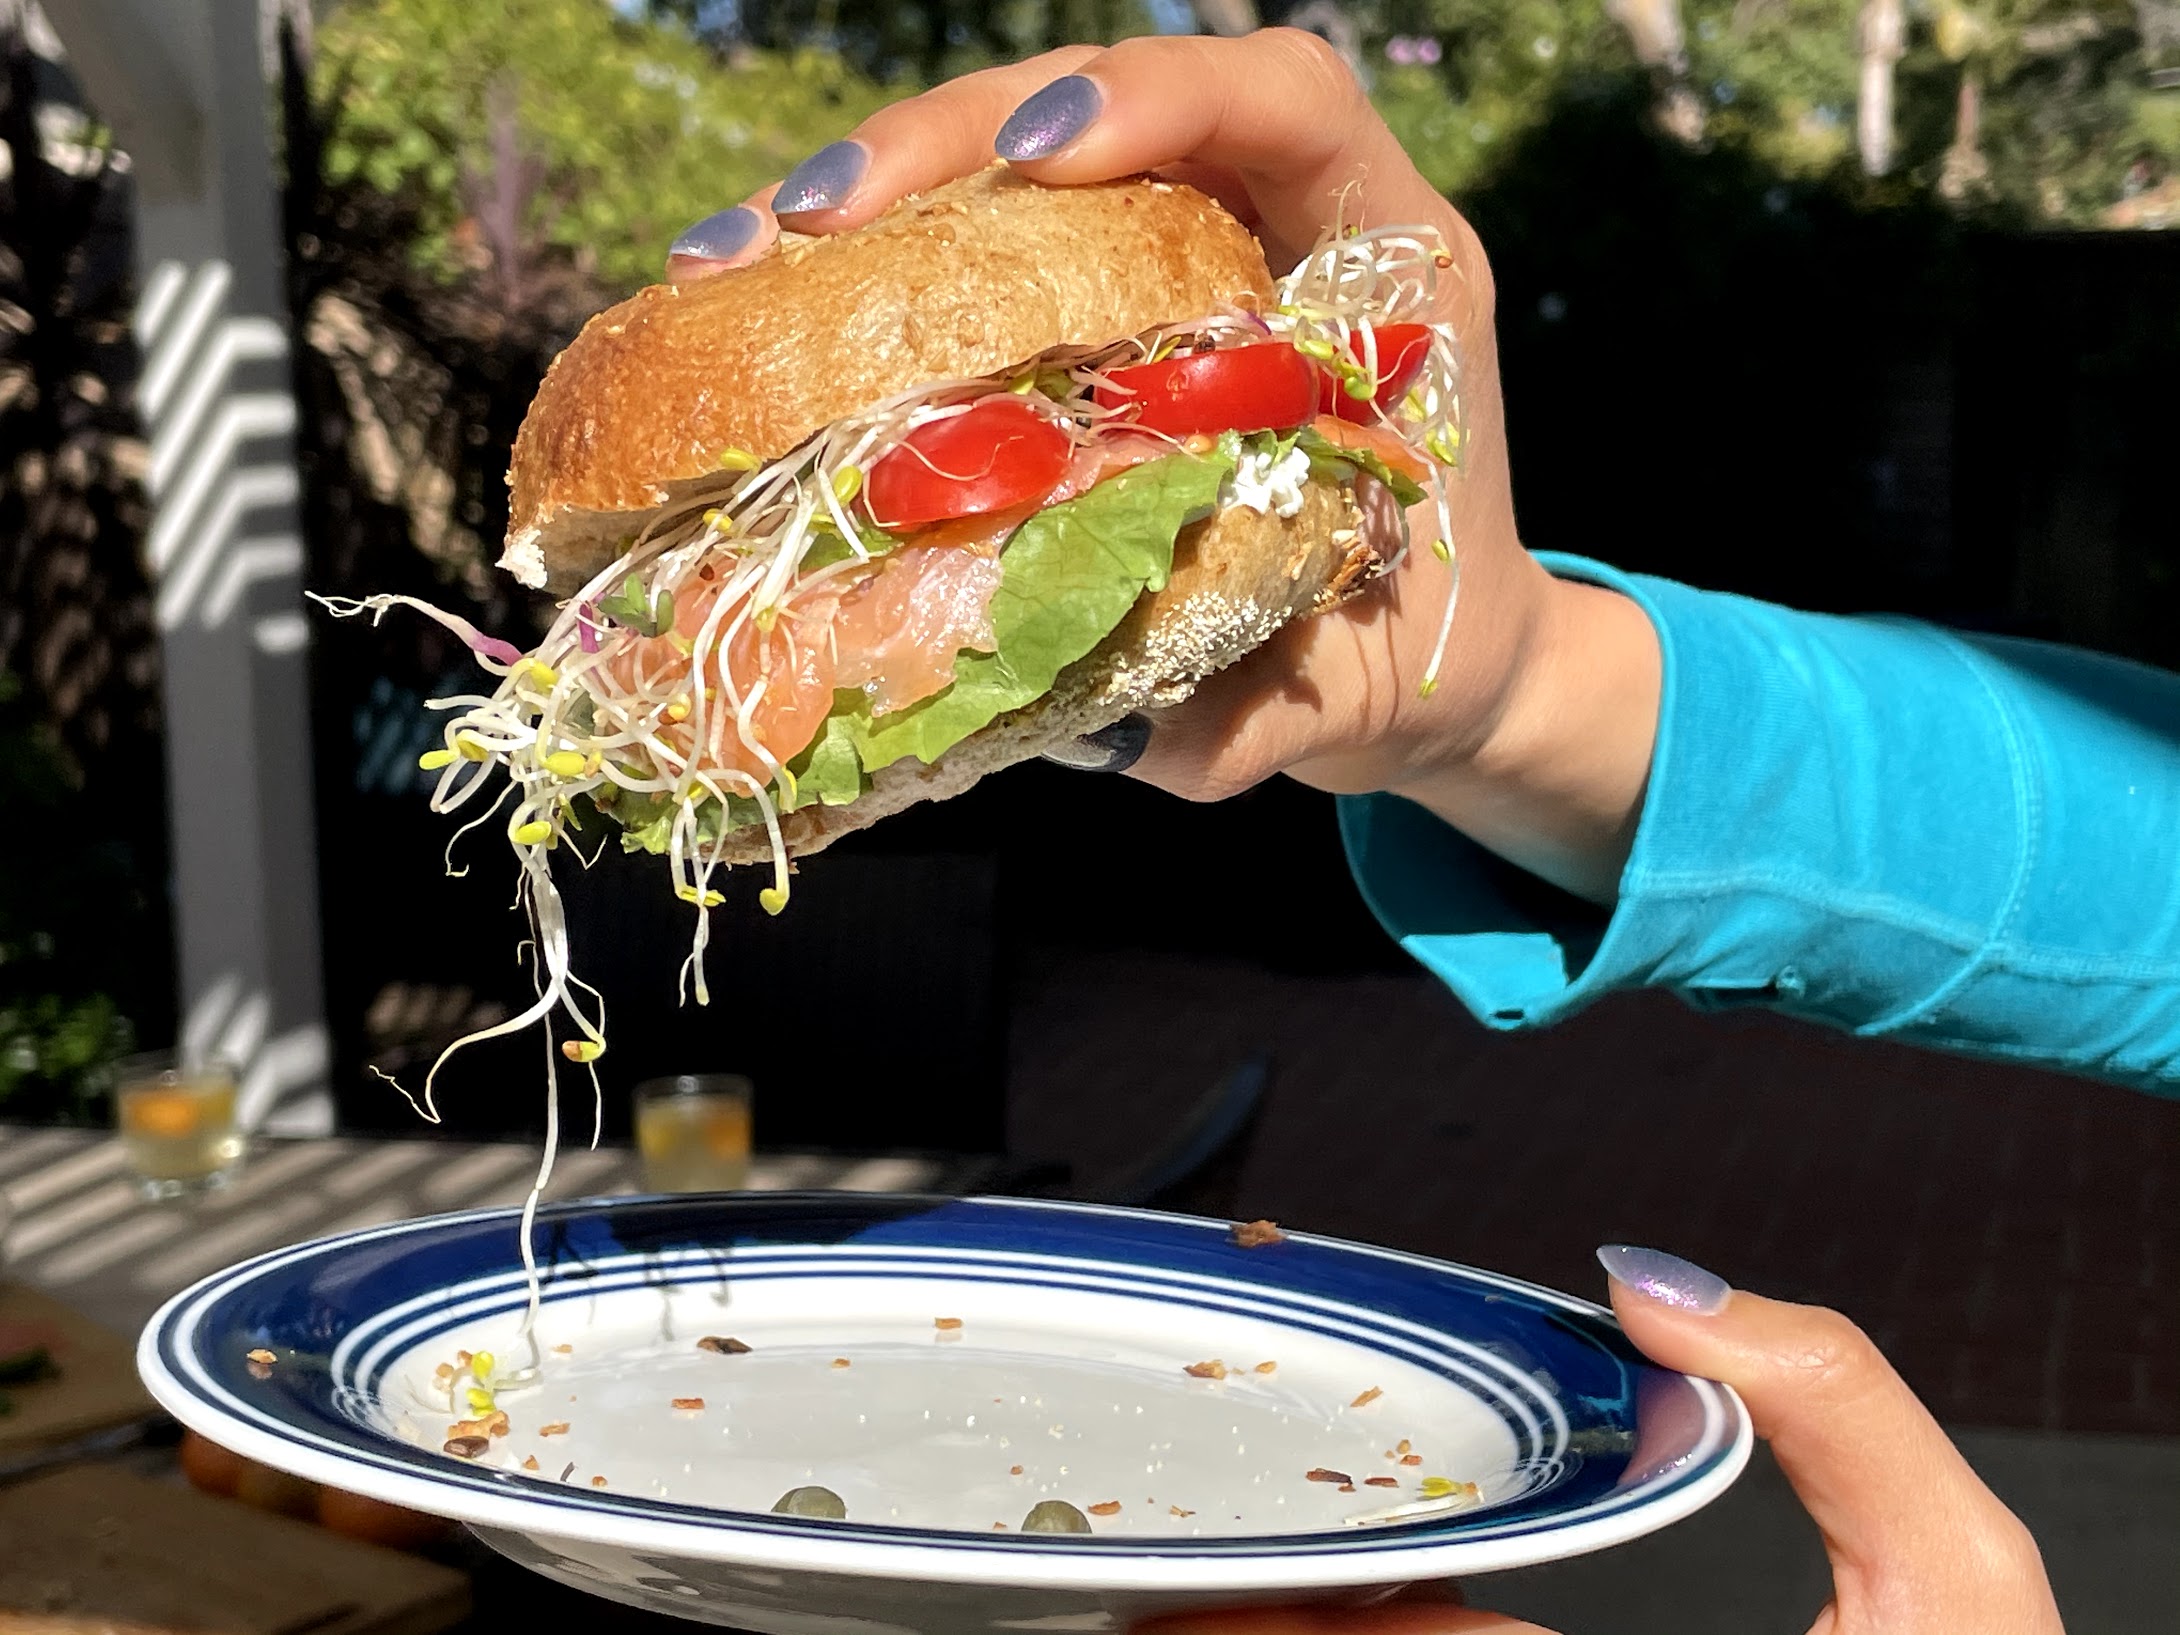
Sourdough bagel sandwich packed with goodies!
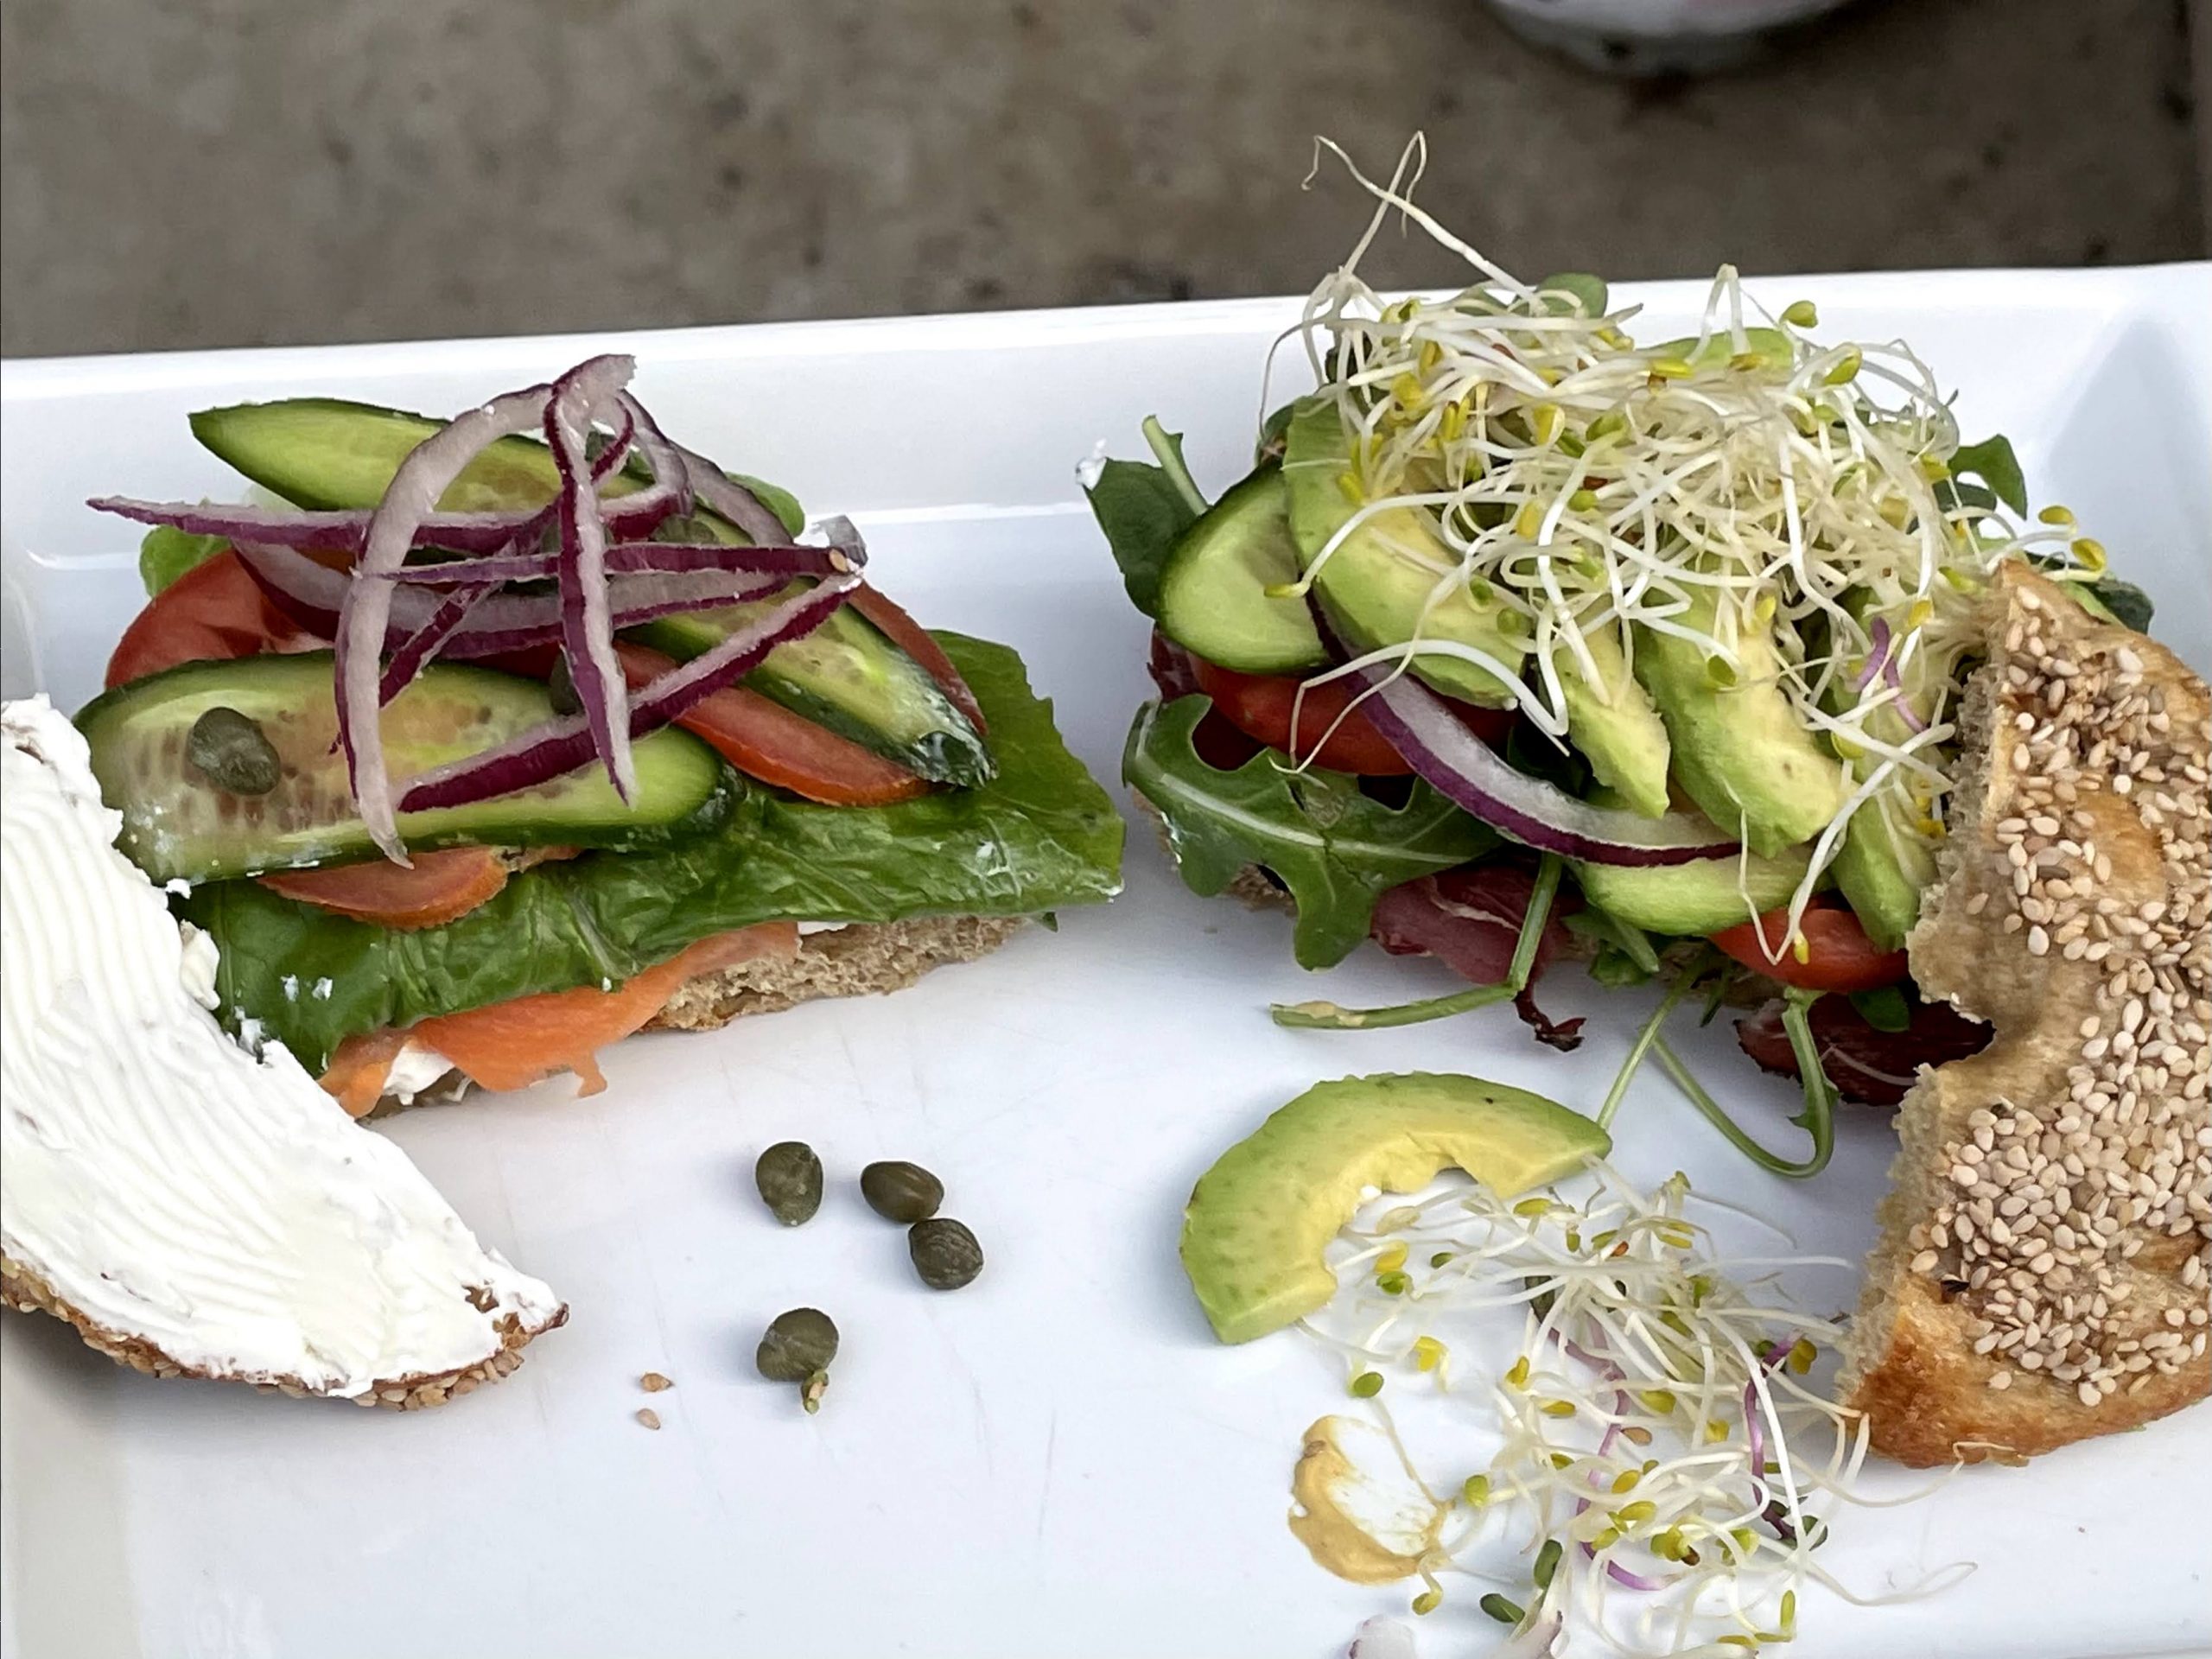
Sourdough bagels. Traditional with lox and cream cheese or edgy with pastrami and dijon mustard.
If you've tried this recipe, let me know what you think in the comment section! Enjoy!
CHEWY SOFT SOURDOUGH BAGELS
Equipment
- 2 Large Bowls
- Dish towel to cover dough
Ingredients
Bagel dough
- 180 grams water 100 degrees-lukewarm
- 112 grams levain See "What is levain and how to make it"
- 315 grams bread flour
- 21 grams malted barley flour can be substituted for half honey and half molasses
- 9 grams salt
Toppings
- 1 large egg white
- toppings
For boiling. No need to increase amounts when increasing dough
- 56 grams sugar
- 2 tsp baking soda
- 4 liters water
Instructions
Making your bread dough
- Sift your bread flour into a bowl. I do this because some bread flours are very refined and clumpy. Sifting helps remove those clumps.
- In another bowl, add your levain to your lukewarm water and stir to mix. It does not have to dissolve.
- Mix in your flour and malt and let sit for 45 minutes. This allows your dough to autolyze, allowing the flour to completely absorb all the liquid making it easier to work with.
Kneading the bread dough.
- The dough is now ready for bulk fermentation where it will develop its flavor and body! Ambient temperatures between 70-75 degrees Fahrenheit (21-24 degrees celcius) is ideal.
- Add the salt after the dough has autolyzed.
- Let dough rest for 30 minutes. You will notice that the dough will become more pliable with time. Cover and let sit for 30 minutes. Don’t forget to set your timer! Set timer for 30 minutes
- Knead dough
- Let it rest for 30 minutes.Set timer for 30 minutes
- Knead dough
- Let dough rest for 30 minutesSet timer for 30 minutes
- Knead dough
- Let dough rest for 30 minutesSet timer for 30 minutes
- Knead dough
- Let dough rest for 30 minutesSet timer for 30 minutes
- Knead dough
- Let dough rest for 30 minutesSet timer for 30 minutes
Shaping your bread dough.
- Pull dough out of the container. Weigh dough and divide into the number of bagels you plan to make. See Cutting and Shaping your Dough in my Tips & Tricks section.
- On a floured surface, lightly dust your dough with flour and work it into a round by pulling it towards you and rotating. Shape the dough into bagels by creating the hole.
- Place dough on a silicone pad or parchment paper on a baking tray that is generously dusted with corn meal.
Proofing your dough
- Place your baking tray in a plastic bag. Seal it with a binder clip. Place it in the refrigerator for 12-16 hours.
- Remove bagels from refrigerator and allow to come to room temperature and continue proofing for 2 hours in a warm area.
Prepare your toppings.
- Preheat oven to 475° fahrenheit (246° Celcius)
- Lightly whisk egg white
- Place your various toppings in shallow bowls
Boiling the bagels
- In a large pot, boil the water.
- When water is boiling, add sugar and baking soda.
- Gently place a few bagels into the pot of water, giving enough room to move.
- Cook for 1 minute on one side and flip the bagels and cook for another minute.
- Remove bagels with slotted spoon and place on cooling rack.
- Dip each bagel into egg white before dipping them into a topping.
- Place each bagel back onto baking tray with the corn meal.
- Bake for 15-18 minutes.
- Remove from oven and let cool on wire rack.


Just the name itself "Bagels" looks intimidating to make. However, this recipe and the you tube video breaks it down step by step. Very easy to follow and enjoyable to make. I am so happy that now I can make my own healthier version of bagels, with endless toppings for breakfasts and or fillings to make a lunch bagel…
Move over Einstein Bagels, Sammy Wong's Bagels are here to stay ! 🙂
Thanks so much for trying the recipe. Hope you and your family enjoyed it!